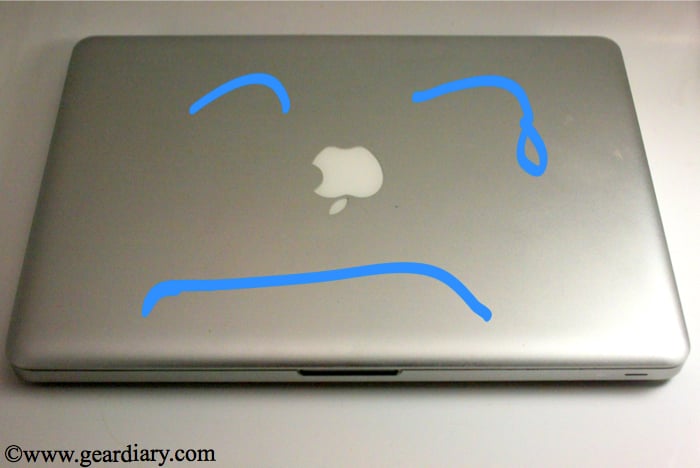
In part 2 of this series, I took the fan out of my 13″ MacBook Pro, cleaned it and lightly lubricated it. For about a day, the fan noise was almost non-existent and the heating issue was mildly approved. Unfortunately, the noise quickly returned along with the hot CPU. This problem had to be fixed one way or another or I was going to have to throw the computer out of the window since it had become painfully slow and buggy. The next plan was to buy a new fan and replace the loud, failing original. I also decided to double the RAM from 4 to 8 gigs since the back would already be open. The plan was to now perform a MacBook makeover.
DISCLAIMER: ALL OF WHAT YOU ARE ABOUT TO READ WAS DONE AT MY OWN RISK! IF YOU CHOOSE TO DO THE SAME, YOU WILL VOID ANY APPLE WARRANTY FOR THAT MACHINE. NEITHER GEAR DIARY NOR I ARE RESPONSIBLE FOR ANY DAMAGE THAT RESULTS FROM YOU DOING THE SAME. (ALTHOUGH IF YOU DO AND, AS A RESULT, YOU FIX YOUR FAN WE WILL HAPPILY TAKE CREDIT) ![]()
IN OTHER WORDS, THIS POST IS NOT A RECOMMENDATION, BUT RATHER IT IS SIMPLY A RECOLLECTION OF HOW I SAVED MY OWN LAPTOP.
I found the CPU cooling fan here from Amazon. As you can see, the price is affordable to say the least. The third party seller shipped the fan quickly and it came as described.
Once the fan arrived, I simply had to apply the steps from part 2 of this series.
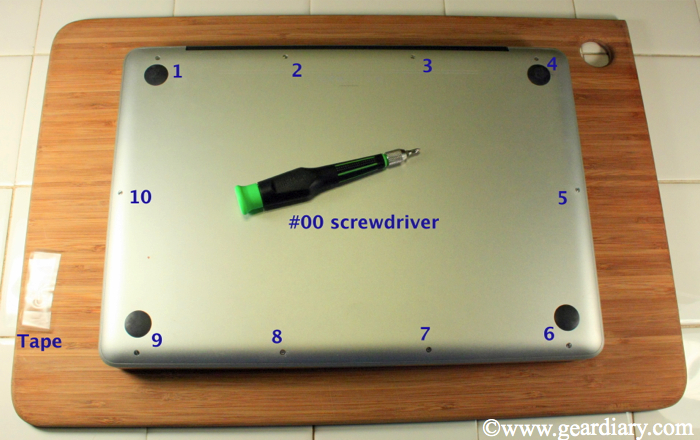
Before beginning fan extraction and cleaning you need to set up your tools and work area. Make sure the area is clean and safe to open the machine. Also, make sure you take proper care to avoid any static electricity. You do not want to fry our computer! You will need a #00 philips screwdriver and a piece of tape attached sticky side up. (the tape trick is via Dan) I chose to place the MacBook on a cutting board so I can easily rotate and move without touching anything I am not supposed to.
Make sure you back up your machine and turn the power off. Carefully extract the 10 screws from the underside of the case and place each screw on the tape to avoid losing them. They are tiny, so a drop on the floor could be a bad thing! Three of the screws are longer than the rest. They will only fit in those holes, so it is not difficult to replace them.
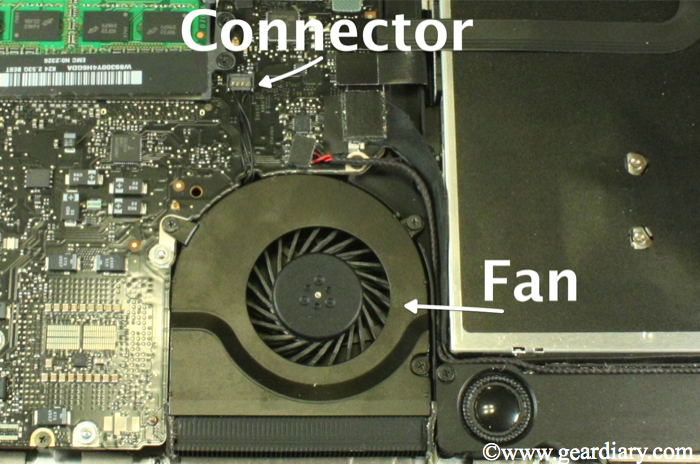
The image above shows the fan unit and the connector. Using a small screwdriver, preferably something made of plastic, lightly disconnect the fan. Simply lift the connector and it will disconnect. I was careful not to pry or force it apart.
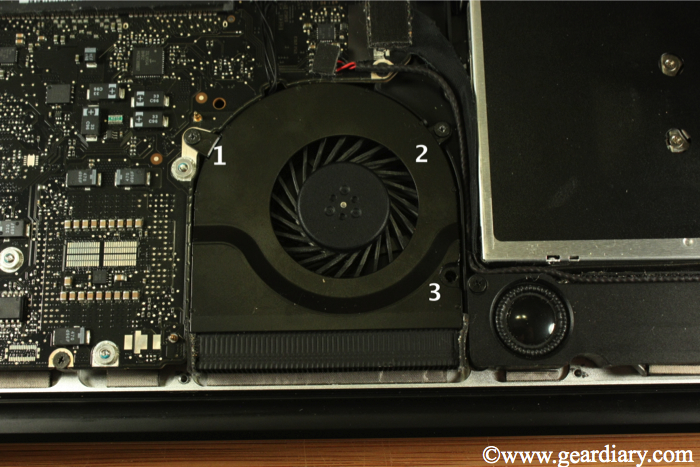
Once the fan is disconnected, it can be removed via the three screws. Make sure you keep track of which screw went where. When the three screws are removed, lift the fan out of the machine. Using the new fan, perform the same steps above in reverse. It truly is that simple!
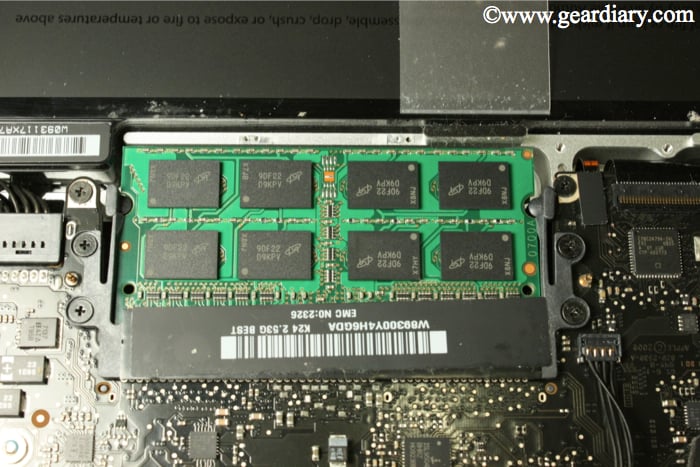
Since I had the machine open, I also opted to replace the 4 gigs of ram with 8, just to speed up my trusty old friend. I found the RAM also on Amazon and it was much cheaper than I anticipated. Basically with Prime, the MacBook Pro RAM can be doubled for $45! The RAM came in a day before the fan and was ready to go for the project.
Replacing the RAM is amazingly easy. Simply press the existing RAM modules down and let them pop up. Pull them out and replace with the new RAM. There are two modules in the machine and they are stacked on one another. Remove both of them first, then replace the bottom followed by the top. Make sure each module is seated tightly.
Once everything is installed, replace the back panel and screws then boot up the machine. Check iStat Pro and make sure the fan is running. It should be nearly silent now. Then go to the Apple on the menu and click “About This Mac.” There you should see 8GB under memory. I was totally amazed by how quick and easy this project was. For under $60 I was able to totally revitalize and make my aging laptop like new. The new speed blows my mind. It is much faster than the first day I opened it and the new fan has kept the temperatures low while nearly silent. Please read the disclaimer at the top of this post, but if you want a cheap and easy way to fix a fan problem and/or add some RAM, follow these simple instructions and save a ton of cash. I love my MacBook Pro again!

