I wish I’d had the Reliefband 2.0 all the times I’ve had to deal with motion sickness. Examples? I get queasy when I ride in the backseat of a car and cool air isn’t blowing directly on me. I once lost my breakfast and had to quit early while on an all-day deep-sea fishing trip in Aruba; ugh, choppy water.
I’ve felt my gorge rise while riding on the Brooklyn Ferry; again, choppy water is not my friend. I nearly lost my lunch on a plane ride when the AC wasn’t working properly; it was hot, and I could smell diesel for the last 30 minutes before landing. Oh yeah, that one was bad as I had to throw up the minute I got off the plane and then get on another plane. Good times. Sorry, was that TMI?
So when I was offered the Reliefband 2.0 to review, I was skeptical but definitely interested. A bracelet that could turn off my nausea? Yes, please.
Perry (and his wife, Stacy) gave the original Reliefband a try when she was dealing with morning sickness and nausea. The Reliefband 2.0 has a vastly different design than the original, and this is what it promises:
Reliefband® 2.0 is indicated for use in the treatment of nausea, retching and vomiting due to motion sickness, chemotherapy and morning sickness associated with pregnancy. Reliefband 2.0 is also indicated as an adjunct to antiemetics in reducing postoperative nausea.
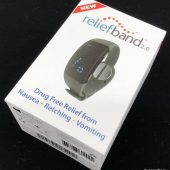
Drug-free Reliefband 2.0 uses clinically-proven technology to quickly and effectively relieve nausea, retching and vomiting.
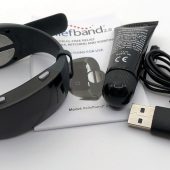
Included in the package are the Reliefband 2.0, a charging cable, conductivity gel, and an instruction booklet.
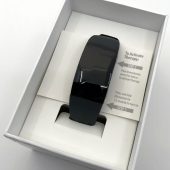
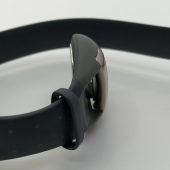
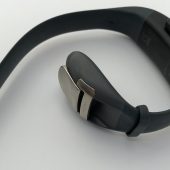
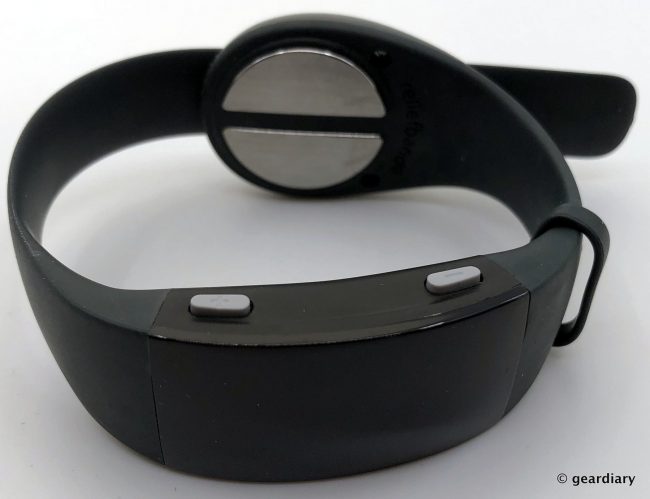
The Reliefband 2.0 looks like a band (latex-free and hypoallergenic, of course) and plastic activity tracker with a large flathead screw on at the clasp. The “screw” is actually two 316L surgical steel hypoallergenic contacts that go on the inside of your wrist.
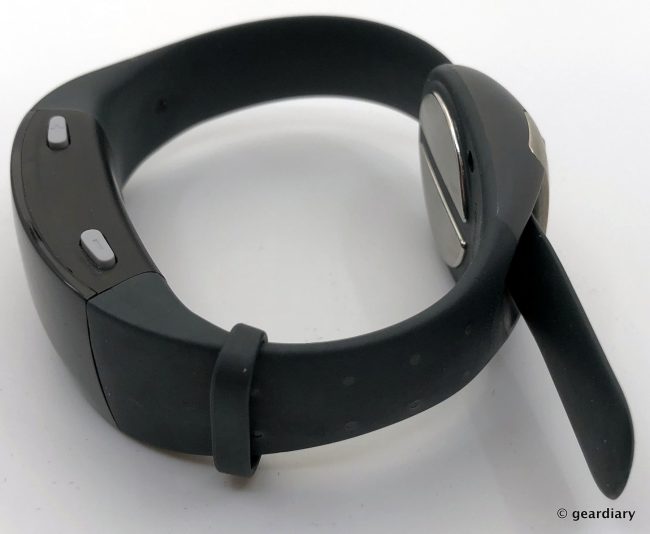
A substantial metal clasp allows you to tighten or loosen the band so it will properly fit.
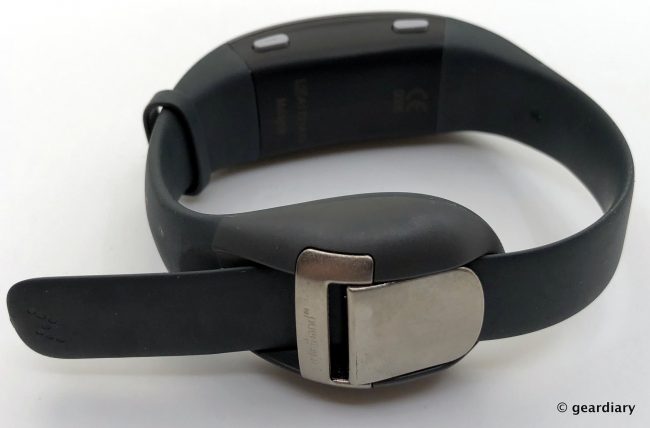
Reliefband works by sending pulses from the two metal contacts that “signal the median nerve at the P6 location on the underside of the wrist.” Those signals travel through your body’s nervous system to the “part of the brain that controls nausea, retching, and vomiting. The signals have a rebalancing effect, normalizing nerve messages from the brain to the stomach and reducing symptoms of nausea, retching, and vomiting.” Okay, then!
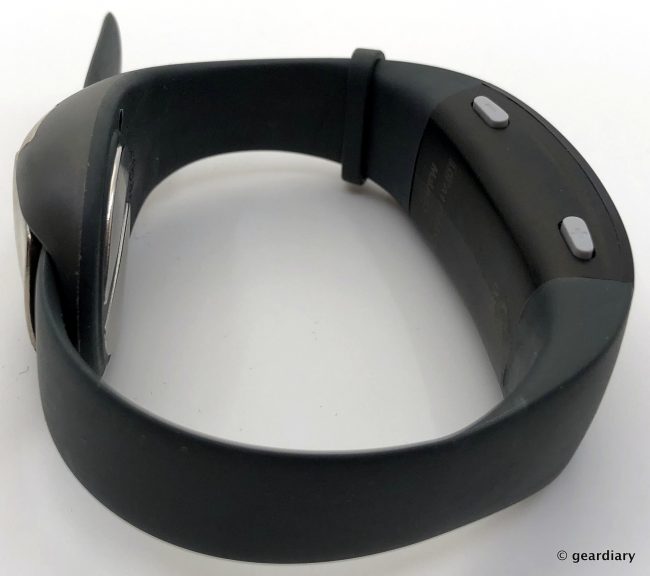
I tried the Reliefband on my 5.75″ wrist and Kev’s 8.5″ wrist, and it fit on both of us just fine.
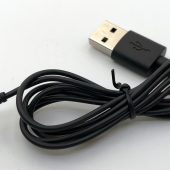
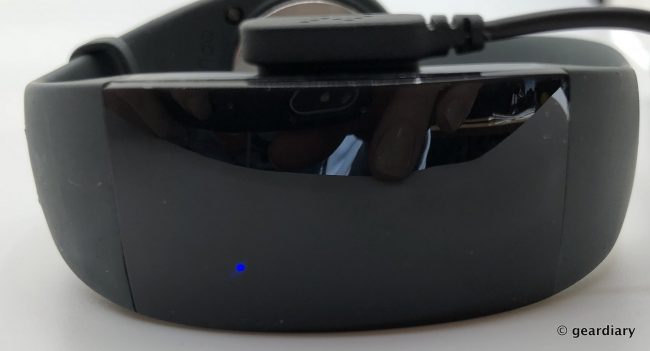
Before using the Reliefband, you’ll need to charge it with the included USB charger. It takes about two hours to fully charge the Reliefband 2.0, and the charge gives about 17 hours use on the mid-intensity level.
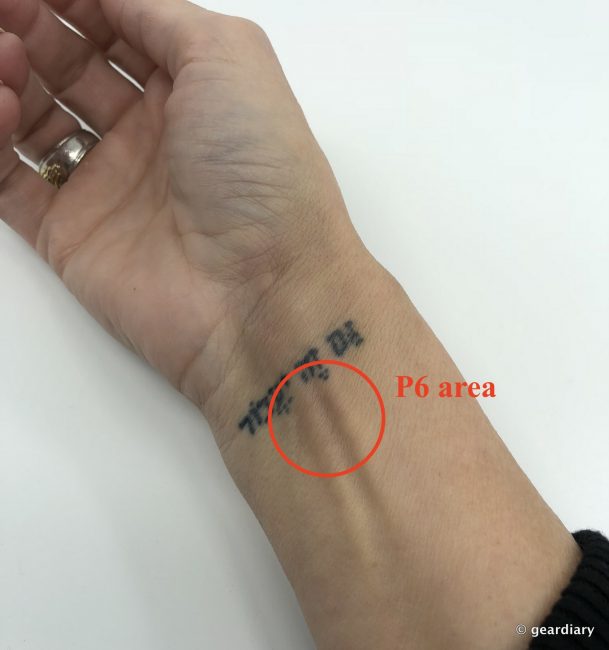
When you are ready to put it on, you start by finding the P6 area on either wrist; this is the spot in between the two tendons on the underside of your wrist. You’ll place a small dollop of the included conductivity gel in this area — spread it around until it’s about the size of a quarter; if you did it right, you should have a thin layer with a shiny appearance — no need to put too much!
Next, you hold the Reliefband 2.0 by the circular contact assembly — placing the contacts onto the gel that is covering your P6 area.
Once you have the contacts seated, you tighten the band so that you have a snug fit. To turn the Reliefband 2.0 on, you’ll press the bottom (power) button for a little over a second to turn the band on; then you press the top button to turn the intensity to 1; keep raising the intensity until you feel a tingling in your palm and middle fingers. Reliefband recommends that you set the intensity to the highest comfortable setting for maximum benefit.
The sensation feels like the pulses from a tinge unit; that’s the best comparison I can give you. It doesn’t hurt, it’s not unpleasant, but you’ll notice it.
Side note: You’ll need to replace the gel every 2-3 hours, or if you notice that the tingling has stopped.

