


I had wanted to build my own retro arcade cabinet for the better part of two decades. There was always something else that came first, whether it was money or my kids being really young and wanting to spend my free time with them. Now that they’re older, they can actually help me design and build one, so I figured this was the perfect time to finally dive in. After discovering flat-packed cabinet kits from companies like Game Room Solutions, it felt like a no-brainer.
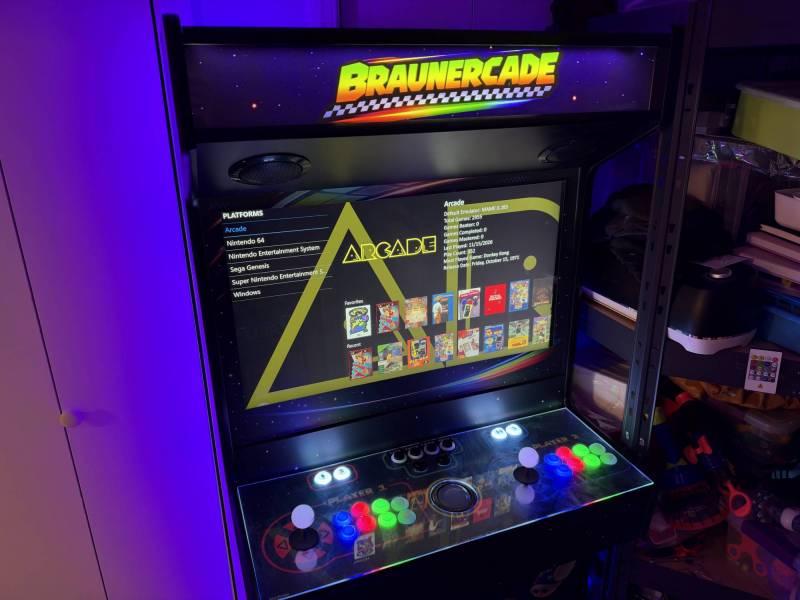
Honestly, building your own arcade is a lot easier than I expected. You can order a flat-pack cabinet kit that goes together like IKEA furniture, and you don’t need a fancy computer to run classic games. You still have a ton of choices to make, though, so I’m going to walk through mine below, with links to all the parts I used.
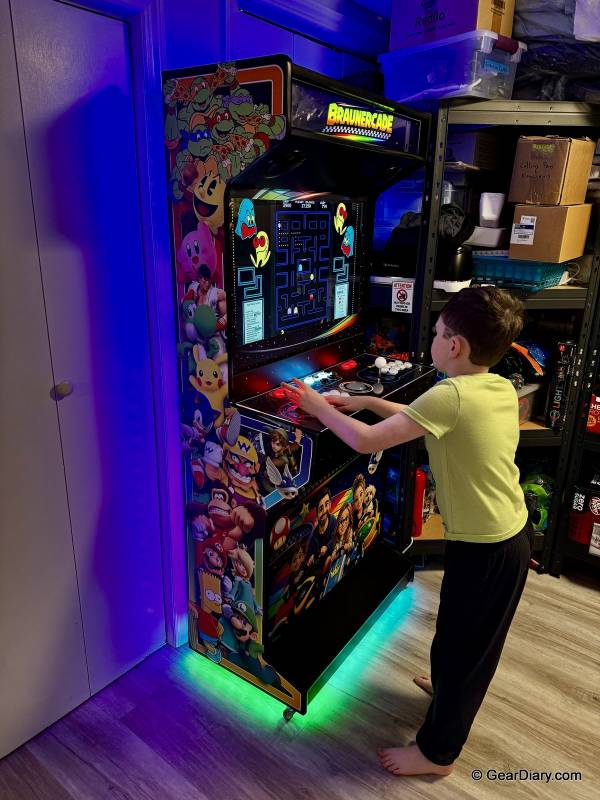
We’ve been playing it for almost 10 months now, and we’re really happy with it. Everyone who has played it says the same thing: it feels like a real arcade cabinet.
The Parts List:
- Cabinet: Game Room Solutions Slim Quality Arcade Kit, black melamine
- Artwork: Custom design by Arsonic, printed and installed by Game Room Solutions
- Buttons: Ultimarc GoldLeaf RGB Illuminated Pushbuttons
- Joysticks: Ultimarc ServoStik with RGB illuminated handles
- Trackball: Ultimarc U-Trak
- Control board: Ultimarc I-PAC Ultimate I/O
- Extra controls: Four admin buttons, plus left and right mouse buttons (non-illuminated)
- Monitor: 32-inch 2K gaming monitor (bought used)
- PC: ACEMAGIC AMR5 mini PC with AMD Ryzen 7 8745HS, Radeon 780M graphics, 16GB DDR5 RAM and a 512GB SSD (bought used)
- Front end: LaunchBox Premium with BigBox
- LED software: LEDBlinky
- DIY mods: Casters, LED lights on the outside of the cabinet and 3D-printed admin button labels
The Cabinet: Slim Was the Only Way This Was Going to Work
When my wife and I were deciding what kind of cabinet to get, we realized a full-size two-player or four-player cabinet would take up way too much room in our house. After doing some research, we went with the Slim Quality Arcade Kit from Game Room Solutions (GRS). It only takes up about 18 and a half inches of floor space from the wall, which leaves a lot more room in our basement for other activities and storage. GRS lists it at 31.5 inches wide, 68 inches tall, and 18.75 inches deep (80 x 172.7 x 47.6 cm).
It’s a two-player upright made to fit a 32-inch flat screen. And it’s truly upright. On a classic arcade, the monitor is tilted back a little so you’re looking down at it. On this one, the screen is straight up and down, which is part of how it saves so much space. I wondered if that would bother me, but honestly, I haven’t really noticed a difference.
Ours is black melamine, which is a board that already has a smooth laminate finish on it, so there’s no sanding or painting. GRS says the panels are 3/4 inch (1.9 cm) thick with metal brackets for reinforcement.
What I really liked about ordering from GRS is how much you can customize. You choose your control panel layout when you order, so we picked eight buttons per player, a trackball, four admin buttons (the extra buttons for things like menus and exiting games), and two buttons for the mouse. You can also add things like speakers and speaker grilles, and they’ll print and install your custom artwork, which I’ll get to in a minute. T-molding, the plastic trim that runs along the edges of the cabinet, comes with the kit in whatever color you want.
As I’m writing this, GRS lists the kit at $599.99, down from $749.99. Controls, a monitor, and audio are add-ons unless you go with one of their bundles.
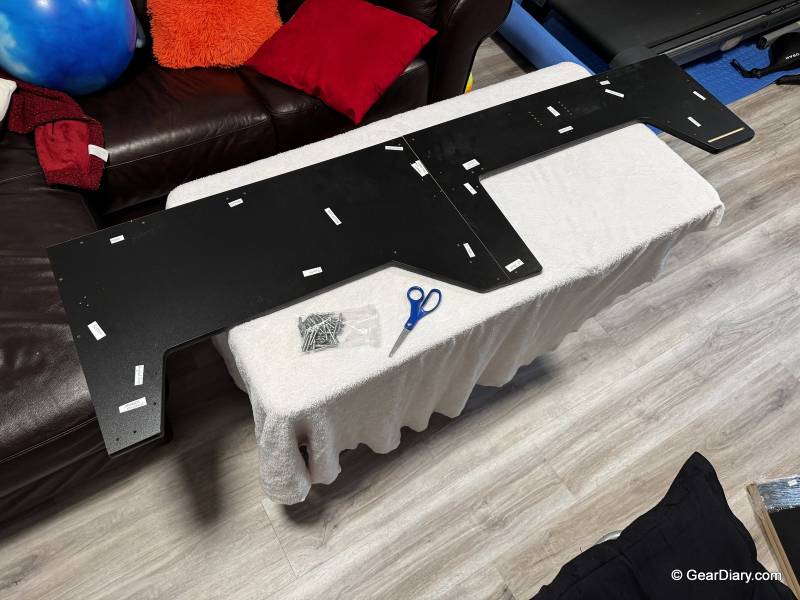
Assembly: About a Weekend, Plus One Broken Piece
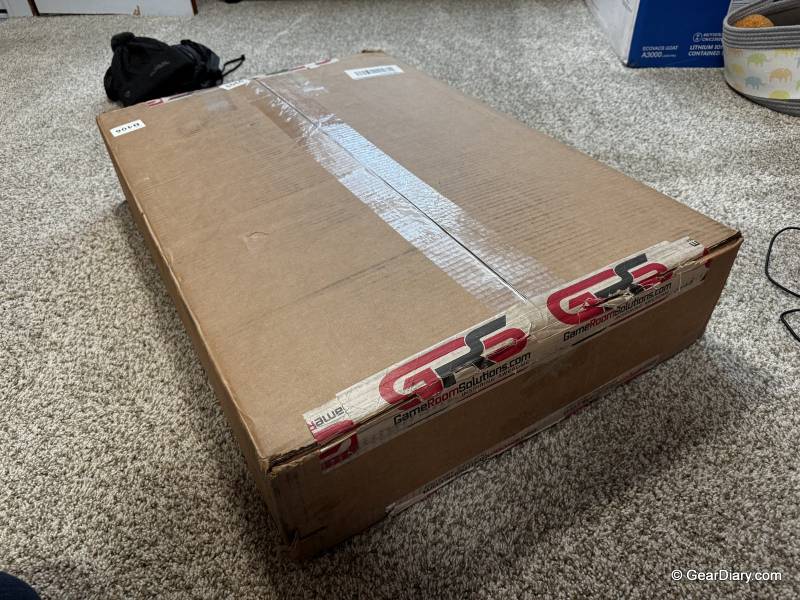
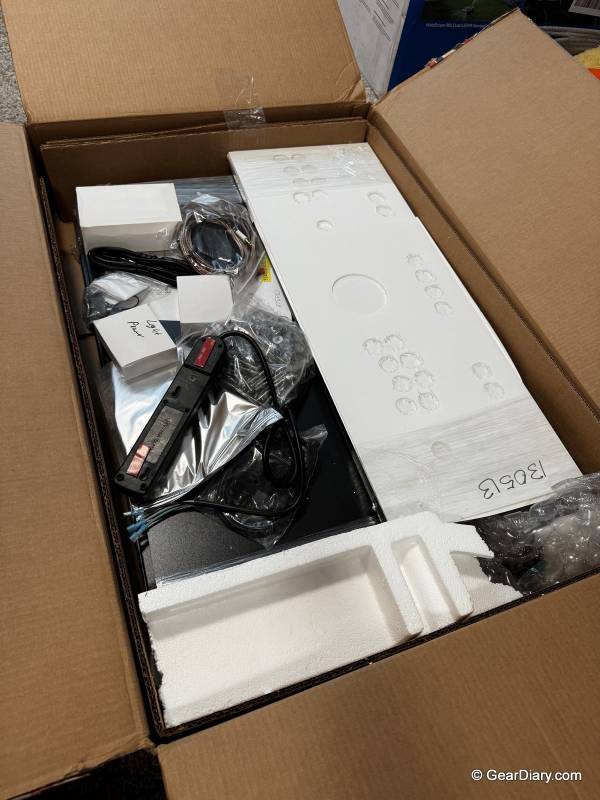
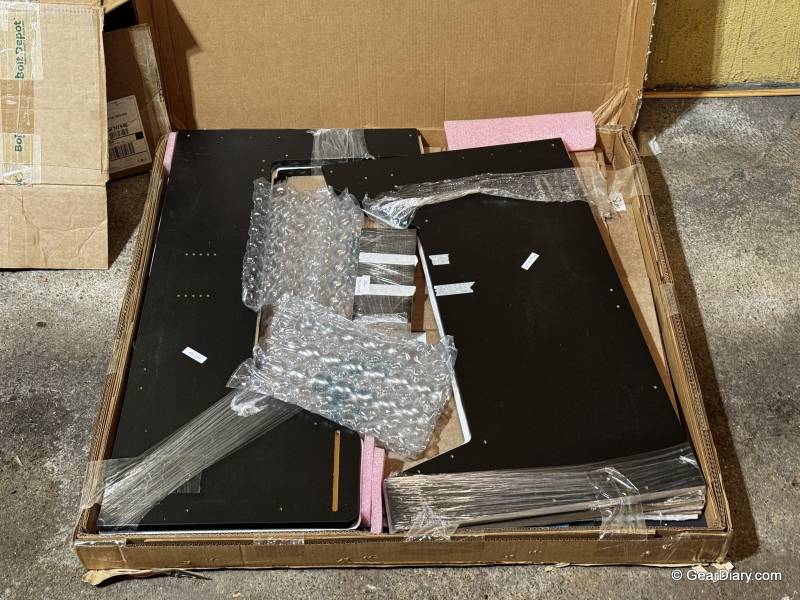
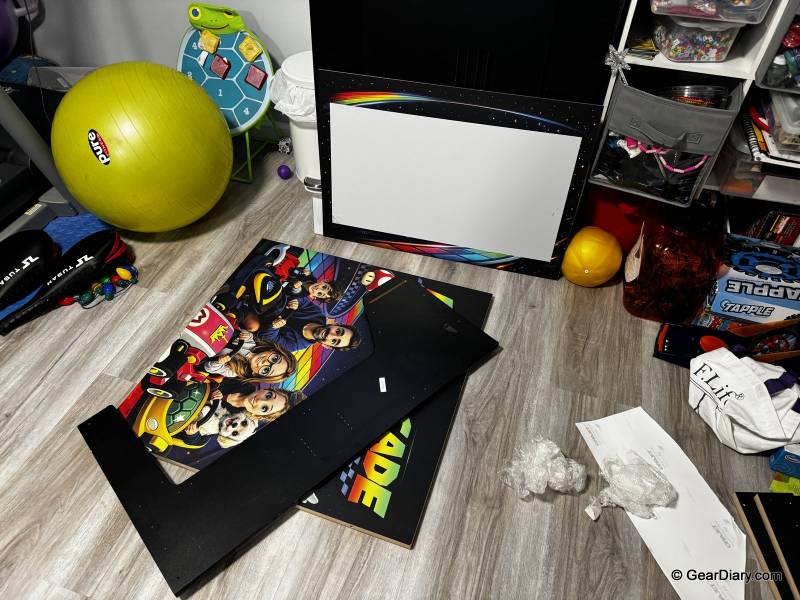
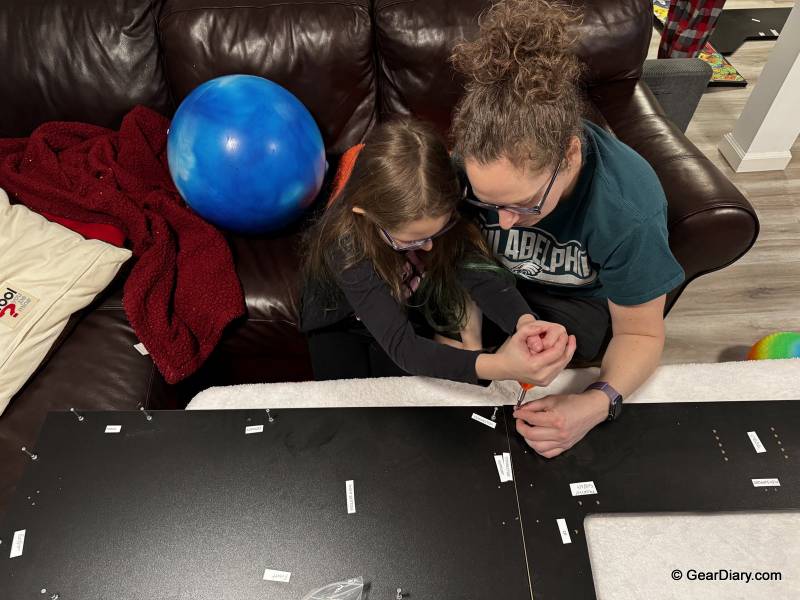
The cabinet ships flat-packed with cam locks, just like an IKEA cabinet, and it was really easy to put together. The included hardware worked well, and once it was built, the cabinet felt very solid. My kids helped me with a lot of the assembly.
We had it assembled in about a weekend. Well, it would’ve been one weekend, and that includes installing the controls and the monitor and setting up the PC.
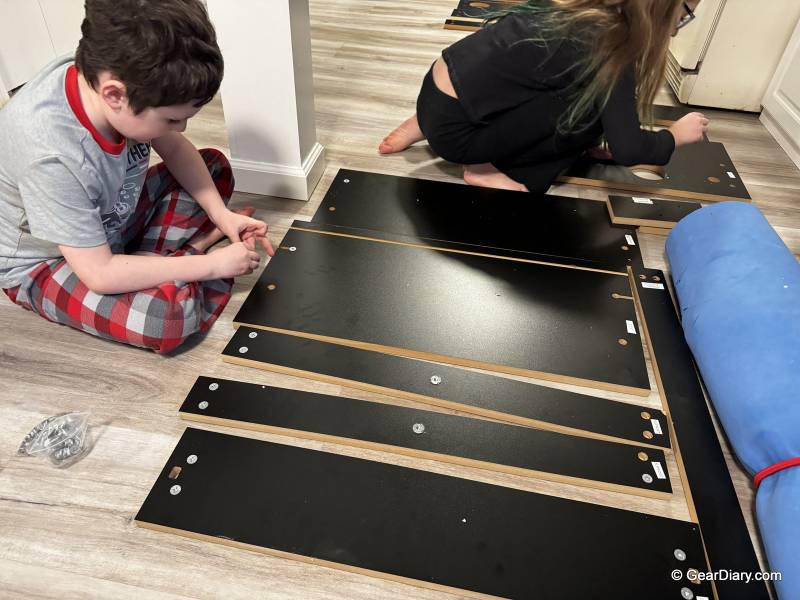
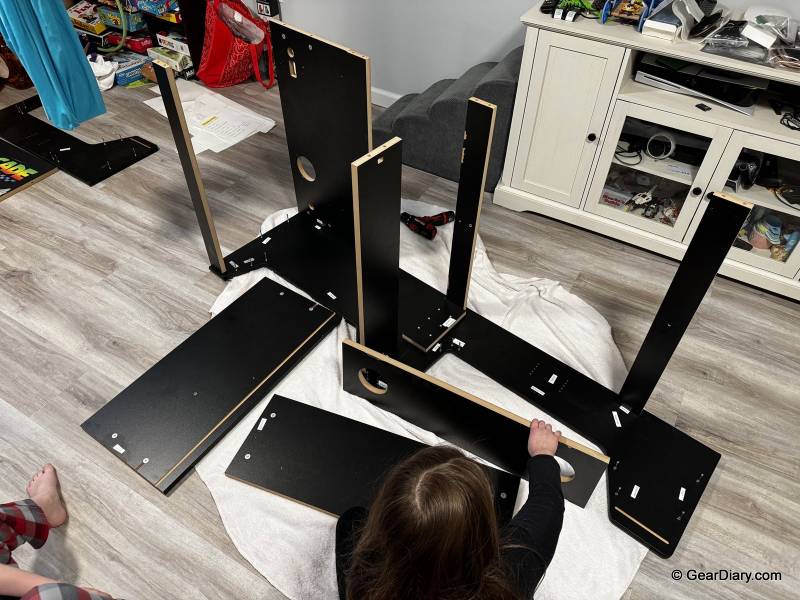
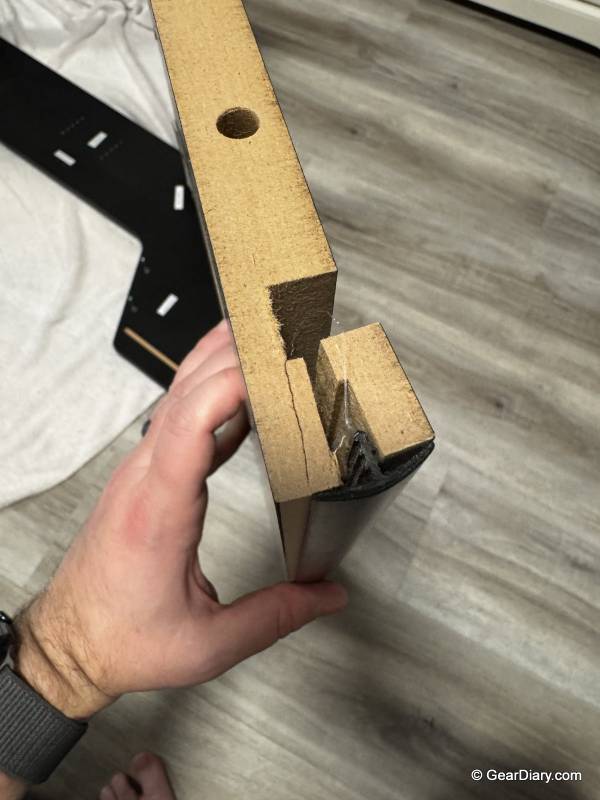
One piece arrived a little damaged in shipping, but Game Room Solutions was great about replacing it. They sent the new piece the same week, so we finished it up the following weekend.
If you order a kit, open everything up and check each piece as soon as it arrives.
The Art: My Kids Came Up With the Whole Thing
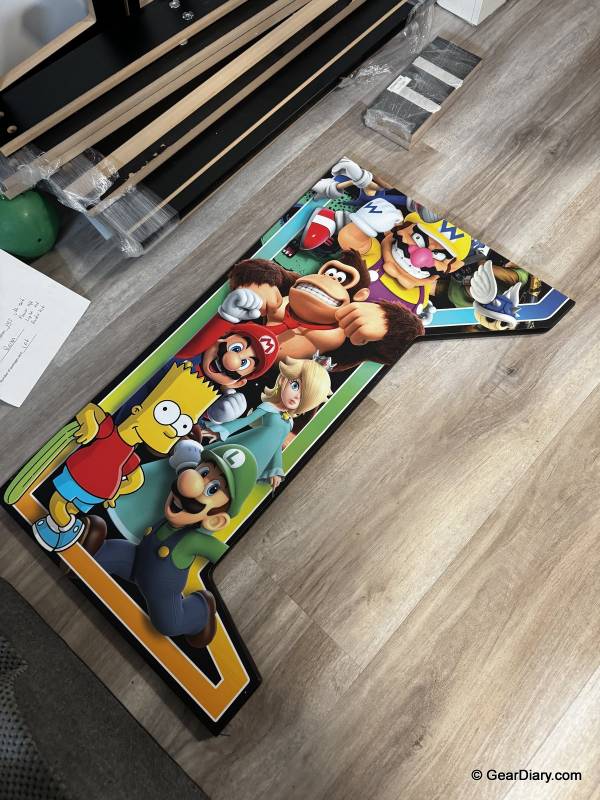
Honestly, one of my favorite parts of this arcade is the artwork, and it’s something my kids really came up with. My daughter came up with the overall theme, which is a Mario Kart Rainbow Road look. Then both kids picked all the classic video game characters they wanted to see on the cabinet, which was really fun.
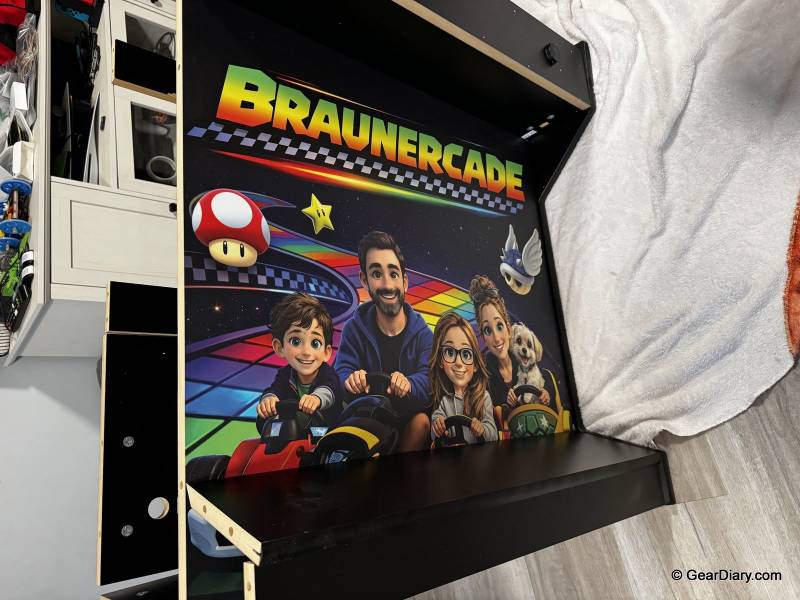
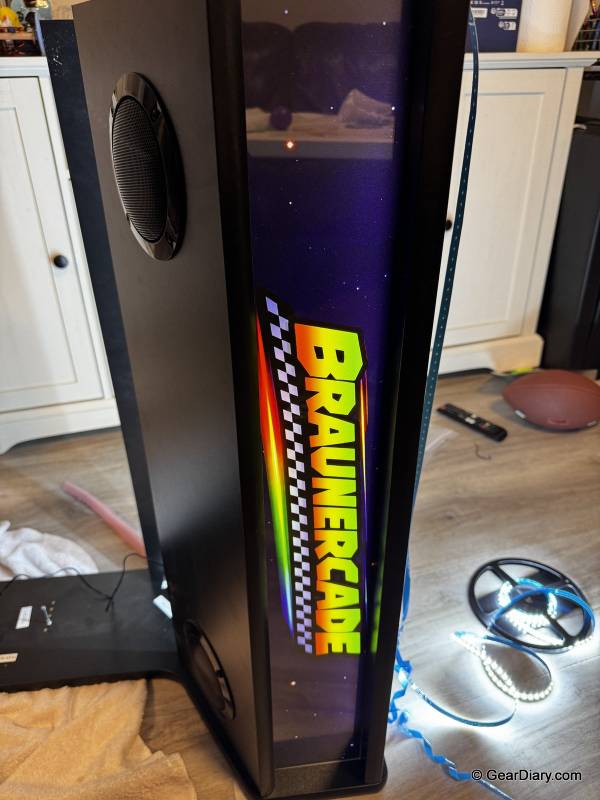
GRS gave us their Photoshop template, and my friend Arsonic put it all together, from the rainbow outline to all of the character artwork. He also designed the marquee, the lit-up sign across the top. It’s Mario Kart-themed too and says “Braunercade,” and that’s the part that really ties it to our family. It makes it ours, and it’s something we’re proud of. He even made the launch video with our logo that plays when the arcade starts up.
We also used AI to make a cartoon version of our family in go-karts, so we’d fit in with the Mario Kart theme and the animated characters the kids picked. That’s on the kickplate, the panel right below the controls.
GRS printed the vinyl and installed it on the wood before it was even shipped to us, which was perfect. I didn’t have to line anything up myself.
The Controls: This Is Where I Blew the Budget
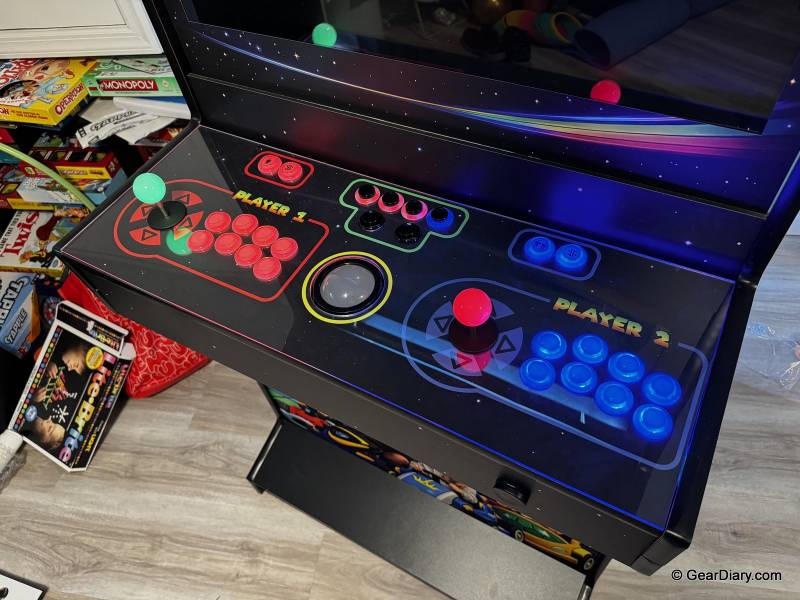
We spent a ton of time on the control panel. In the end, the controls decide whether this feels like a toy or the real thing, and we wanted it to feel like a real arcade cabinet. So we went with Ultimarc for everything: the buttons, joysticks, trackball, and control board.
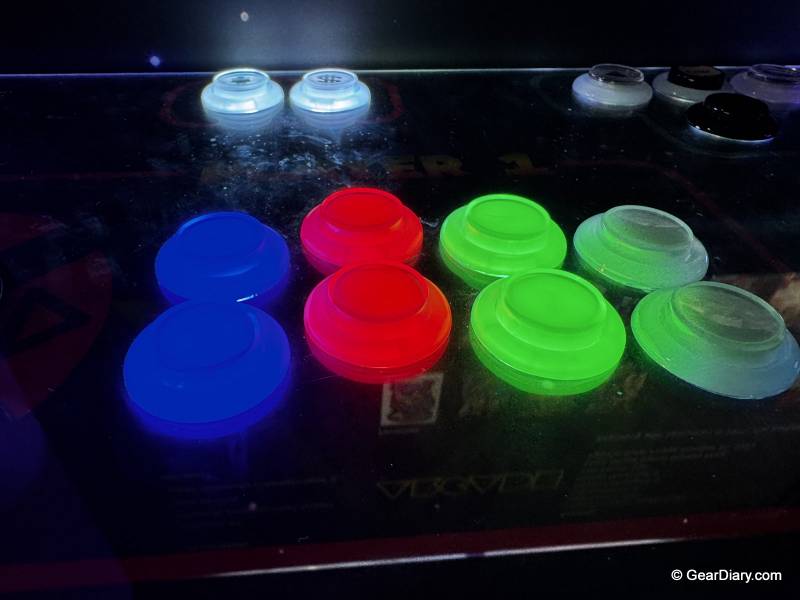
For the buttons, we went with Ultimarc GoldLeaf RGB buttons. They light up in any color, and Ultimarc says they use gold-plated leaf switches so they stay reliable over time.
The joysticks are Ultimarc ServoStiks. Older games like Pac-Man and Donkey Kong were made for 4-way joysticks, which only go up, down, left, and right. Newer games like Battletoads or NBA Jam need 8-way. The ServoStik has a small servo motor under the control panel that physically switches the stick between 4-way and 8-way, so you won’t get hung up or accidentally go the wrong direction. It’s set to 4-way for Pac-Man, and when I load up NBA Jam, it switches itself to 8-way. How cool is that? The ServoStik control board is sold separately, and one board handles two sticks.
The joystick handles light up too. Our friends at Ultimarc were kind enough to upgrade us to the RGB handles, and they really add some fun to the cabinet.
We also added the Ultimarc U-Trak trackball, which lights up as well, plus left and right mouse buttons. This is basically just a PC, so the trackball works as a mouse, and with the extra buttons, I never have to pull out a separate one.
I may have overdone it with eight action buttons per player, since most classic games use way fewer. But I didn’t want to finish the build and realize I’d left something out. I’m not sure I’ll be allowed to build another one.
The brains of the whole control system is the Ultimarc I-PAC Ultimate I/O. It’s the board that turns your button presses and joystick movements into something the computer understands, and it plugs into the PC with a USB cable. Ultimarc says it has 48 inputs and 96 outputs, and the RGB lights and trackball plug right into it, which cuts down on a lot of wiring.
The Software: LaunchBox, BigBox, and LEDBlinky
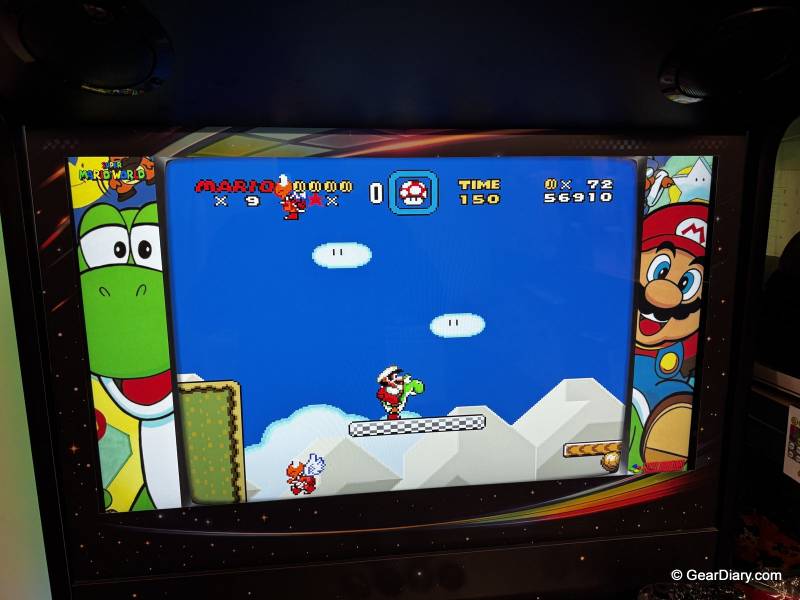
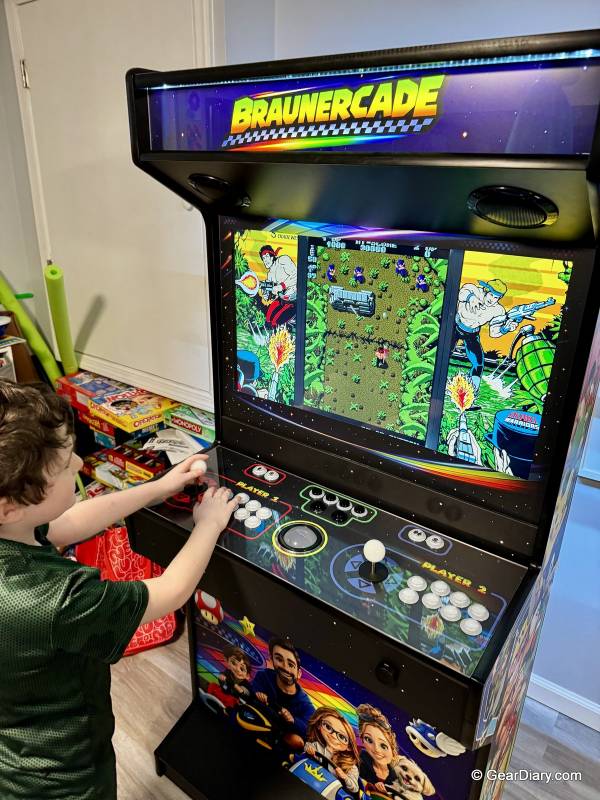
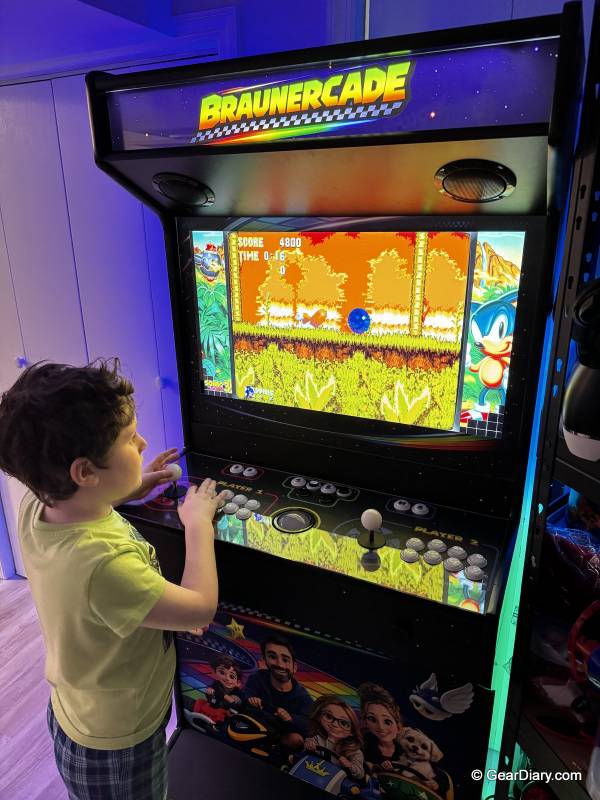
For the front end, which is the menu you scroll through to pick a game, I use BigBox. It comes with LaunchBox Premium. The basic LaunchBox app is free, but BigBox needs the paid license. It loads right into our arcade platform, and we can choose between arcade games, NES, Super Nintendo, and Sega Genesis, which all play really well. We have Nintendo 64 on there too, but honestly, it isn’t ideal on an arcade setup. We also have a few Windows games. Cuphead is really good on it because it’s a 2D platformer.
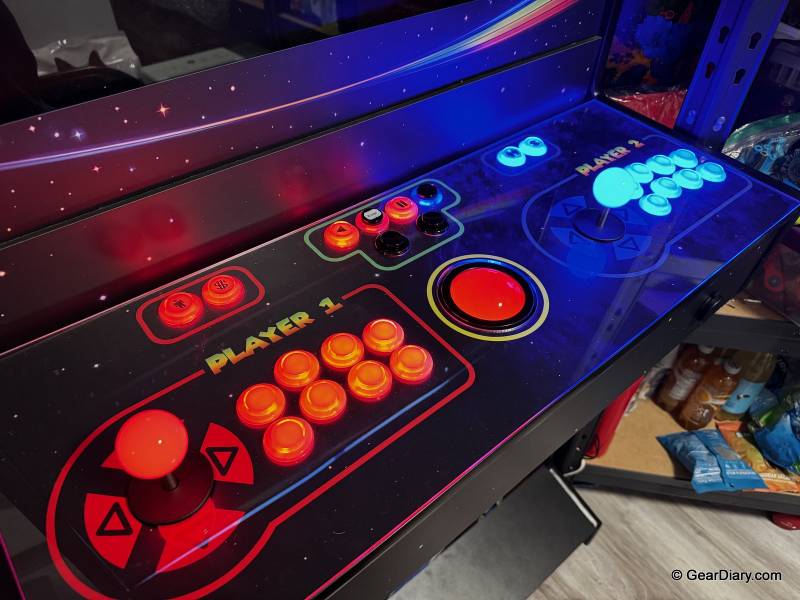
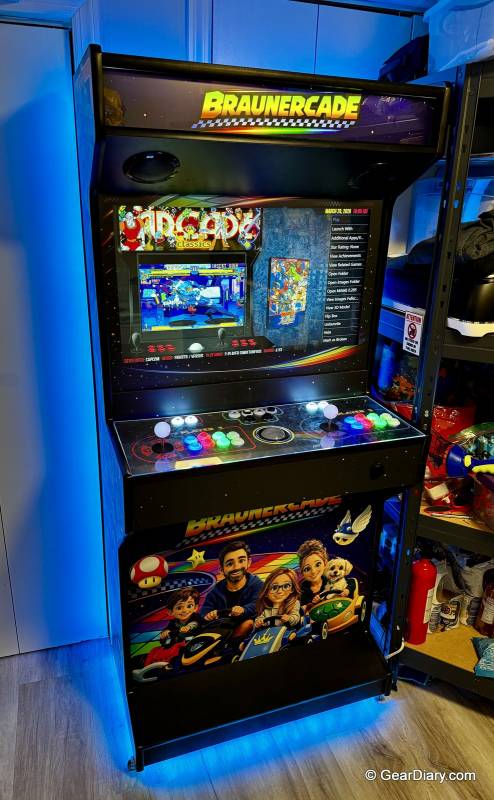
My favorite feature is how the buttons change depending on the game you pick. That was really important to me, because it isn’t just me playing. It’s also my kids and their friends, and I want them to know which buttons to use. When you pick Marvel vs. Capcom, the six buttons you need light up. Mortal Kombat lights up a different six. Ms. Pac-Man only uses the joystick, so only the joystick lights up, and NBA Jam lights up three buttons.
That’s all done by a program called LEDBlinky. It connects to BigBox, sees which game you picked, and tells the LEDs which buttons to light up and in what color. It’s a really cool feature, and I don’t think I’d want my arcade without it. Arzoo, the developer behind LEDBlinky, was a huge help while I was getting everything set up.
The PC and Monitor: Where I Saved
What’s nice about a retro arcade is that you don’t need a super fast PC. I bought a used ACEMAGIC mini PC with an AMD Ryzen 7 8745HS, Radeon 780M graphics, 16GB of RAM and 512GB of storage, and it’s perfectly fine. Some things take a little while to load, but it’s not the end of the world. It wasn’t worth upgrading when I really wanted to put the money into the controls and the overall experience. The monitor is a 32-inch 2K gaming monitor that I also picked up used.
The DIY Touches
There are a few things we did ourselves that you won’t get with the GRS kit. I wasn’t sure how I wanted to label the admin buttons, so we left labels out of the artwork. Later, I 3D-printed labels for them. They work really well for us, and they help me, and even the kids, figure out what each button does if we get stuck.
GRS also doesn’t put casters on their slim arcades, which I understand, since it could tip over and they don’t want that responsibility. We bought some ourselves and installed them. They make it easy to move around, and they keep the cabinet off the floor in case of flooding.
Last, we added LED lights to the outside of the cabinet. They were about $20 on Amazon, and they really amp up that arcade feel.
The Bottom Line
This is a project I’ve wanted to build for about 15 years, and I’m extremely happy with how it turned out. Is it perfect? No. The slim cabinet means no four-player setup, and eight buttons per player is probably more than most people need. Is it for everybody? No. But it works really well for my family and me.

What I love most is that this was a complete family project. We came up with the design and the theme together, and we decided on all the details together, from the Game Room Solutions cabinet kit to the Ultimarc buttons and joysticks to the games. Our family spends time around it now, and my kids have an appreciation for retro games that a lot of kids these days don’t have. I grew up with these games, so that feels really great for me.
If you’ve been thinking about building your own, get a good kit and spend your money on the controls. You can save on the PC and monitor. And get your family involved, especially with the art.
Disclosure: I paid for the parts and pieces in this build myself. Game Room Solutions was kind enough to give me a 5% discount coupon, and Ultimarc upgraded my joystick handles to RGB LED at no charge. Both companies were great partners as I planned, built, and configured my arcade cabinet, and I would highly recommend discussing your build with them before you go too far.