[Ed. note: Larry originally wrote this article for the Palm Is Life forum, but he has also translated it for posting here.]
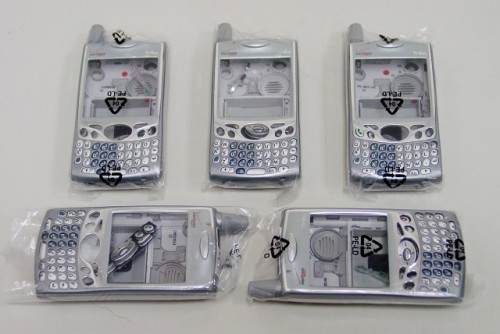
Around two weeks ago at “http://www.palmislife.com/“, we had a group purchase activity for buying complete set of Treo 650 Housing as replacement parts for those with “poor looking” Treos.
These are “Genuine Replacement Housing For Treo 650” with a “Verizon” logo printed. They are not brand new housings, they are all used but in good condition.
Before disassembling
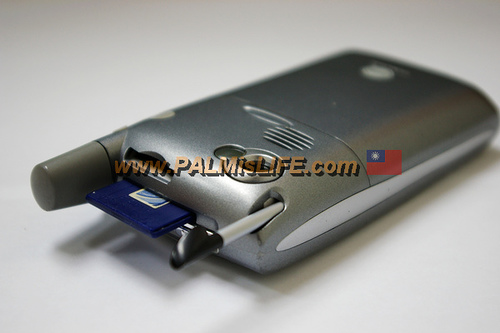
Remove the SD card, stylus and SIM card
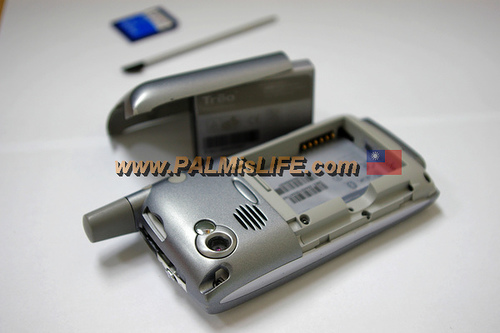
Remove the battery cover and battery
Locate the 7 screws surrounding the back side and remove them with a Torx-5 screw driver.
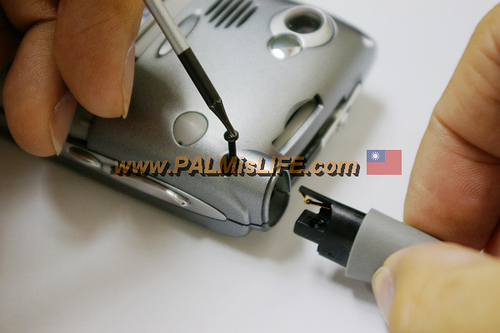
The antenna screw is hiding under the rubber plug; remove the rubber plug by using a tiny flat blade screw driver.
Antenna can be pulled out right after the screw is removed.
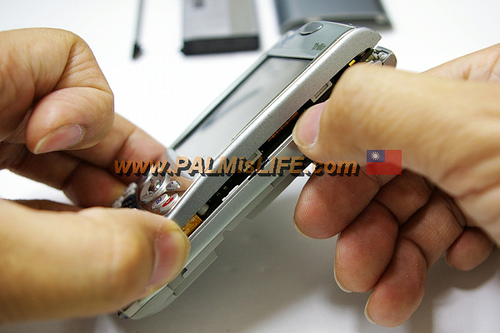
Disassembling the front casing
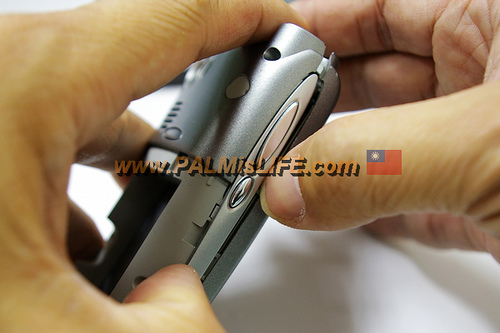
Some latches can be seen as the picture shown, use your finger nail to conquer them.
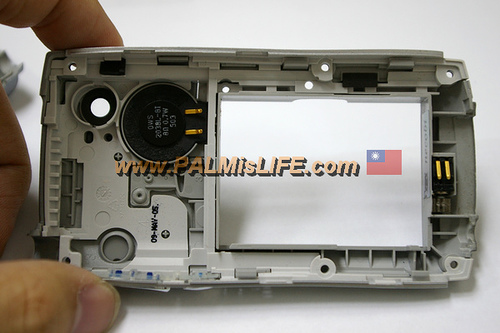
The disassembled front and back casing
Remember to remove the speaker and the vibrator and move them to the new housing.
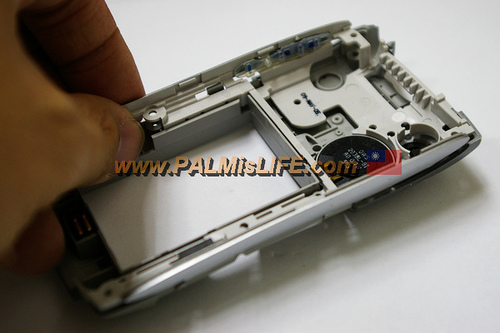
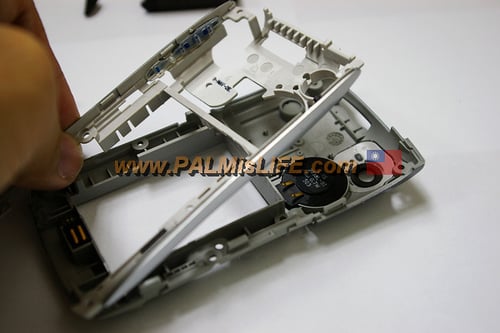
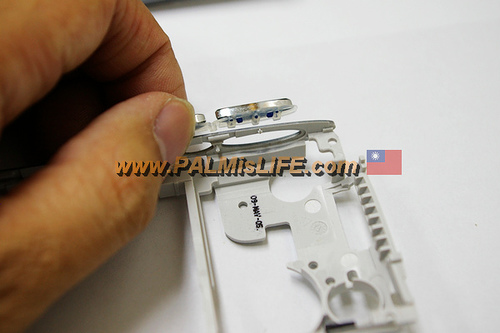
Disassembling the middle chassis
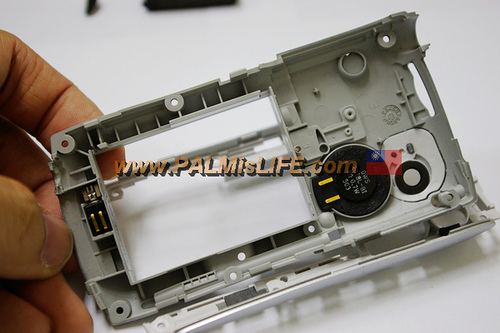
Middle chassis removed
The volume control button is attached to the middle chassis
Again, don’t forget to remove and replace the speaker and the vibrator.
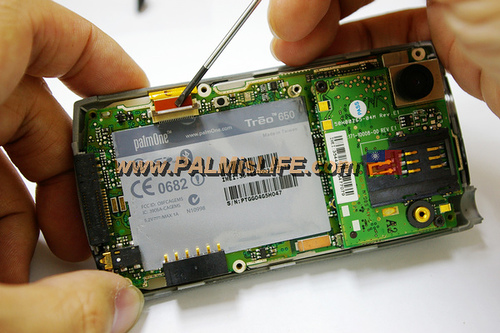
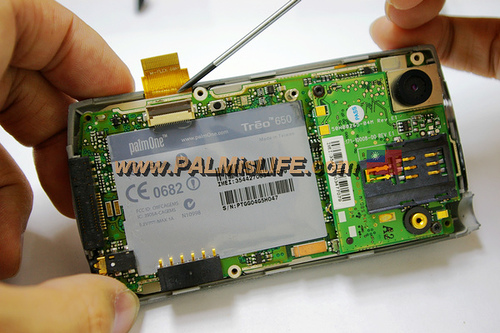
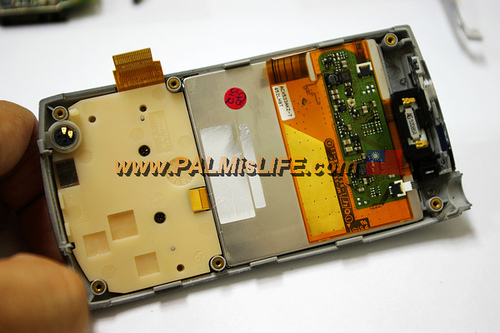
Now back to the part of front casing: remove the flat cable from the main board.
The flat cable removed
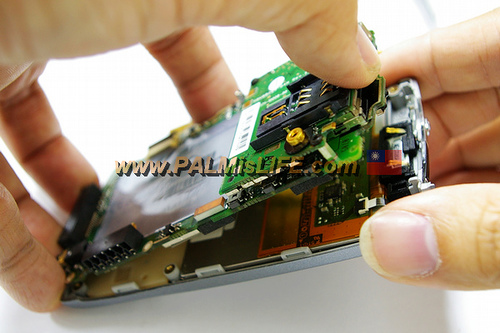
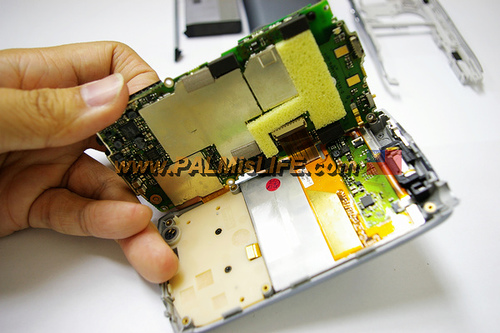
Remove the main board carefully, since there is the other flat cable right under the main board and it is still connected.
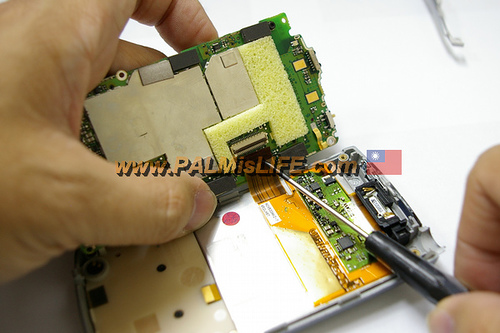
Here it is! The flat cable is from the LCD.
Remove the LCD flat cable
This is the front casing picture with main board removed.
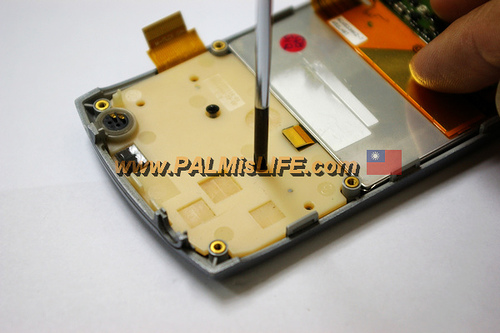
Remove the two screws on the keyboard PC board with a tiny Philips screw driver.
Removing the keyboard PC board
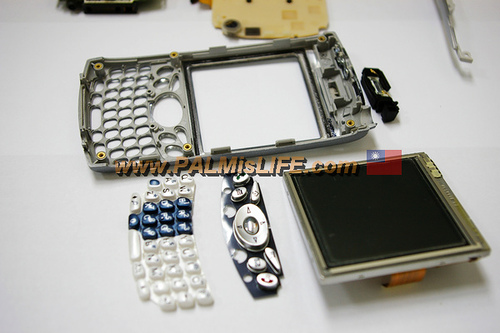
Remove the QWERTY and 5-way keypad, LCD and earpiece speaker.
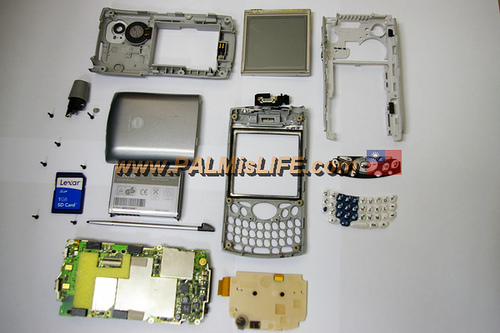
Here is an exploded view of all parts.
The contents of a Brando Treo 650 housing kit include:
-One front cover
-One back cover
-One battery cover
-One middle chassis
-Keypads
Just follow the step-by-step instructions backward to complete the Treo 650 housing replacement.The price for each housing set is US$50, and it can be ordered here.
