On a recent game day, I charged up my Kindle in anticipation for the long trip since it was not my turn to drive. I planned on staying relaxed before we played while following the adventures of Katniss Everdeen fighting to survive in the arena, but when I laid back with my neck pillow, the Kindle refused to let me into the depths of the Hunger Games. It would be another long, boring ride without the comforts of the Kindle Keyboard. Upon arriving at home, I plugged it back in and once again charged overnight only to discover it would only turn on while running off of wall power. It seemed that my battery had officially died! Since the Kindle is second-hand (thanks, Judie!) I did not want to send it back to Amazon and risk a hefty charge or a long wait to get it running again. After consulting the book of knowledge (Google), I decided I could take matters into my own hands and change it myself.
Here is how I did it.
DISCLAIMER: ALL OF WHAT YOU ARE ABOUT TO READ WAS DONE AT MY OWN RISK! IF YOU CHOOSE TO DO THE SAME, YOU WILL VOID ANY WARRANTY FOR YOUR KINDLE.
NEITHER GEAR DIARY NOR I ARE RESPONSIBLE FOR ANY DAMAGE THAT RESULTS FROM YOU DOING THE SAME. ON THE OTHER HAND, WE WILL GLADLY TAKE CREDIT IF YOU SUCCESSFULLY SAVE YOUR KINDLE KEYBOARD.
THIS POST IS NOT A RECOMMENDATION, BUT JUST A RECOLLECTION OF HOW I REPLACED THE BATTERY IN MY OWN KINDLE KEYBOARD.
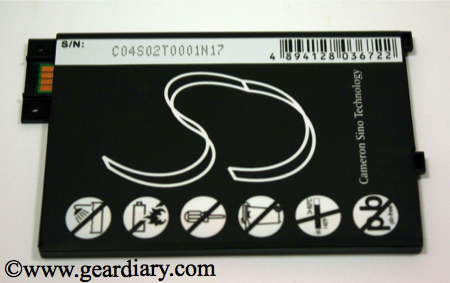
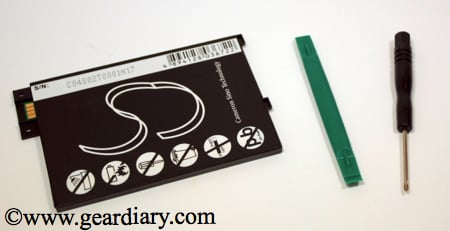
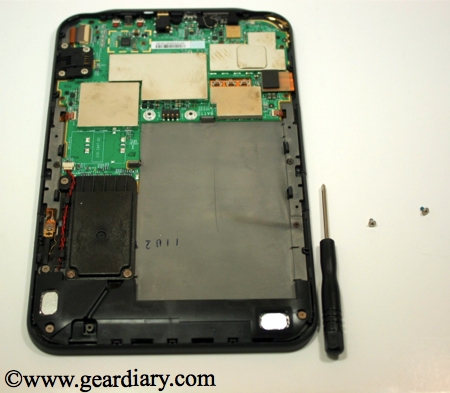
The first step is to obtain a new battery. I found mine at newpower99.com for $26.95 plus shipping. Truly a small price to pay to revive my Kindle. The package arrived in just a few days, and it included a screw driver and a prying tool as you can see in the above image. Instructions are found on the website, and I will include the video at the end of the post.
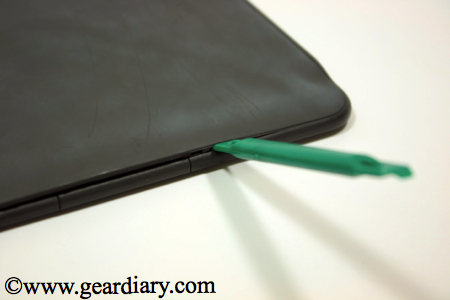
Step 1: Remove the back of the Kindle. To do this, take the green pry tool and carefully begin to pop out the tabs. I began in the exact spot as the video and it took some courage to get the tabs started. Once they began popping out, I would slide the tool in the groove to the next and gently pry it open. The task was relatively simple and took only a few minutes.
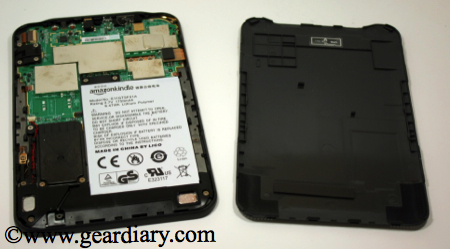
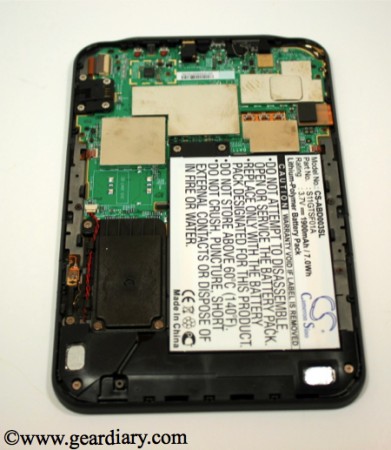
Step 2: Remove the battery. Using the provided screw driver, carefully remove the two screws found at the top of the Kindle battery. Be sure the screws are not misplaced. I stored mine in the inside of the back cover. Once the screws are gone, lift the battery straight out of the Kindle.
Step 3: Install the new battery from newpower99. Simply drop the battery in and reinstall the two screws.
Step 4: Once the battery is installed, snap the back cover back into place. This is much easier than removal, as the tabs will snap and lock back into place with a simple squeeze.
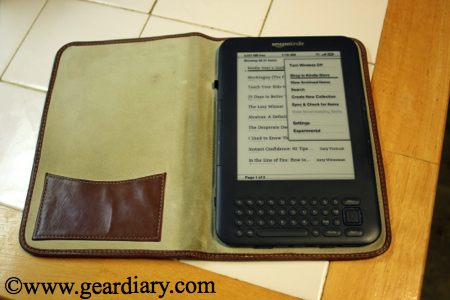
There you have it! After the battery exchange, I charged the battery for two hours per instructions from the website. Once snuggled back in its Cole-Haan case, my Kindle Keyboard was back to providing hours of reading bliss! Tomorrow I have an away game and a two-hour drive during which I plan to begin a new book; it is exciting to have my old friend back.
The directions for changing the Kindle’s battery are short and sweet — as is the entire job. I was able to revive my dead Kindle for less than $30 and only a few minutes of my time. Hopefully, none of you will have issues with your Kindle’s battery, but if you do, the instructions are here. Please read the disclaimer at the top of the post before performing any surgery on your own!
