I love beef jerky. It’s a delicious, protein packed treat, but there are two issues that keep me from buying it in the store: it’s expensive, and it’s chock full of preservatives and added sugars. And I always assumed I needed a dehydrator or some other fancy bit of equipment to make my own. As it turns out, all you need is an oven! See, a few weeks ago, I stumbled across this “so easy I must have missed a step” recipe from Stupid Easy Paleo. I did some digging, compared other recipes, made some tweaks, and am ready to share my method for easy, cheap, healthy beef jerky!
Easy beef jerky:
1-3lbs of meat with the fat trimmed off
1/4 cup coconut aminos, liquid aminos, or soy sauce
Various spices of your choice
The first step is the right cut of meat. You want something that isn’t super fatty, and preferably something not too pricey at the start. My local grocery store has had London Broil on sale, so I wound up with around 3+ pounds for roughly $15.00. I split the meat up into several smaller pieces, setting some aside for meals and some for jerky. It is hard to break down the specifics, but I would guess I am using about half the meat for jerky, so let’s say I spent $7.50 on the meat (it made two batches, but that first batch went with Sarah on a camping trip).
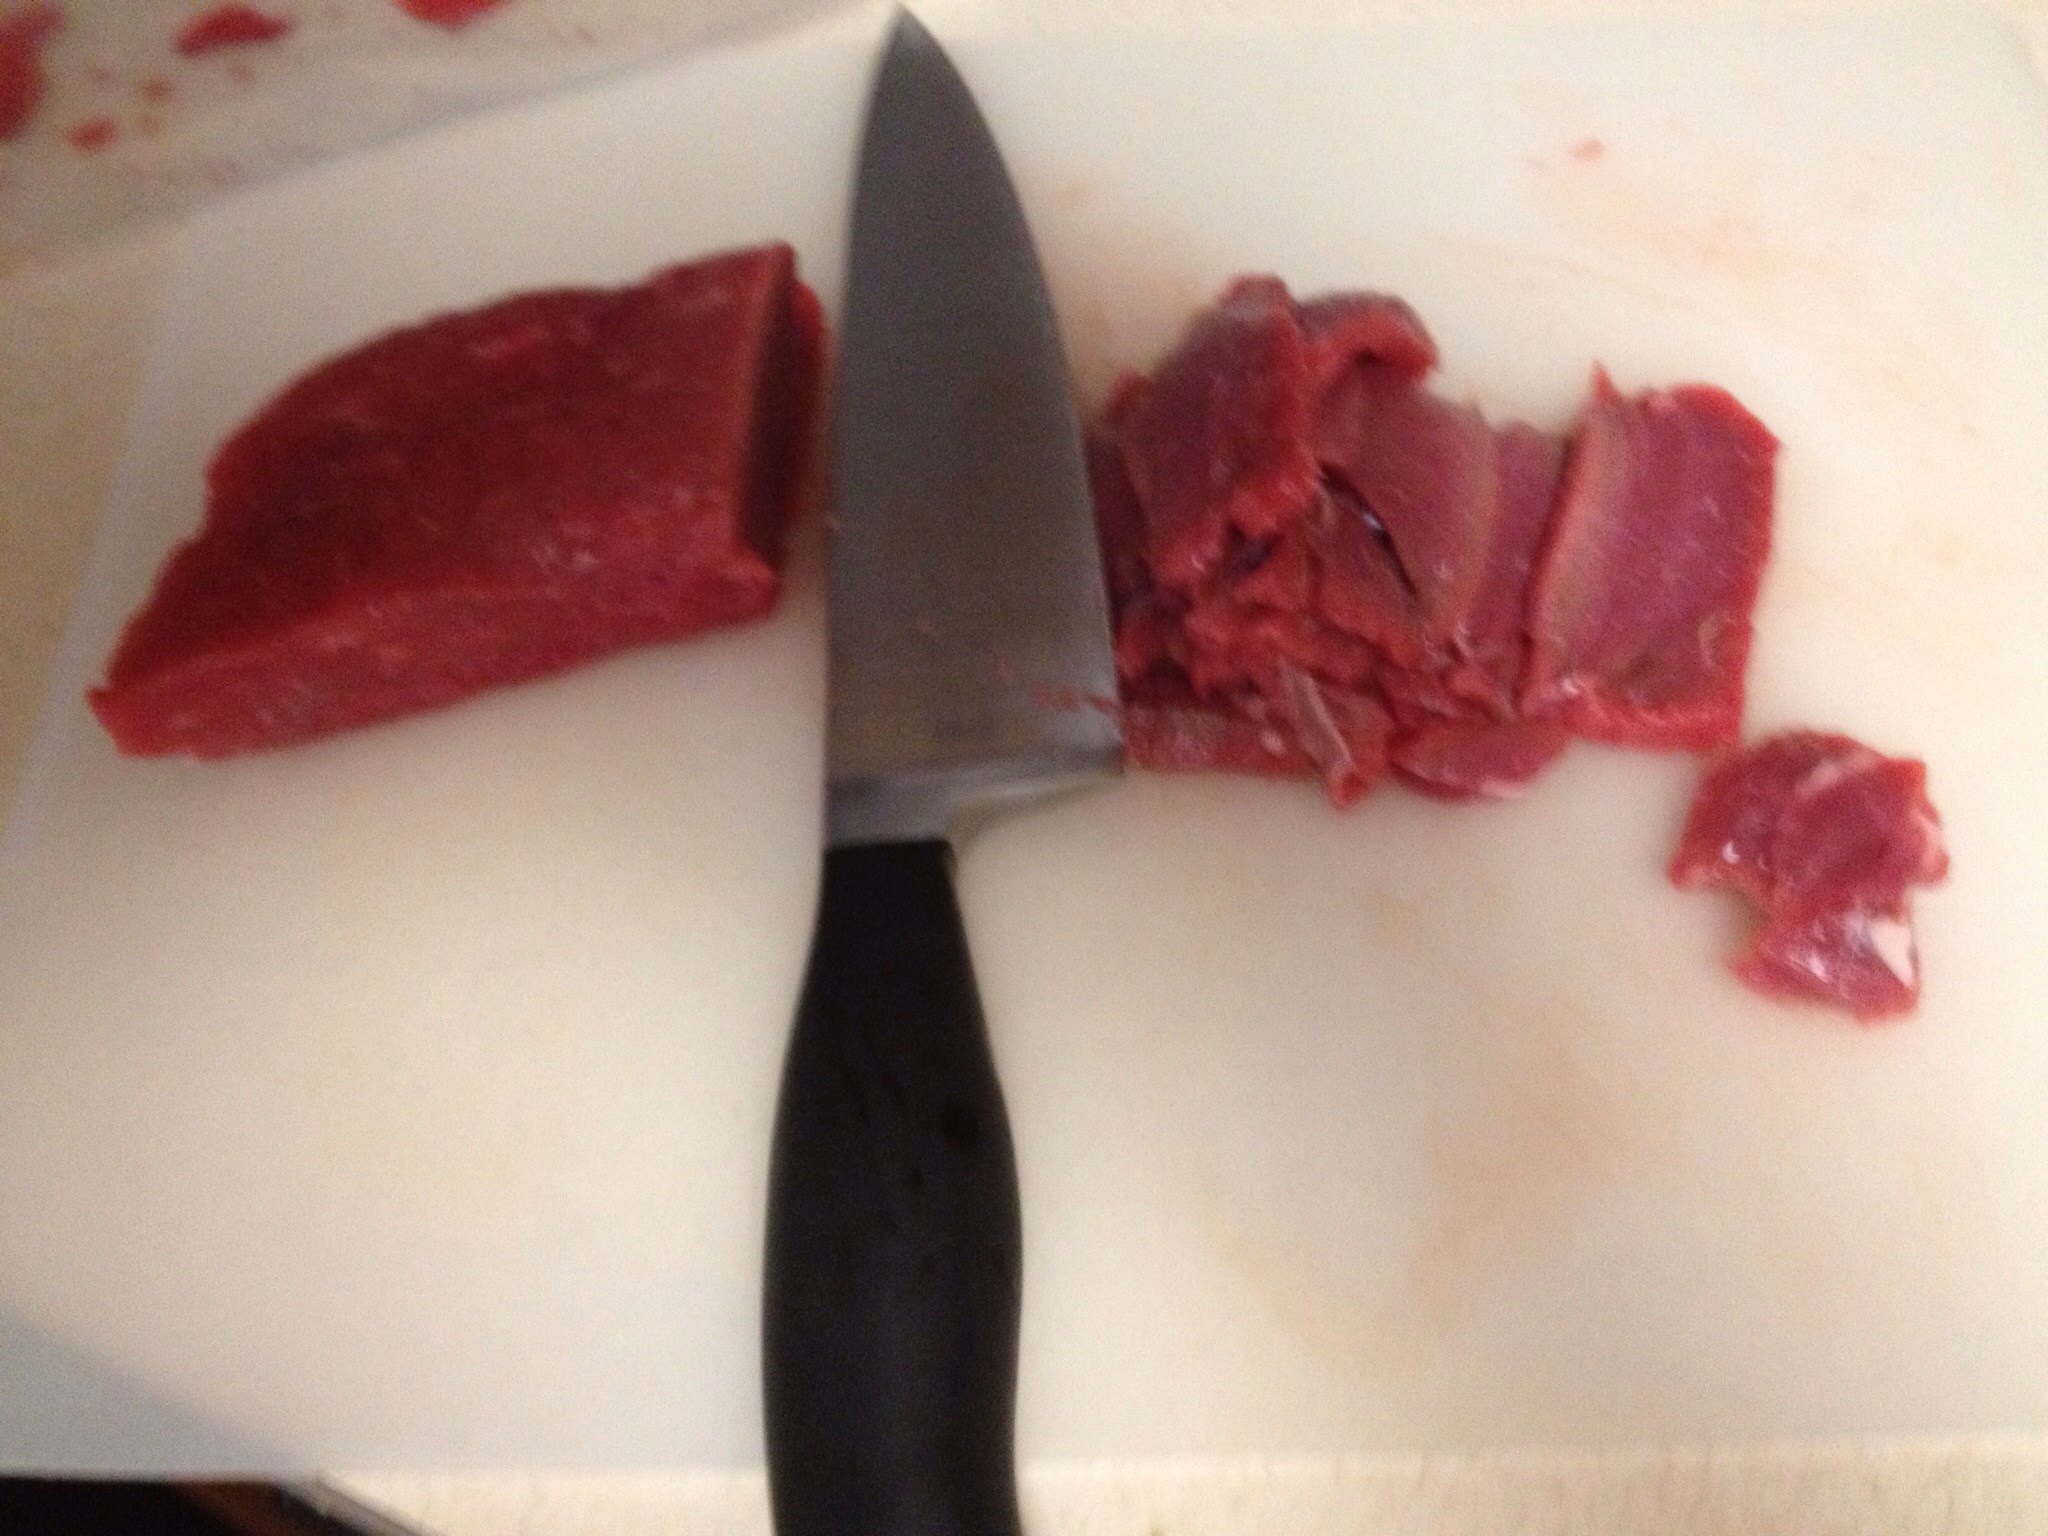
Next, freeze the meat for around 2 hours. You can also freeze it for a few days and then defrost it until it is just barely frozen. The idea here is just to make it easy to cut down into roughly 1/8in slices. Don’t worry if your slices are rough around the edges, but you do want to keep them relatively even so they cook uniformly.
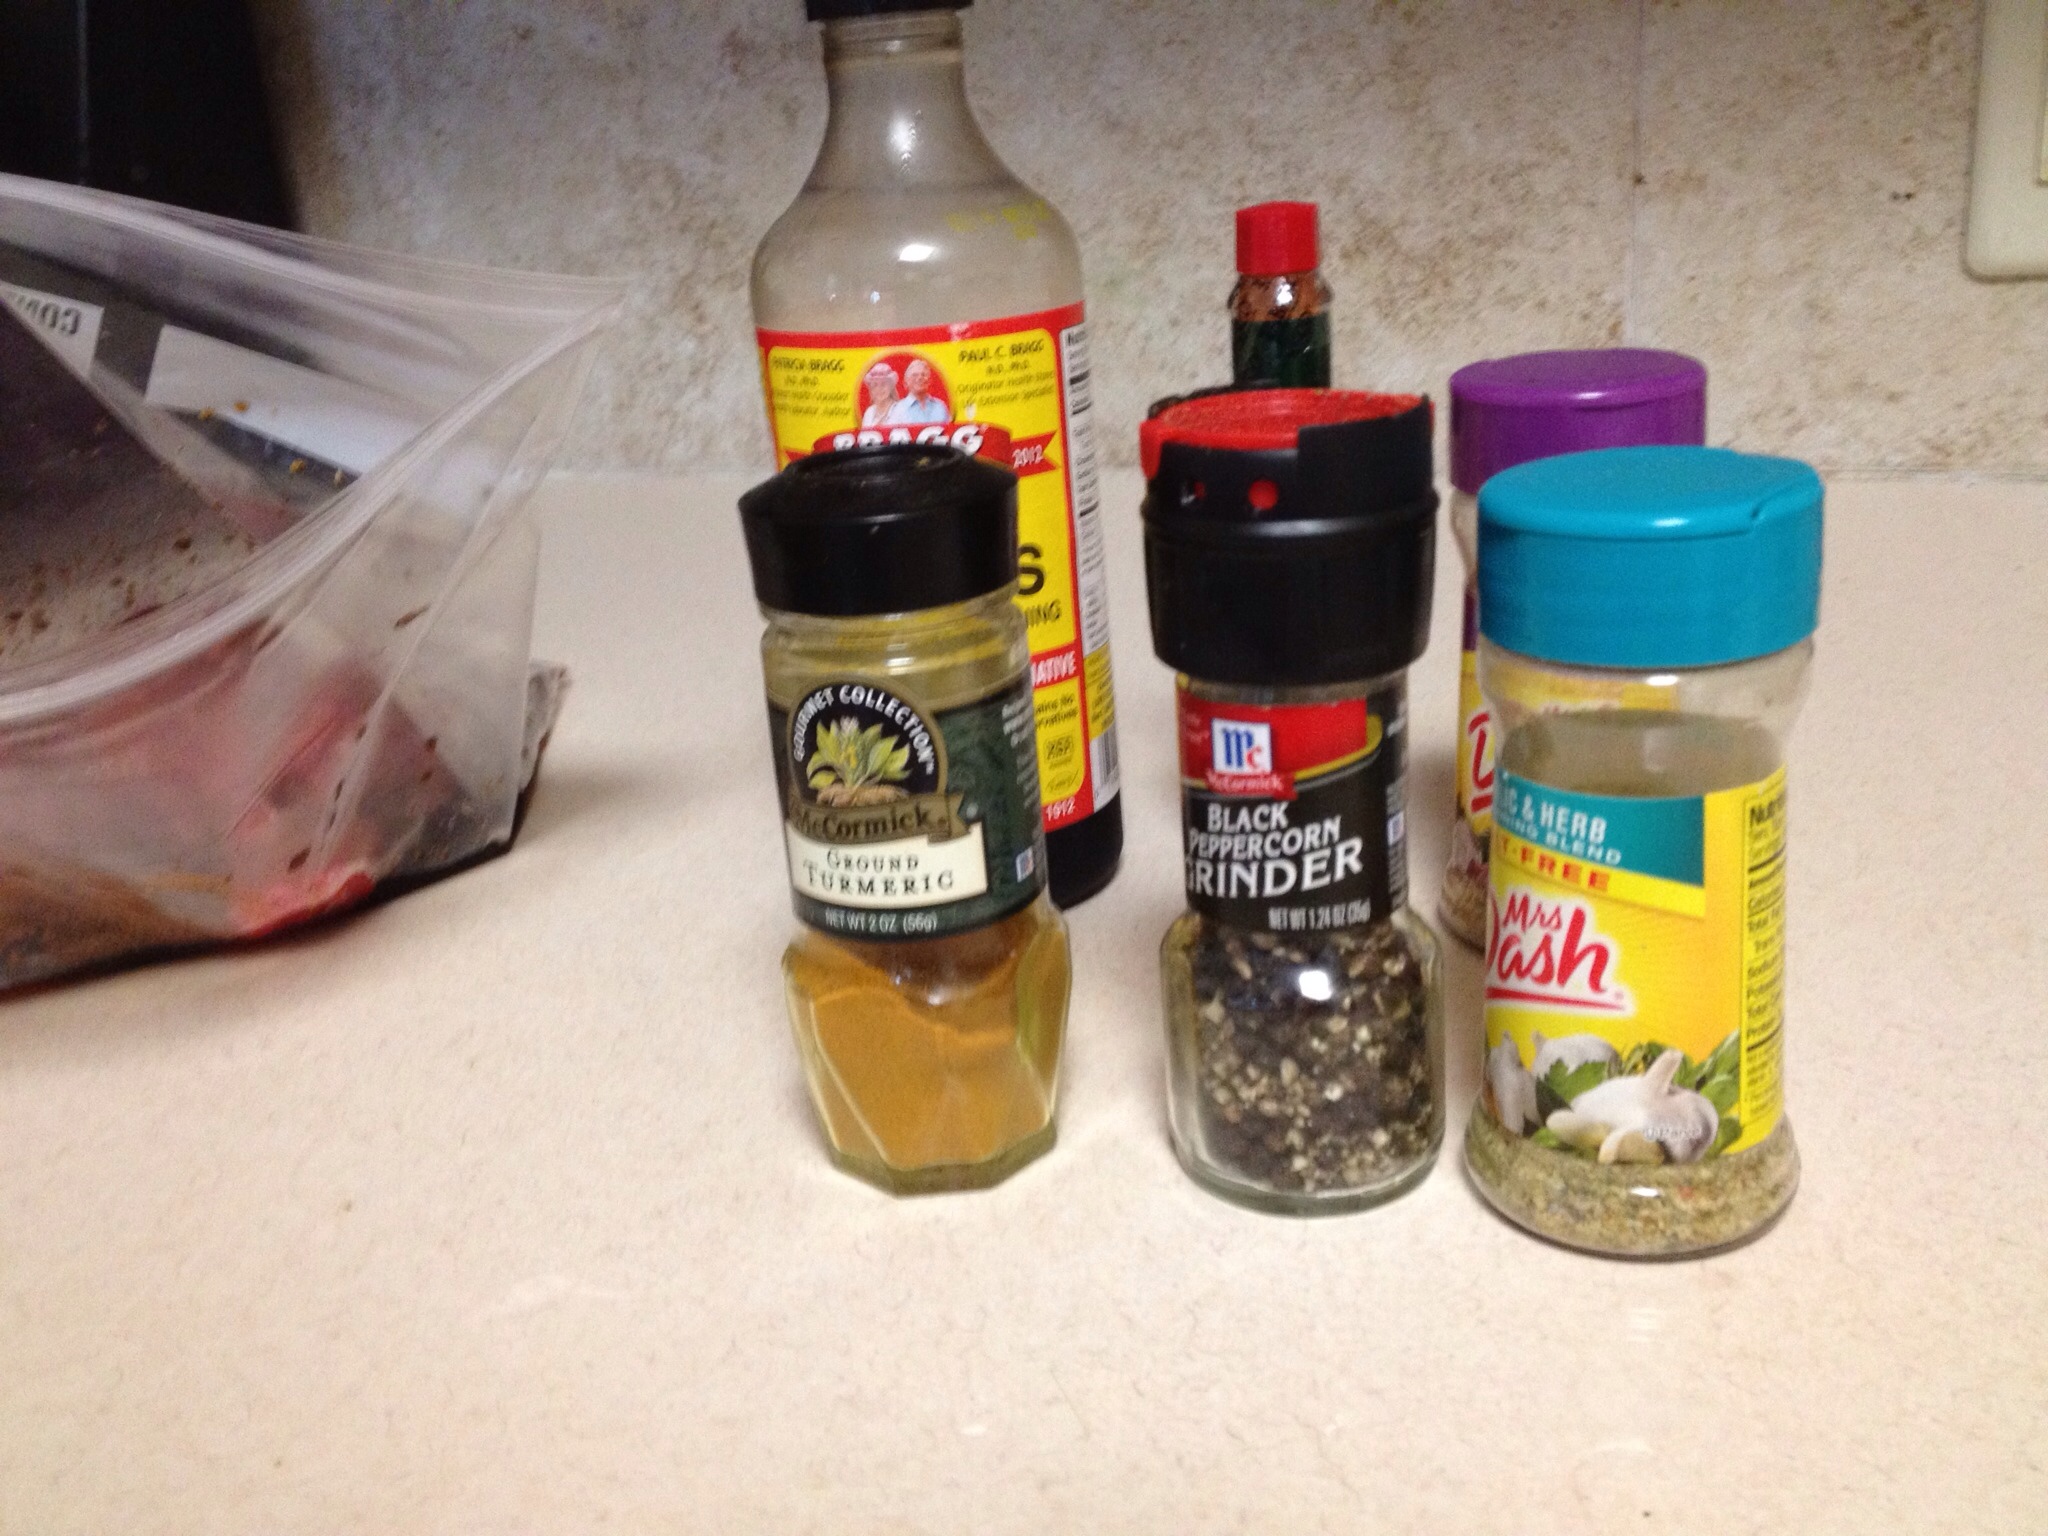
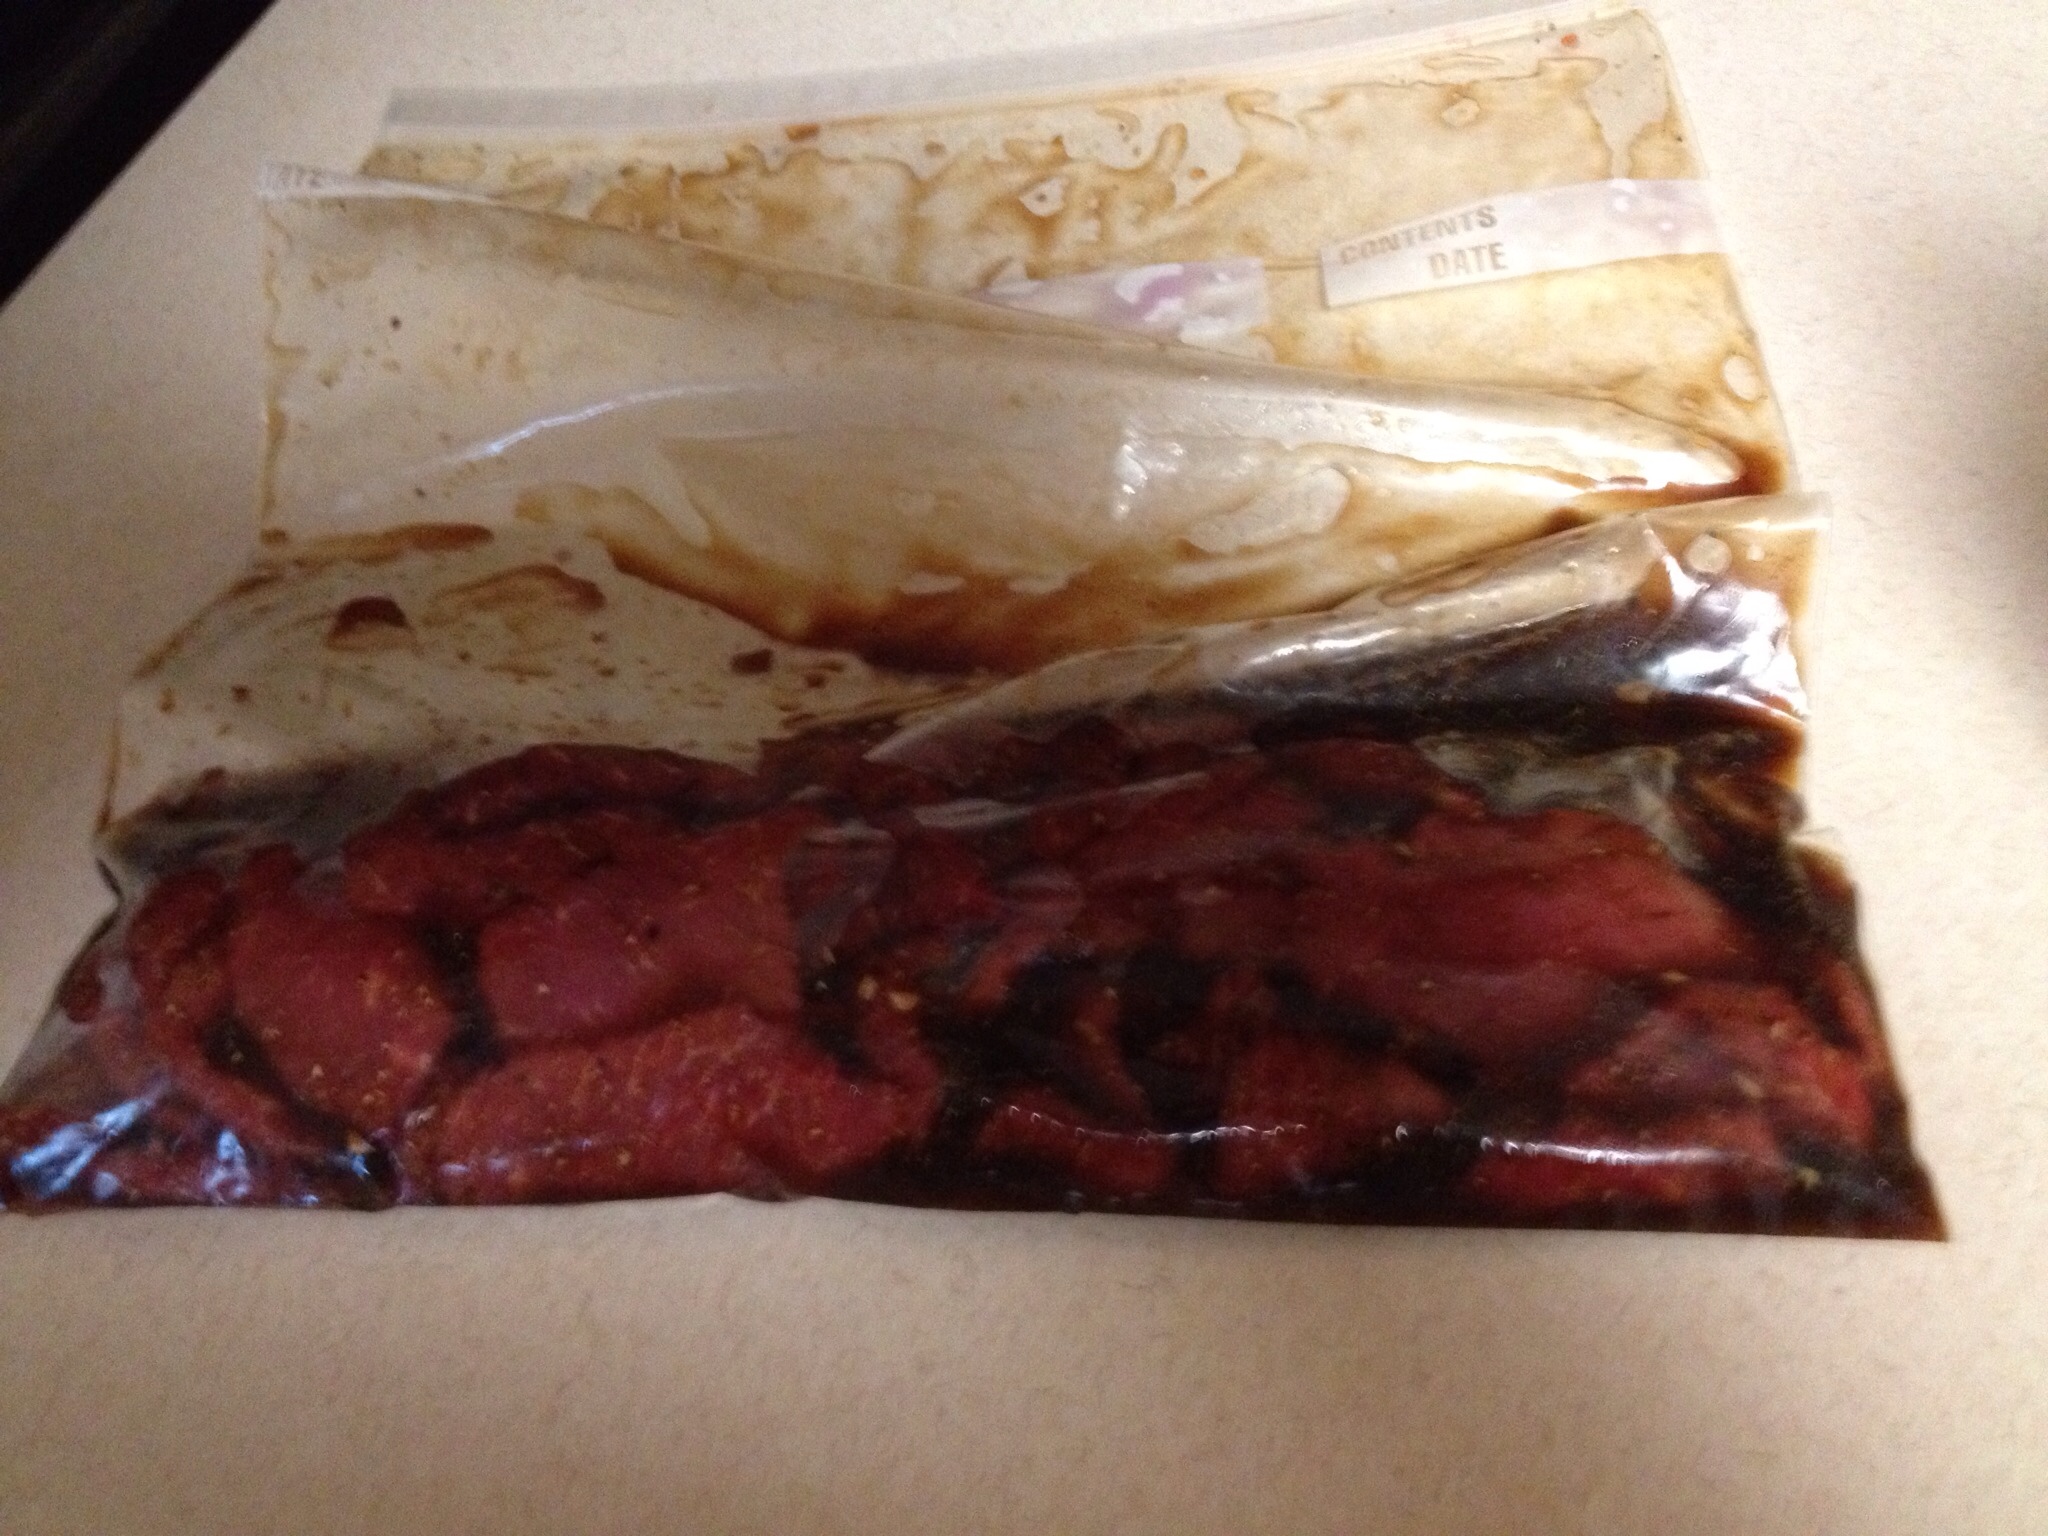
Once your meat is sliced, put the whole pile into a plastic bag or large bowl. Then add the soy sauce/aminos, and the herbs of your choice. For this batch, I added pepper, Mrs Dash Onion and Herb, Mrs Dash Garlic and Herb, Turmeric, and a health dose of Tabasco sauce. Even plain with just some pepper cracked on top is tasty, but I am experimenting with bolder flavoring this time.
Now comes the hard part. You’ve sliced your meat, you added amazing looking spices and marinade, and it all looks delicious. But you have to wait. I let my meat marinate for 12-24 hours in the refrigerator in a sealed plastic ziploc. If you used a bowl, cover it tightly and pop it in the fridge. It’s hard, I know, but the longer the meat marinates the better your jerky will taste.
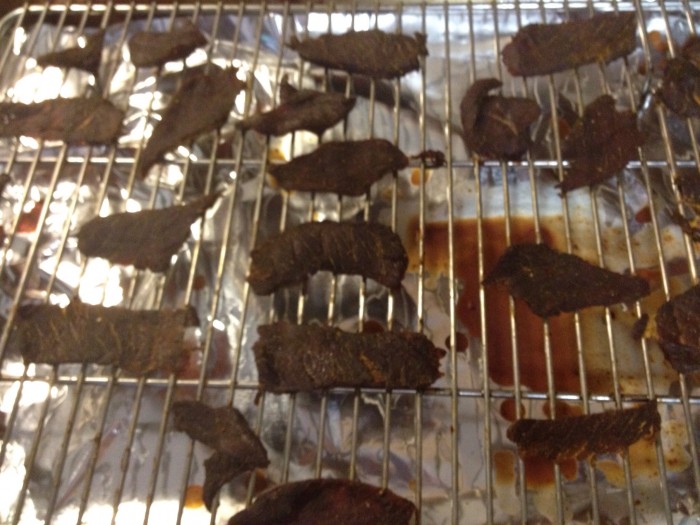
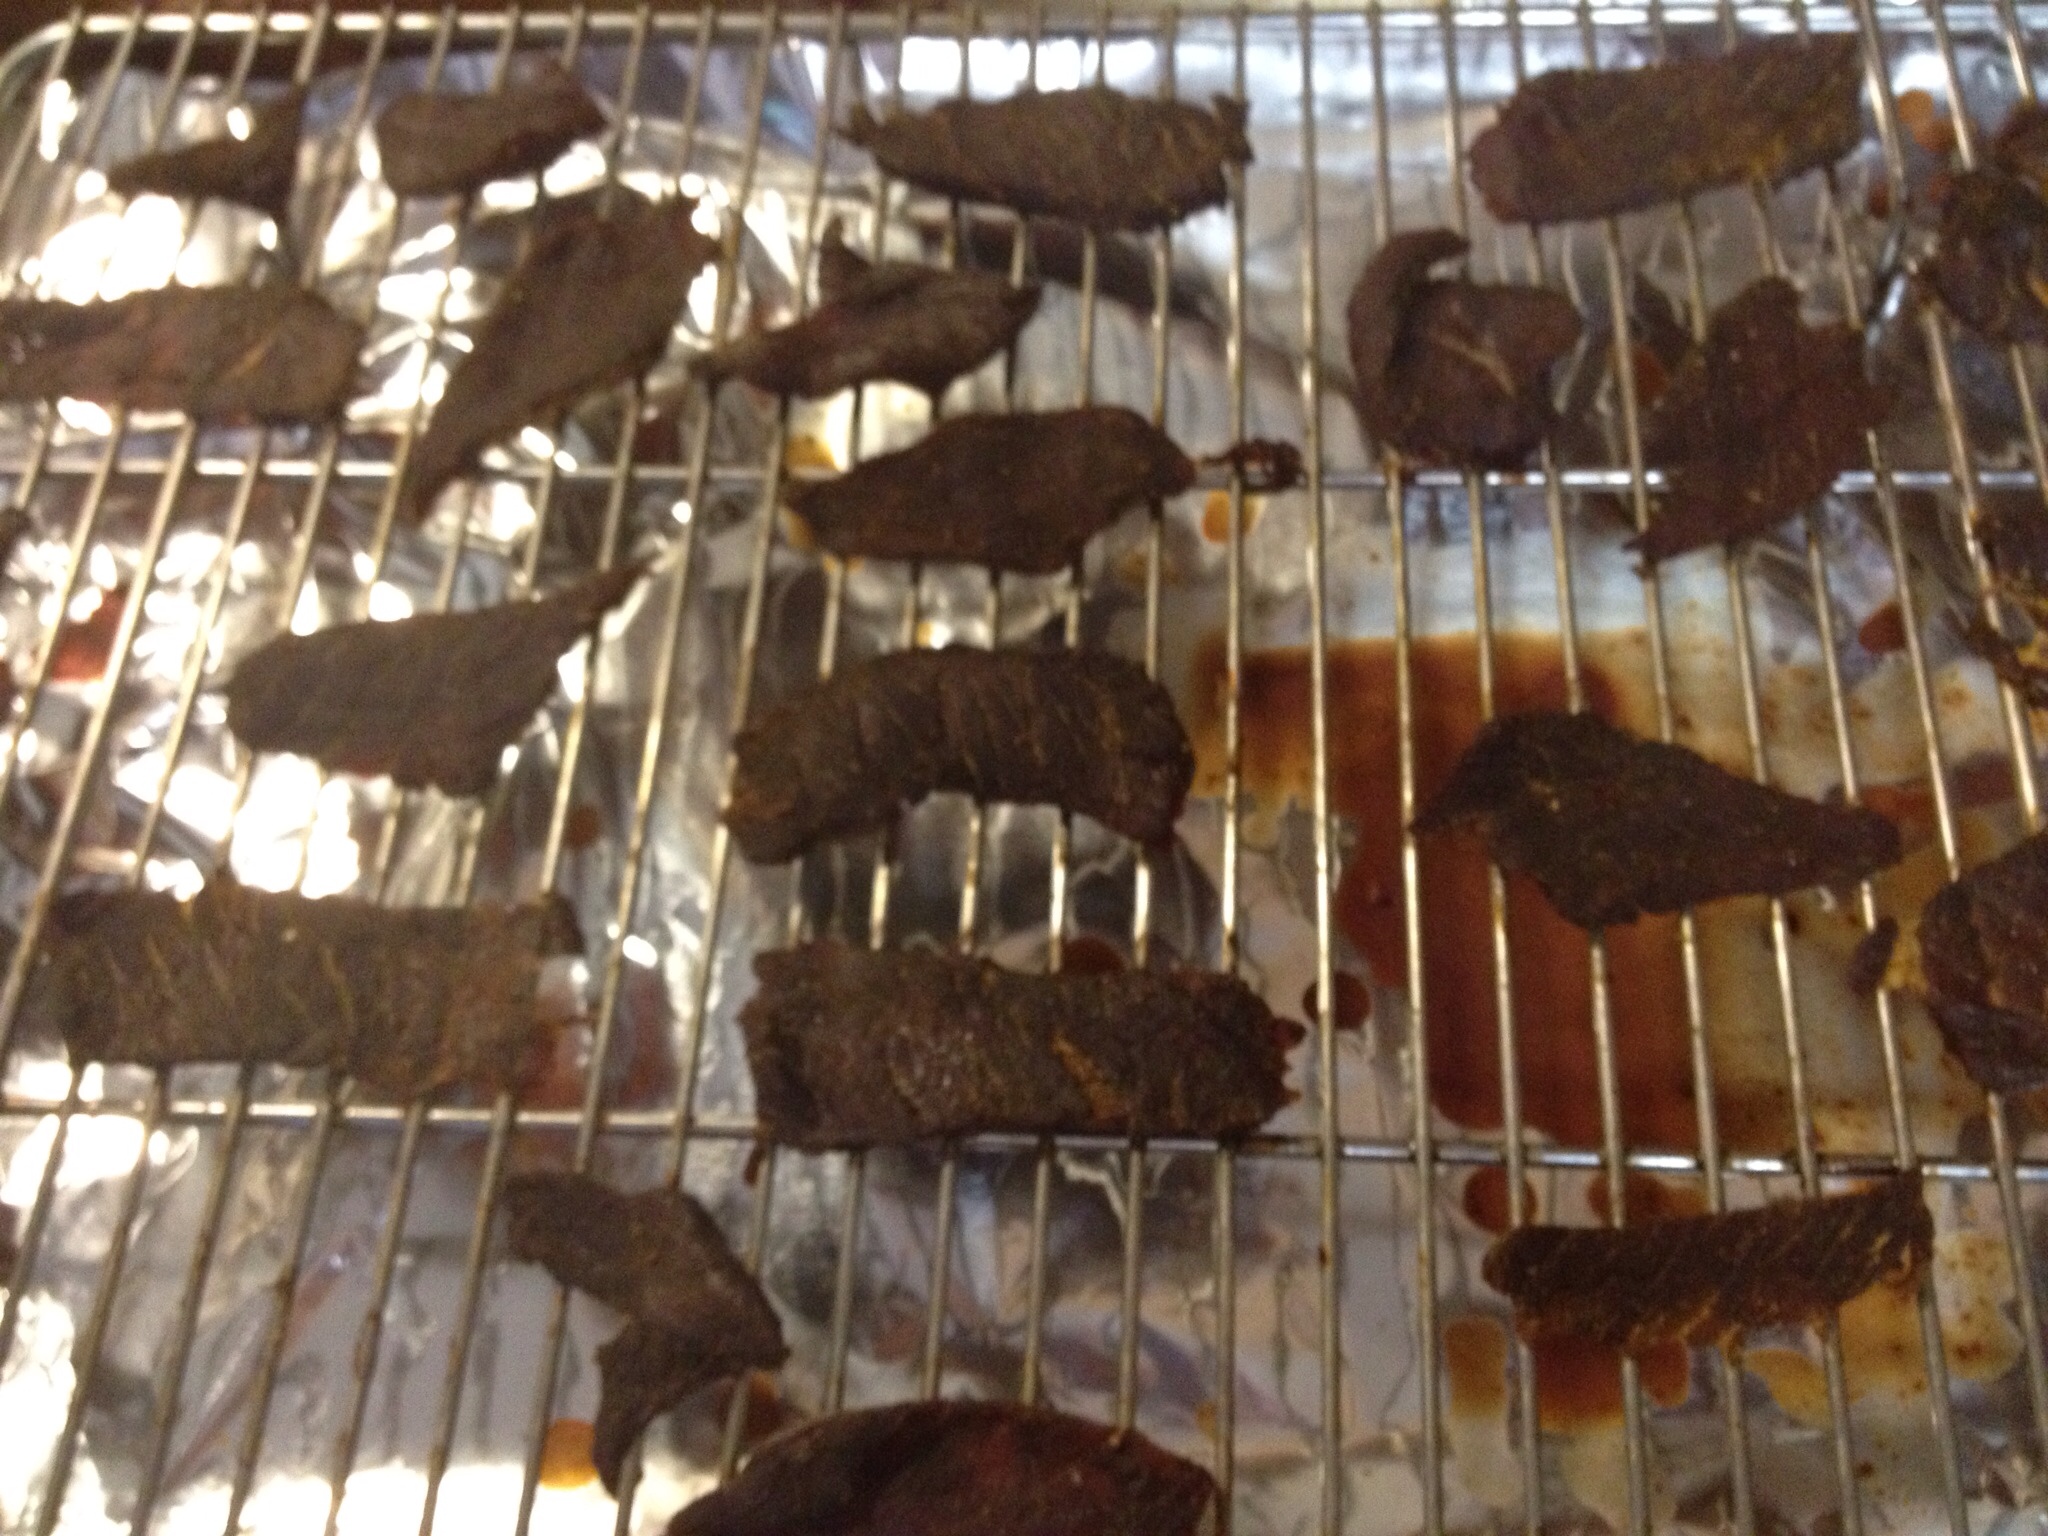
Once your meat is marinated, preheat your oven for a very low temperature. Mine goes down to 170, so that’s what I use. I have seen suggestions as high as 200 and as low as 150, so this really comes down to how low your oven can be set. Put aluminum foil over a baking sheet, and then place a grill or baking rack over the sheet. This is very important, because the meat needs to be raised for air to circulate. If you don’t have a grill or rack, you could probably lay the meat right on your oven rack, but make sure you put tin foil down underneath to catch liquids as the meat dehydrates.
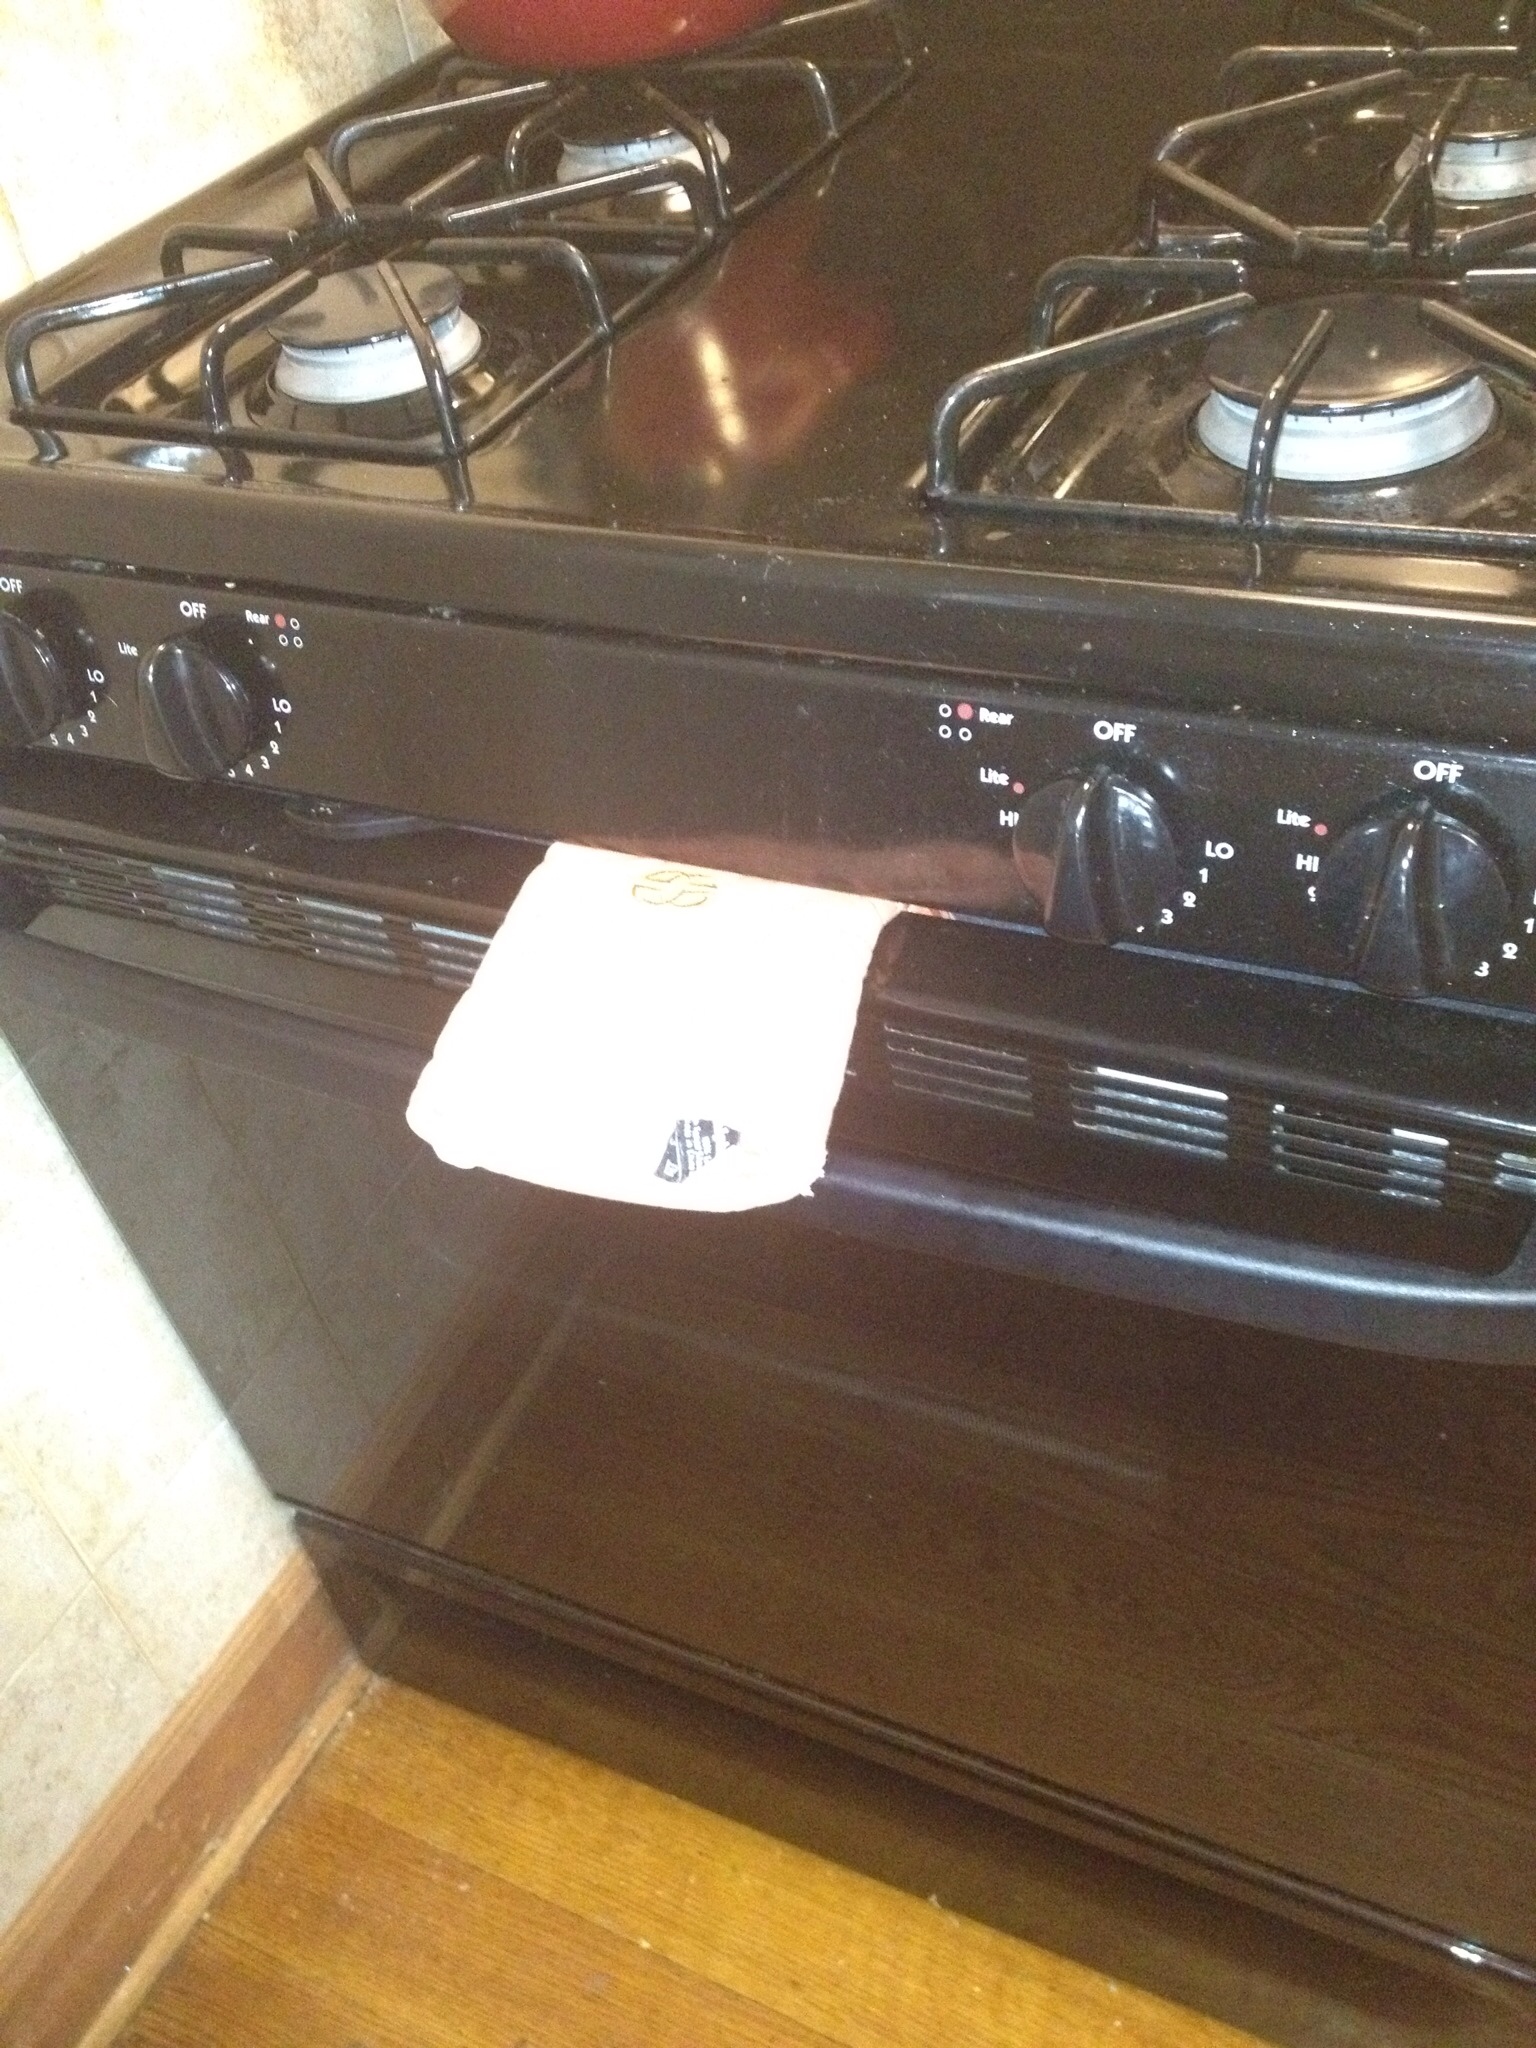
Space everything out in one layer and pop it in the oven. You want a slight amount of air circulating, so I usually stick an oven mitt in the door to keep it from closing all the way. A towel or any other oven safe item works well, but I like using the mitt because then I have it handy when I need to pull the meat out. Set a timer for 3 hours and walk away. Seriously, stay away from your kitchen, because it will smell deliciously like jerky.
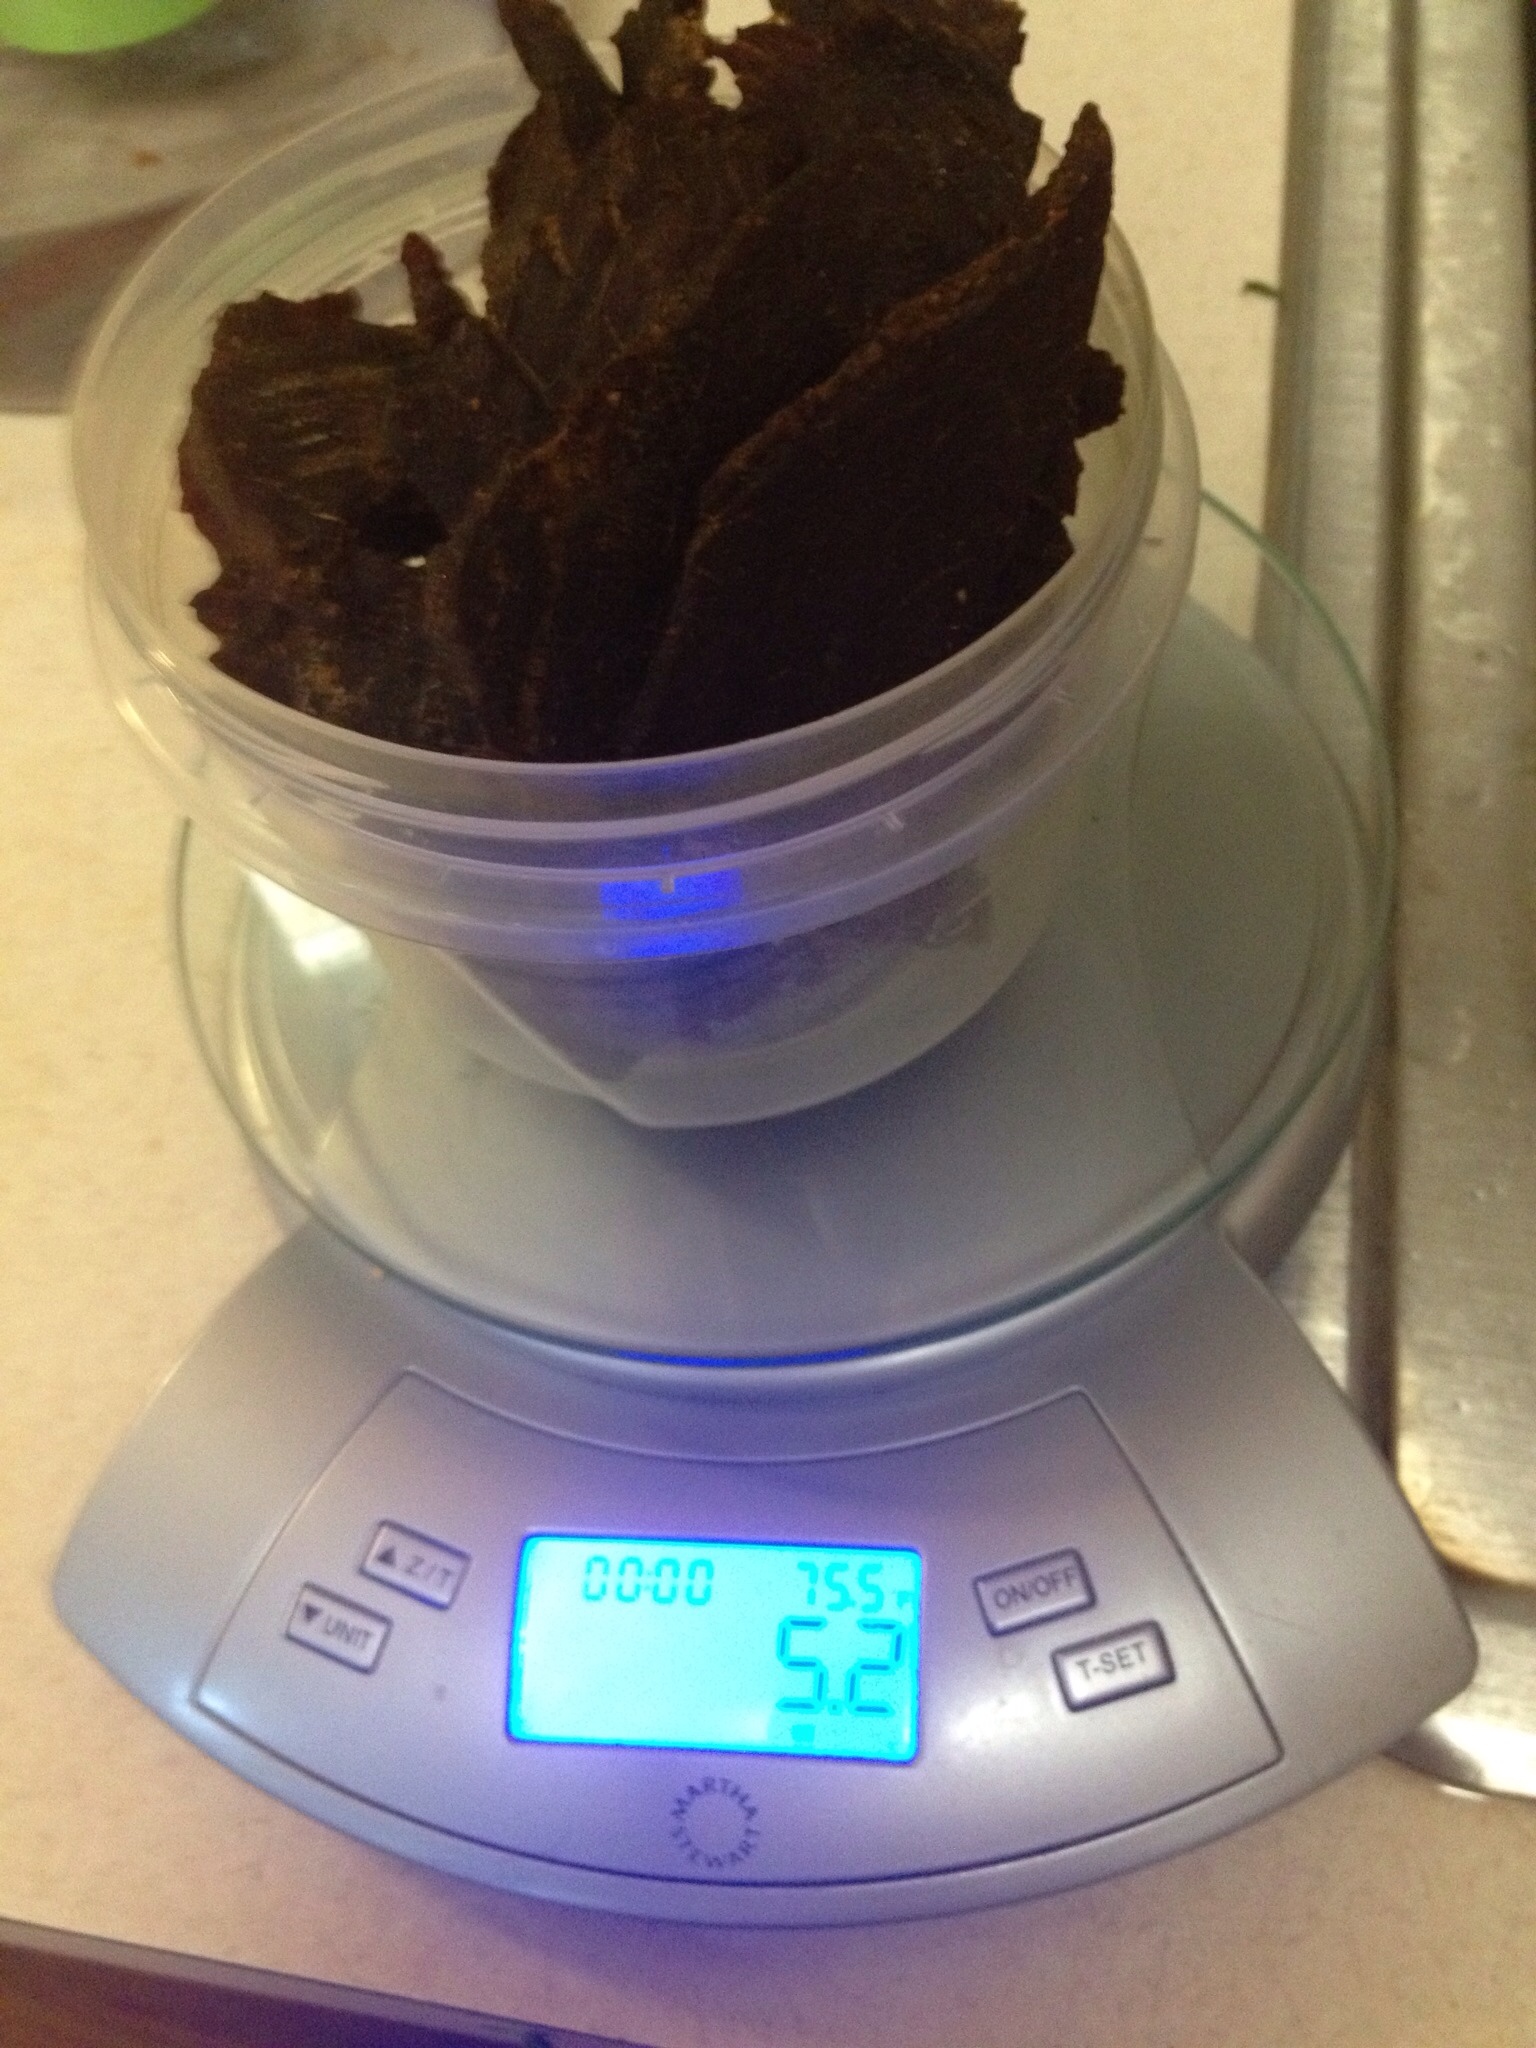
At the end of 3 hours, pull out your meat and you have awesome jerky! I usually try one of the thicker pieces to make sure it is properly jerky-fied, and then just store the finished product in an airtight container in the refrigerator. Be warned, the one downside here is that using fresh meat means there may be more fat, and fat can go rancid after a week or two. This isn’t jerky that will last for months, but since we haven’t been able to avoid eating each batch in just a few days this may not be a problem for you either!
Here’s the best part of this jerky: not only is it delicious and a tasty protein filled snack, it’s also cheaper and healthier than the prepackaged stuff! Here are the ingredients for a bag of Jack Link’s jerky: Beef, Water, Sugar, Vinegar, Less Than 2% Salt, Brown Sugar, Maltodextrin, Flavorings, Monosodium Glutamate, Spices, Smoke Flavor, Sodium Erythorbate, Citric Acid, Sodium Nitrite. Compare that to beef, aminos, spices. Which one sounds more appealing and natural?
I said above I spent around $7.50 for the meat that made two batches of jerky. The batch I made this weekend was 5.2 oz, and the batch Sarah took with her was 9.4oz. That’s approximately $0.50 an ounce. If you buy the Jack Link’s jerky in bulk at Amazon, the best deal you can get is $1.31/oz, IF you do subscribe and save. Granted, I didn’t include the cost of my spices, but even if I broke it down to the cents, I would need to be using an awful lot of each to get anywhere near that number!
So there you go. With a bit of advance planning, and about 10 minutes of actual hands on work, you can have beef jerky that tastes better, and is better for you and your wallet, than the crap you find at the gas station! So what are you waiting for? Get to cookin!
