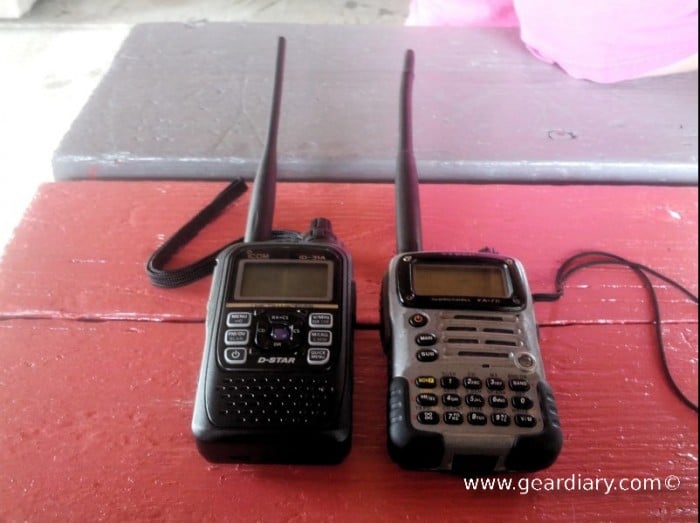
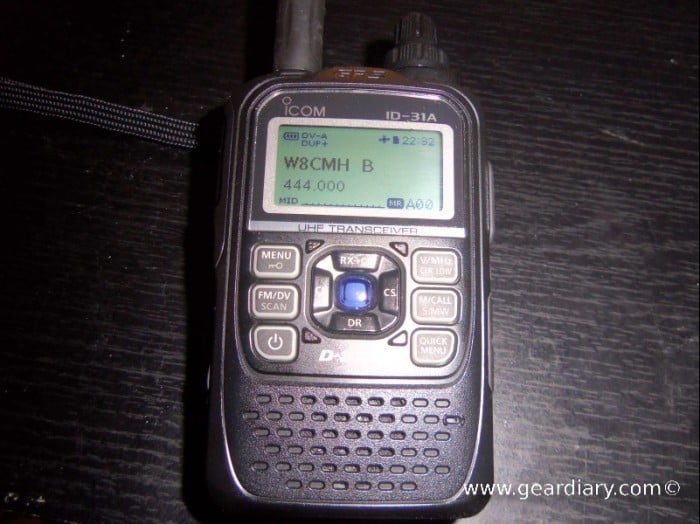
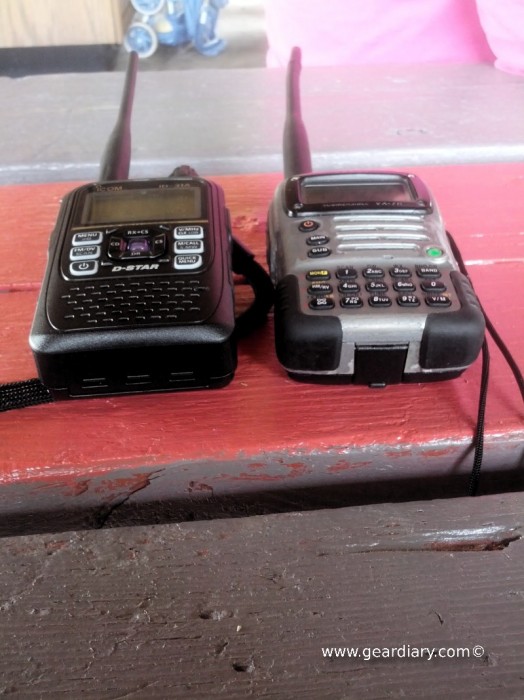
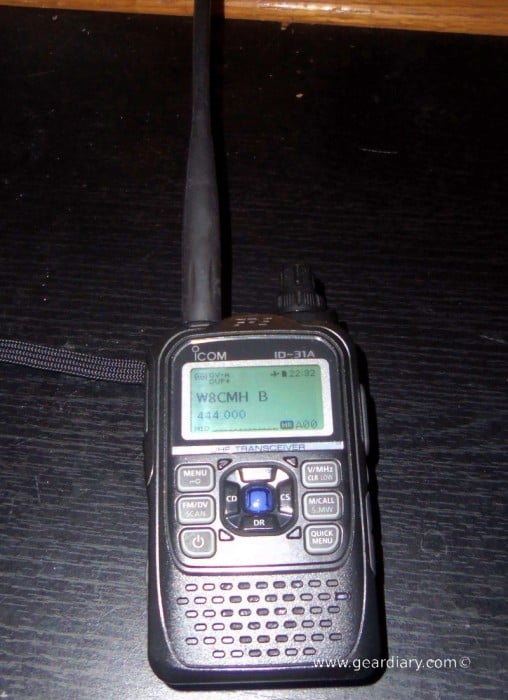
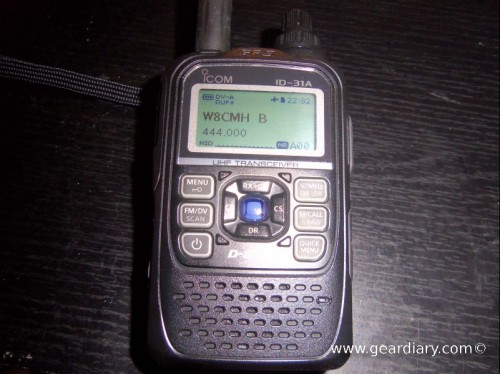
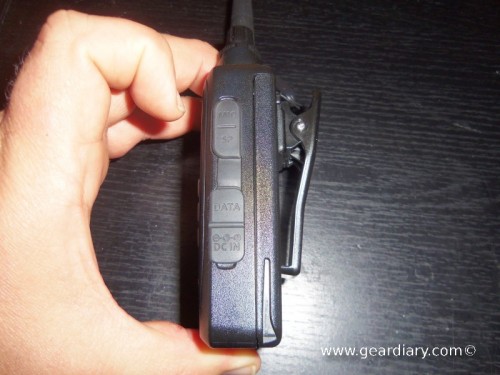
I hope you have been enjoying my series on Ham Radio and its various aspects; today’s post is the first review of a ham radio on Gear Diary! Specifically, I will be reviewing the Icom ID-31A, which is the most advanced handheld radio I have yet owned and the most advanced currently available.
What this won’t be is a review heavy on technical testing with scopes and measurements across the board; I just don’t have the lab that the ARRL has, and I can’t do the kind of testing of radios that they do. What it will be is an everyday ham radio enthusiast thoughts on usability, battery life, ease of use, ergonomics and things that make using a radio a joy to use or a pain in the butt. Hopefully you find this interesting. I will also try to explain the tech in terms anyone can understand, because I know that there aren’t that many people with a HAM Radio background. So here we go.
First, as radios go, this handheld is the most advanced one I have seen in years. It incorporates features that no ham radio to date has included in a small package. It has a 70 cm transceiver that also can operate in D-star mode, which is the prime mode for this radio. It also has an integrated GPS, GPS tracking mode, DPRS (which is like APRS but using D-star), MicroSD card slot, Digital Voice recording features.
The GPS
The radio has an integrated GPS. This GPS is integrated not so much for navigation, but for other location-aware uses. The number one use of the integrated GPS is to use the near repeater feature. The radio can be programmed with the entire database of D-star repeaters for your area and comes preprogrammed out of the box.
To use it you press and hold the DR button on the 4 way pad to get you into DR mode. Move the cursor to the from field and press the center button. Press the down direction on the D pad to select the nearest repeater and then hit the center button again. If you have a good GPS lock, then you should have a list of repeaters sorted by distance; the first one in the list is the one closest to you. Never has it been so easy to figure out what the closest machine is. I have the entire database for the Western Hemisphere currently programmed on my radio, so no matter where I travel I can instantly find the closest D-star repeater. To get new versions of the file, just go to this website and enter in the radio type, the frequency and the hemisphere to get a comma delimited file which can then be imported into the included Windows-only software used to program the radio.
The GPS can also be used with D-star. When the GPS TX(Transmit) mode is set properly, your position will be reported to the D-star network whenever you transmit. In turn, most D-star repeaters will relay your station ID (usually your call sign with a dash and a number) and location to aprs.fi and the amateur radio APRS network.
The radio can also be set in auto transmit mode so that your position is regularly updated as you drive along. As a courtesy to other hams, you should only use the Auto TX mode if your repeater is not in use or if it’s in an emergency service capacity, as it will transmit your coordinates as often as every 5 seconds. Since even these short transmissions have your station’s call sign attached, you MIGHT get called if someone sees your call pop up on your radio … just so you know!
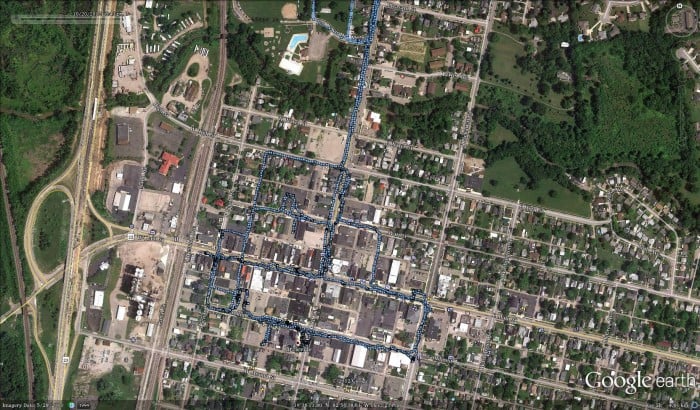
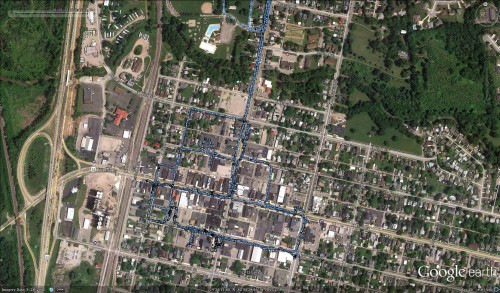
Finally, the radio can be used to track your position on the included memory card. You can do this with the radio on or with the radio in track-only mode. Track-only mode turns everything but the GPS off and displays the current position on the radio’s display. Above is a map I made with Google Earth using the track file on the memory card.
You will have to find some software to convert the file to a KML file that can be imported into Google Earth. I used GEBabbel on my Linux machine. It worked well in converting the data into a KML file, which I then imported into Google Earth.
Above this is a picture of the Circleville, OH area and the track I created as I drove into, walked around the Circleville Pumpkin Show and then walked back to the car and drove home. There is also a website you can use to convert this data in case you are Windows or Mac.
The Memory Card
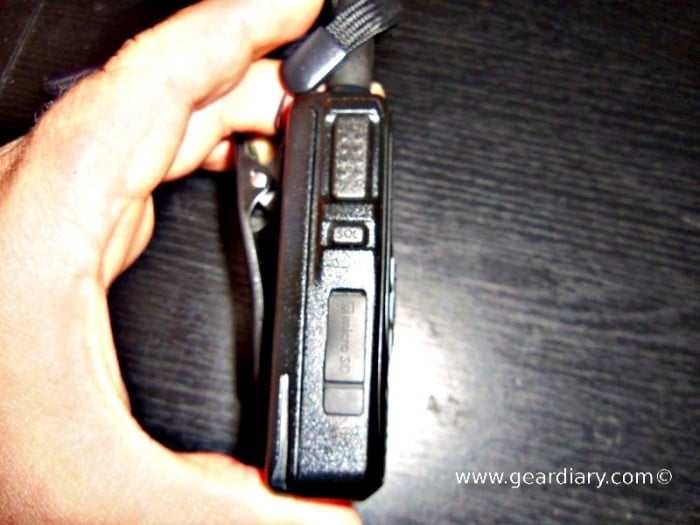
The radio’s memory card slot can be used to store data, be it the radio’s configuration, a GPS track or a recording (more on this later). It supports sizes up to 32 GB and does not come with a MicroSD. I currently use an 8GB MicroSD which has room for many days worth of GPS tracks and hours of recordings.
The radio’s configuration itself isn’t directly read from the memory card when you turn the radio. You must load it from the memory card once it’s programmed with the included software. After it’s loaded, you will be asked to power the radio off and then on to get the new configuration. You can also save the radio’s current state to the memory card if you changed settings or added memories on the fly.
Programming the Radio
Thank goodness there’s a memory card slot and Icom included the software, as it makes programming the radio much easier. You CAN do it on the radio, but I find it’s just not worth it unless you are desperate due to the complexity of programming. In a pinch it can be done, but take it from me and just use the software. Icom and others really should try to step up the game and make programming the radios on the fly much simpler. Why? Because you never know when you will need a repeater that you don’t have programmed on the radio.
Fortunately, if you have the list of repeaters programmed in, basic local repeater use is as simple as it can get and this is enough when travelling and to get your first taste of D-star operations. Where it gets difficult is when it comes to setting up memories for linking to reflectors and other repeaters. Each repeater could have many different memory locations programmed so you can link to different repeaters and reflectors and one memory location used to unlink the repeater. Also, when you do the setup it’s really important to use the included memory banks. Memory banks are used to set up the memories for one D-star repeater in a folder for lack of a better term. Each bank can contain all the entries you need for the repeater or if you want you could also have more than one D-star repeater in a bank, but I don’t recommend it as it will make it more difficult to use when you are in the field. They will be displayed on the radio in the same order as you enter in the software even if they are numerically in different locations.
Using memory banks makes it easier to use all of the different memory locations you need for one D-star machine, as you’ll only see the currently selected memory bank. I setup one memory bank for each D-star repeater, and I have one bank that stores only Analog Repeaters in my area. If you are leaving the area and want to use analog repeaters as well, I would also set those up ahead of time in another bank just for making it easier when you are away from your computer.
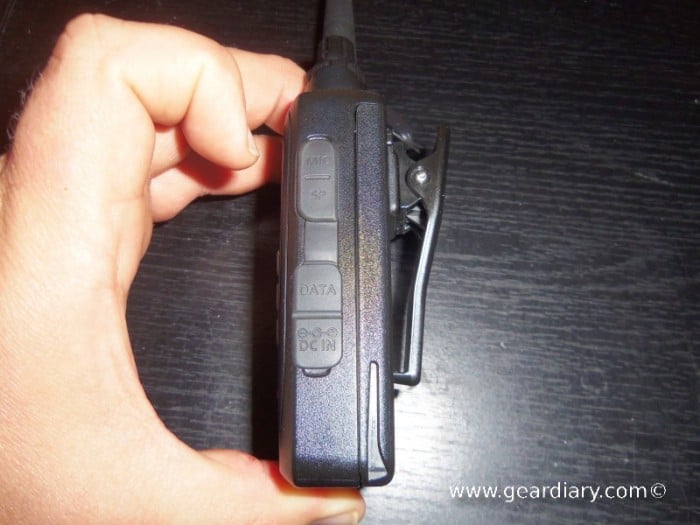
You can use a cable to program the radio as well, but I prefer using the memory card. The programming cable is really expensive as well. The cable costs around 50 dollars and if all you are going to use is the radio, then you probably don’t need the cable. I bought the cable though as I am going to use some other modes with the radio that I’ll cover those in a later post.
Digital Voice Recorder
The radio can record both voice memos, a CQ or request for contact (useful for contests) and complete conversations including both sides of the conversation. It records everything into a WAV format which is easily usable by any computer, be it Windows, Mac or Linux. The default setting records each transmission received and transmitted into multiple wav files. I quickly found a setting that changed this to use only one file for the time recording. While the radio is silent, it does not record any audio so this eliminated the need to edit the recording.
I have used it to record the After Ham Nation Nets that I have checked into. A Net is a common time (usually in UTC) that hams meet on the air. It can be for different reasons, but the After Ham Nation net is after the recording of the Ham Nation netcast on Leo Laportes TWiT Network. The After Ham Nation net meets on D-star reflector 14C. Usually you can hear Joe, WX4ADX as the net control and occasionally you can hear Ham Nation co-host George, W5JDX or Gordon West, WB6NOA. I have been trying to check into the net every week, as it’s a good way to be sure I will have someone to talk to (because it’s scheduled); it’s also fun!
How does it work?
The more I use this radio, the more impressed I become. D-star is a new mode for me, and I was afraid the complexity might turn me off; it actually has been quite the opposite, and that is thanks to the job that Icom did on the implementation of this radio. The extra things I had to learn ended up helping me to keep using the radio. Being able to use the internet gateways built into the repeaters makes it THE radio I grab when I feel like ragchewing (what we hams call shooting the breeze or just talking). I can almost always find someone on a repeater or reflector, since it is possible for anyone across the world to talk on D-star thanks to the internet and the gateways that repeater operators set up. Most of this is just due to the addition of D-star on the radio; the GPS and digital l recording features add even more uses to this excellent radio.
Accessories
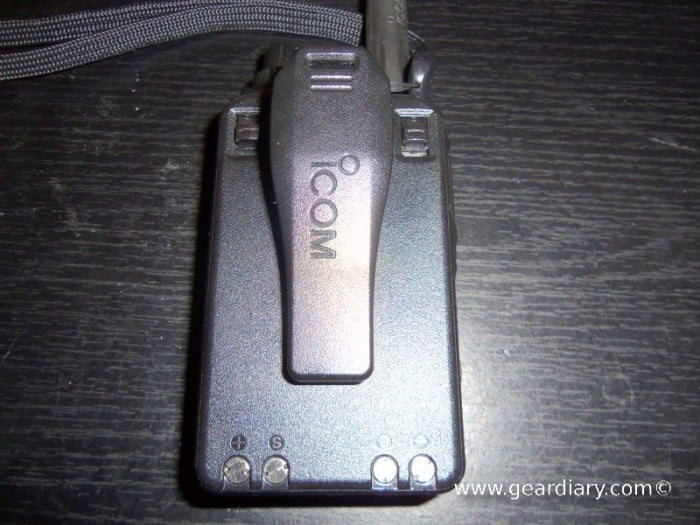
The radio itself only comes with a charger, software, antenna and a wrist strap. I think that sucks. Why? Well the charger that comes with the radio will charge the radio in 6 hours. Yeah I said 6 hours! I don’t remember the last time I had a phone that wouldn’t charge back to 100 percent in a couple of hours with the default charger. It’s a sad fact that EVERY ham radio I have ever owned took that long with the default charger; that needs to come to an end now. They should just ship the device with the drop in rapid charger, but they don’t. So expect to fork out an additional $54.95 for that charger.
The data cable isn’t necessary, but is nice to have and costs another $54.95.
Additional batteries cost $69.95 or $99.95 depending on which capacity you purchase.
Conclusion
D-star is a very young technology in the world of ham radio, and it’s not immune from adoption issues. The first D-star radio is still being made and is still useful today, even with Icom making improvements with every new radio. The main issue I have with the radio itself is that it only has the 70cm band on it. That is soon going to be rectified by Icom with the introduction of the new ID-51A. The 51-A is virtually identical to the ID-31 except it has a larger screen, both 2m and 70cm as well as software changes to accommodate common dual band functions like the ability to monitor two repeaters at the same time. Even though the ID-51A is soon to be available, I still do not regret purchasing the ID-31A. Accessories bought for the ID-31A should work with the ID-51A, so I can likely sell the ID-31A and replace it with an ID-51A once the price has been established. The ID-51A has yet to be approved by the FCC, but it’s expected to be approved in time for the holidays.
Current Price: $359.95 from Universal Radio
What I like: Easiest to use D-star radio yet
What I didn’t care for: Accessory prices
