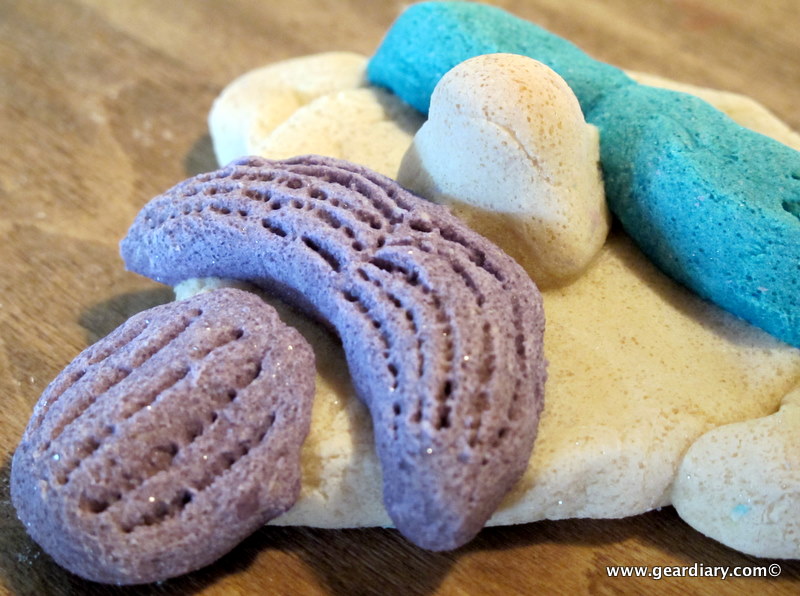
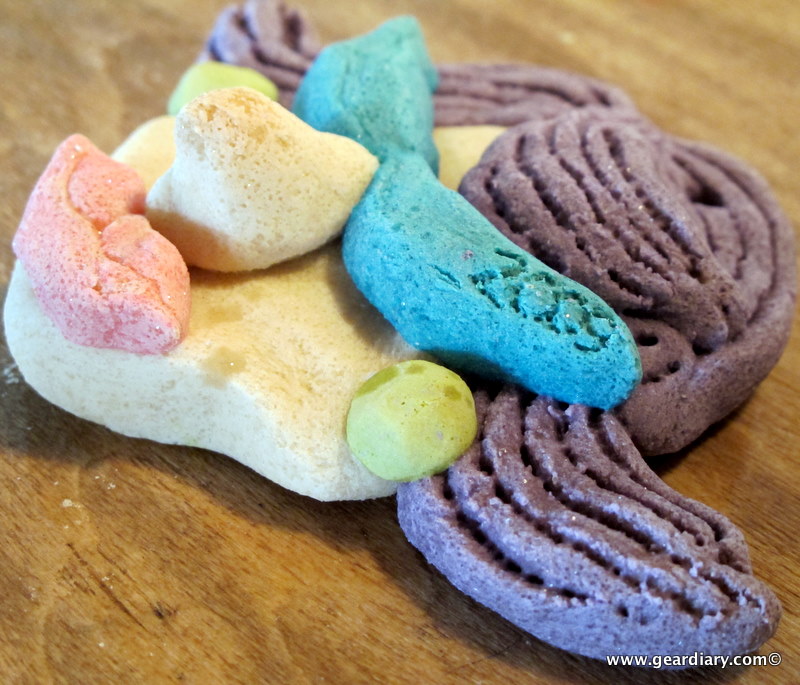
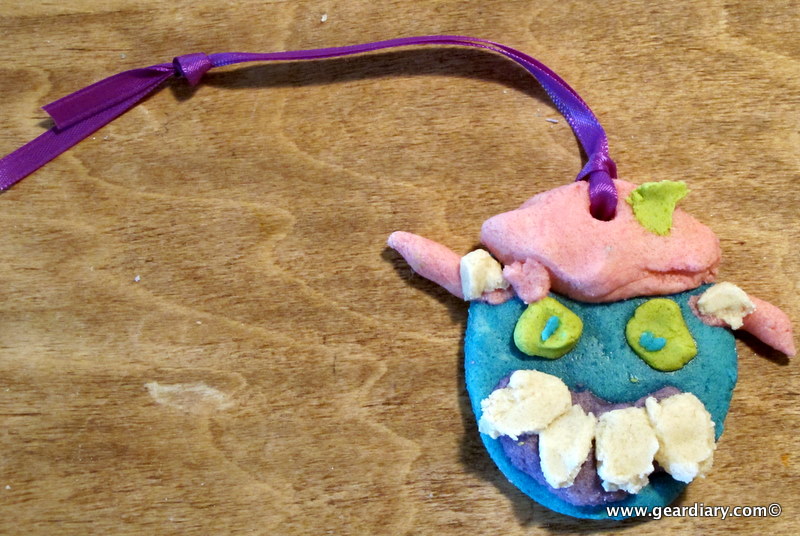
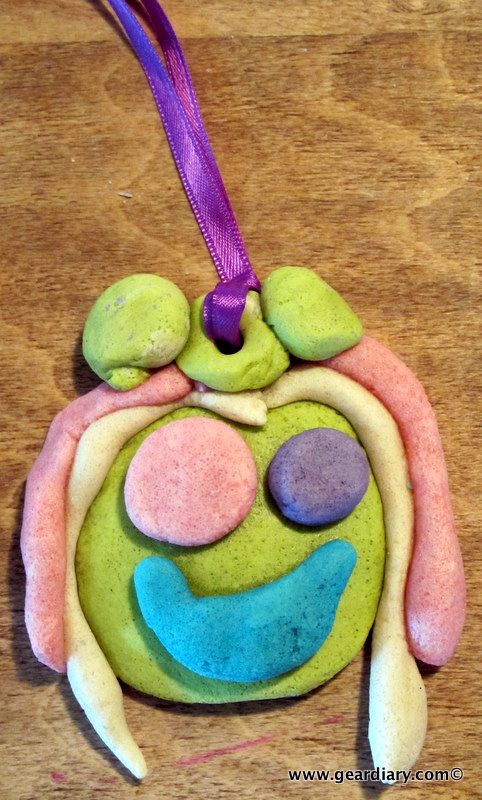
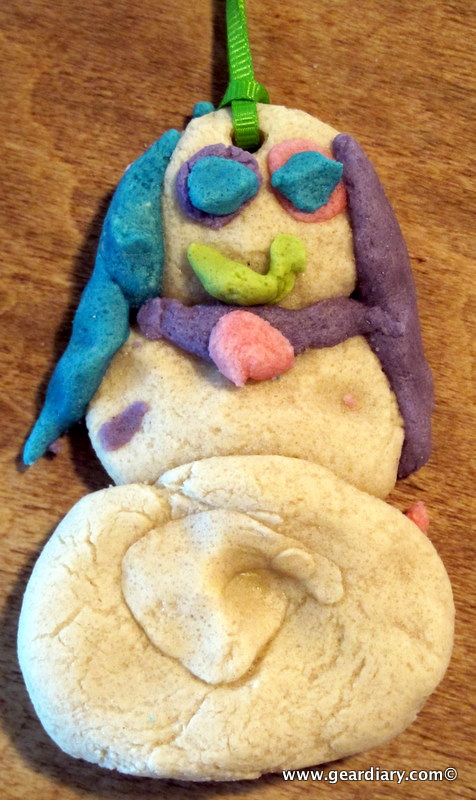
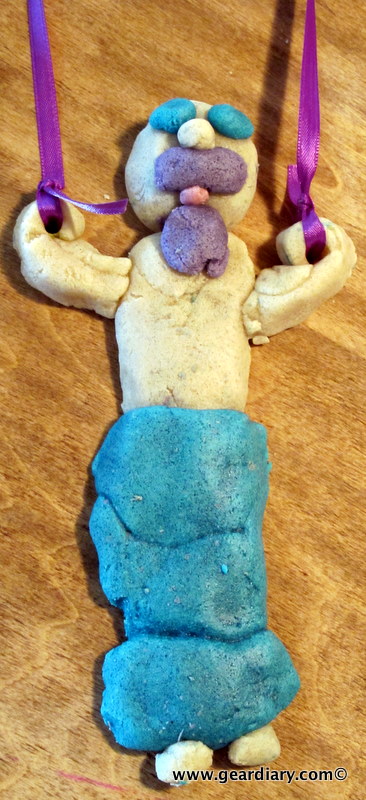
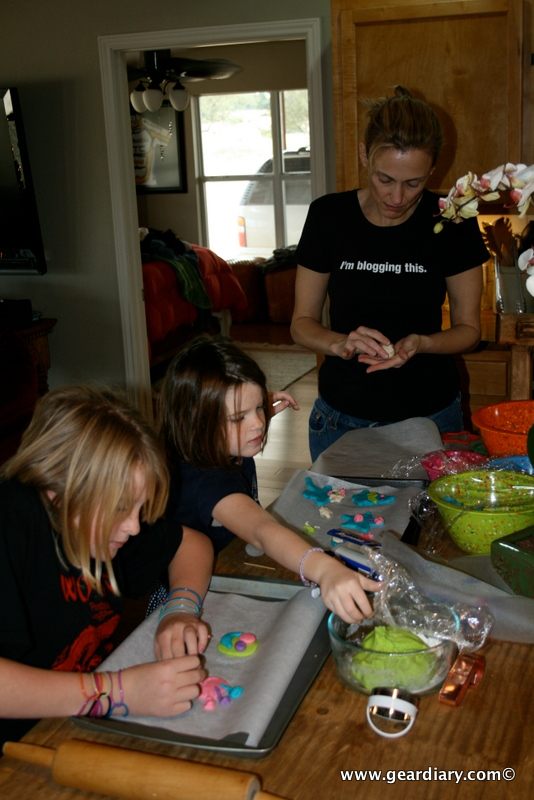
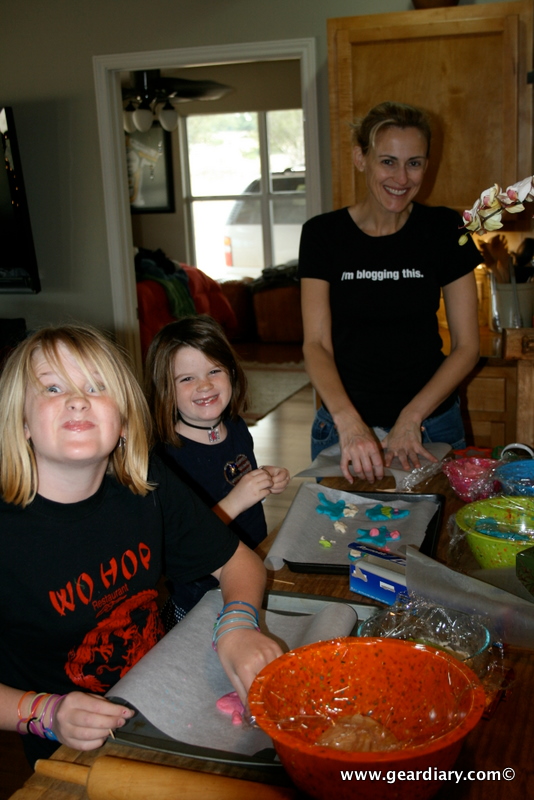
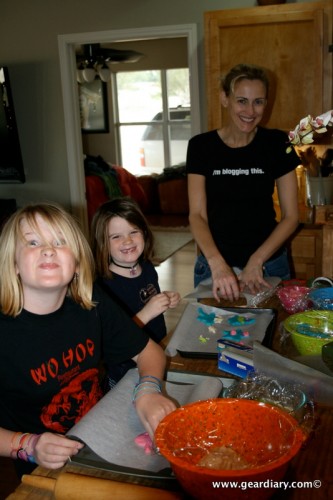
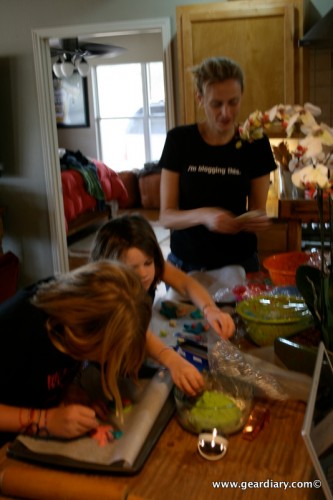
After moving this year, Kevin and I realized we were a bit light on Christmas tree decorations; but instead of going out and buying a bunch of them, his girls and I spent a day making salt dough ornaments. This is something that my mom used to do with my brother and me when we were kids. Mom thinks it’s because play-dough wasn’t easily available living overseas, but it could just as easily be because we were on an enlisted military man’s budget and she was a stay-at-home-mom. Whatever the reason, salt dough is very similar to play-dough, and the best part is that if you like what you’ve made, you can bake it and keep it forever.
The recipe couldn’t be simpler, and I think that you will agree that it is an inexpensive and fun way to pass the day.
Here’s how you do it …
You’ll need:
1 Bag of generic white flour
2 large containers of generic salt
Tap water
An assortment of food colorings (I used the Betty Crocker Neon Gel Food Color)
Parchment Paper (gives you a workspace and a non-stick cooking surface)
A straw (to poke a hole in the top for hanging)
A few toothpicks (for detail work)
Cookie Cutters if you aren’t going to free-form
A can of clear spray paint
Newspapers (to lay the ornaments on for spraying)
Thin grosgrain ribbon in assorted colors (for hanging your ornaments)
Elmer’s Glue (because accidents happen)
An oven set to 225º F
Here’s how I made the salt dough – I used a mixer to combine 6 cups of flour with both containers of salt, and added just enough water to get a grainy, not quite dough-like consistency. Then I broke the dough into five portions in five bowls. One of the portions I kept white, so I added just enough water to make it a dryer dough (wet enough to work with, but not too sticky). The other bowls’ contents were each mixed with different ribbons of the gel food coloring, a bit more water, and then blended until they made four brightly colored dough balls. Once I was done doing that, we had bowls containing white, pink, purple, blue and green salt dough.
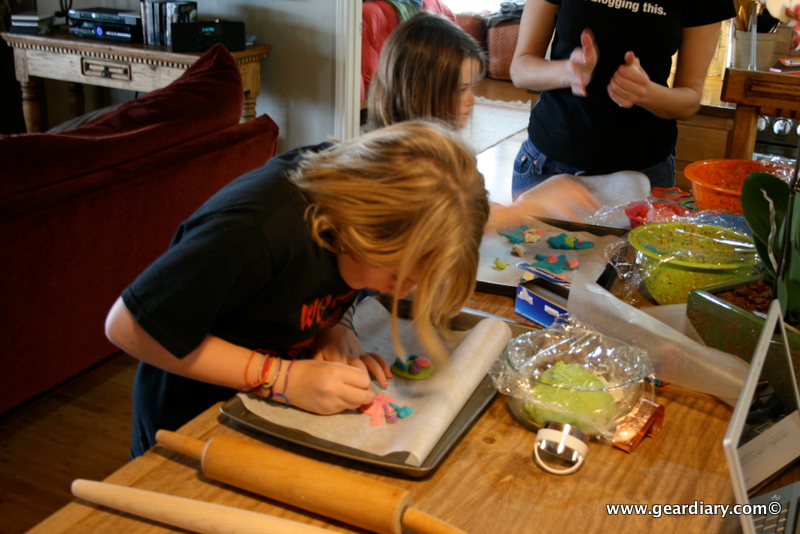
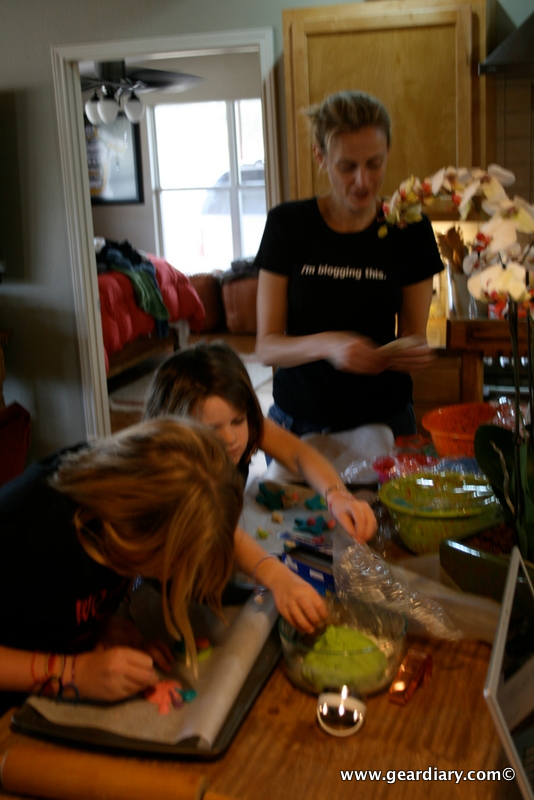
I placed a piece of parchment paper down in front of each of us, which would serve two purposes: not only would it make a good workspace, it would also go directly into the oven for baking. Since some of the designs were pretty intricate, the parchment paper made it completely impossible for even the smallest parts to stick.
And then … it was a free for all!
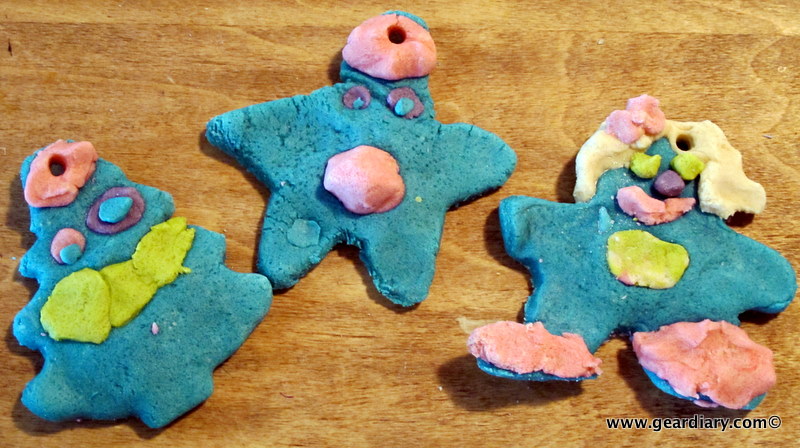
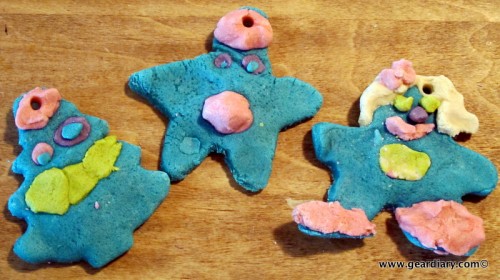
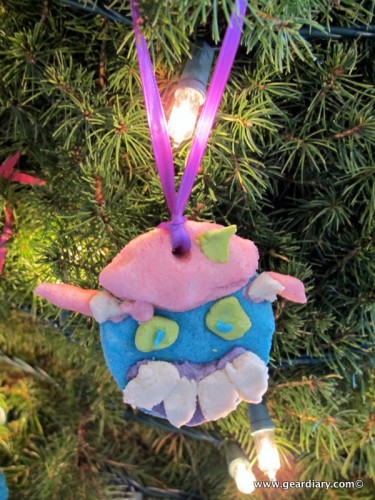
You can go about making ornaments two ways: you can either roll out the dough and cut out shapes, or you can treat the dough like modeling clay and create your own designs. At first, the girls were little bit cautious, and they opted for cookie cutter shapes which they could embellish with bits of dough.
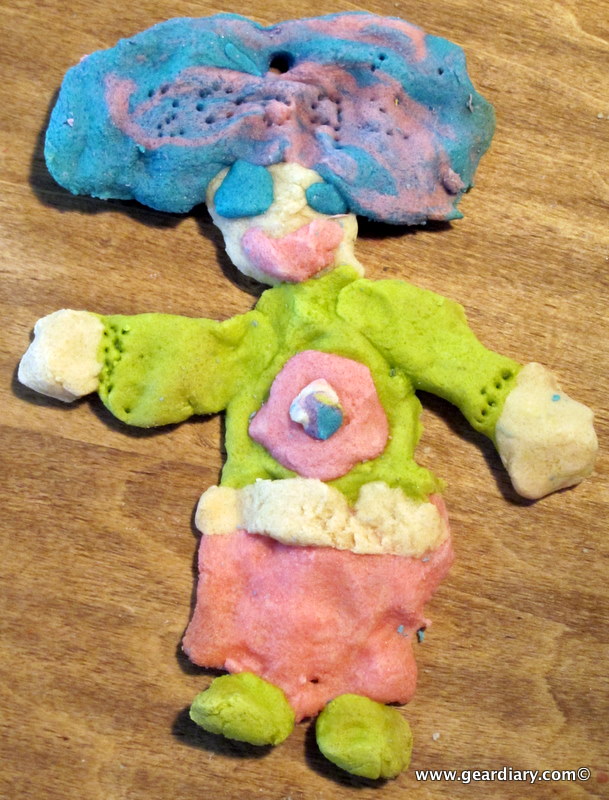
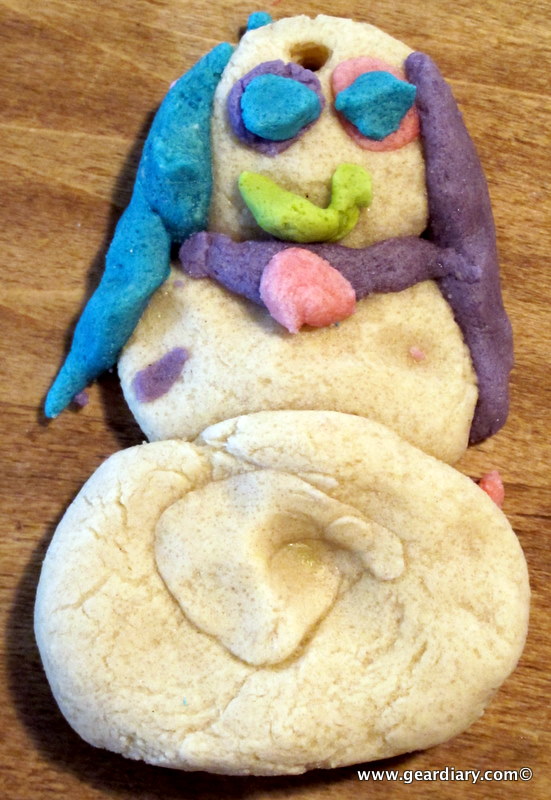
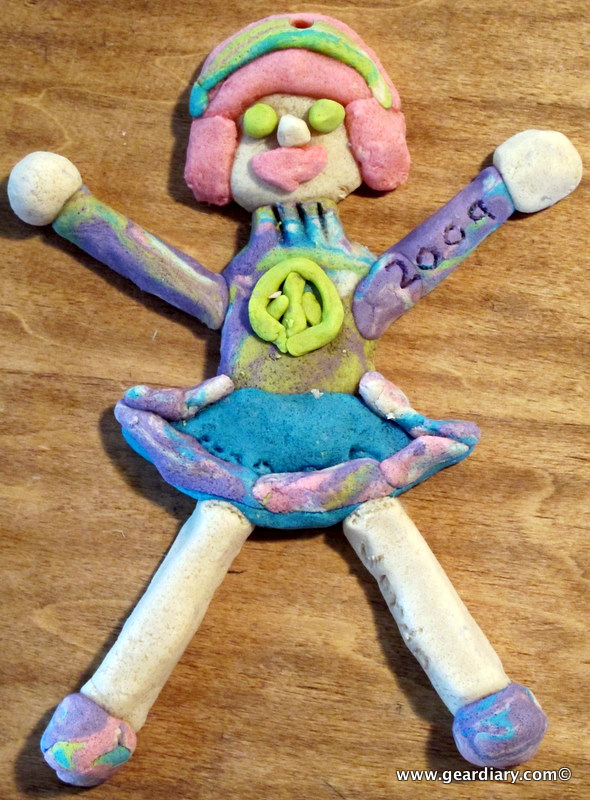
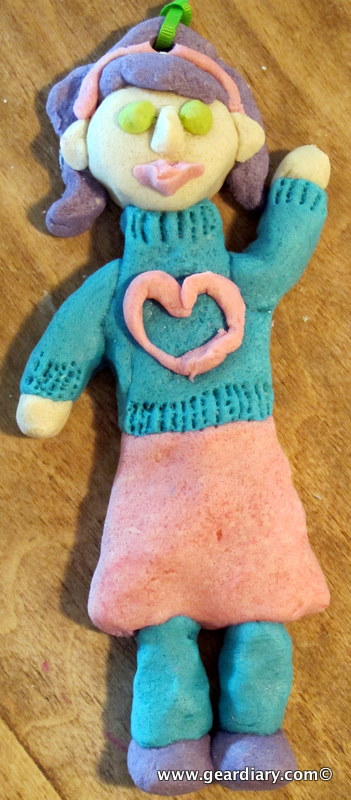
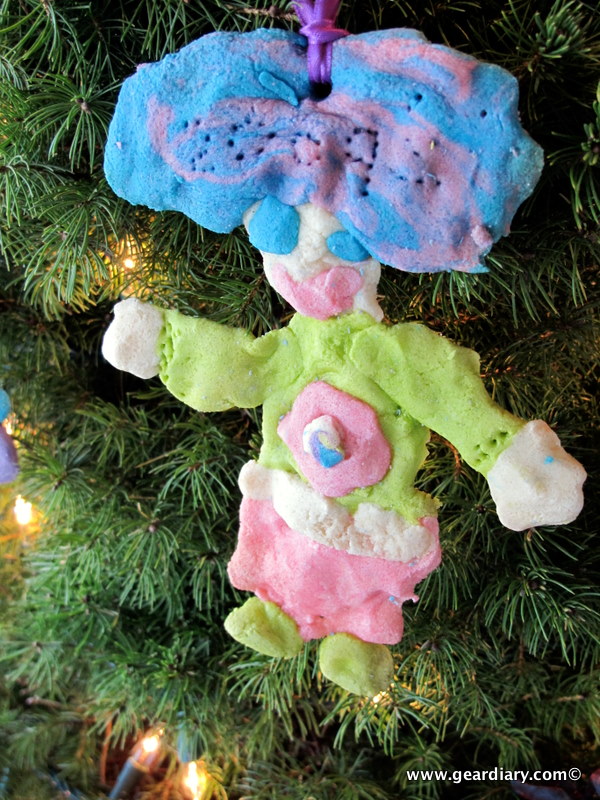
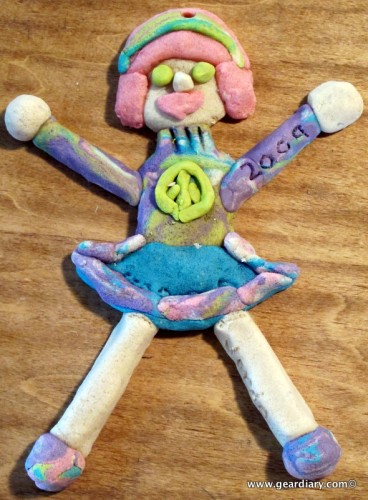
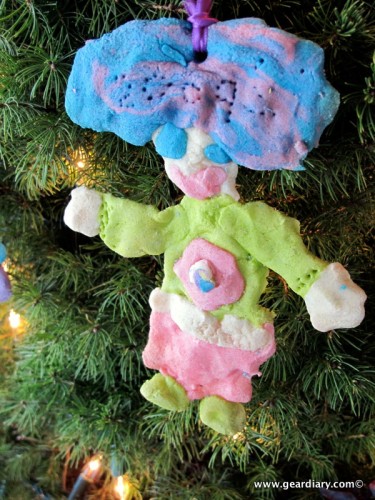
But after seeing the “doll” that I created…
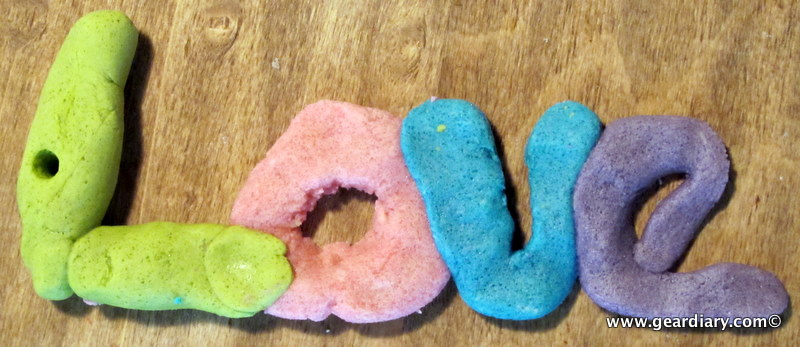
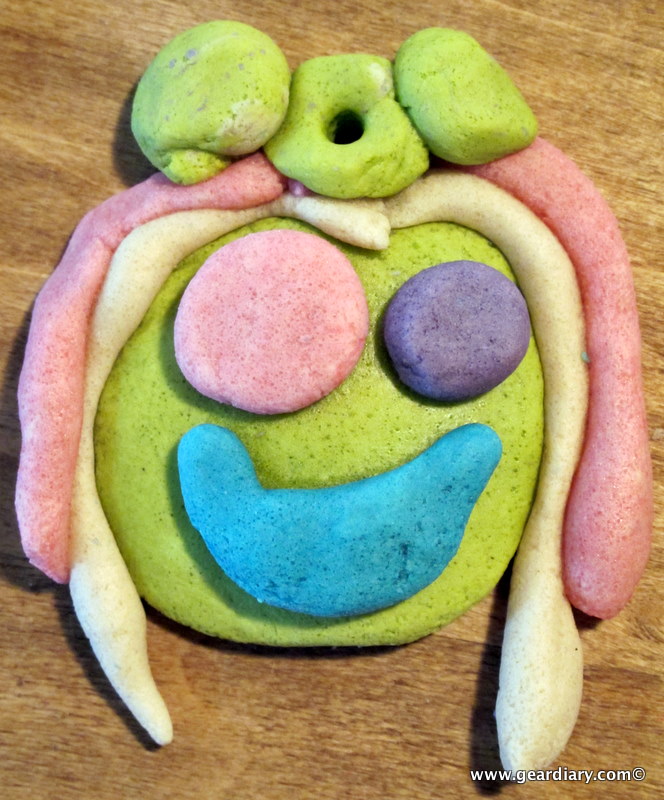
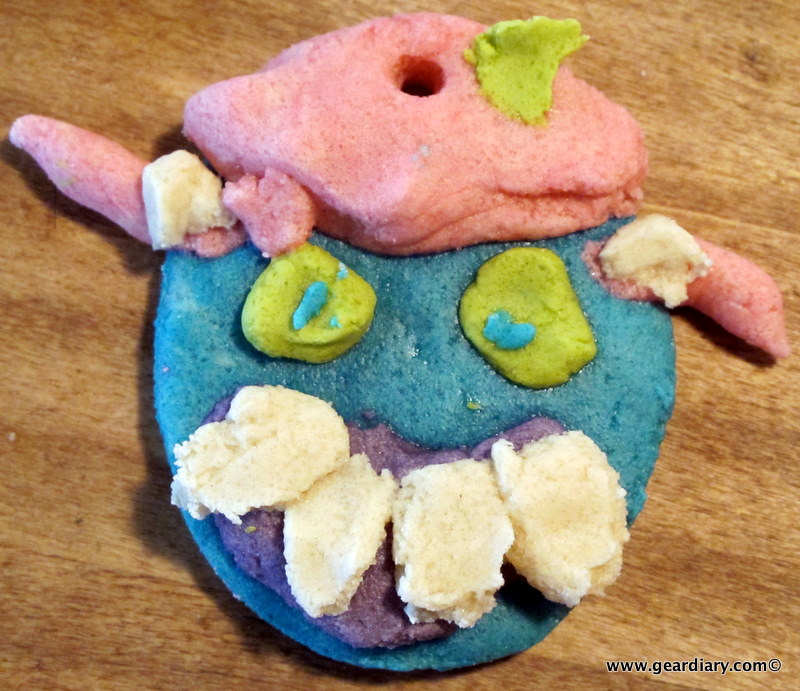
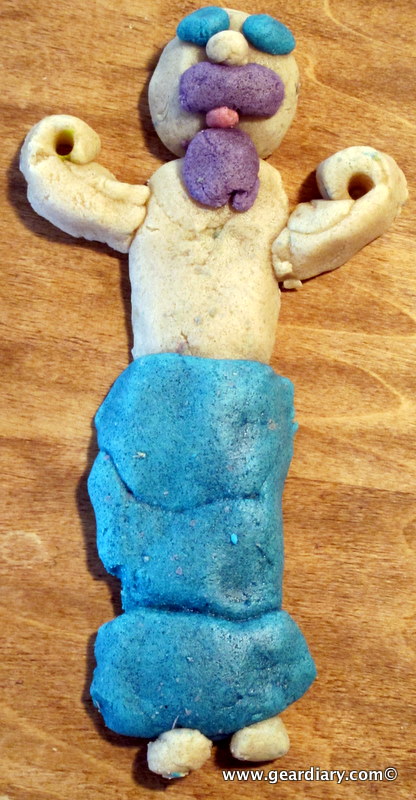
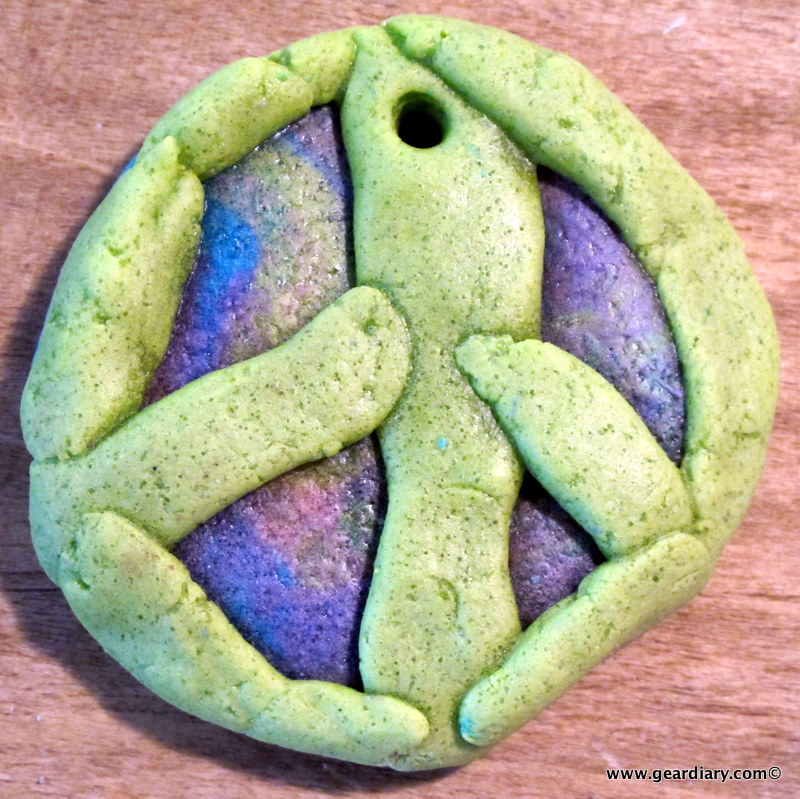
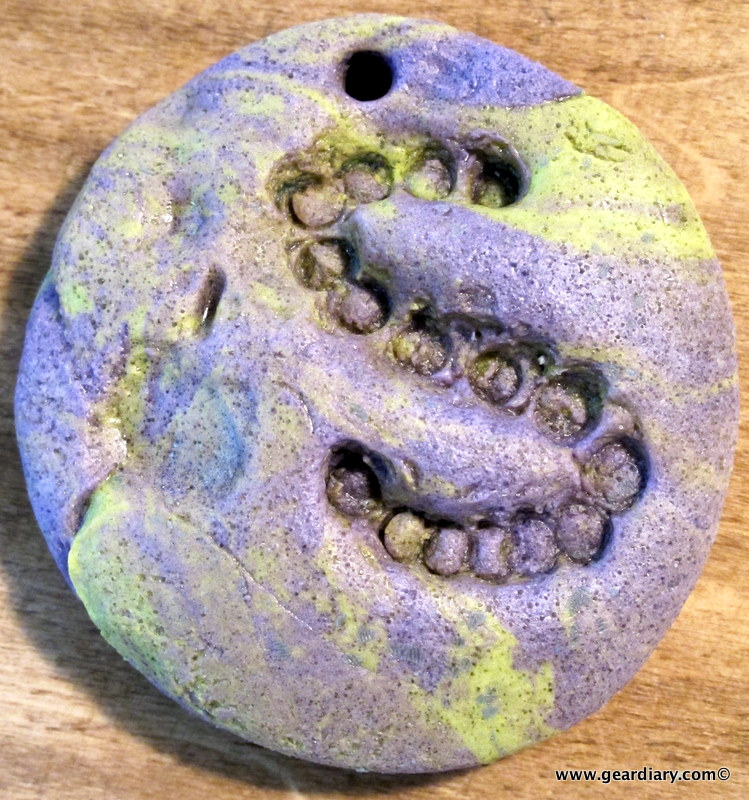
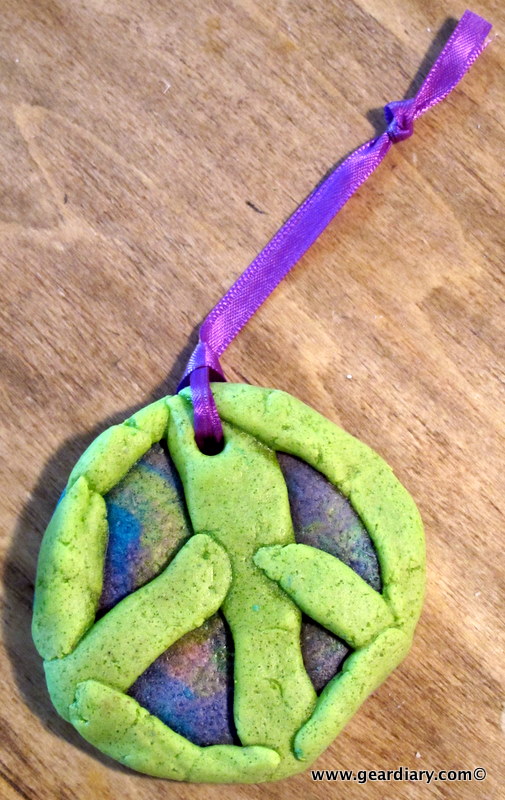
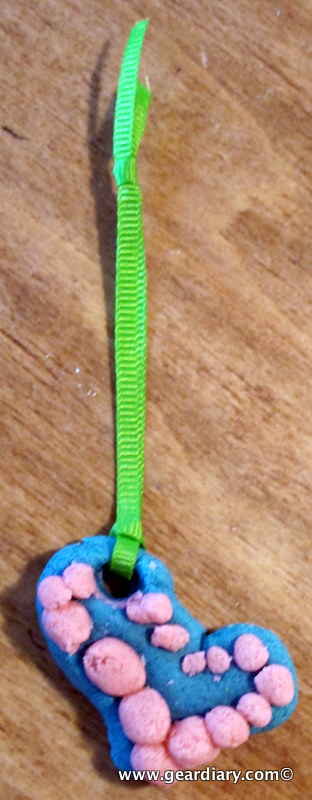
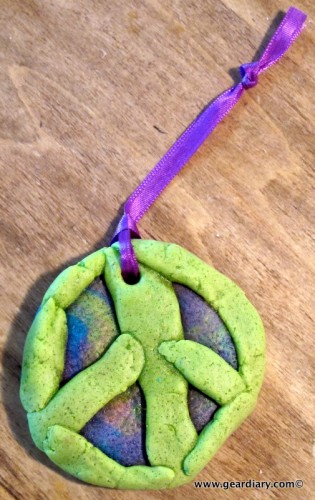
…they started doing their own thing — using a toothpick to carve in details or to stipple the date, and even getting creative with “tie dye” dough, formed by rolling several colors together and then flattening.
When the design is done, the parchment paper goes on top of a cookie sheet and right into the oven. The idea is that you are “baking” the ornaments on a low enough heat that they will not brown; it’s more to dry them out than anything else. Depending upon how thick your ornaments are, this can take a while – up to an hour, even.
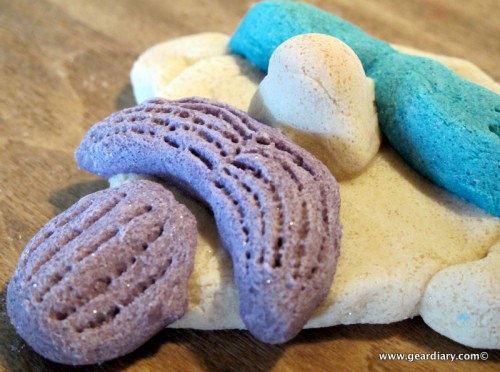
When the ornaments come out, they will look less vivid and much dryer, but they will be hardened and they should last forever — especially once you’ve lacquered them with clear varnish. I think the whole reason for doing them with salt versus sugar (like a regular cookie dough) may be to keep bugs from eating them in storage, and it also gives them a subtle glitter-shimmer. 🙂
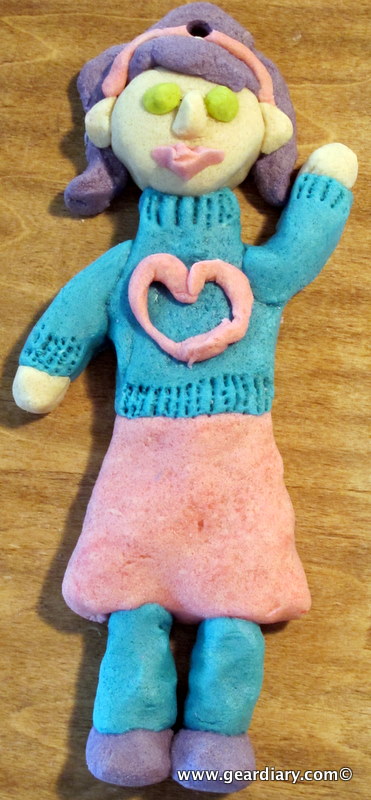
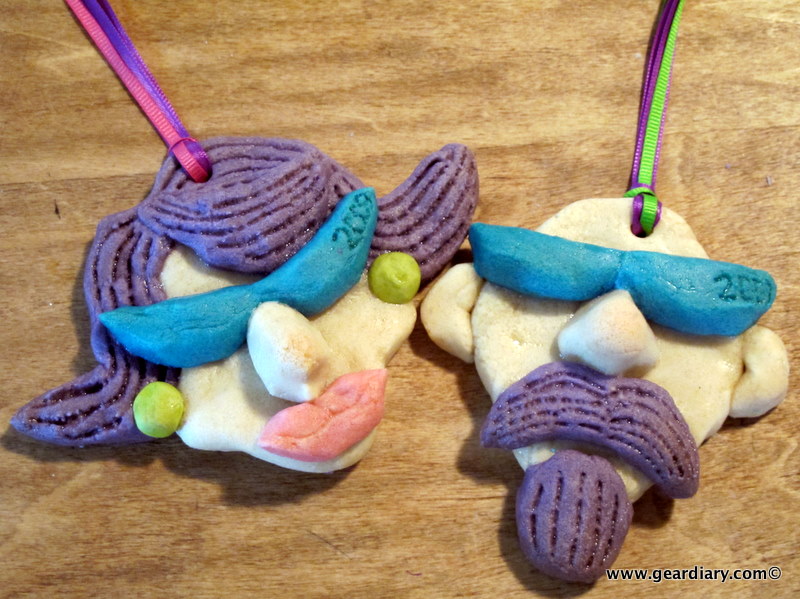
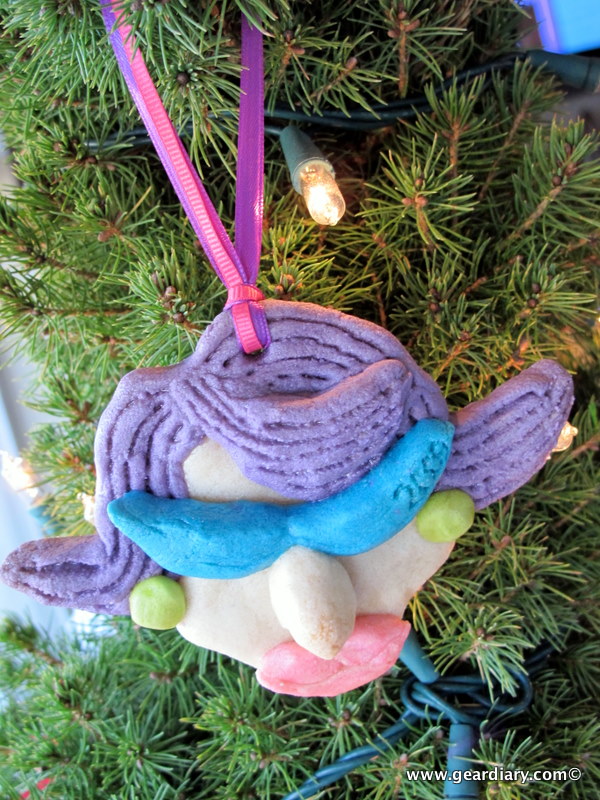
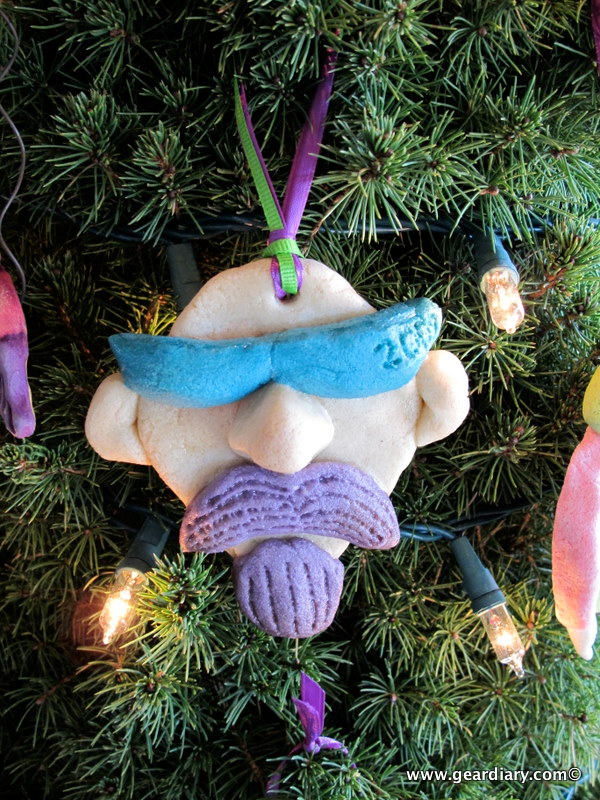
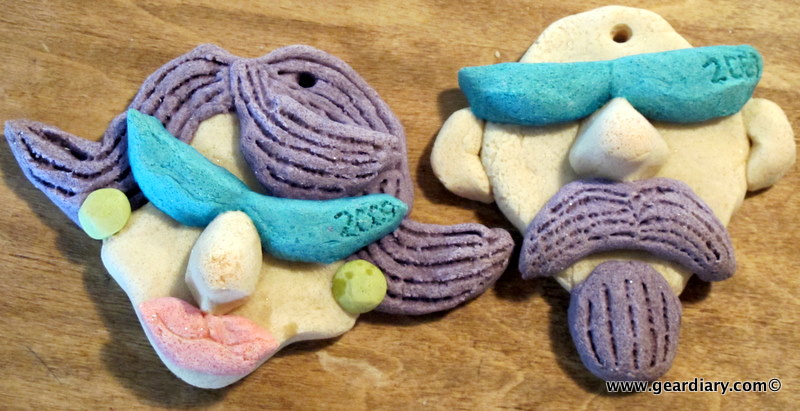
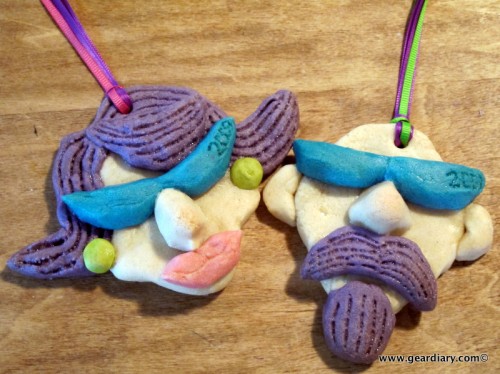
And here was my big masterpiece for the day – matching Kevin and me ornaments. 🙂
Tell me that these aren’t totally creative and a great way to commemorate the artistry of a 6, 10 and 42-year-old …
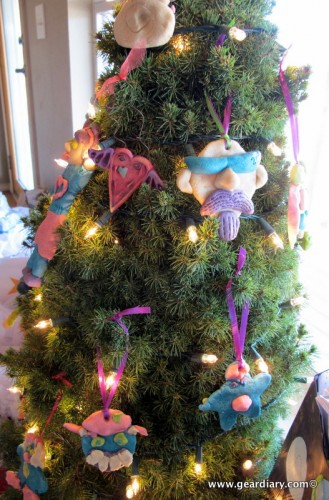
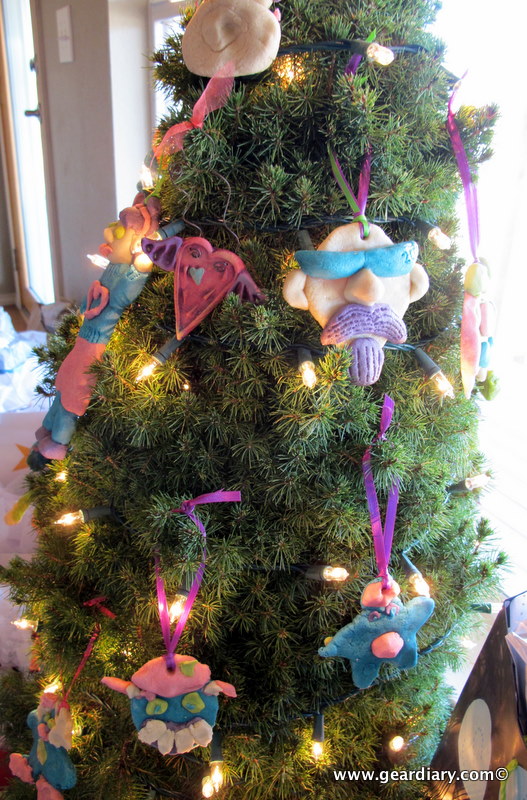
the professional-looking heart ornament was not made by us.
The best part is that if you end up with extra dough, just like play-dough it can be placed in a small Ziploc baggie and saved for another time. As you can see, we didn’t go for traditional holiday colors, which made our tree totally quirky and offbeat … kind of like us. heh!
You’ll probably also notice that some of the ornaments are a little bit large for our 5′ skinny tree, but I think they look fabulous. My goal for next year is to do a full smartphone line-up out of colored salt dough. 😉
