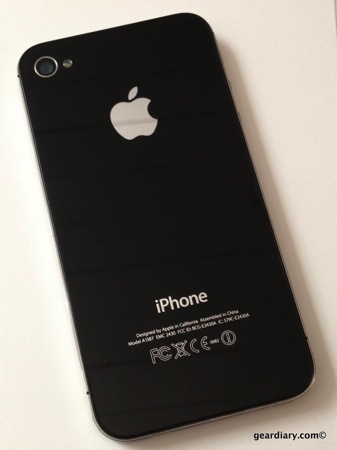
Carly was having huge battery issues with her iPhone 4S. It would run down in a matter of hours and, as a result, it was pretty much useless. That’s when she went out and picked up her Nokia Lumia 928. (Read her first impressions.) I asked Carly what she planned to do with the almost-non-functional iPhone now that she had a new super phone. That’s when it took up residence in my home. I put iOS 7.0 Beta on it, and while I have been rather impressed by the upcoming iOS update, I have found the same battery life issues Carly had.
I ordered a replacement battery and tool kit from Amazon and set out to do some surgery. To be clear, if this were my work phone I would never open it up. This was a demo device for me, so I was willing to take the risk. Let’s take a look at the process of taking an almost useless iPhone 4S and giving it a new lease on life.
I unscrewed the two screws on the bottom; I then attached the suction cup I received as part of the battery replacement kit, and I used it to slide the glass back up and off the phone.
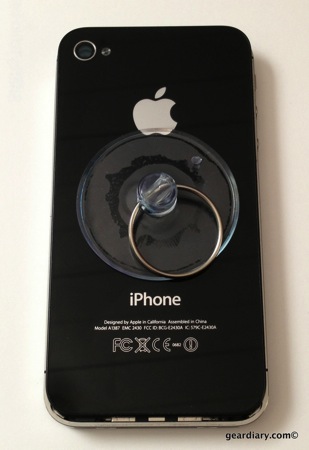
Pull the back cover off.
The total elapsed time took just a few seconds. It is important however to be VERY careful with the screws. They are tiny and rather important.

With the back now off the phone, I was able to see the battery and all of the other internal components. At this point the phone was more than a bit vulnerable, and I took my time and proceeded as slowly and carefully as possible.
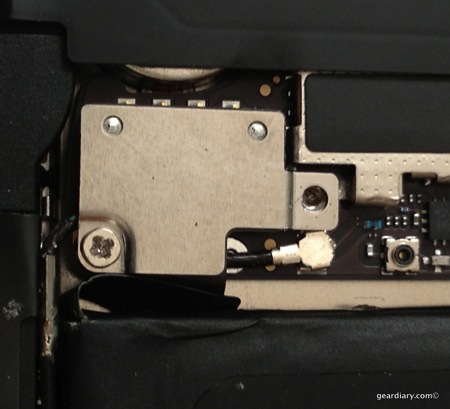
Tiny Screws That Get Lost If You Aren’t Careful
Not only is the battery glued down but there are two small screws holding the connector in place. I carefully removed the screws and placed them aside. It is worth noting that they are even smaller than the first two screws and, as a result, as even easier to lose.
I should know, I lost one within seconds.
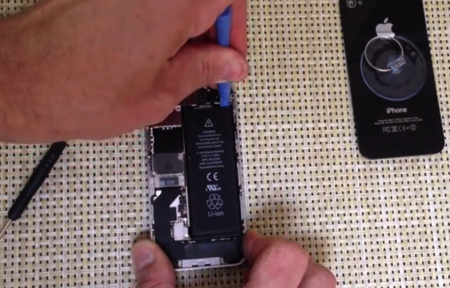
Pry the battery loose
I then used the plastic pry bar to slowly loosen the adhesive holding the battery in place. It took a while, because I wanted to make sure I didn’t damage the phone’s internals.
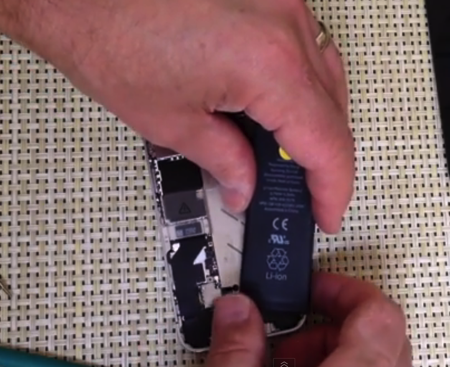
It eventually came free, and I slowly lifted it out.
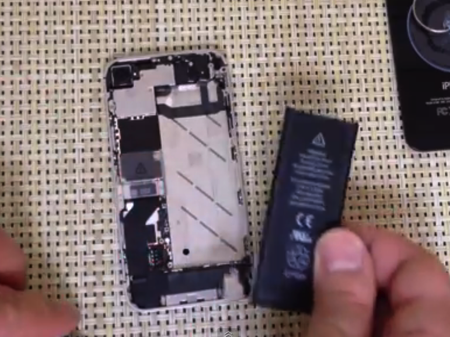
Pull it out.
Once the original battery was removed, I set out to put the new battery in place. I placed the connector in position and screwed it down. I then eased the new battery into the cavity vacated by the original one, and then I replaced the back cover.
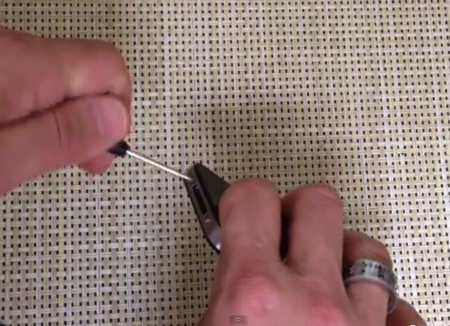
Close it up.
From there it was as easy as charging the phone and turning it back on. Not only does it work, but the phone now gets a day’s worth of use on a single charge. That means I was able to save this iPhone 4S for under $10!
Is your iPhone having battery issues? Are you up to a do-it-yourself project? Grab the kit through our Amazon Affiliate Store.
