I’m married to a man who enjoys brewing his own beer; Kev has a shop with a section dedicated to the equipment needed for mixing, brewing, proofing, and serving homebrew, and he has invested plenty of dollars and copious amounts of time into his hobby. I fully expected snark when I started reviewing the PicoBrew Pico, because it’s cheating, right?
Well, using the Pico Brew Pico isn’t quite cheating, because you are still an active participant in the brewing process, and it’s definitely creating homebrew. This isn’t anywhere near a Keurig for beer, but it’s almost as simple. Instead of having multiple brew pots and needing a lot of space to get the deed done, the Pico brews 1.5 gallons at a time of quality beer in a limited amount of space right on your countertop.
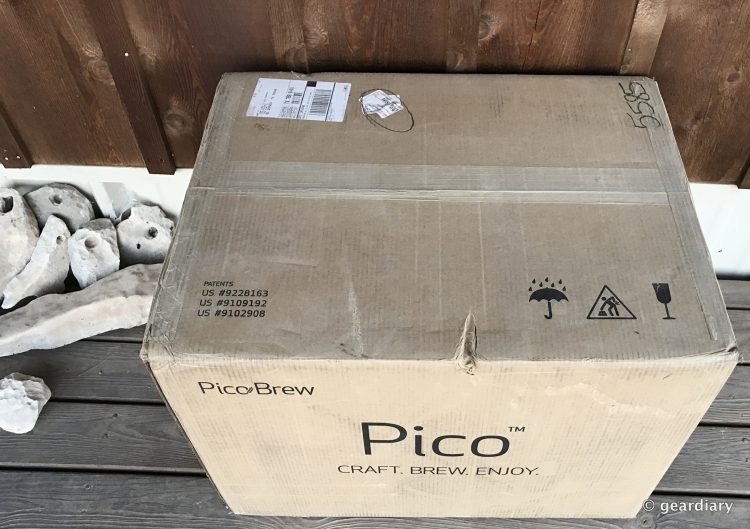
When it arrived, I couldn’t help but notice PicoBrew package’s size. I was a bit worried about where I was going to put everything, but I needn’t have worried. While there are a lot of accessories inside the boxes included in the large shipping box, it’s a very compact system.
Included in the package are the Pico brewing machine, a user manual, one Half-Squeezed IPA PicoPak, one brewing keg, one dispensing keg, a brewing keg seal, stopper, and keg lid, a keg cozy (for maintaining brewing temperature), a fast fermentation adapter (for decreasing fermentation time), a dispensing keg plug, a dip tube brush (for brewing keg cleaning), two keg wands (for system cleaning), a racking tube (for transferring wort from brewing keg to dispensing keg), a CO2 regulator and adapter (for the dispensing keg), cleaning tablets for deep cleaning, and a sous vide adapter.
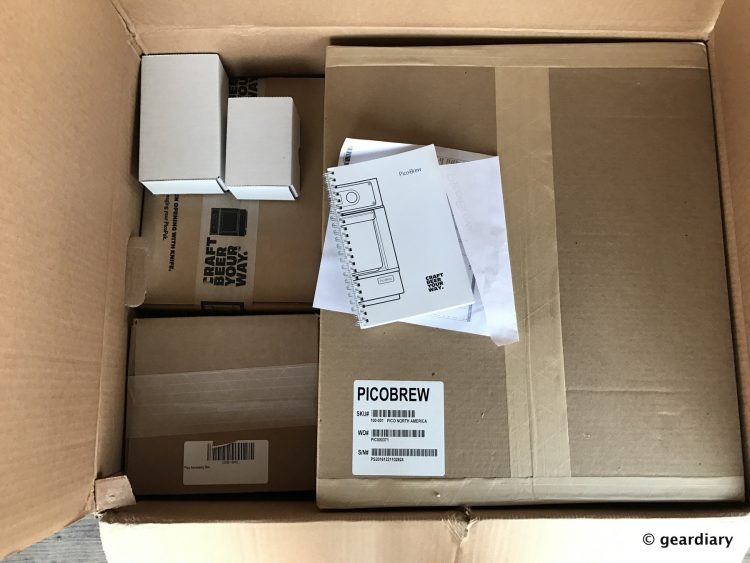
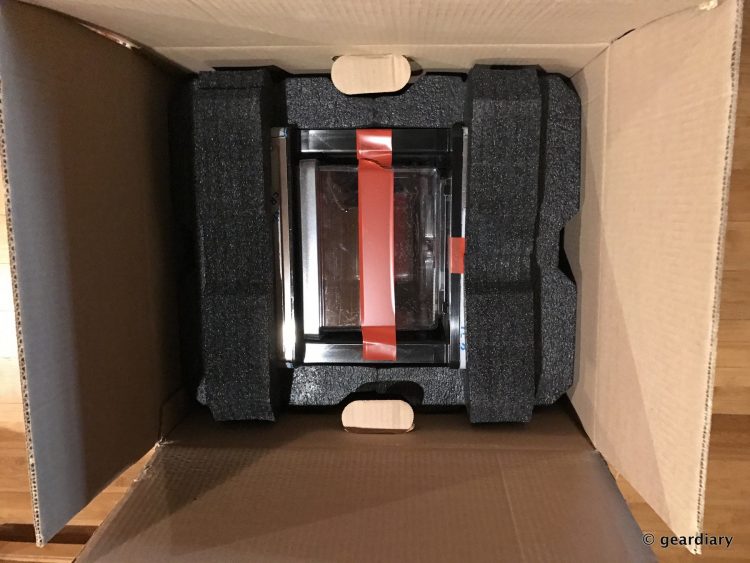
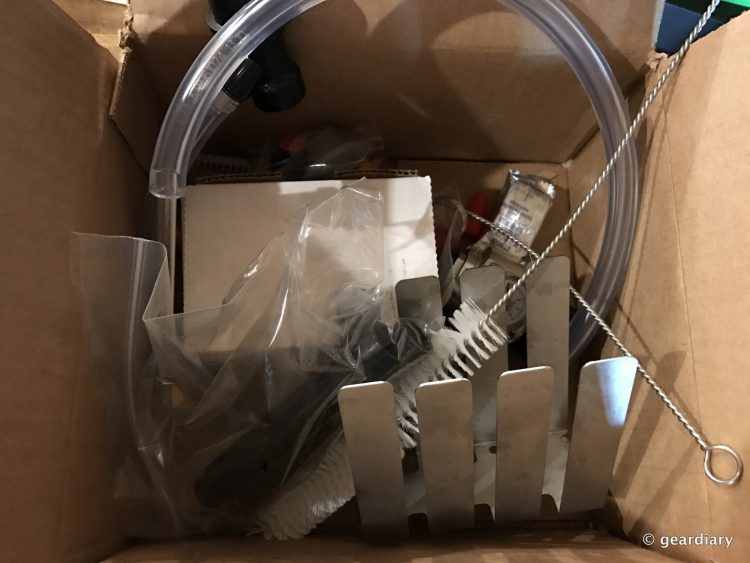
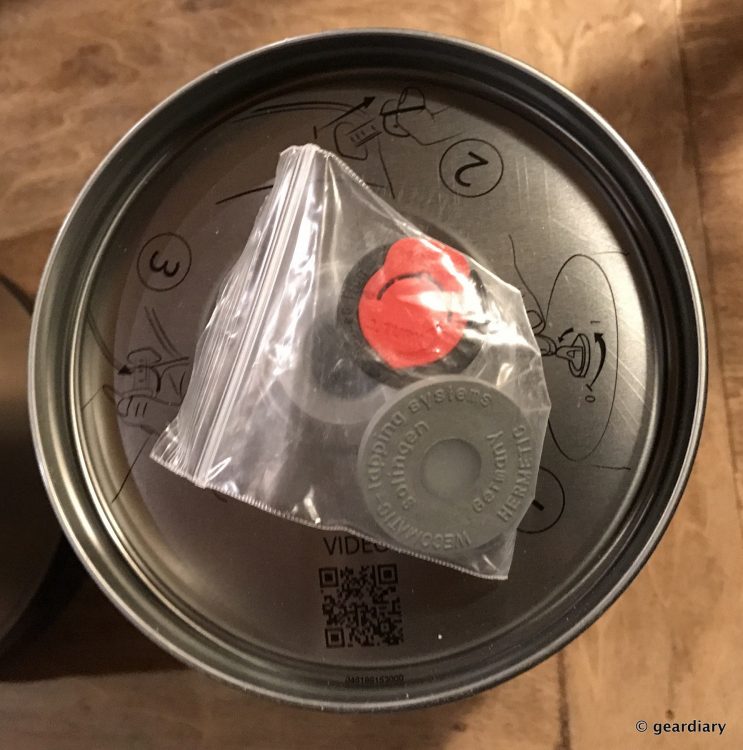
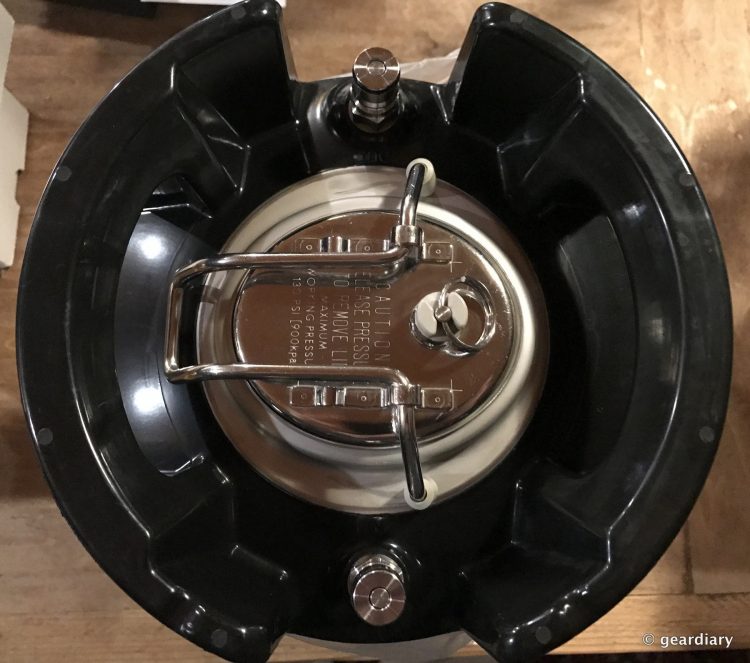
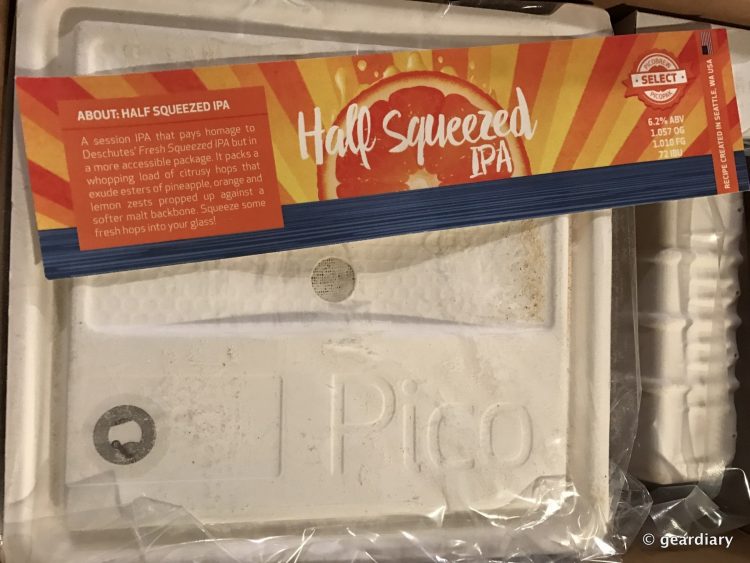
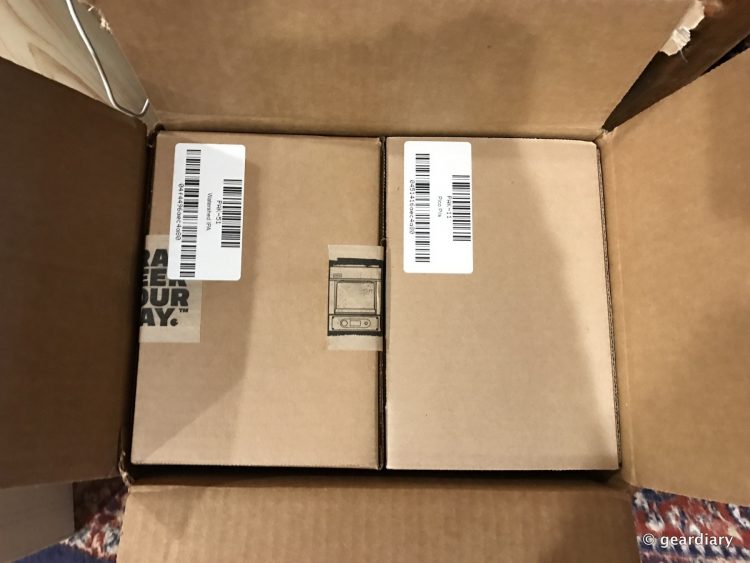
In other words, almost everything you need is included to start brewing beer the minute the Pico is delivered to you. What else will you need? A Wi-Fi connection (used during set-up), 3 gallons of either RO water or several gallons of distilled water (used during brewing), sterile water or vodka (used during fermentation), 1.5 cups of hydrogen peroxide (used during racking and carbonating), and some fragrance-free powdered dishwashing detergent (for final cleanup).
No really. That’s all.
And because there’s about a week to 12 days between fermentation and the racking & carbonating part of the process, as long as you have vodka and RO water (or distilled water) on hand you will be good to go immediately even if you don’t have hydrogen peroxide or the fragrance-free dishwashing detergent on hand.
Are you ready to brew some beer with me? Let’s go …
Since we have a reverse osmosis filter installed at our kitchen sink, I was able to get started the same day I opened the box. We live in the country, as many of you know, so not having to run into town to pick up more supplies before brewing was a huge bonus. After checking to be sure that everything that was supposed to be present had arrived from PicoBrew, I was ready to start.
That’s not to say that everything went off without a hitch, however. At 16.5″ tall by 12.5″ wide by 14″ deep, the Pico was literally 1/2″ too tall to fit perfectly under our kitchen cabinets (so aggravating!). I was kind of sad that I couldn’t set the Pico up and keep it there, but it turned out to not be a big deal, as there was still enough counter space (without going under the cabinet) for the Pico to sit securely and do its work.
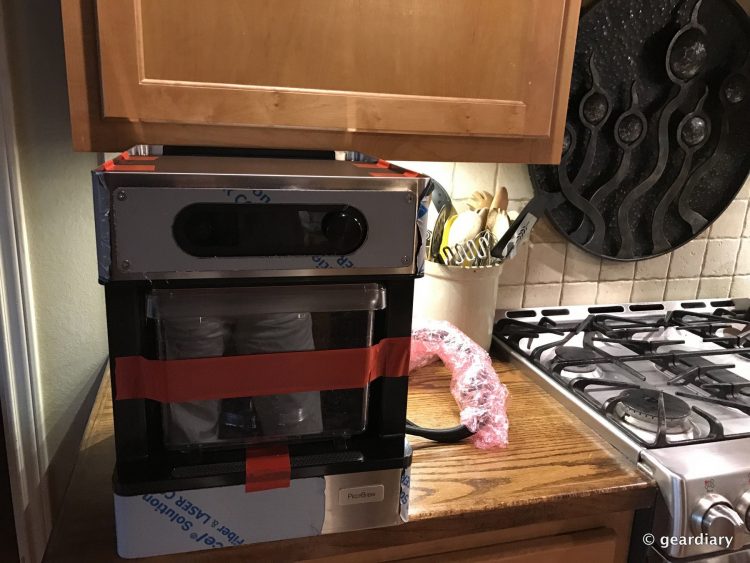
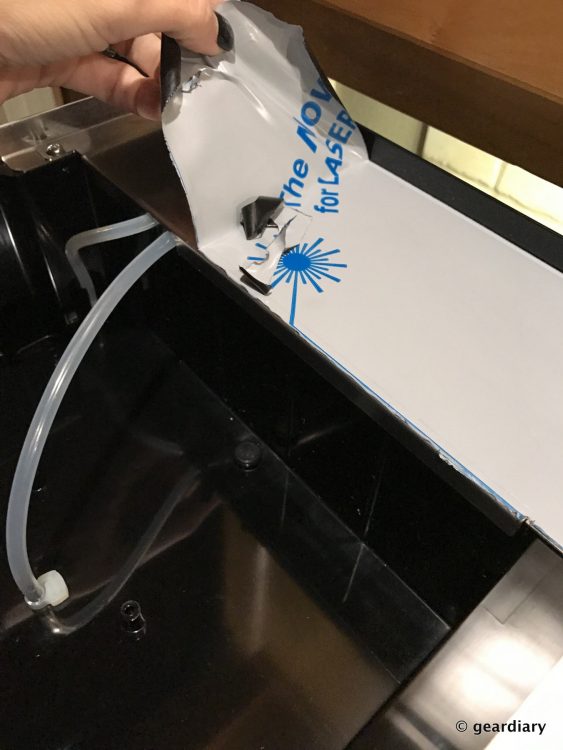
The Pico exterior is stainless steel, and to protect it there is a gray protective wrap that will need to removed along with some red tape that keeps the parts from moving during shipping.

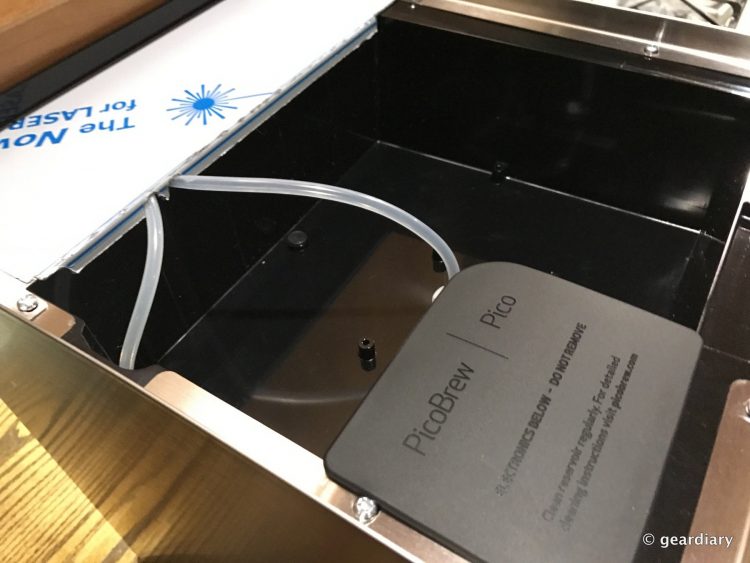
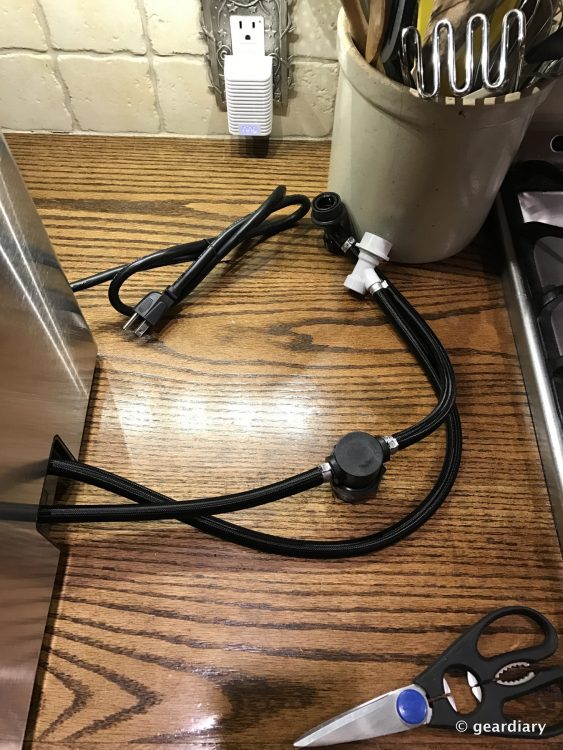
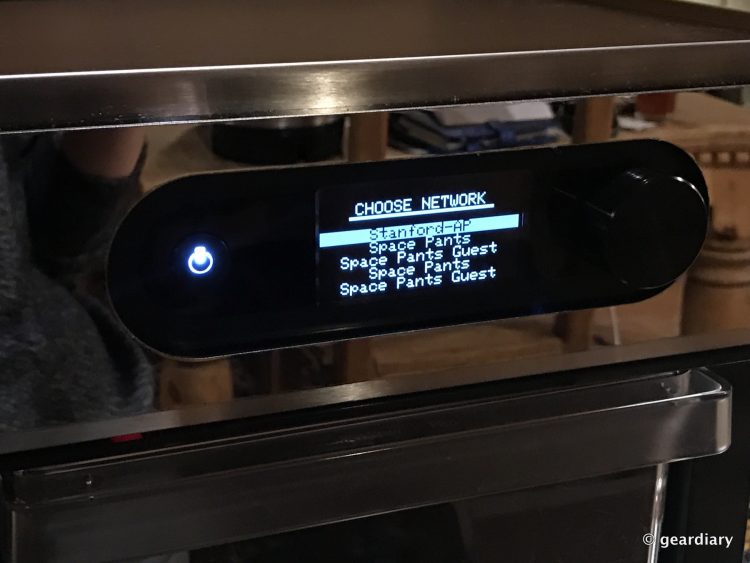
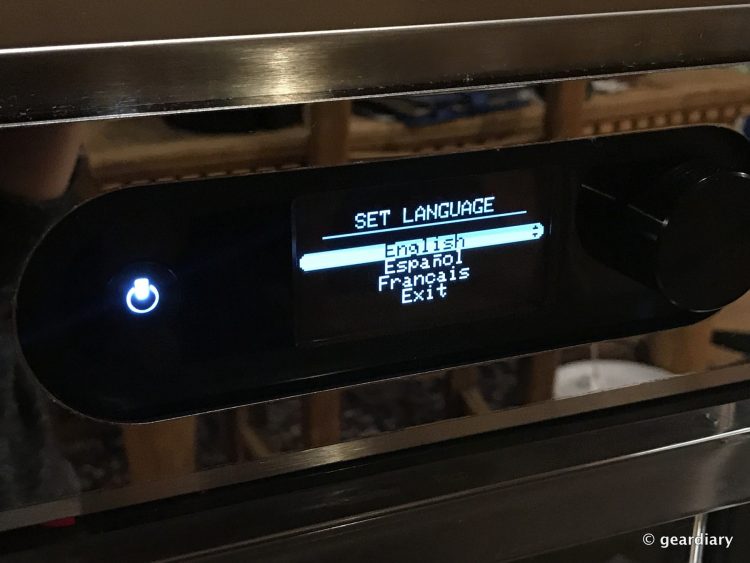
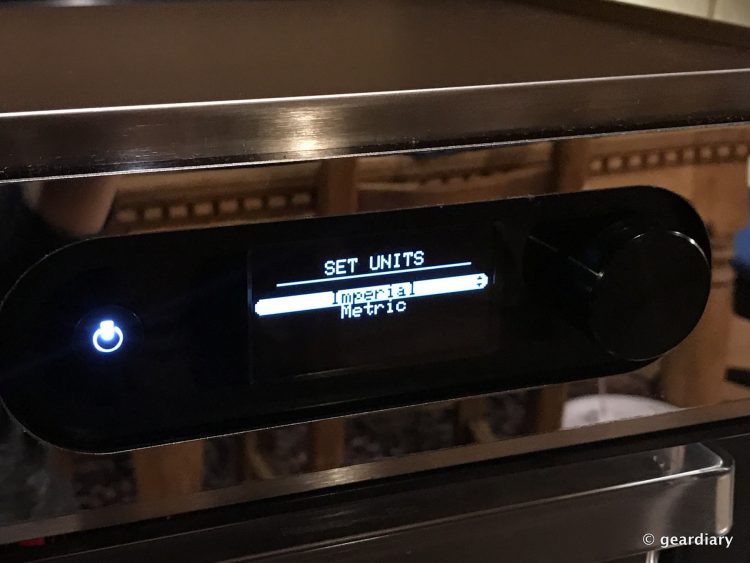
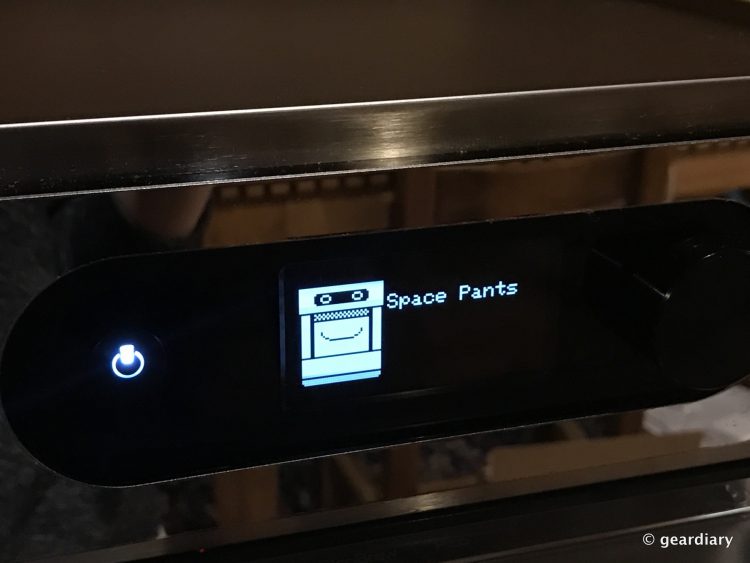
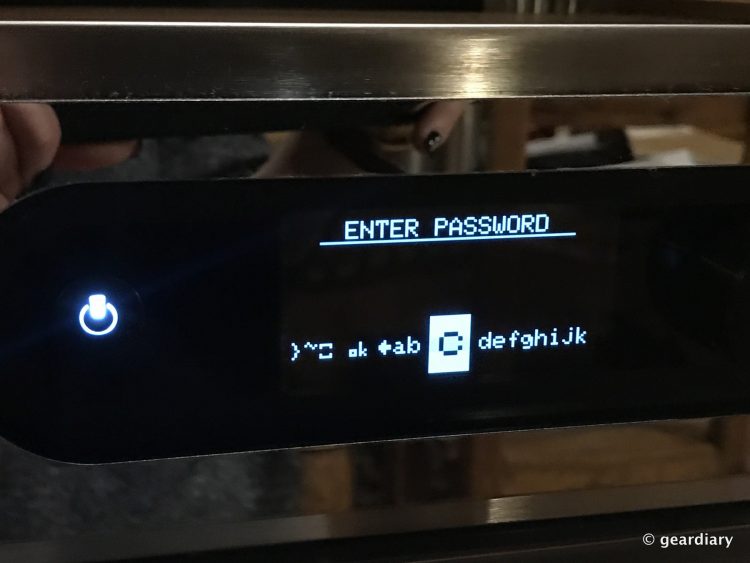
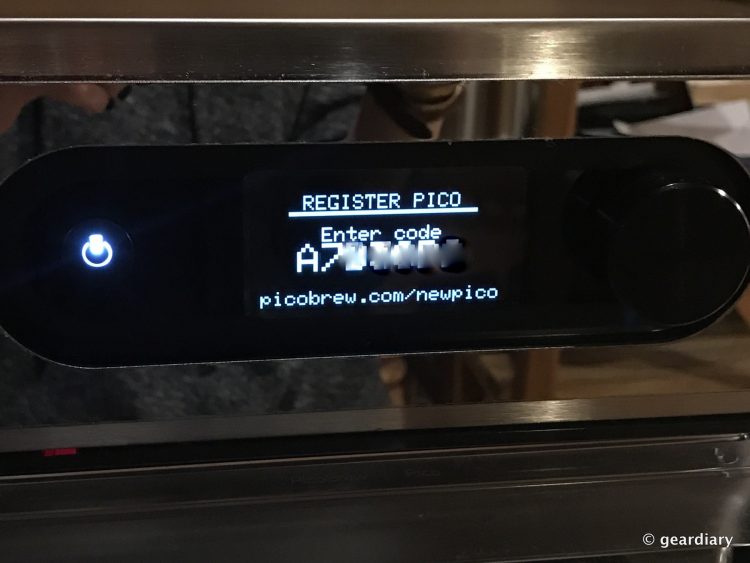
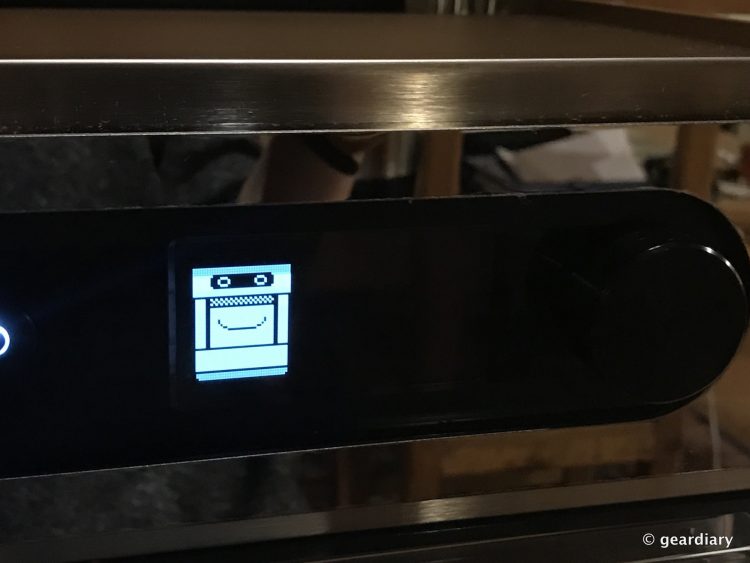
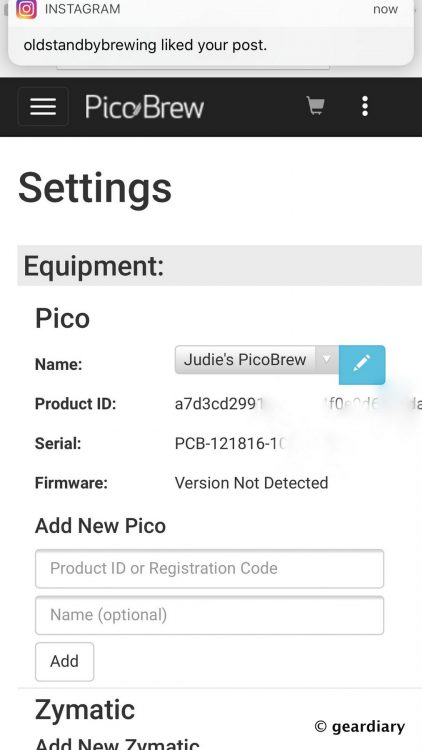
The first thing to do after you’ve unwrapped the Pico is to plug it on and turn it on. Your Pico will wake up and ask you to enter your WiFi network information, then it will want your unique Pico user code. You’ll finish by creating an account at the Pico site, assuming that you haven’t already. While there isn’t a Pico app, you can do all of this from your mobile device, including watching your current brew’s progress later.
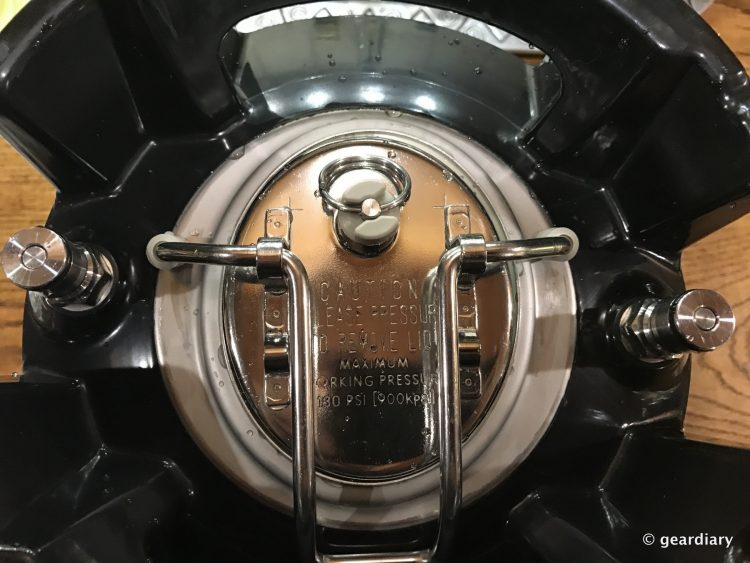
Now it’s time to clean your Pico. You’ll rinse the brewing keg, the black rubber keg seal (in the accessory box), and the large plastic bin inside the Pico and its lid (it’s called the step filter) with tap water. You’ll have to remove the metal lid from the brewing keg; it requires a bit of muscle the first time, but you can do it. Make sure you don’t leave its large rubber O-ring behind inside the brew keg.
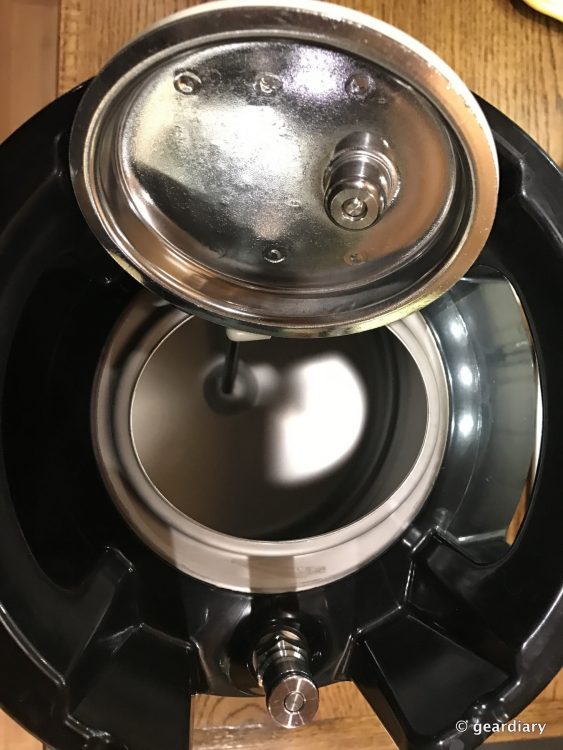
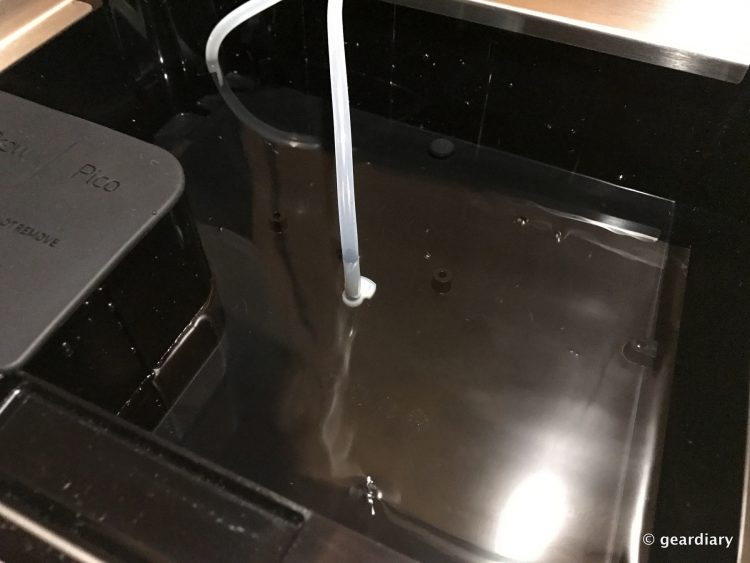
Next, you’ll add 8 cups (1/2 gallon) distilled or RO water to the water reservoir in the top of the Pico. It’s important that you never put tap water in the reservoir — it’s a clean zone.
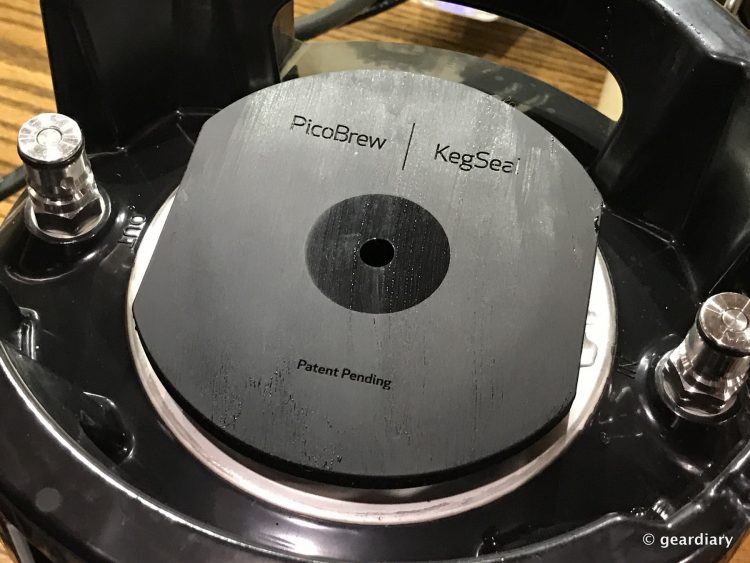
After putting the black rubber keg seal on top of the brew keg (and making sure that it is snapped into place), you’ll attach the black ball lock connector to the OUT post on the brew keg and the gray ball lock connector to the IN post.
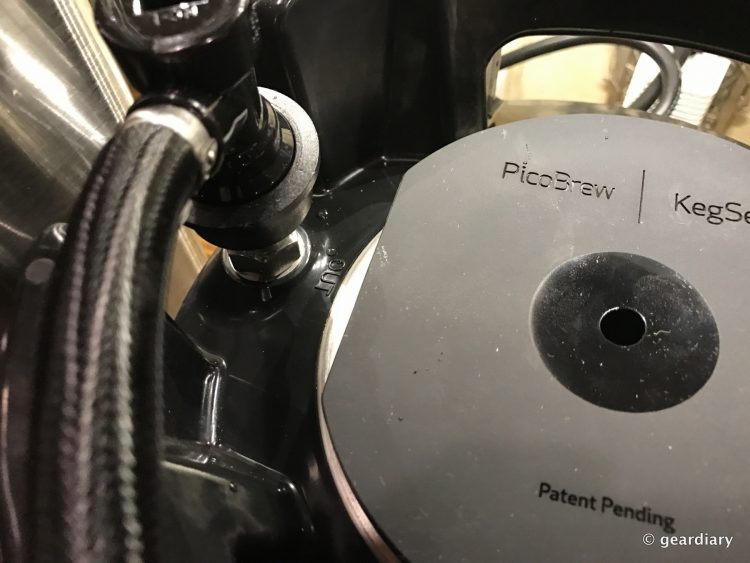
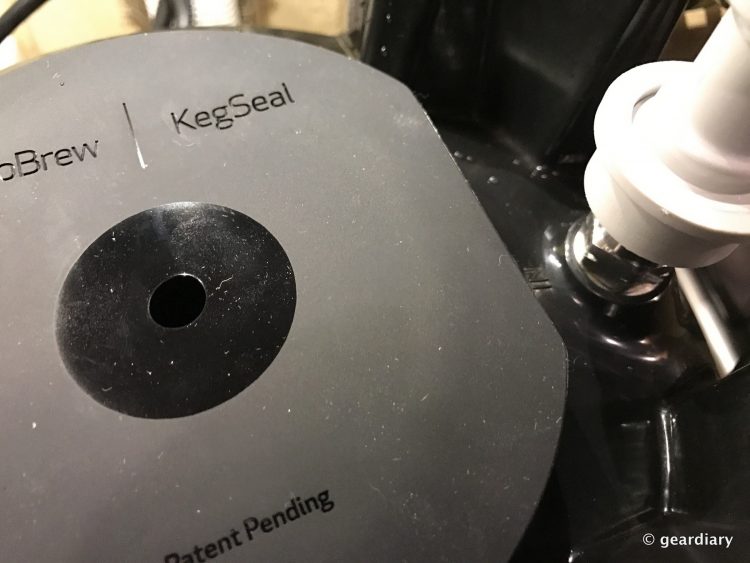
Make sure that you have the connectors all the way down. I thought I had done it properly, but I found out later (once the brewing started) I wasn’t being quite aggressive enough with it. I was getting an error, so Kev walked over and pushed them down properly, and the errors stopped. So in other words, don’t be too gentle with this part — it’s not a delicate operation!
Now you’re ready to press the control knob on the front of the Pico to start the first rinse — it takes about 5 minutes for this to complete.
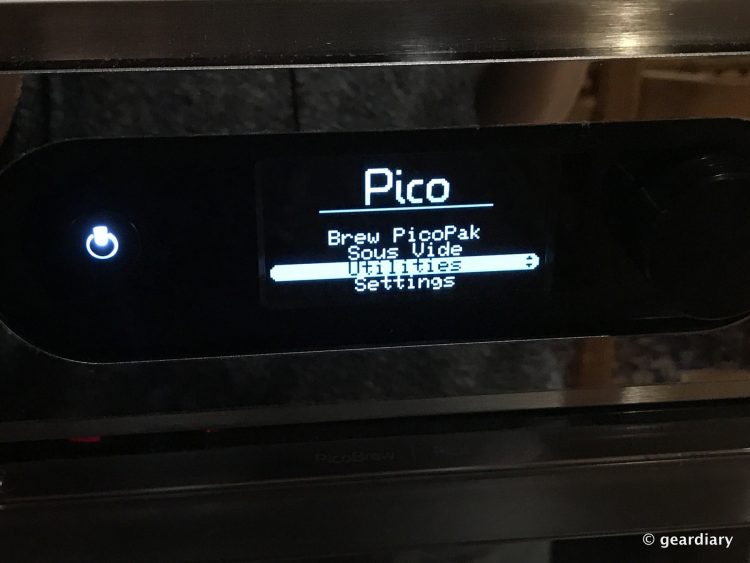
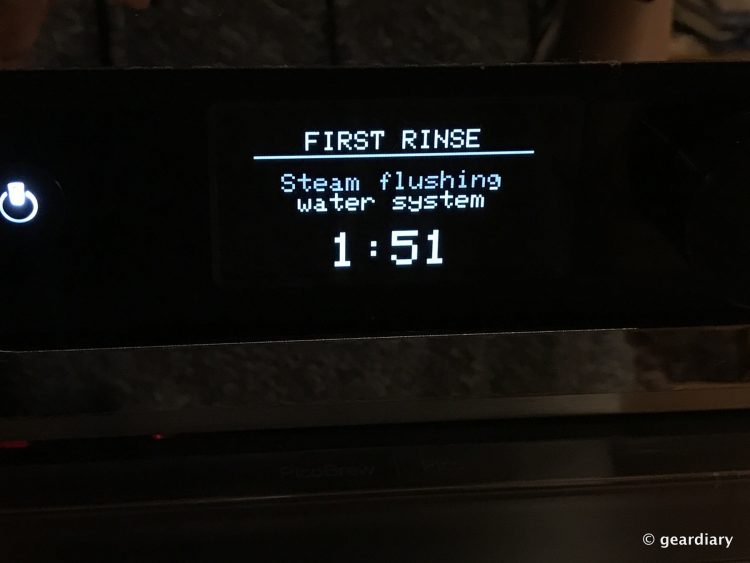
The included manual is fantastic because it basically holds your hand through every step of every process. I do wish the manual was laminated or made with water-resistant paper, though. There’s a lot of info in there, and you’ll need it every step of the way; it will also likely get wet at some point. 😛
After you’ve done that first rinse, you’ll find a couple of inches of water in the brewing keg and in the step filter, but there will still be a lot of water in the reservoir on top. To get that out, you’ll disconnect the ball connectors on the brewing keg and then you’ll attach one of the two black keg wands to the black ball lock connector. You’ll use that wand to suck the rest of the water out of the reservoir (it goes into the step filter).
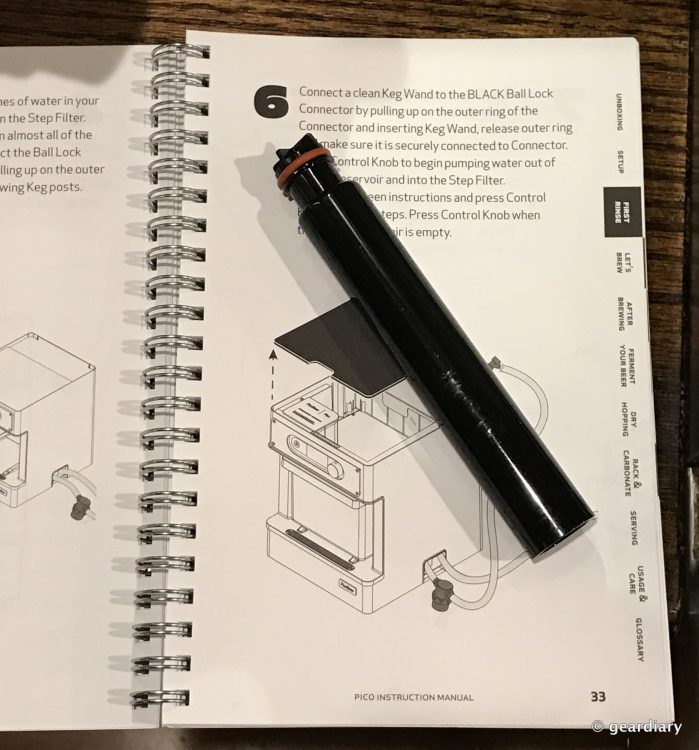
Once the reservoir has been emptied, you’ll unscrew the inline filter to remove the blue inline wire mesh filter; you’ll rinse it thoroughly with tap water.
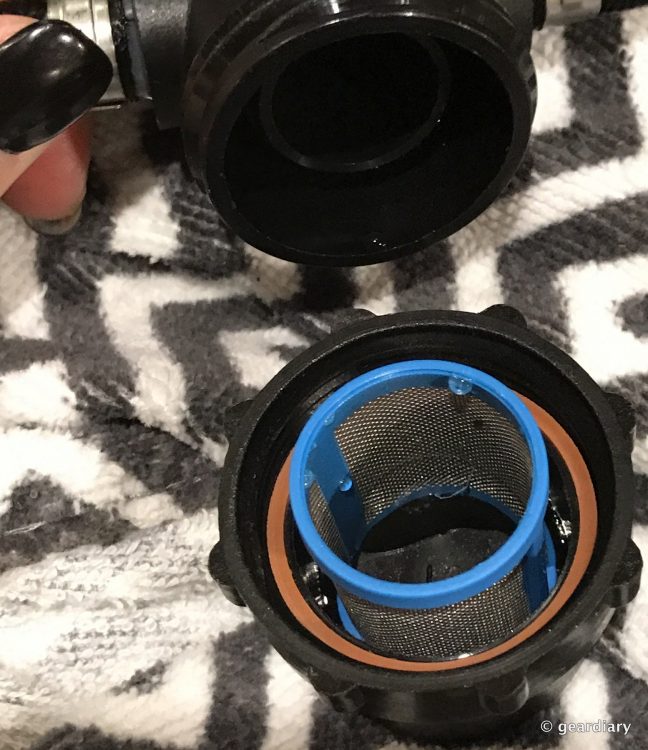
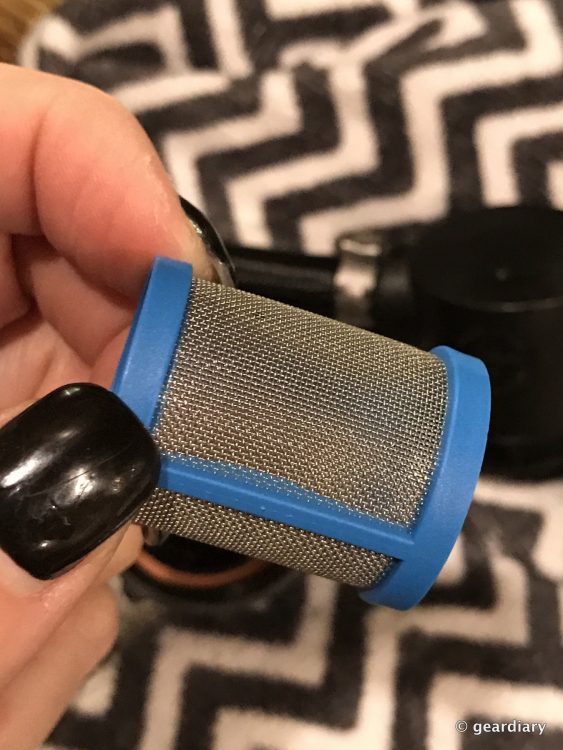
Now you are ready for your first brew!
This is about the time that I realized Kev was on the phone with his friend Charlie, and they were busily discussing the PicoBrew setup in our kitchen. Evidently, they were both very interested in (and slightly excited about) what was going on! After getting off the phone, Kev came in and became my much-appreciated brewing assistant. 😉
To get started, you’ll open the box containing the PicoPak. It contains the Hops Pak and the larger Grains Pak as well as the sugar, yeast, and (if your recipe calls for it) the extra hops for dry-hopping later.

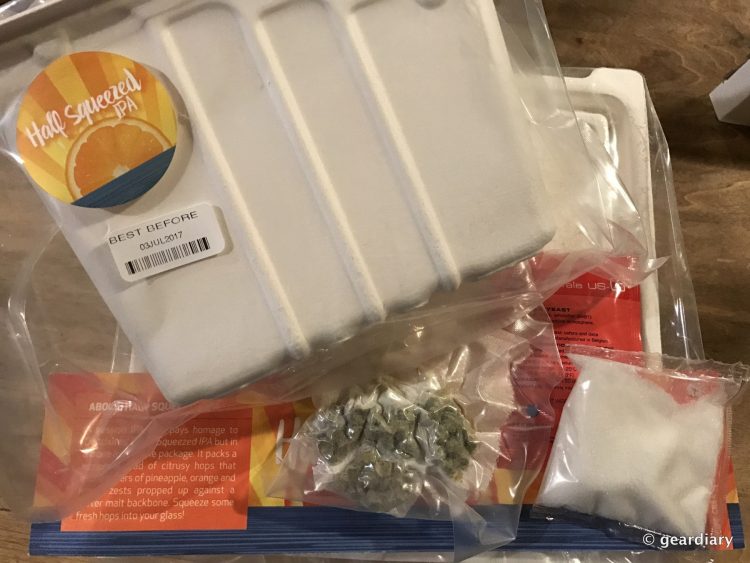
I’m going to digress for a moment and talk about the PicoPaks available on the PicoBrew site. PicoBrew has some original beer paks of their own as well as clones of impossible to find beers — like their Plinius Maximus, a Pliny the Elder clone. That’s a beer I have always wanted to try (because everyone who has raves about it), but it is nearly impossible to find much less buy. So … second best thing, I ordered the clone to try in the near future. PicoBrew has also partnered with many brewers to offer branded PicoPaks with some of their more famous brews.
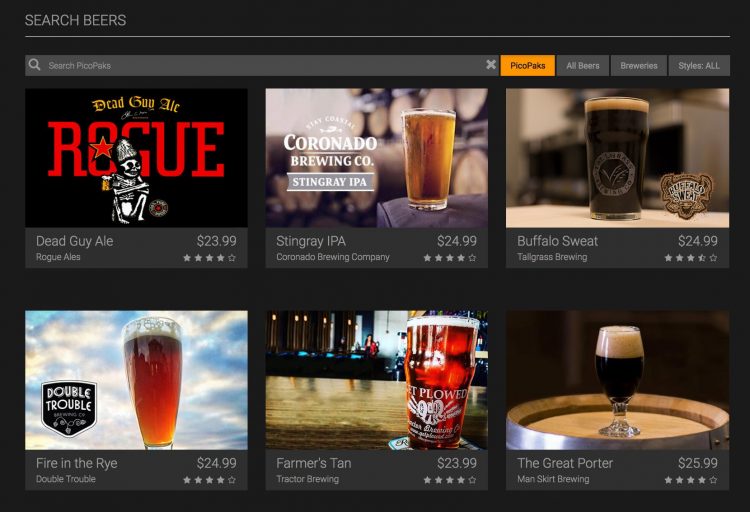

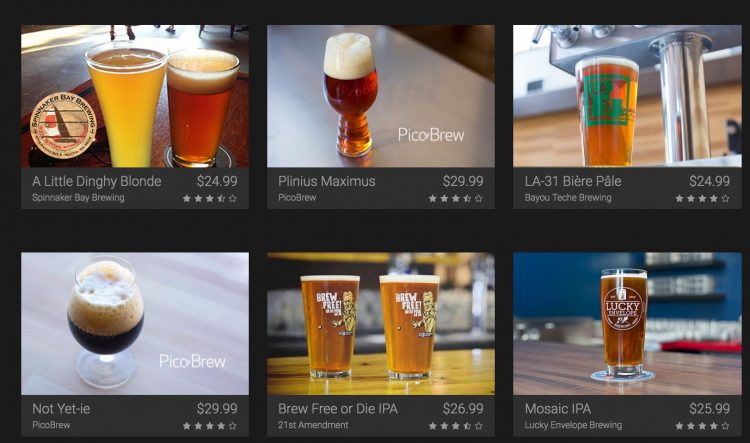
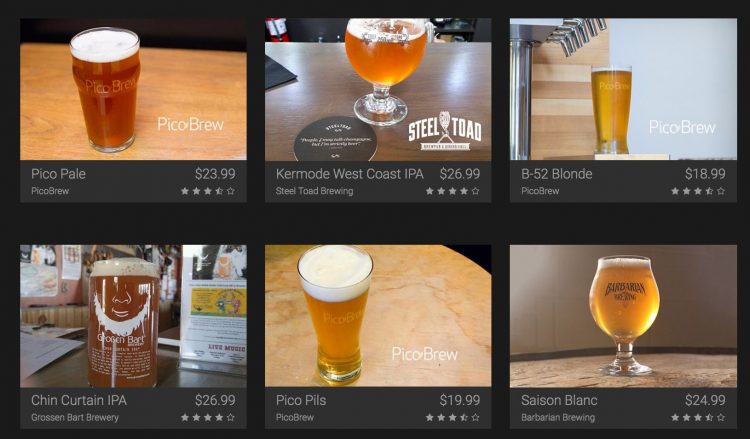

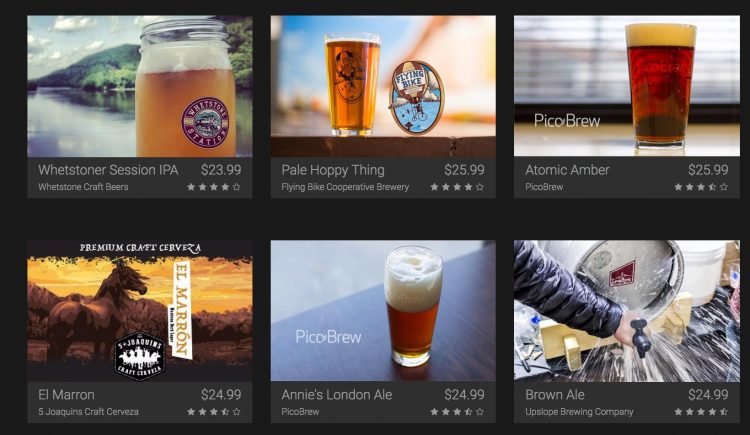

It’s a really cool system that allows you to get the exact recipe you want to create the beer you like.
Even better, if you know what you want and you feel confident enough to try it, you can create your own PicoPak! To do this, you start with a base beer and then customize it to your heart’s content.
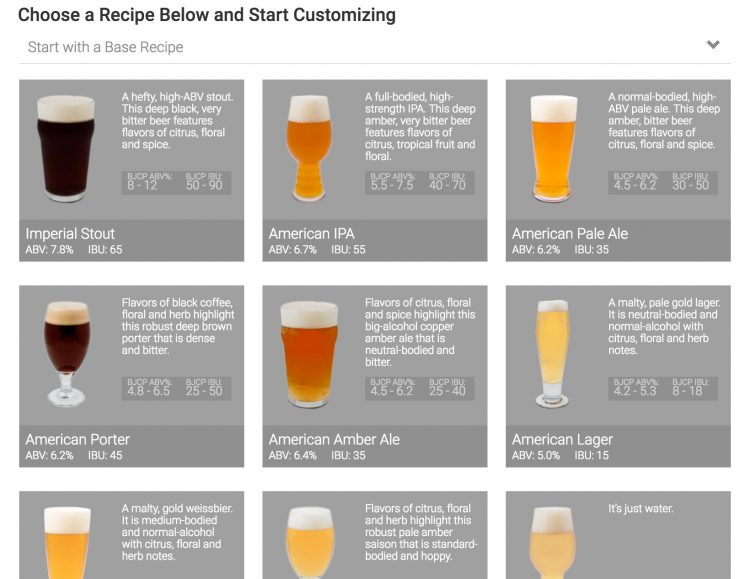
If you want to brew an original porter, for instance, but you want it to be thicker and more bodied, you can adjust the ingredients.
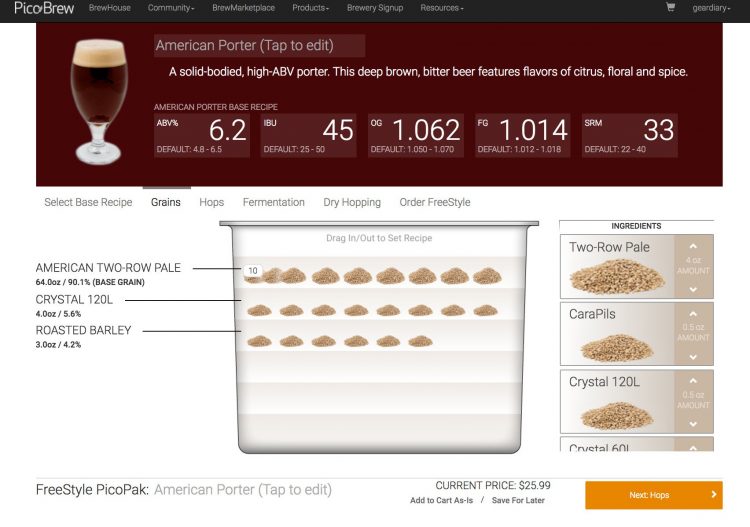
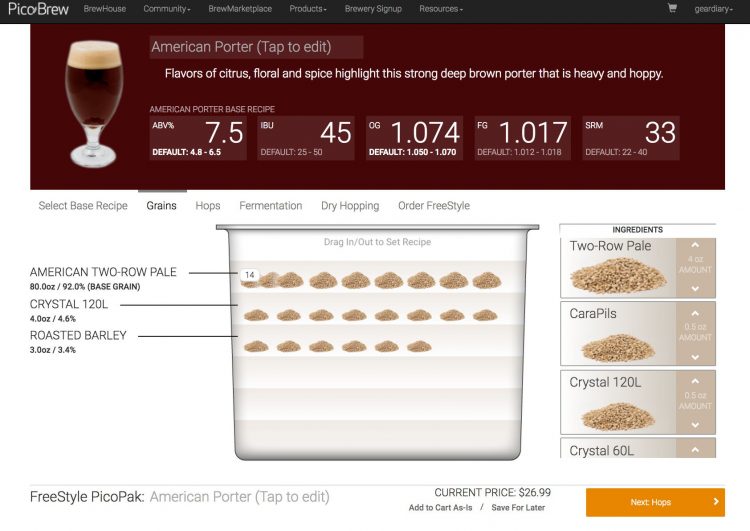
You can even create your own recipe entirely, starting with an empty PicoPak and building your brew from the ground up.
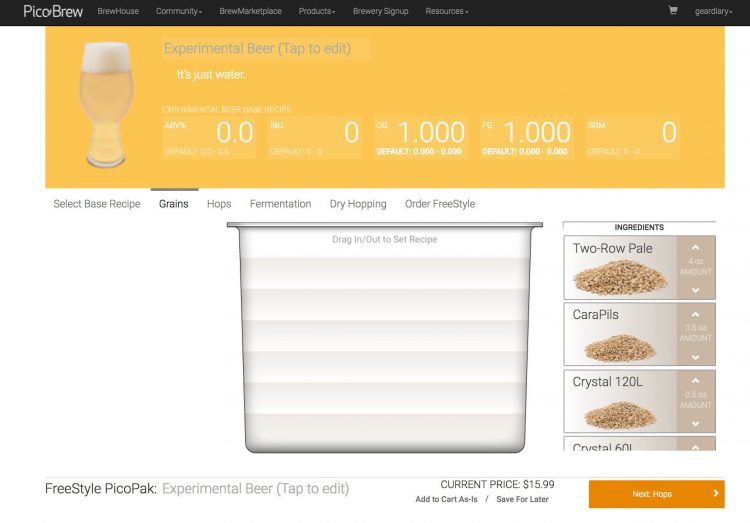
Pretty cool, right?
Okay — back to brewing!
You’ll need the V-shaped cradle out of the accessory box; it fits into the finger grooves on the Hops Pak.
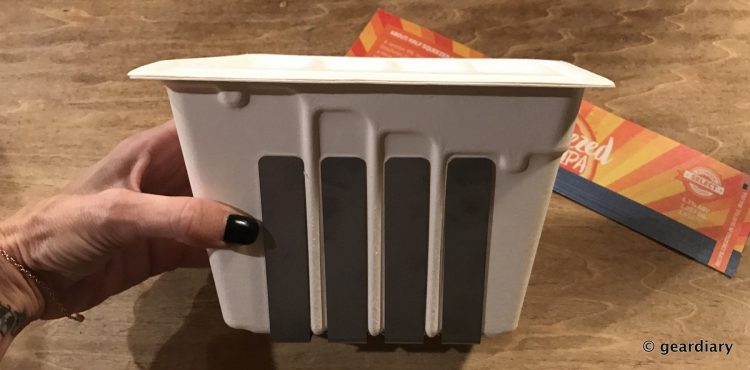
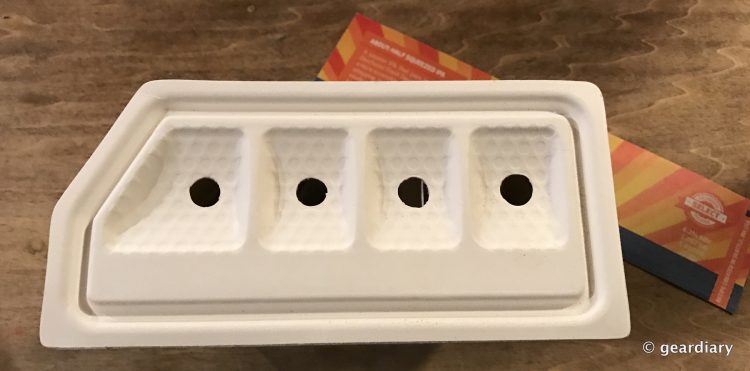
You’ll insert the grain and hops paks into the step filter just like this:
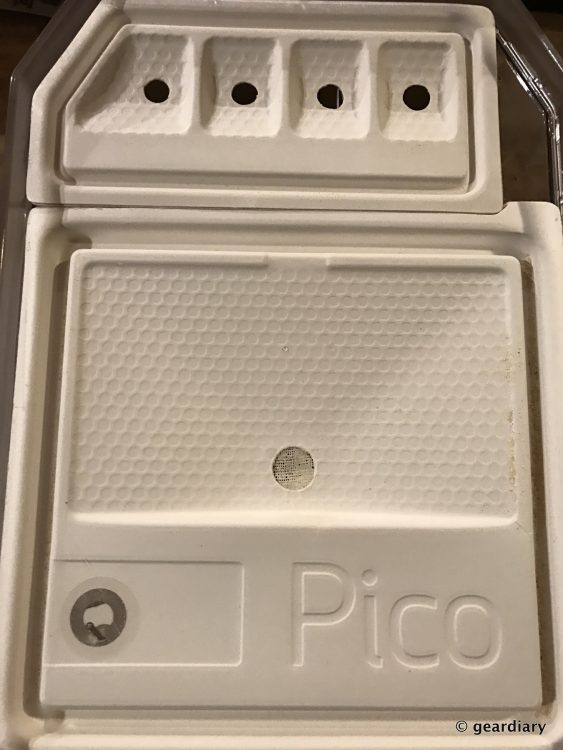
When we put the lid of the step filter on, we made sure that the holes in the filter were lined up with the vent holes in each pak.
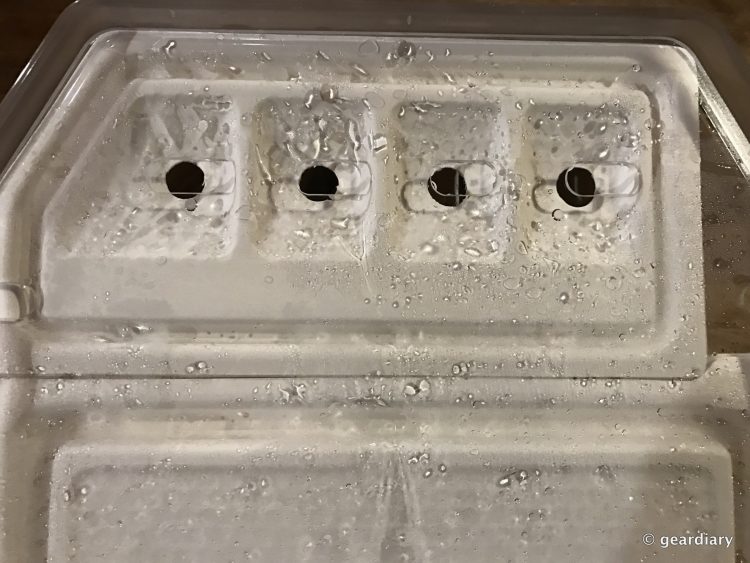
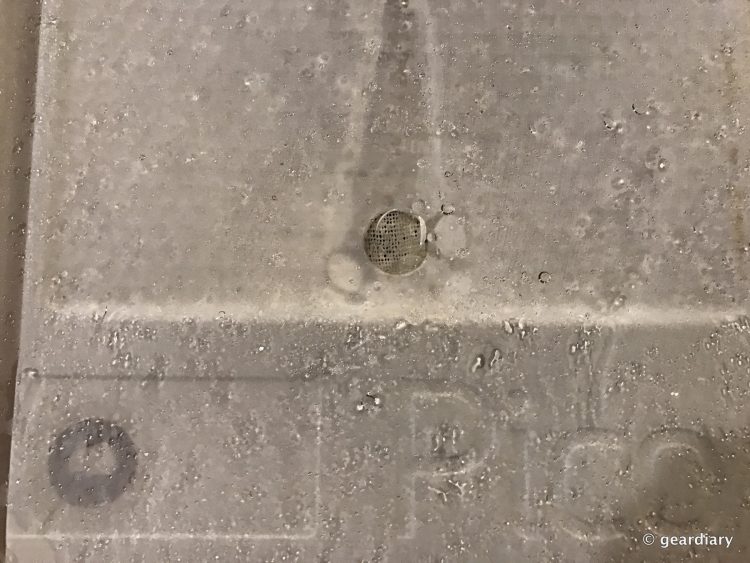
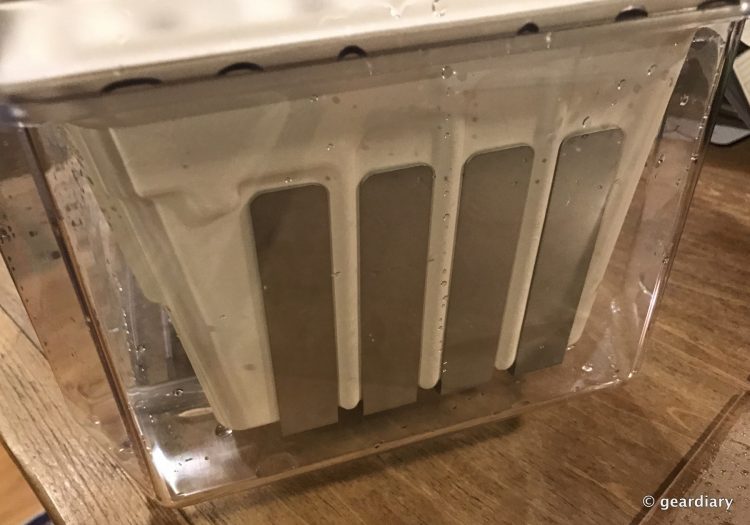
Next, we put the step filter back into the Pico — making sure that it was properly seated and locked in, as we didn’t want any leaking during brewing (I had read about that in some of the comments on the PicoBrew site, no thanks!).
We added one gallon plus 6 cups of distilled or RO water to the brewing keg. You can either measure it out or use the racking tube as a water level gauge; you’ll fill water to the level of the big ridge in the tube.
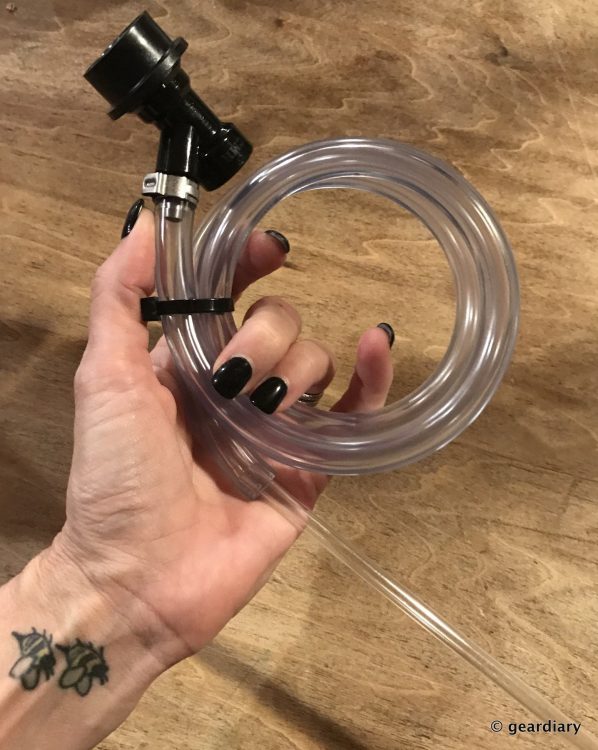
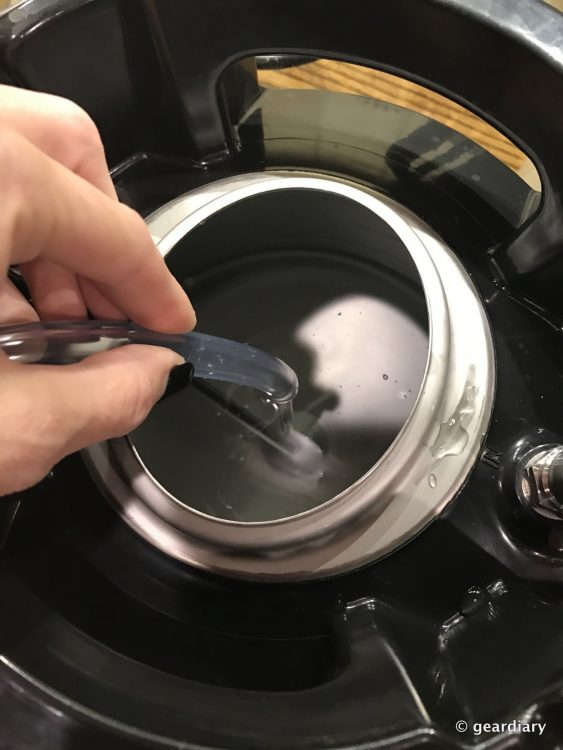
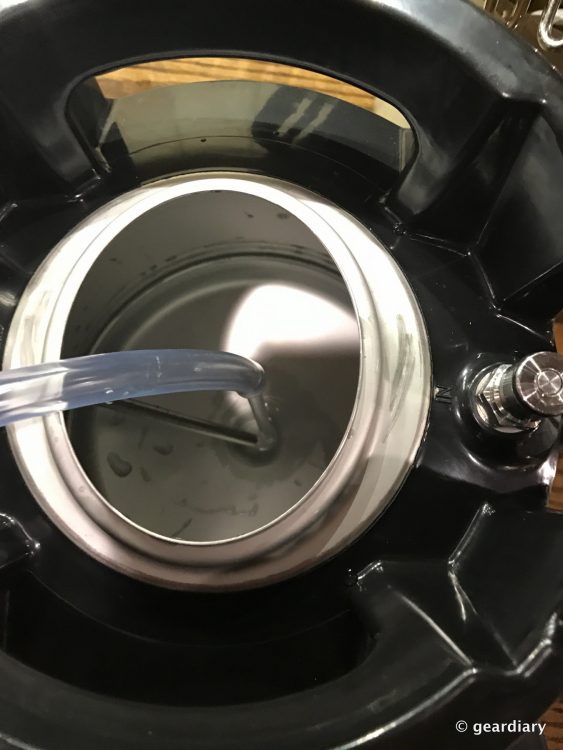
Then we slipped the black neoprene keg cozy over the brewing keg, putting the black rubber seal on the top of the brew keg, and attaching the Pico hose with the black connector to the OUT post on the brewing keg and the gray connector to the IN post again. Again, don’t be afraid to really make sure that the connectors are on there firmly.

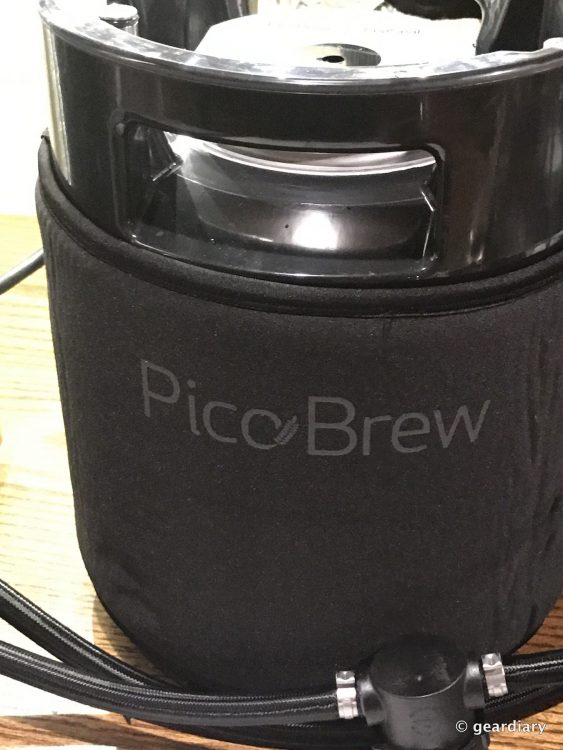
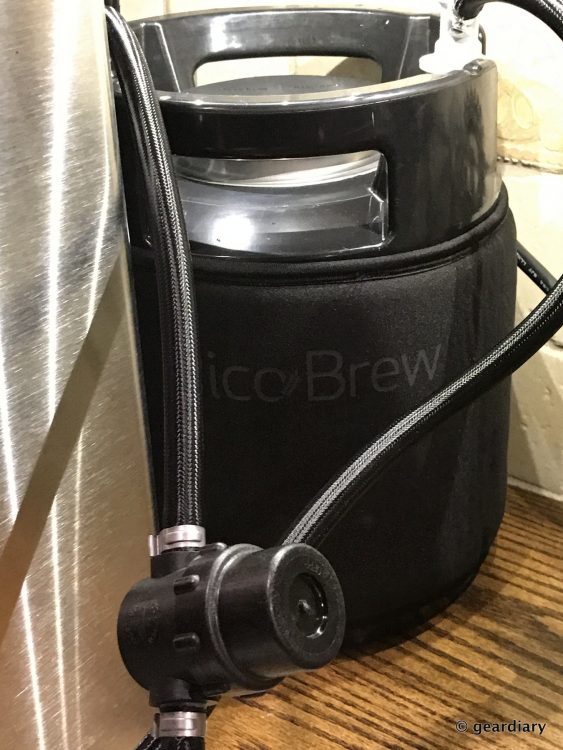
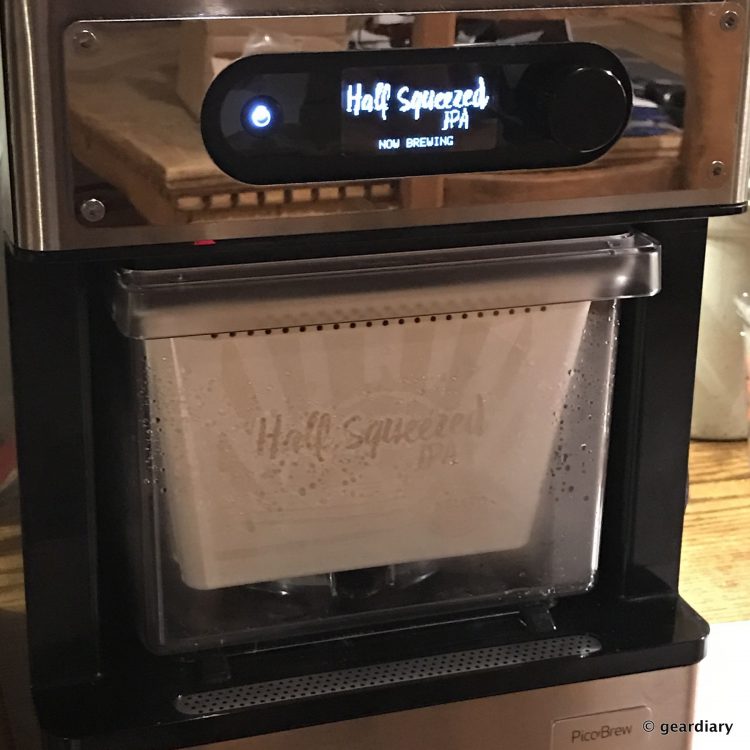
Next, comes a full gallon of RO or distilled water into the water reservoir on top of the Pico. If the Pico isn’t still on, press the power button to do so, and then select Brew PicoPak on the screen. The exact PicoPak you are brewing will be recognized by the Pico, and (if your PicoPak allows this option), you’ll have an opportunity to change your beer’s alcohol percentage and bitterness from the PicoPak’s defaults. Once you’re happy with your choices, you select Start Brewing … and get ready for the magic to start!
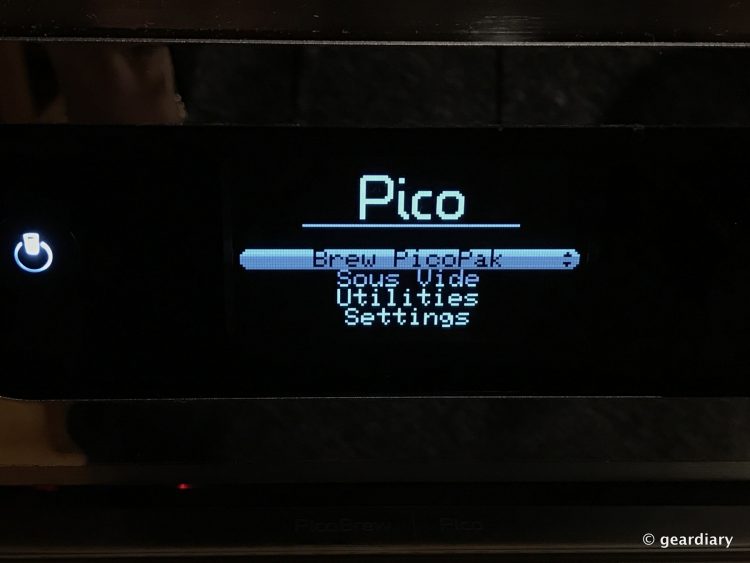
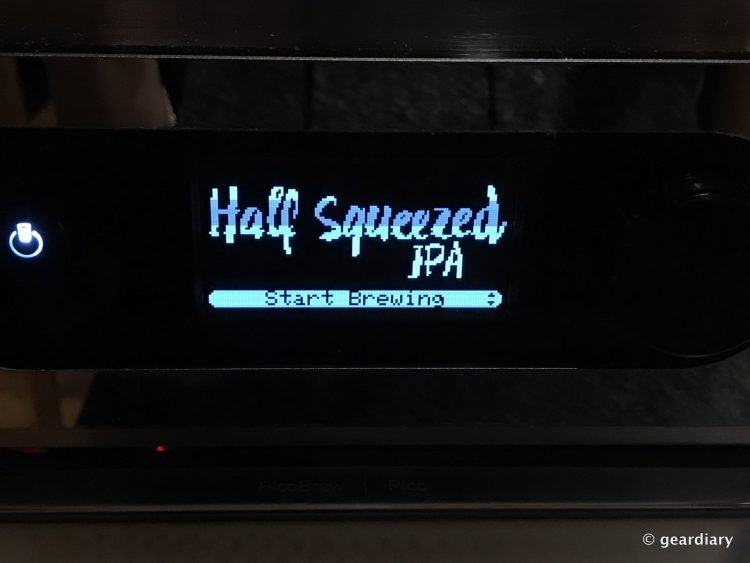
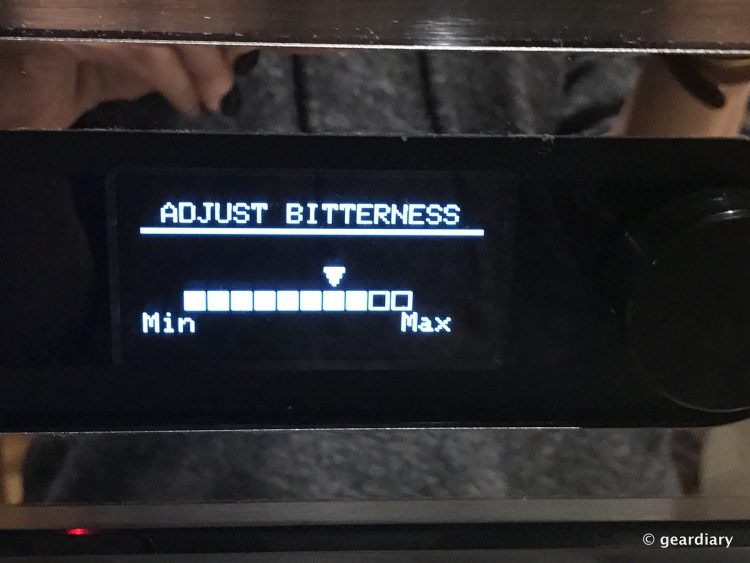
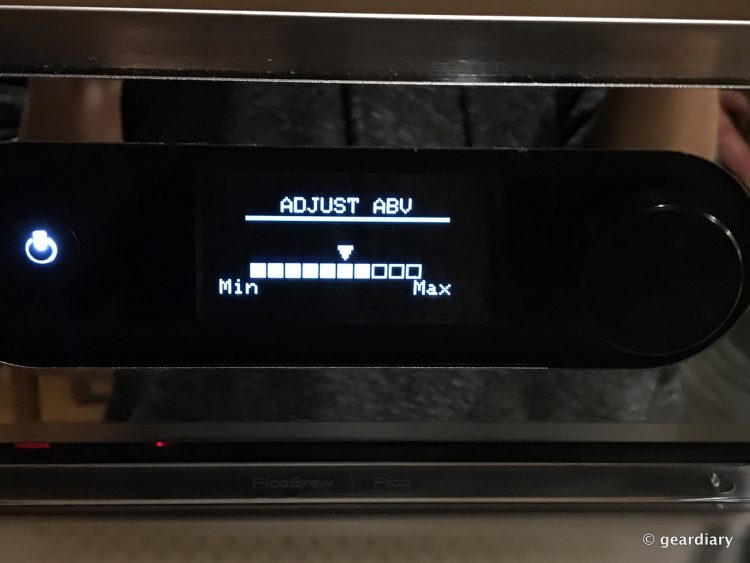
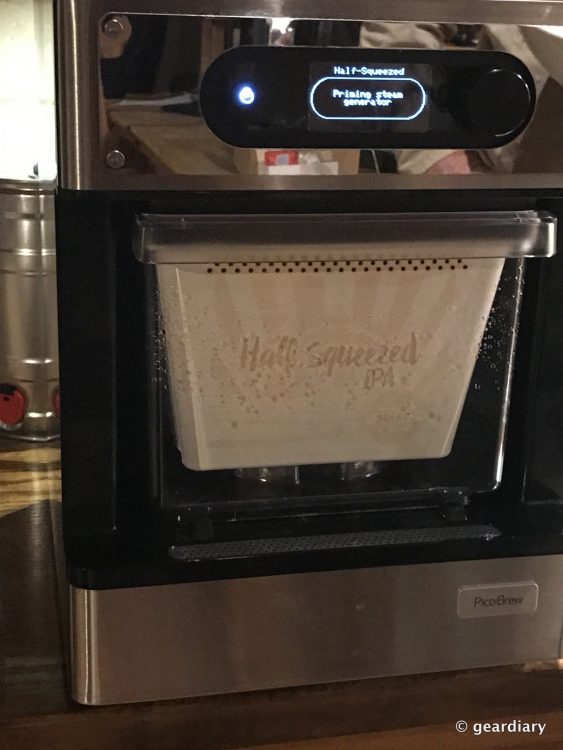
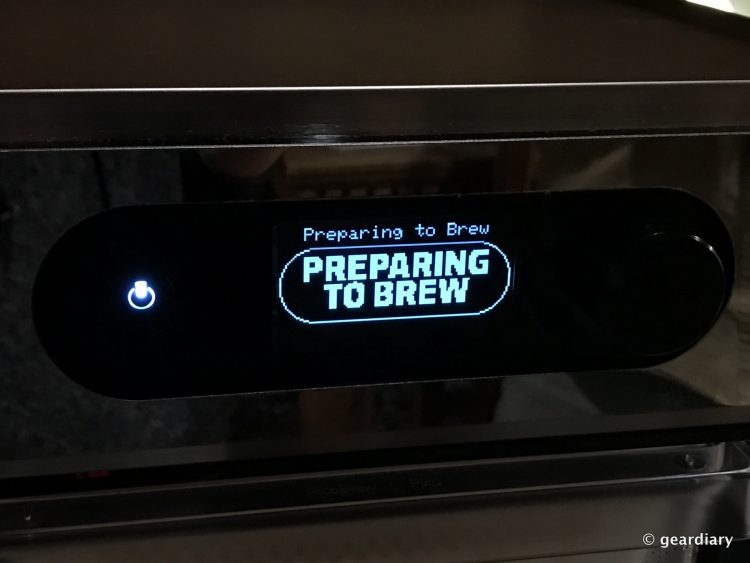
This is the point where you can watch what’s happening with our brew from the Pico site. For the next 2-3 hours, every step will show on your Pico …
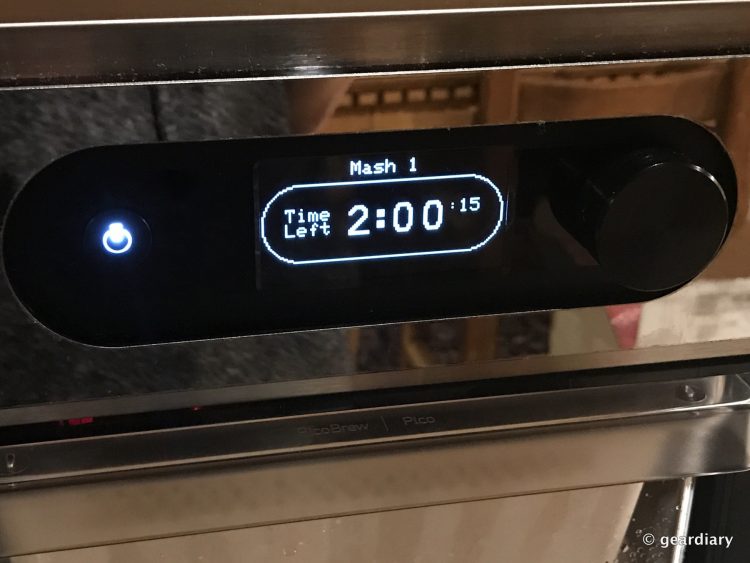
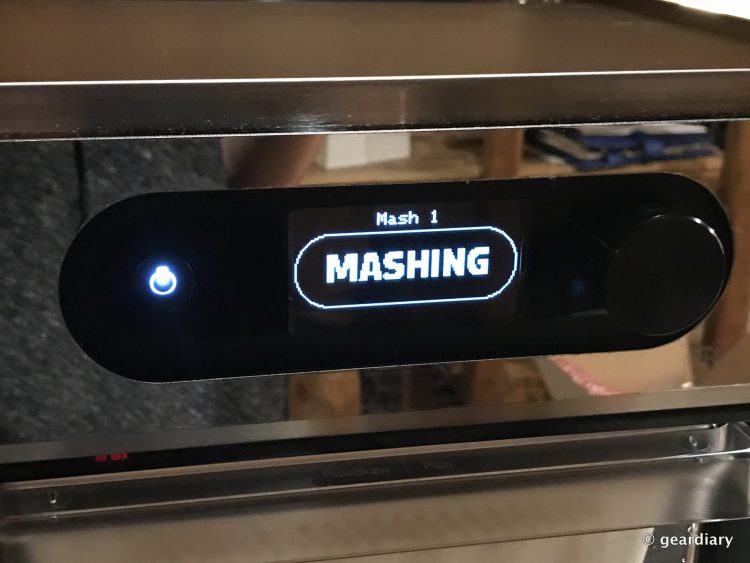
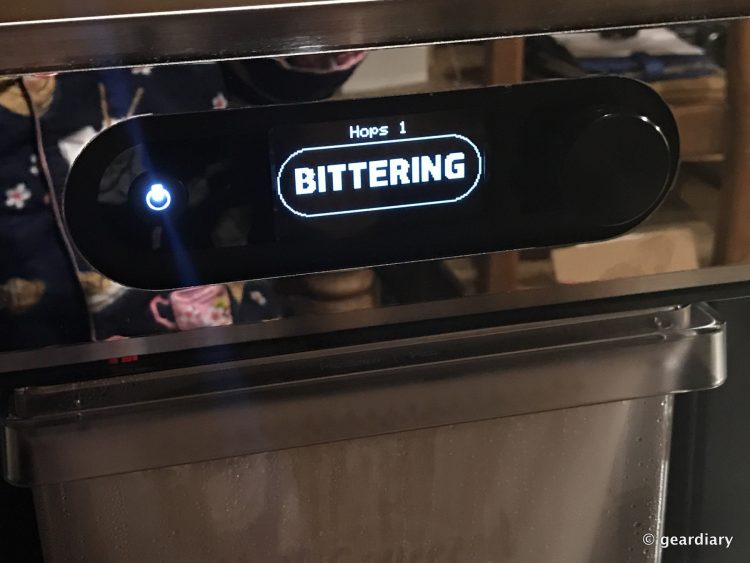
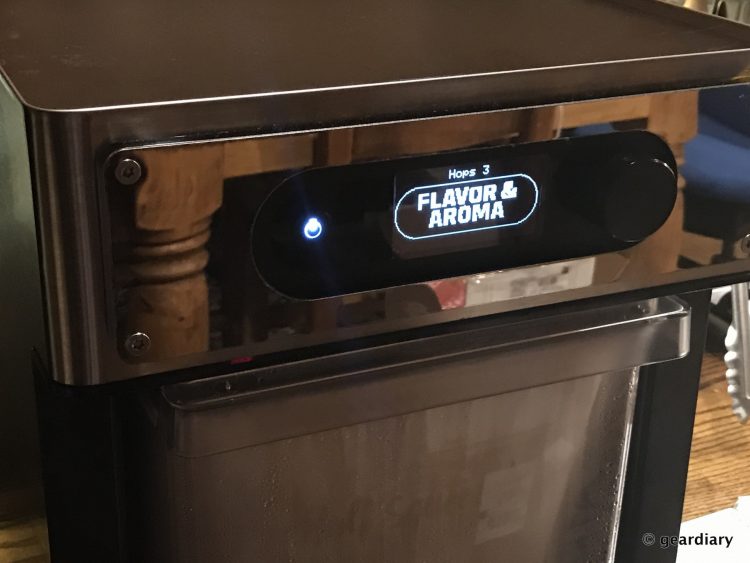
… but even more information will be displayed in your BrewHouse tab on the Pico site. You can even see what others are brewing at that moment in your state, country, or around the world!
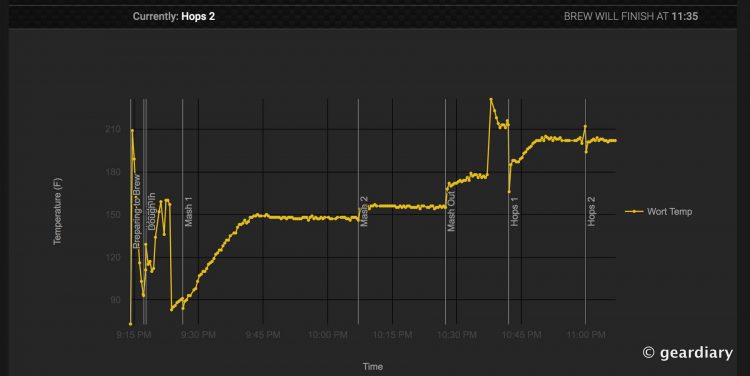
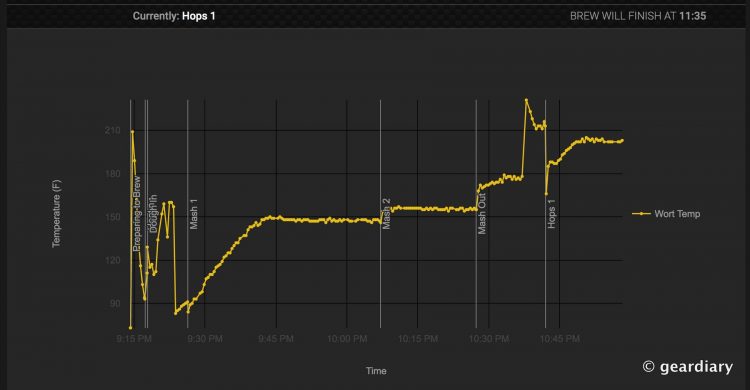
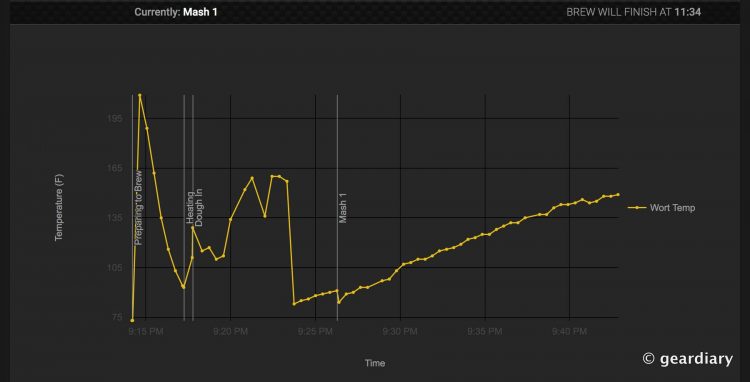

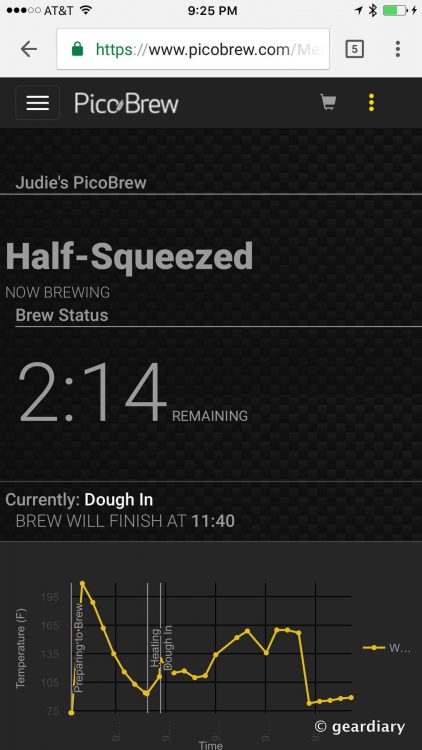
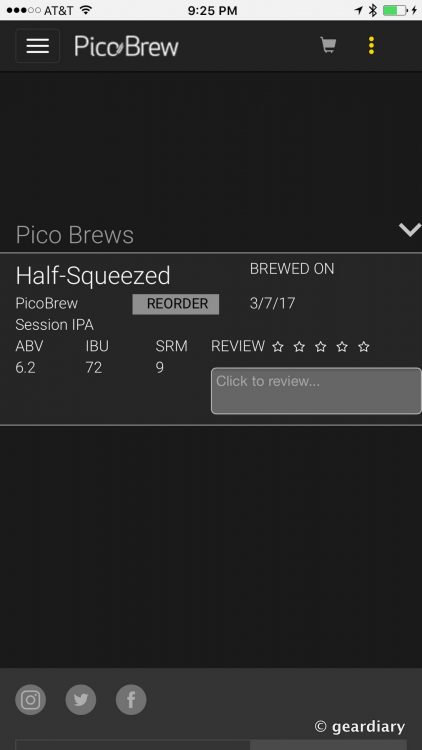
Pico uses steam to heat the water, so you’ll not only hear some hissing and growling coming from the machine, you may also see some steam. The aroma that fills your kitchen while the hops and grains are doing their thing is pretty amazing.

After the brewing has completed, you’ll have a few more steps to do before you can call it good.
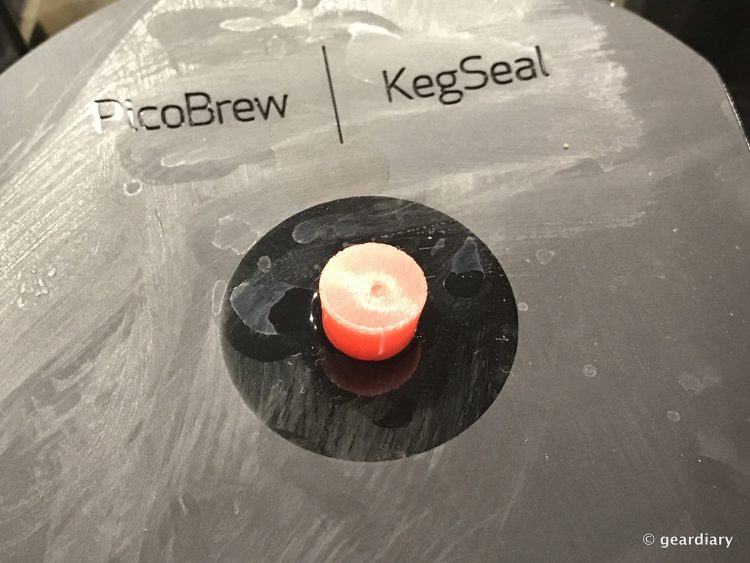
First, you’ll disconnect the ball connectors from the brewing keg; you need to be careful because the brewing keg will be hot at this point. Be sure to grab it by the rubber handles on either side if you need to move it. Once the connectors are off the posts, you’ll insert the red keg seal stopper into the hole in the center of the black rubber keg seal (the directions didn’t say to do this, but I sterilized it in vodka just to be safe). You’re going to be setting the brew keg to the side for 24 hours so it can cool down properly; I went ahead and carefully pulled the black neoprene keg cozy from the brew keg so it could properly cool down.
Now you need to remove the hops and grains paks from the step filter. There will be some wort in the bottom of the filter; Kev likes to taste this, so I figured I should, too. It’s warm, sweet, and hoppy; not necessarily something I would want a glass of at this point, but still kind of satisfying.
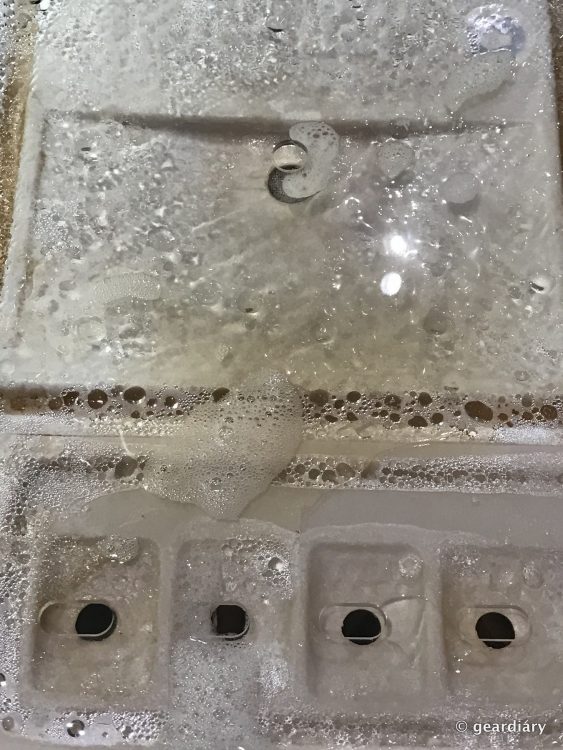
If they aren’t too hot, you can go ahead and remove the two paks; you’ll want to be sure to remember to remove the metal V-shaped holder from the hops pak. Don’t be like me and accidentally throw it in your compost bin, remembering it the next morning. Oops. 😉
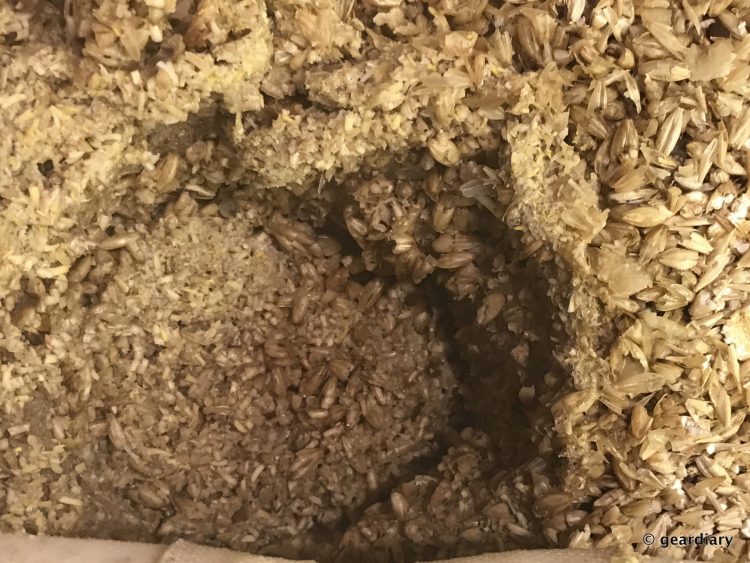
Both the paks and their contents are totally compostable, but if you raise chickens I know for a fact that they enjoy the spent grains, too. Here’s what’s inside those used packs …
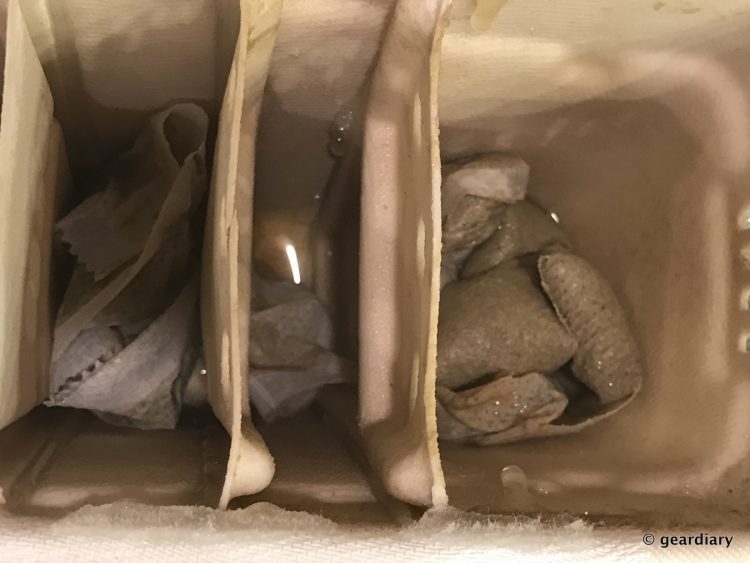
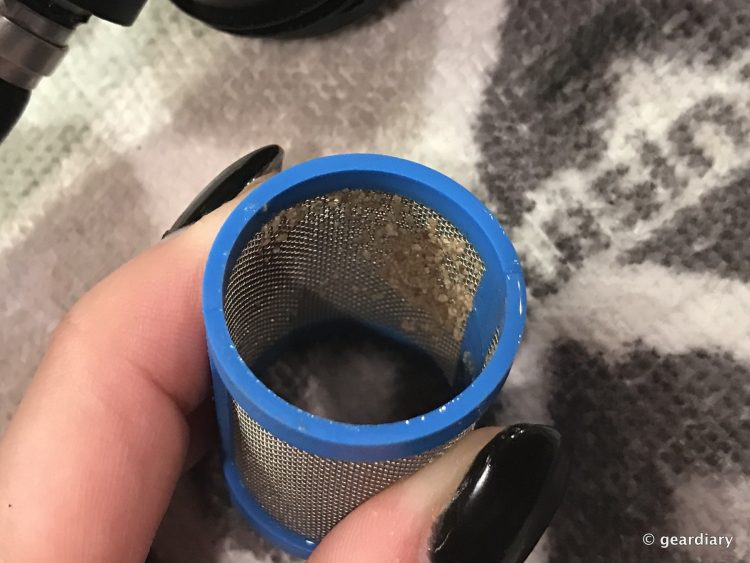
Now it’s time to clean the Pico again. Also very important is cleaning the inline filter — as you can see, mine had some sediment on it.
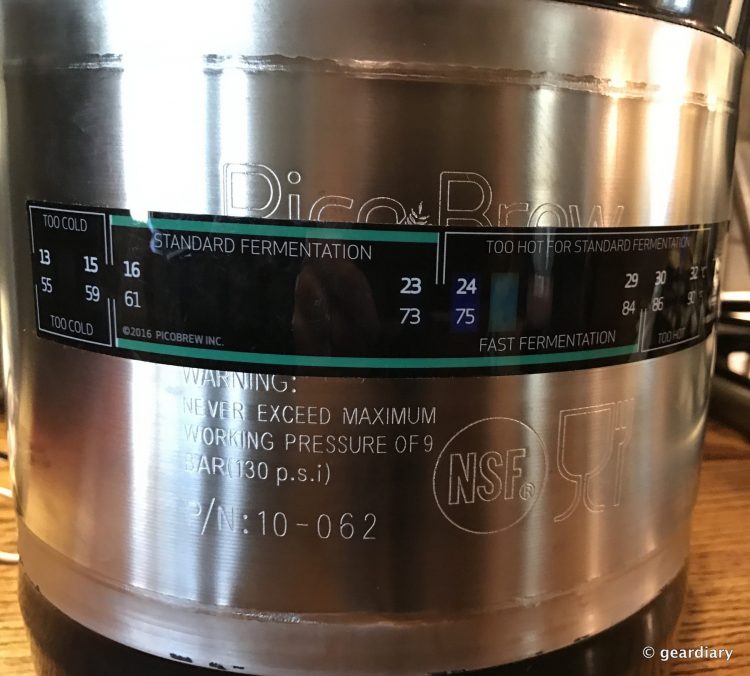
After about 24 hours, your keg of brewed wort should be at or near room temperature. Now you pull the included fermentation temperature decal out and stick it to the cooled brewing keg.
Now it’s time to “pitch the yeast”!
Pull out the yeast packet that came with the PicoPak and have it handy. You’ll want to sterilize a large metal soup spoon in vodka before inserting it in your wort and stirring for about 30 seconds; this aerates the wort.
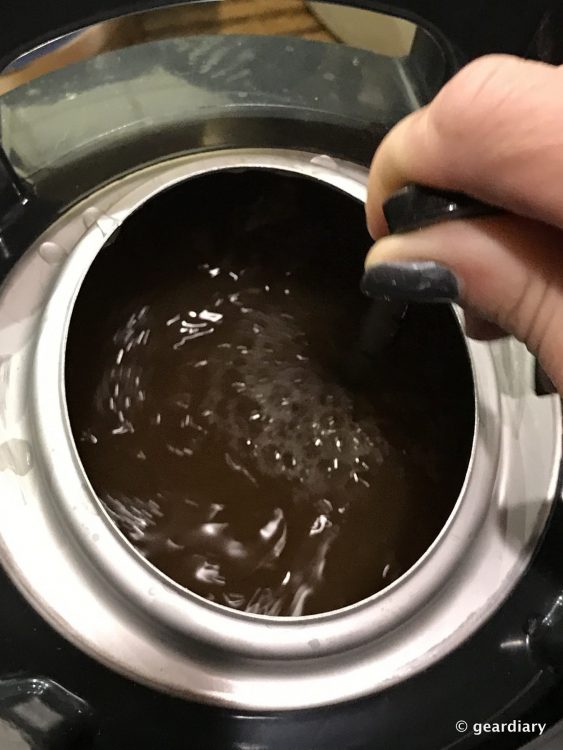
After this step, you pour the yeast packet into the wort; there’s no need to stir it.
Now you have a couple of options: do you want to do standard fermentation or faster fermentation? Since we are planning on leaving town for a week on Saturday for spring break, we opted for standard fermentation.
With the keg seal already on top of the brew keg, we sterilized the airlock in vodka, then inserted its stem about halfway into the hole in the center of the (again sanitized) black rubber keg seal. It’s also necessary to add sterile water or vodka up to the airlock’s fill line; the airlock allows the CO2 to release as the beer ferments without allowing any wild yeast or bacteria to enter.
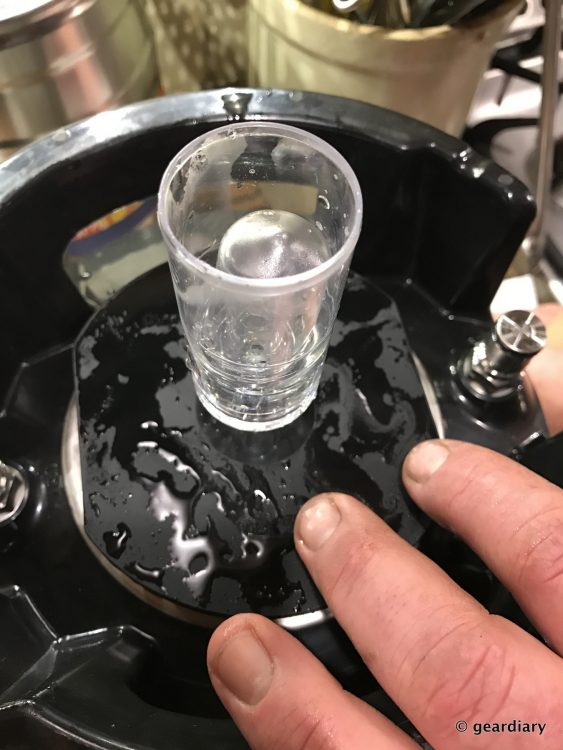
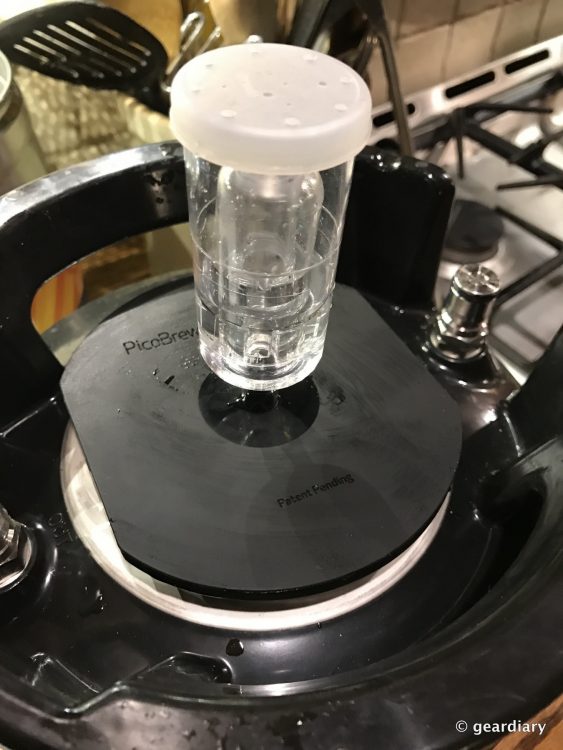
Next, I placed the brew keg in an area with a pretty stable temperature where it will remain for the next 10 – 14 days. This morning, I was rewarded with bubbles in my airlock — fermentation has properly begun!
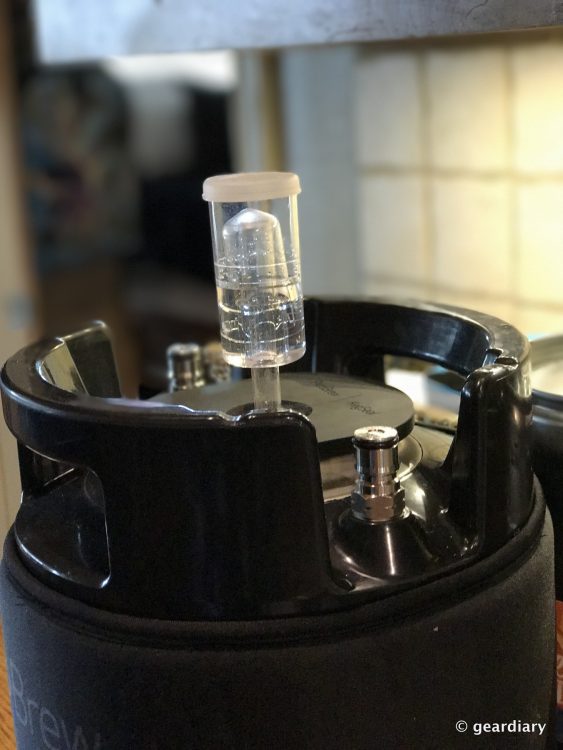
Because my recipe calls for dry-hopping, I’ll be re-opening the fermenting wort on Saturday morning before we leave town to add the extra sachet of hops to the wort. It’s important to leave the hops in their paper sachet bags because they keep the hops from clogging the Pico system during the racking process … which I’ll be covering after the fermentation process is complete.
You can read the Pico FAQ here.
You can read about my brewing results in this post: Brewing Beer with the PicoBrew Pico S: Racking, Kegging, and Tasting!
If you purchase a Pico for yourself using the BEERCODE below from PicoBrew.com, you and I will receive coupons for two free PicoPaks each, good for any of the beers in the entire BrewMarketplace online store!
MY BEERCODE: R7Z0BUGS12
The PicoBrew Pico retails for $799, and it is available directly from PicoBrew and from other retailers including Amazon [affiliate link].
Source: Manufacturer supplied review sample
What I Like: Almost everything is included so that you can confidently begin brewing your own beer, right on your kitchen counter; You can buy PicoPaks that are custom-made by you or that have recipes from popular breweries ready for you to try; The included manual is clear and easy to follow; You do not need to have any experience to use the Pico — you just have to be able to follow instructions
What Needs Improvement: I do wish that the included user manual was more heavy-duty as it will eventually get wet; The up-front cost is prohibitive