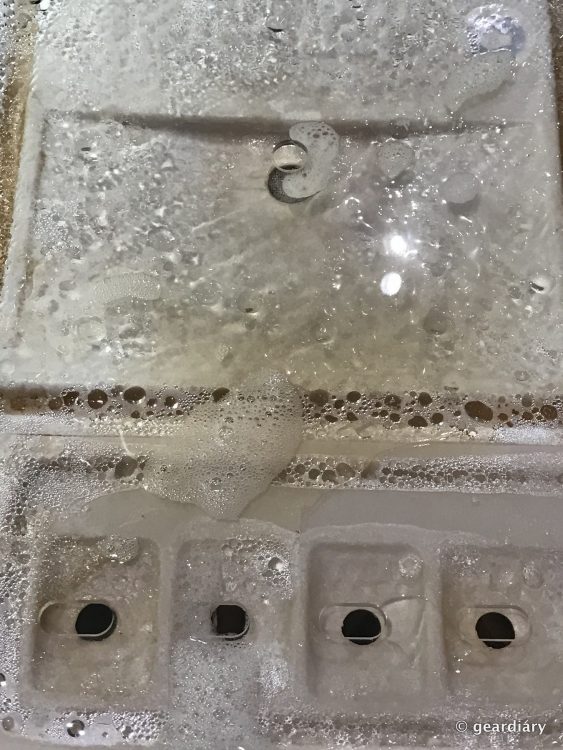
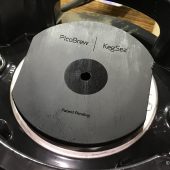
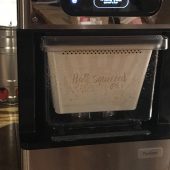
Next, we put the step filter back into the Pico — making sure that it was properly seated and locked in, as we didn’t want any leaking during brewing (I had read about that in some of the comments on the PicoBrew site, no thanks!).
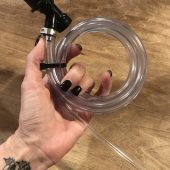
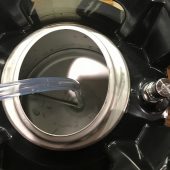
We added one gallon plus 6 cups of distilled or RO water to the brewing keg. You can either measure it out or use the racking tube as a water level gauge; you’ll fill water to the level of the big ridge in the tube.
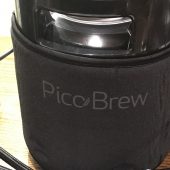
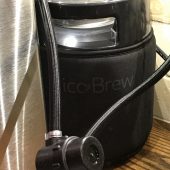
Then we slipped the black neoprene keg cozy over the brewing keg, putting the black rubber seal on the top of the brew keg, and attaching the Pico hose with the black connector to the OUT post on the brewing keg and the gray connector to the IN post again. Again, don’t be afraid to really make sure that the connectors are on there firmly.
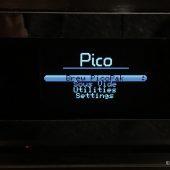
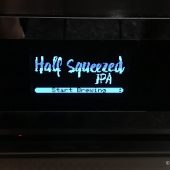
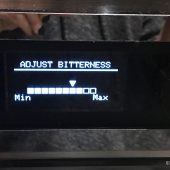
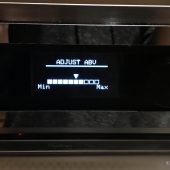
Next, comes a full gallon of RO or distilled water into the water reservoir on top of the Pico. If the Pico isn’t still on, press the power button to do so, and then select Brew PicoPak on the screen. The exact PicoPak you are brewing will be recognized by the Pico, and (if your PicoPak allows this option), you’ll have an opportunity to change your beer’s alcohol percentage and bitterness from the PicoPak’s defaults. Once you’re happy with your choices, you select Start Brewing … and get ready for the magic to start!
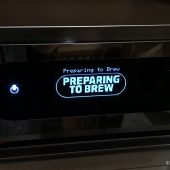
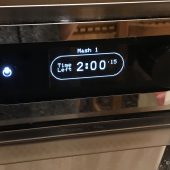
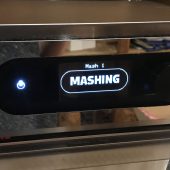
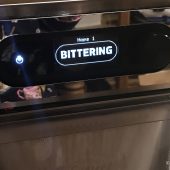
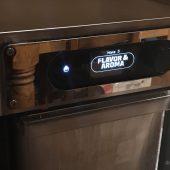
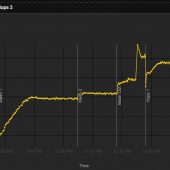
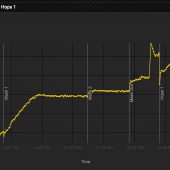
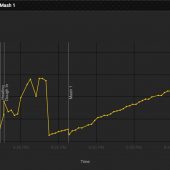
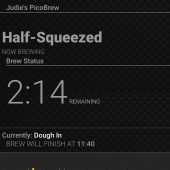
This is the point where you can watch what’s happening with our brew from the Pico site. For the next 2-3 hours, every step will show on your Pico …
… but even more information will be displayed in your BrewHouse tab on the Pico site. You can even see what others are brewing at that moment in your state, country, or around the world!
- That’s me!
Pico uses steam to heat the water, so you’ll not only hear some hissing and growling coming from the machine, you may also see some steam. The aroma that fills your kitchen while the hops and grains are doing their thing is pretty amazing.
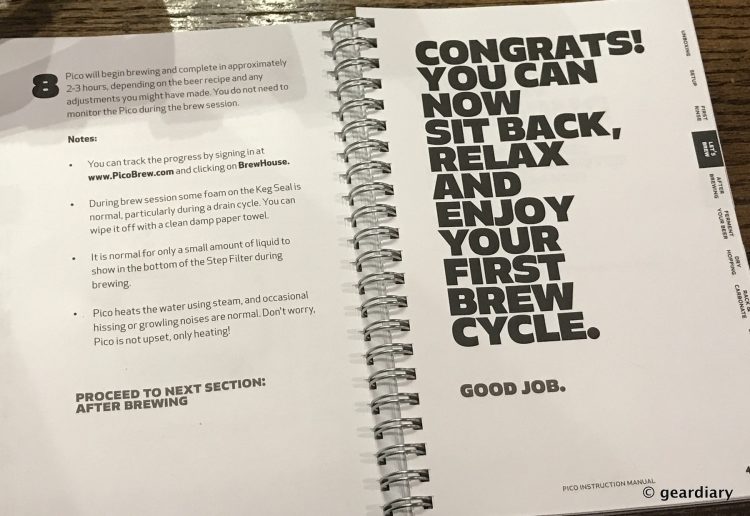
After the brewing has completed, you’ll have a few more steps to do before you can call it good.
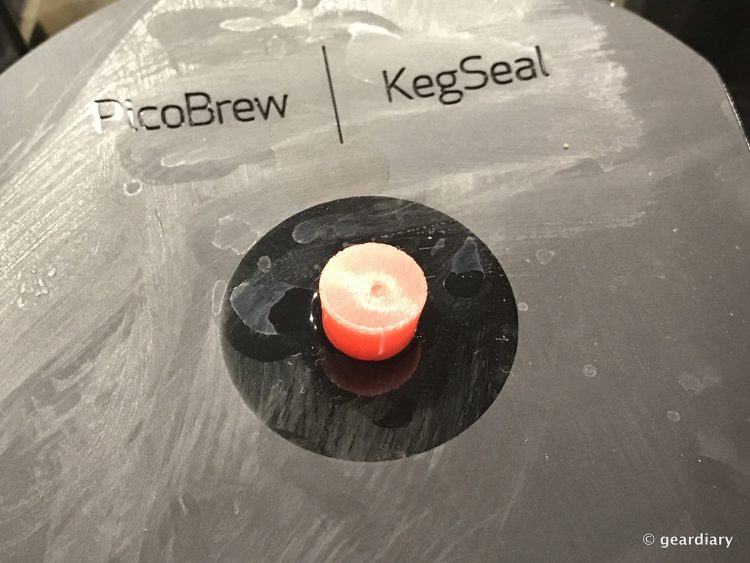
First, you’ll disconnect the ball connectors from the brewing keg; you need to be careful because the brewing keg will be hot at this point. Be sure to grab it by the rubber handles on either side if you need to move it. Once the connectors are off the posts, you’ll insert the red keg seal stopper into the hole in the center of the black rubber keg seal (the directions didn’t say to do this, but I sterilized it in vodka just to be safe). You’re going to be setting the brew keg to the side for 24 hours so it can cool down properly; I went ahead and carefully pulled the black neoprene keg cozy from the brew keg so it could properly cool down.
Now you need to remove the hops and grains paks from the step filter. There will be some wort in the bottom of the filter; Kev likes to taste this, so I figured I should, too. It’s warm, sweet, and hoppy; not necessarily something I would want a glass of at this point, but still kind of satisfying.
