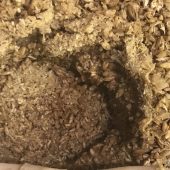
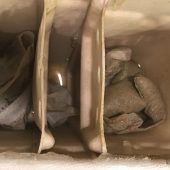
If they aren’t too hot, you can go ahead and remove the two paks; you’ll want to be sure to remember to remove the metal V-shaped holder from the hops pak. Don’t be like me and accidentally throw it in your compost bin, remembering it the next morning. Oops. 😉
Both the paks and their contents are totally compostable, but if you raise chickens I know for a fact that they enjoy the spent grains, too. Here’s what’s inside those used packs …
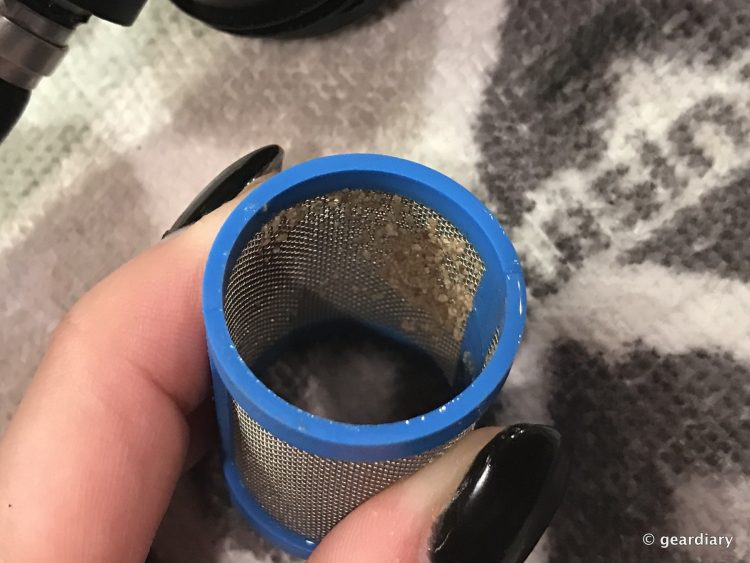
Now it’s time to clean the Pico again. Also very important is cleaning the inline filter — as you can see, mine had some sediment on it.
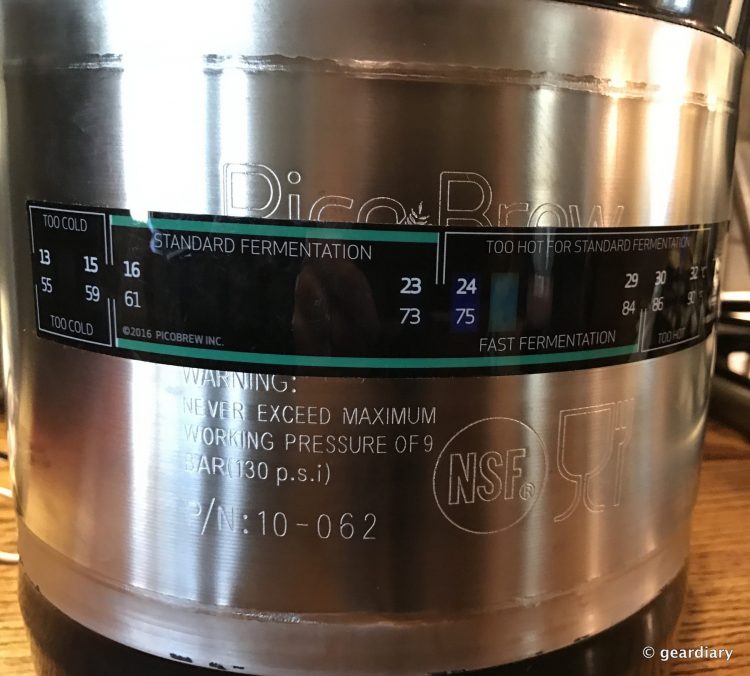
After about 24 hours, your keg of brewed wort should be at or near room temperature. Now you pull the included fermentation temperature decal out and stick it to the cooled brewing keg.
Now it’s time to “pitch the yeast”!
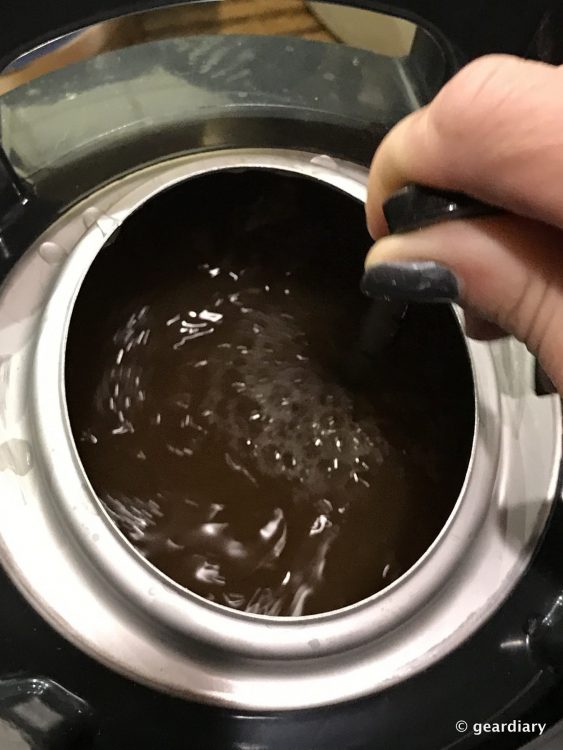
Pull out the yeast packet that came with the PicoPak and have it handy. You’ll want to sterilize a large metal soup spoon in vodka before inserting it in your wort and stirring for about 30 seconds; this aerates the wort.
After this step, you pour the yeast packet into the wort; there’s no need to stir it.
Now you have a couple of options: do you want to do standard fermentation or faster fermentation? Since we are planning on leaving town for a week on Saturday for spring break, we opted for standard fermentation.
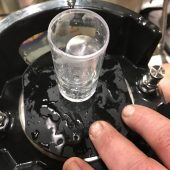
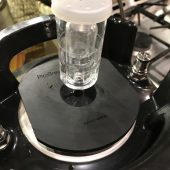
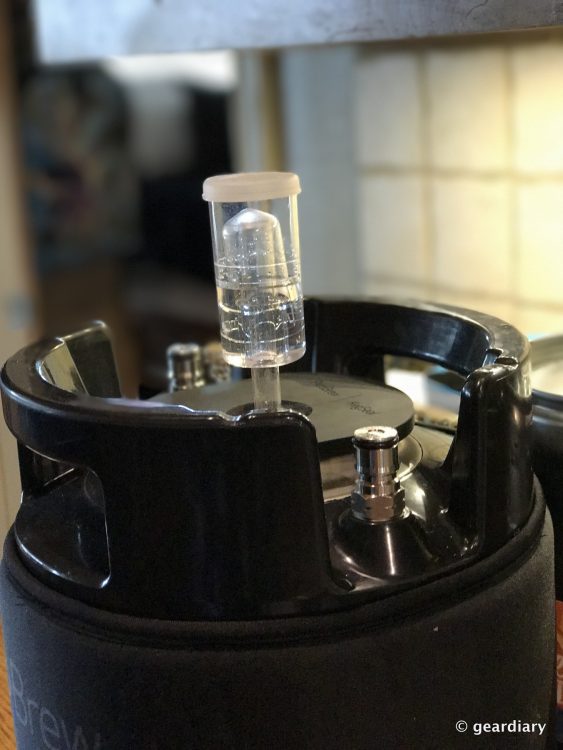
With the keg seal already on top of the brew keg, we sterilized the airlock in vodka, then inserted its stem about halfway into the hole in the center of the (again sanitized) black rubber keg seal. It’s also necessary to add sterile water or vodka up to the airlock’s fill line; the airlock allows the CO2 to release as the beer ferments without allowing any wild yeast or bacteria to enter.
Next, I placed the brew keg in an area with a pretty stable temperature where it will remain for the next 10 – 14 days. This morning, I was rewarded with bubbles in my airlock — fermentation has properly begun!
Because my recipe calls for dry-hopping, I’ll be re-opening the fermenting wort on Saturday morning before we leave town to add the extra sachet of hops to the wort. It’s important to leave the hops in their paper sachet bags because they keep the hops from clogging the Pico system during the racking process … which I’ll be covering after the fermentation process is complete.

