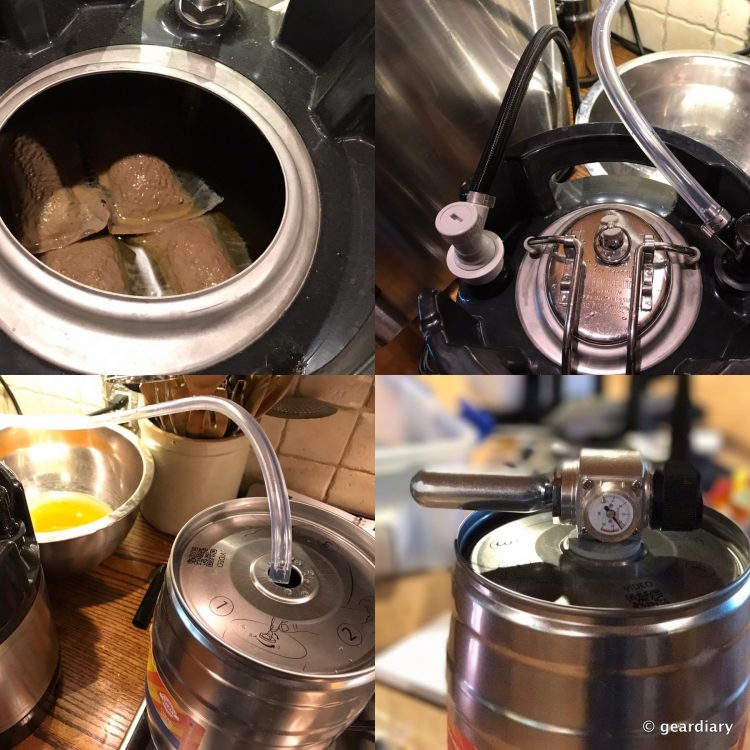
When I last left off, I had brewed my first batch of homebrew with the PicoBrew Pico S. I waited a little bit longer than after the fermentation had stopped to rack and keg it because I wanted to be sure I’d given it enough time, and because Kev said it wouldn’t hurt anything to wait; he was right.
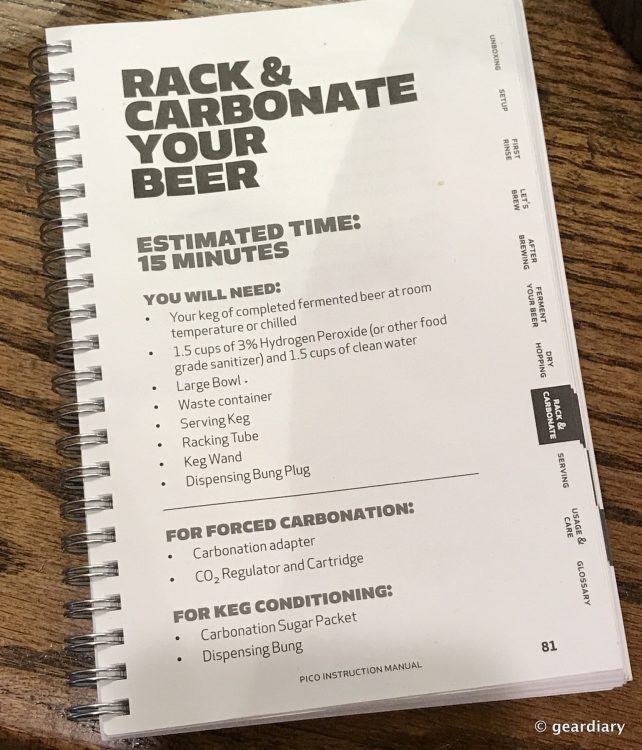
Before you get started, you need to make sure that you either have 1.5 cups of 3% hydrogen peroxide or some other kind of foo-grade sanitizer like StarSan. You’ll also need a large bowl to cleaning the keg wand and the racking tube, as well as a container to catch the trub …
Trub (brewing) … Trub may also refer to the lees, or layer of sediment, left at the bottom of the fermenter after the yeast has completed the bulk of the fermentation. It is composed mainly of heavy fats, coagulated proteins, and (when in fermenter) inactive yeast.
… that comes out of the racking tube (it smells rich and interesting, but you don’t want it in your finished product).
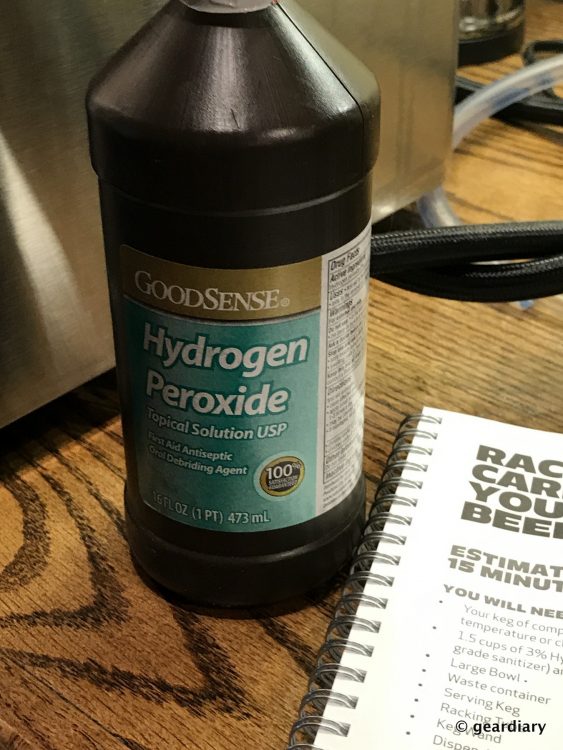
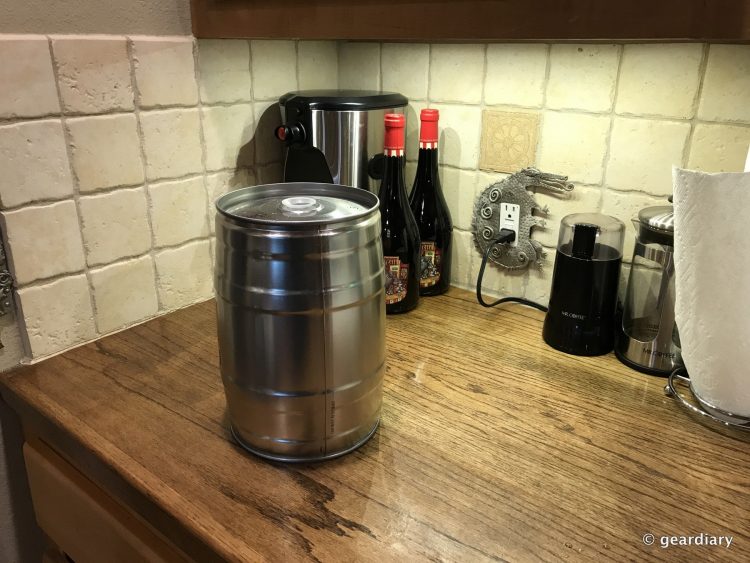
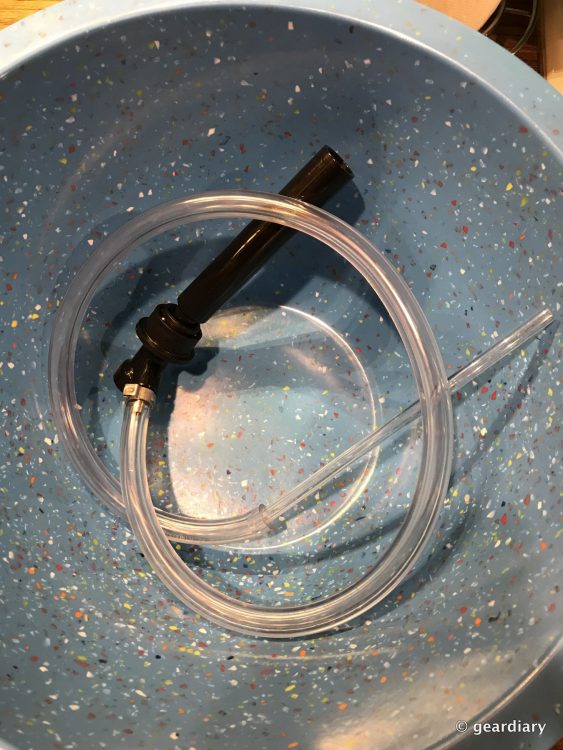
So, to start, you’ll pour the hydrogen peroxide and 1.5 cups of clean water into the serving keg and then put the opaque plastic shipping plug back in place. After giving the keg a good couple of shakes to make sure the cleaning solution has touched the entire interior, you’ll let it sit for 10 minutes. After your timer goes off, you’ll dump the cleaning solution into the large bowl; one of the keg wands and the racking tube will go in there for 5 minutes. After rinsing out the serving keg with clean water, you’ll be ready for the next step — your first rack! Under utilities on the Pico S, you’ll find that option.

A note about how you’ll be conditioning your keg, and there are two ways to do it: you can either naturally carbonate your beer (keg conditioning) by adding the included sugar package to the bottom of the serving keg after rinsing it out, or you can force carbonate it with CO2. I opted for carbonating, as it is quicker.
The next step is to connect the sanitized keg wand to the gray ball lock connector and then directing it into a bowl or other waste container. Although you’ll most likely be using the Pico Instruction Manual as you go along (as I was doing), the basic steps are also displayed on the PicoBrew Pico S.
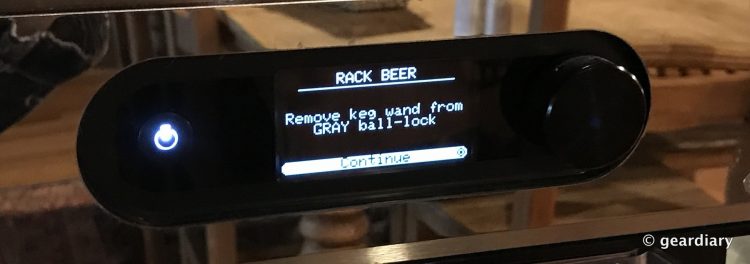
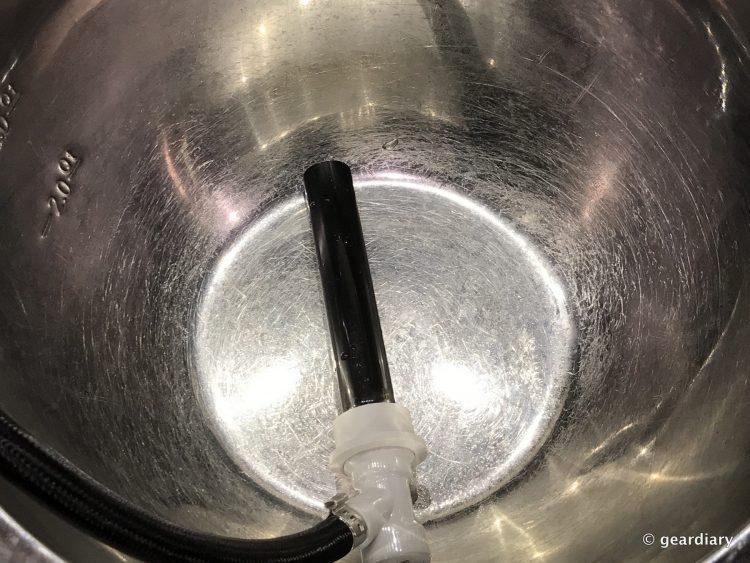
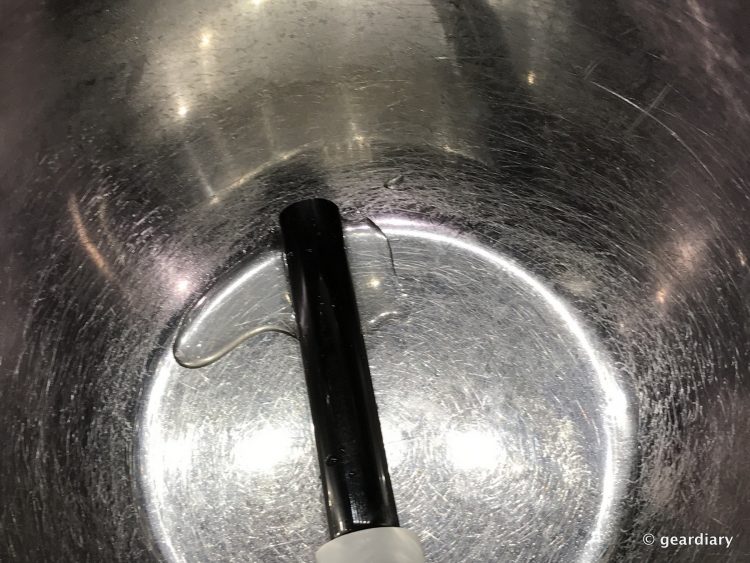
At this point, you should insert the metal lid onto the brewing keg. I rinsed it off with clean water, just to be safe.
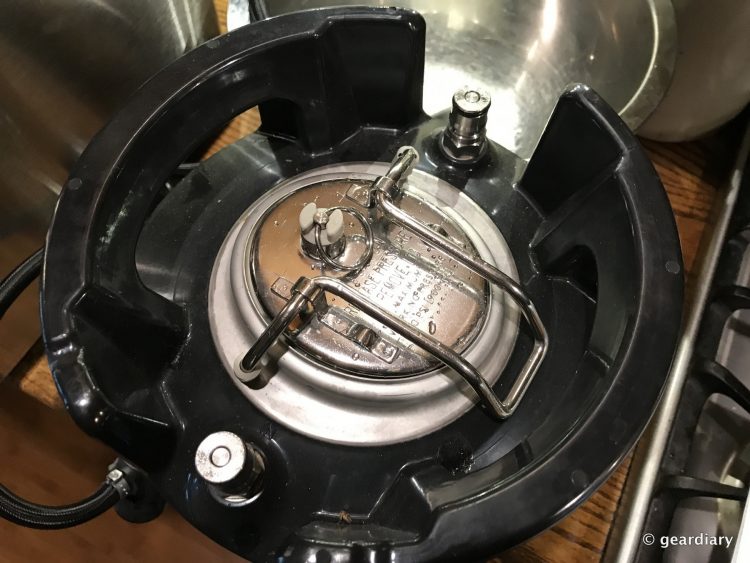
The gray ball lock connector goes on the brewing keg’s IN post, as it will be pressurizing the brewing keg with air to help easily remove your beer. The racking tube’s ball lock connector connects to the brewing keg’s OUT post; the racking tube should be directed to the container you’ll be using to catch the trub.
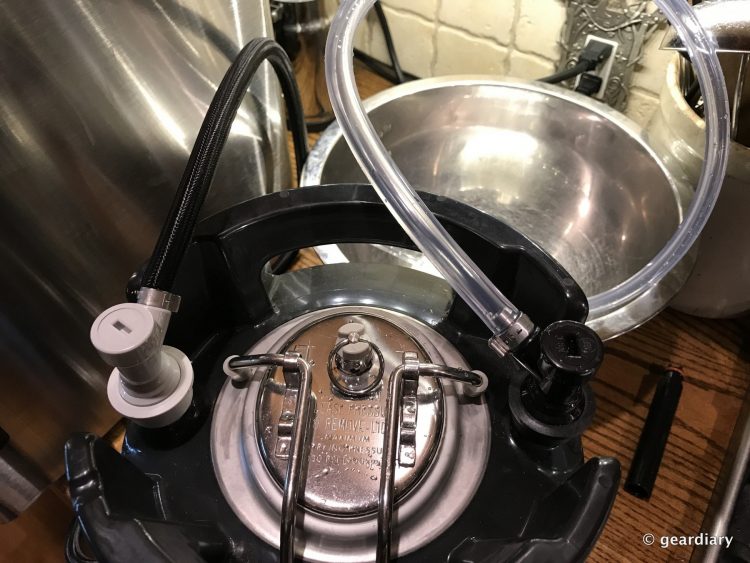
Now comes the part where you’ll be using the PicoBrew Pico S to remove the trub from your beer. This is a really quick process, and you don’t want to do like I did and let it run a second longer than it needs to (if it is needed at all).
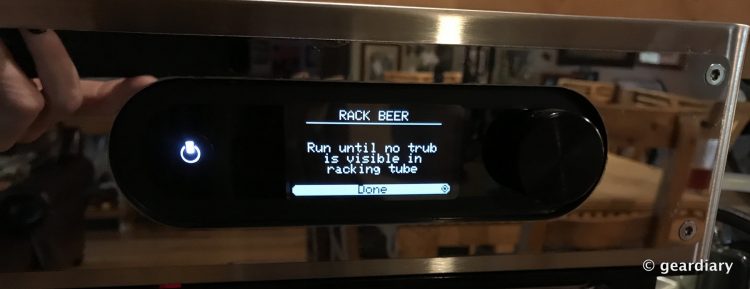
The point of this step is to catch any sediment that might come out of the racking tube (picked up from the bottom of your brewing keg), but you don’t want to waste any beer. The minute the beer coming out of the tube is clear, you hit the PicoBrew Pico S’s button to tell it you are done. I let it run a couple of seconds too long, mainly because I was fascinated by the smell and appearance of what was coming out of the racking tube. Once I realized I was losing beer, I quickly caught myself and hit the Done button. 😉
Next, you insert the racking tube into the serving keg and press the control knob on the PicoBrew Pico S again. Beer will start flowing into the serving keg. There’s a trick to this, too. If you were smart, you might have stuck the brewing keg into the fridge the night before to cool it down. As the chilled beer enters the room temperature serving keg, you’ll see condensation which allows you to monitor the beer level as it fills the keg.
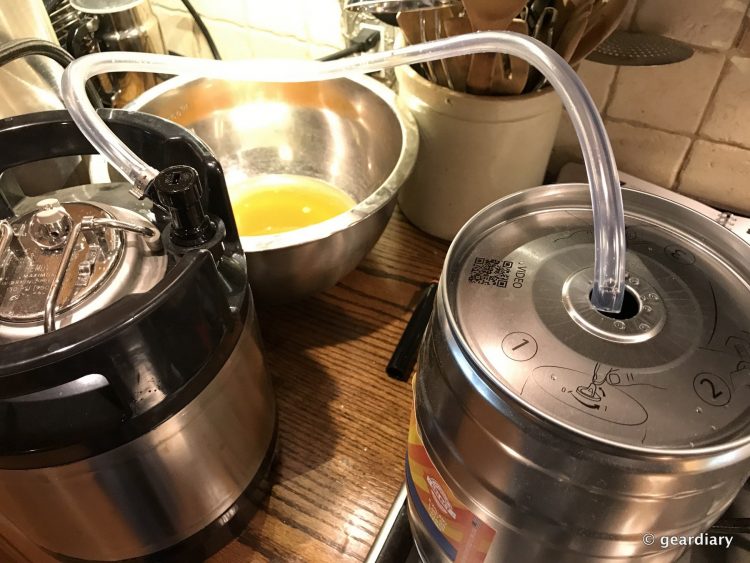
If you didn’t chill the beer first, you’ll need to keep a close eye on what’s flowing into the keg, because you must leave at least an inch between the top of the beer level and the top of the serving keg (so there’s room for the CO2 during carbonation). At some point, you’ll either notice there is air entering the tube or you’re an inch from the top of the keg, and that’s when you’ll press the Done button again. It’s important not to remove the racking tube at any point during the filling, as you are trying to keep things as clean as possible, but once you’ve filled the keg and hit the Done button, you are safe to remove it.
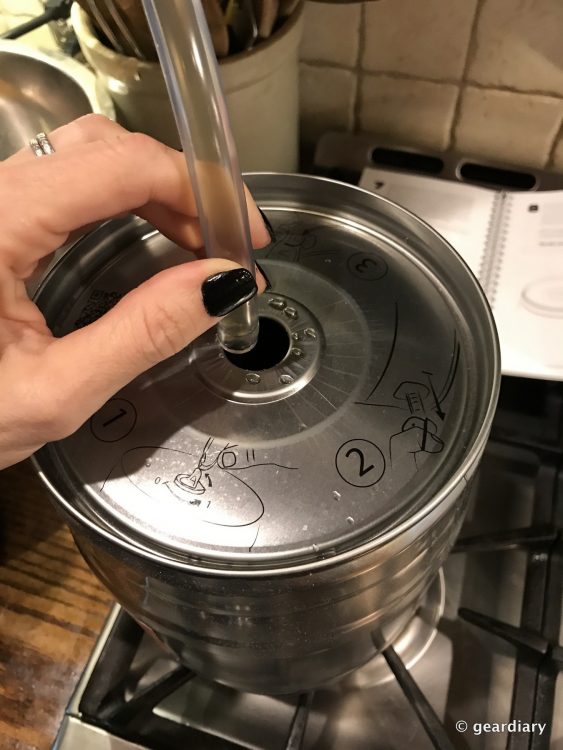
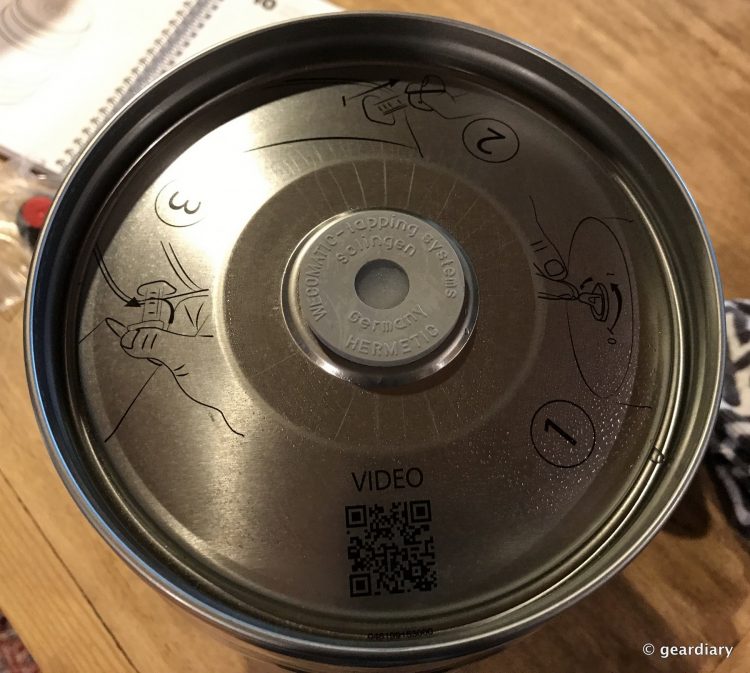
Now you’ll place the special carbonation adapter into the bung hole of your serving keg. See how it has that opaque center? You’re going to pop that into the serving keg when you insert the CO2 regulator. The directions didn’t say to do this, but I soaked the carbonation adapter in the hydrogen peroxide and water sanitation fluid and then rinsed it off with water just to be safe.
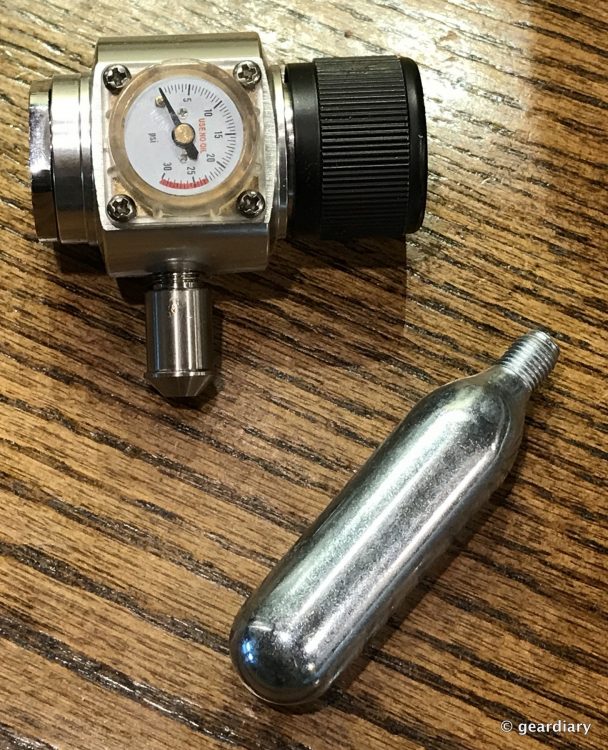
You’ll need to put the CO2 regulator together, but before you screw the cartridge in, be sure to turn the knob on the regulator counterclockwise to the OFF position. This was my first time to use a CO2 cartridge, so it was kind of cool to hear the air escape when I pierced the cartridge (it’s the little things, right?).
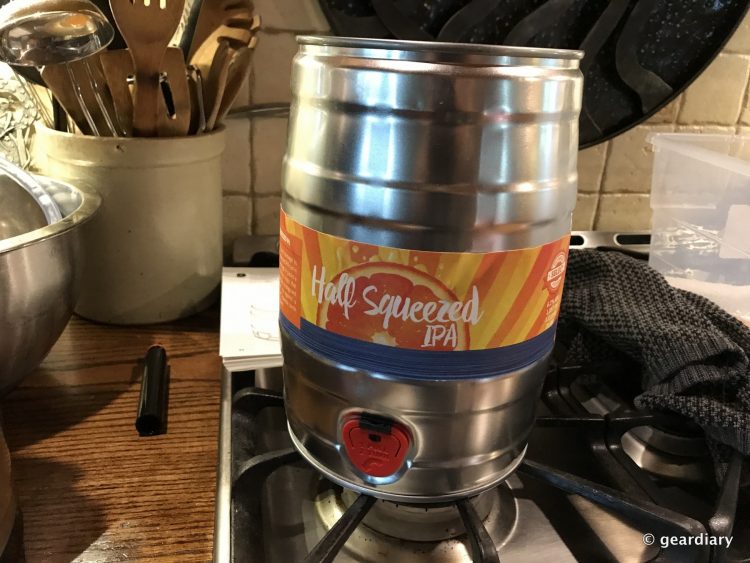
You can go ahead and slap the included label on your serving keg at this point, by the way.
The barbed regulator connector slides right into the carbonation adapter; it’s snug, but easy to push through. Notice how the pressure is zero at this point.
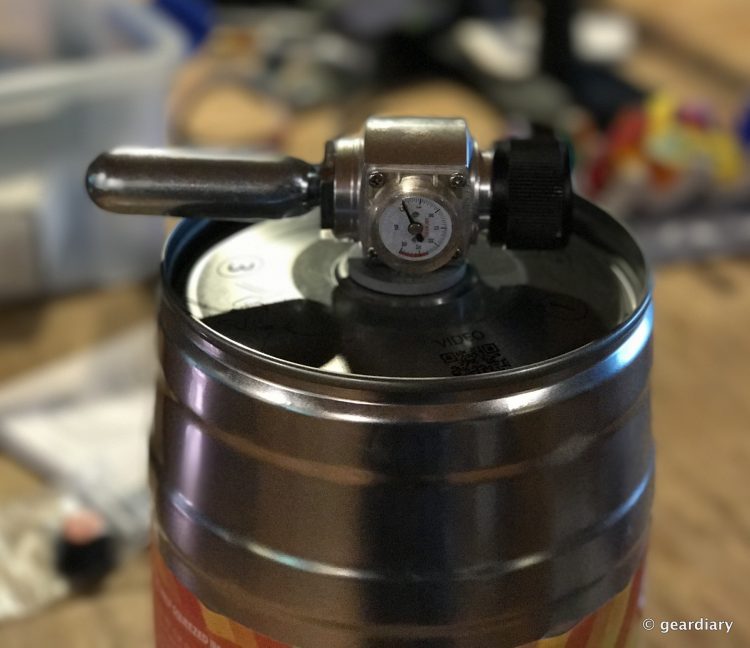
Now you’ll slowly turn the regulator knob until the pressure reaches 24 PSI; PicoBrew says this is the correct setting for most beers.
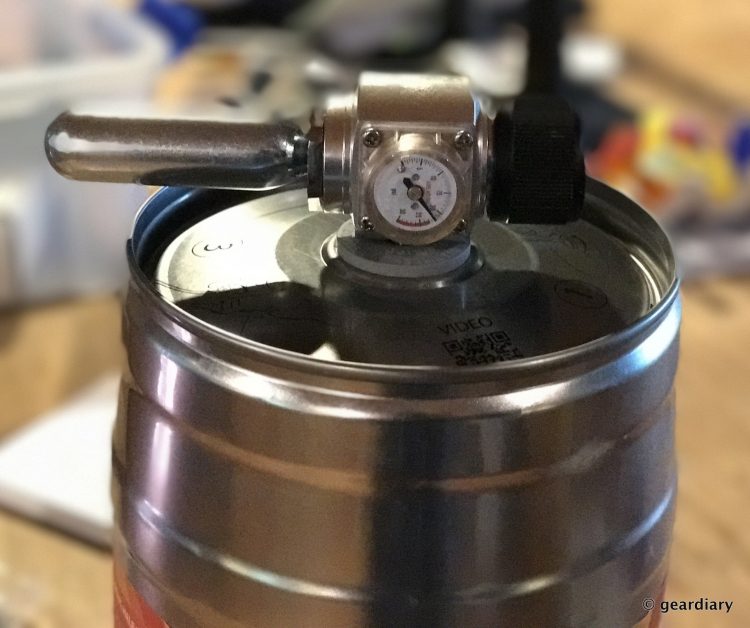
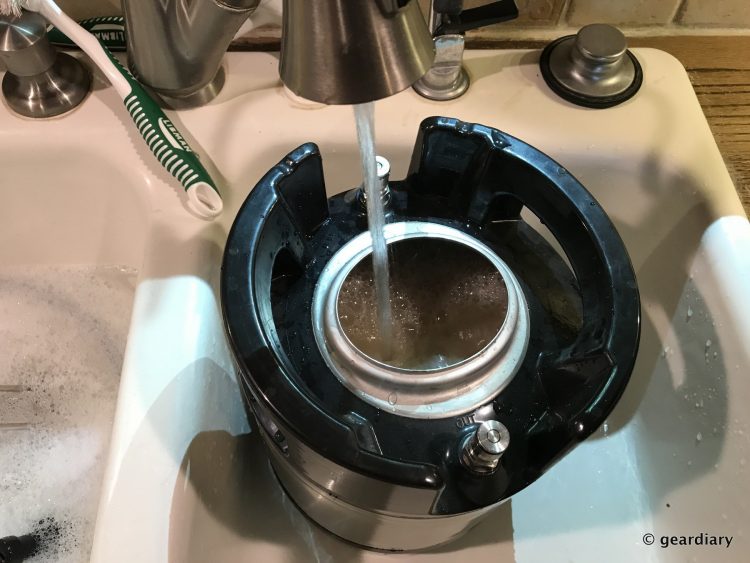
All that’s left to do now is to place the serving keg (with the attached CO2 regulator) into your refrigerator to chill and carbonate, which takes about 36 hours. It’s important to also clean the brewing keg and racking tube at this time.
Oh, this is what you’ll find in the bottom of the brewing keg — note the packages inside that held the hops I used to dry hop my beer; they can go right in the compost. There’s a lot of sludgy funk down there, so it makes sense that it’s important to clean the brewing keg and racking tube at this time.
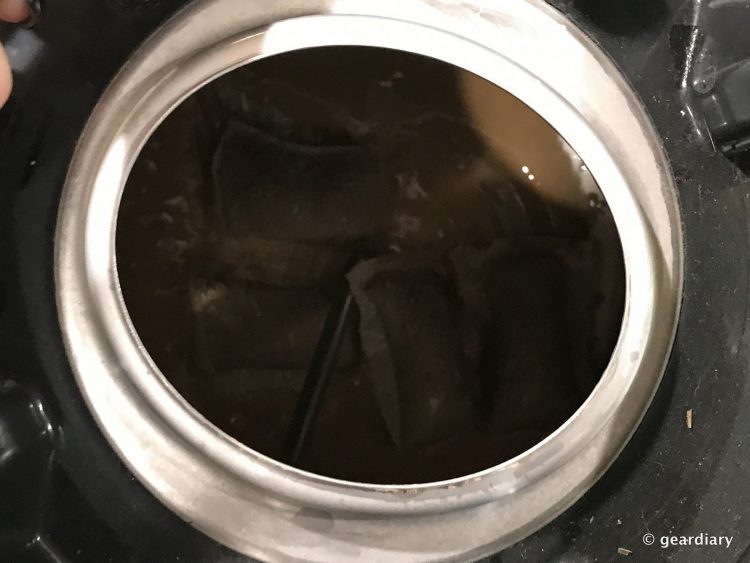
The last thing you want to do is leave beer (and fermentation sediment) in a brewing keg for later cleaning, so if you can’t get to it right away, add some hot water to the brewing keg, place the metal top back on it; give it a couple of good shakes, and set it to the side until you can get to it.
So … 36 hours have passed, my beer should be carbonated; now it’s time to dial the CO2 regulator counterclockwise to close it and then (carefully) remove it. Now you insert the dispensing bung plug into the bung hole, and you’ll throw away the spent CO2 cartridge. Obviously, you’ll want to keep the CO2 regulator for future use.
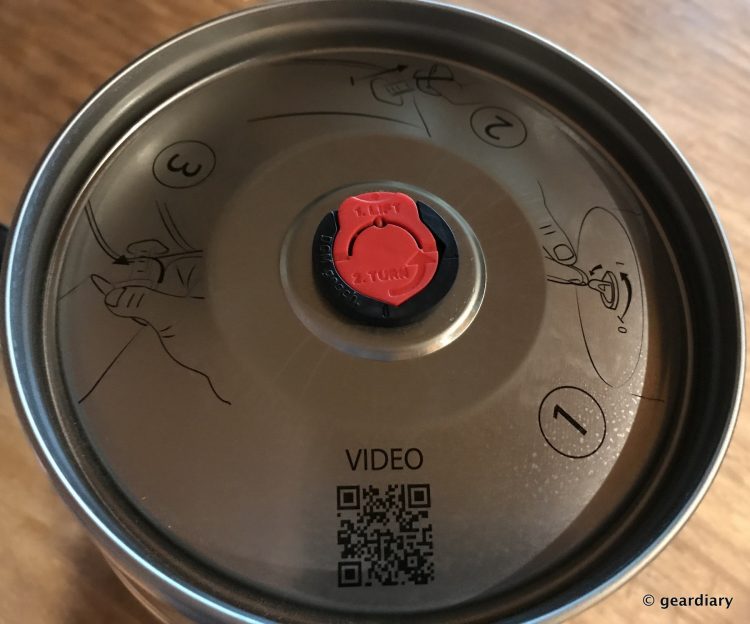
Let’s have a taste, shall we? To dispense the beer, lift the red tab on the dispensing bung, and turn it counterclockwise to the “1” position, which opens the vent for serving.
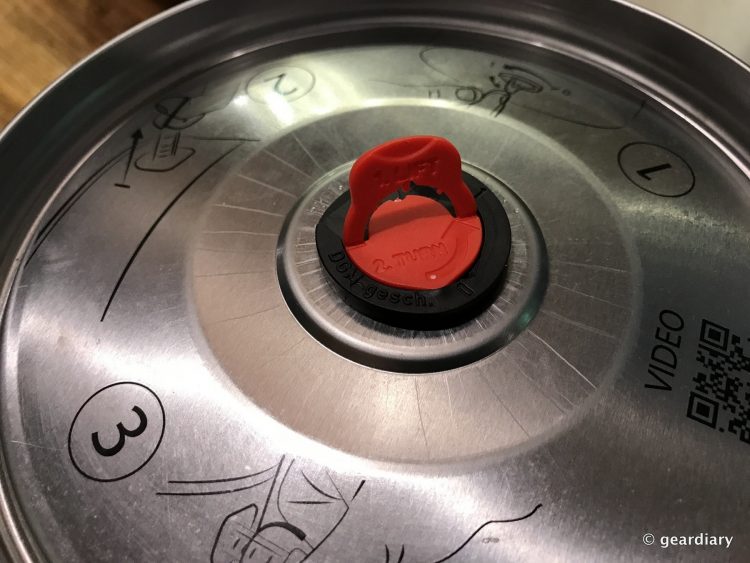
Then, you pull out the serving spout.
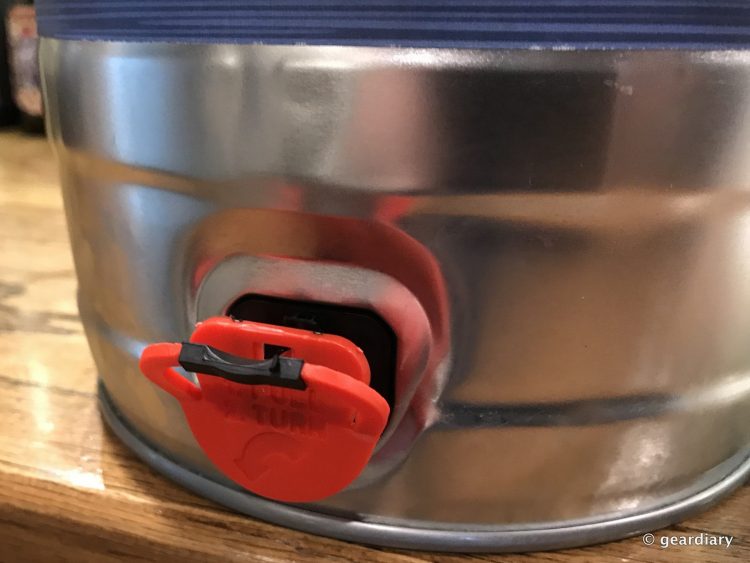
After you pop the tab at the top, the spout pulls out about two inches.
It’s a pretty simple operation; to serve beer, you’ll twist the serving spout counterclockwise to open and clockwise to close. Take a look at my golden hop-magic.
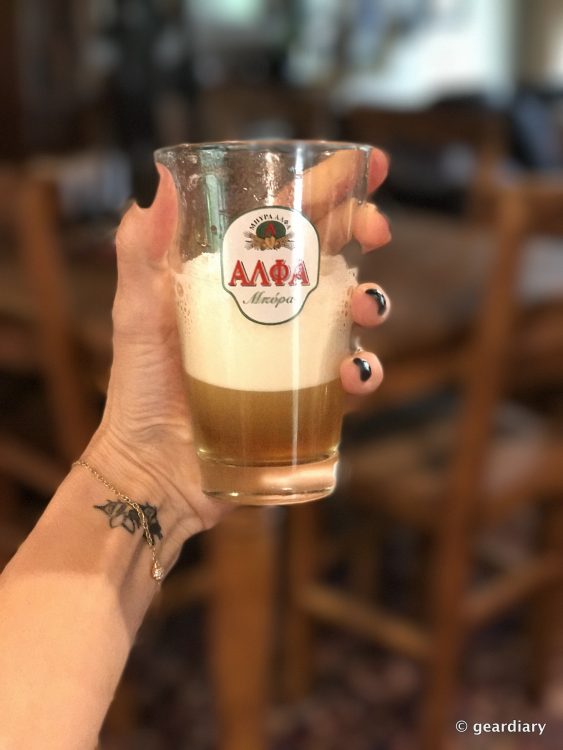
Half-squeezed IPA is freaking delicious, and I basically brewed it with zero experience and mostly on my own — with the exception of a bit of help on brew-night from my husband.
So what’s my final verdict on the PicoBrew Pico S? In case it wasn’t obvious, I love it. Since receiving the review package from PicoBrew, I’ve ordered an extra serving keg and two more PicoPaks to brew; I feel like I have a new hobby! Best of all, I am brewing beer on my own that I would be proud to serve to anyone.
Even better, my husband told me that the beer I brewed was delicious and that he thought my results were as good or better than anything he had ever brewed with his setup. I’m not gonna lie; this made me feel immensely proud.
But wait; there’s more.
If your countertops are high enough, and you have the room, you can keep your PicoBrew Pico S on the countertop when you aren’t brewing beer, because — on top of being a fab brewing device —it is also a sous vide device. If you have ever wanted to try your hand at sous vide cooking, now is your chance.
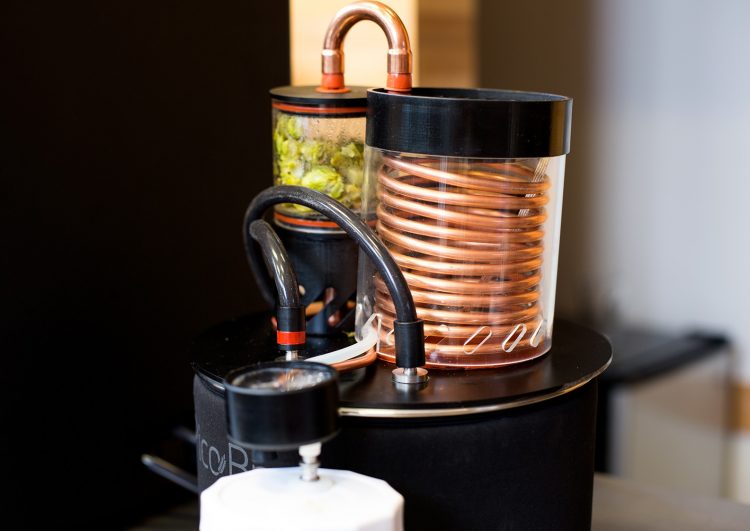
But that’s not all the Pico is good for. If you haven’t already checked out the PicoBrew Pico Model C on Kickstarter, you should. Not only is it a less expensive version of the PicoBrew Pico S, there is also a really exciting new PicoStill add-on option.
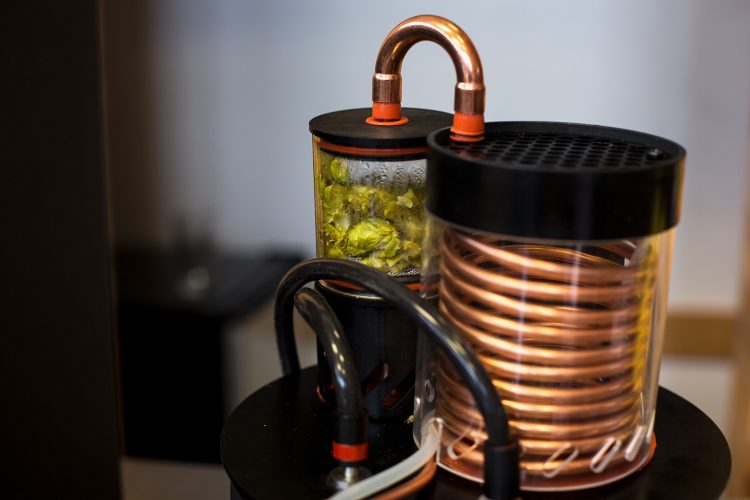
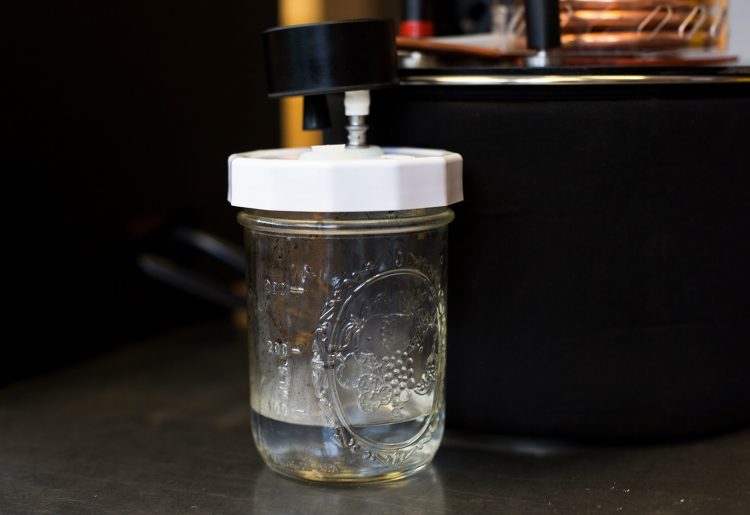
With PicoStill, any PicoBrew Pico S, Pico Model C, and Zymatic (their professional brew model) can distill hop oils, essential oils, and water. Why is this a big thing?
Hop oils are typically used by commercial breweries to quickly infuse beers with distinct hops aromas and flavors, a process that is often achieved by “dry hopping,” which can take up to a week. However, up until now, hop oils have not been available in smaller quantities for producers who brew small batches of beer. PicoStill makes it possible for any brewer to create their own essential hop oils for use in brewing.
More exciting, if you are a licensed distiller (and you have the proper permits), the PicoStill can also be used to distill small batches of alcohol. Wow.
Licensed and properly permitted craft distillers can also use the PicoStill to produce a wide range of alcohols, including vodka, whiskey, bourbon, moonshine, gin, brandies, schnapps and more. PicoStill operators must act in compliance with their local, state and national laws. As with beer production on PicoBrew devices, compliance with regulation and national and international law is the responsibility of the PicoStill owner.
Side note: I found this site very interesting.
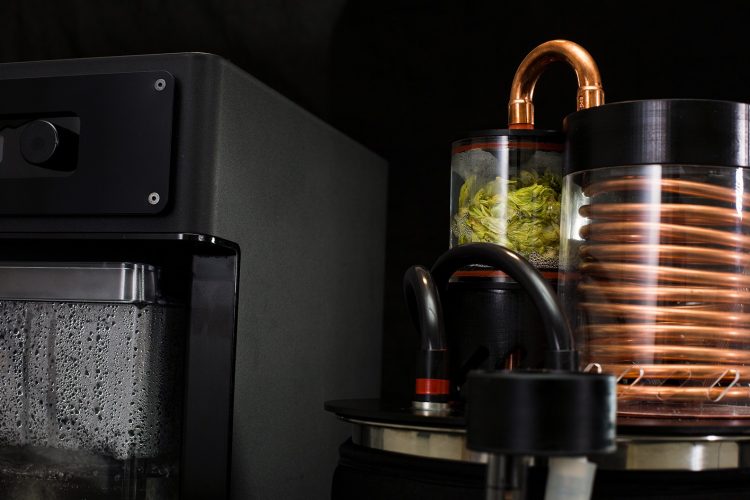
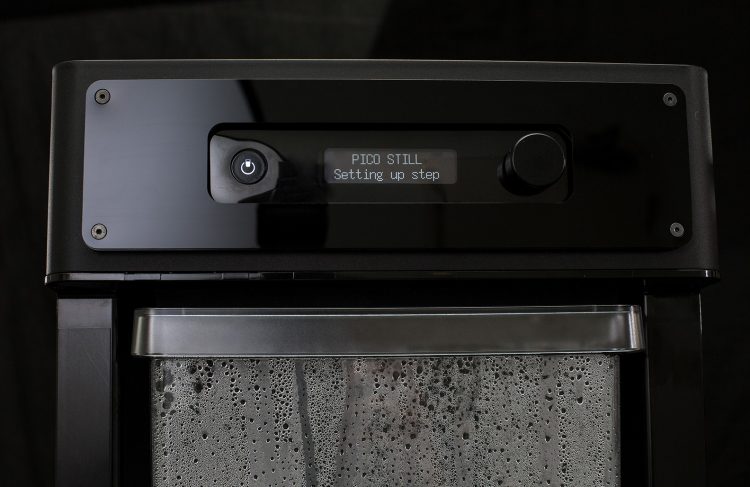
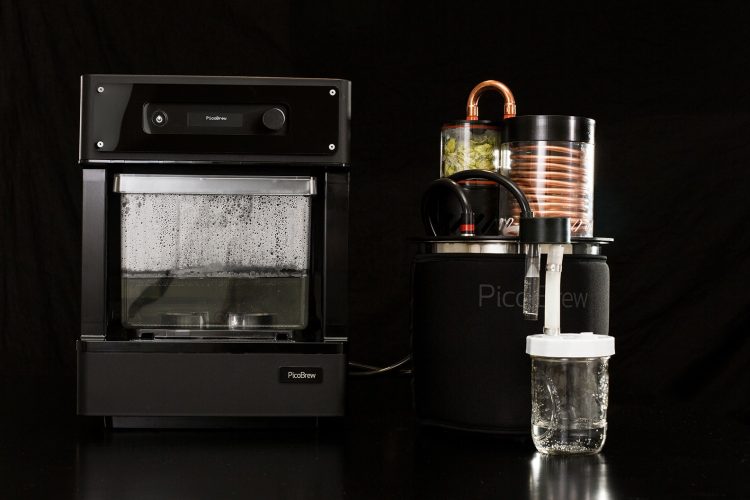
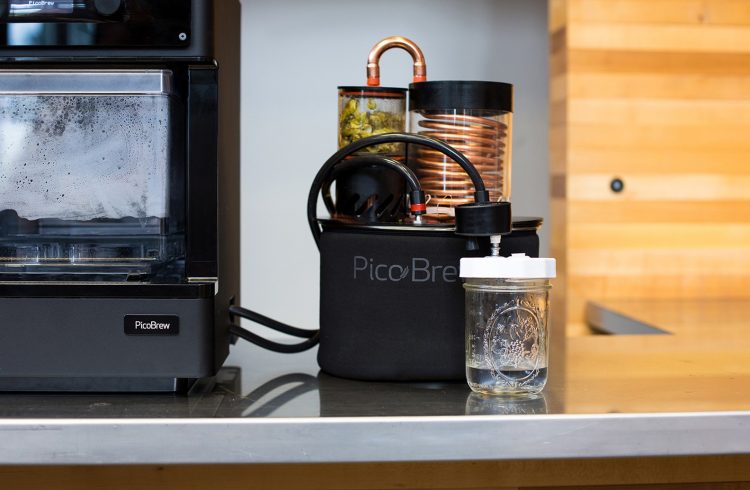
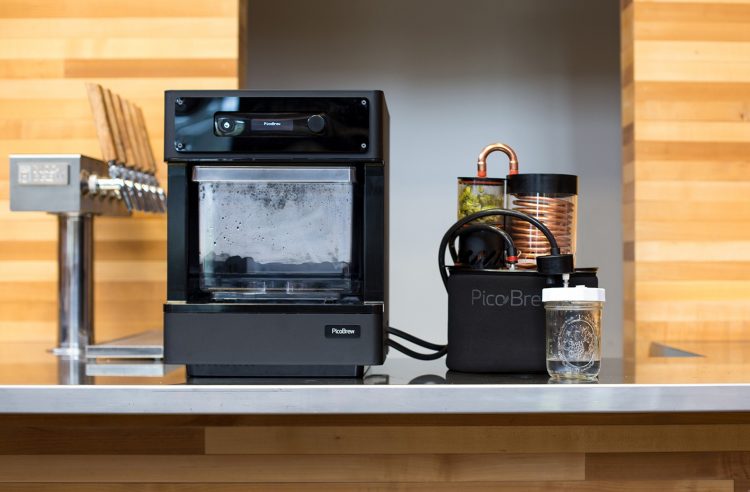
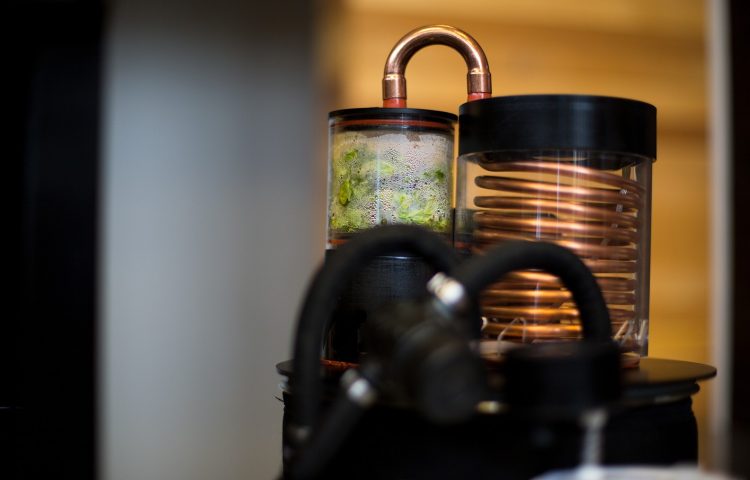
The PicoStill is available for Kickstarter backers for $170 (I backed it!), or you can get one bundled with the Pico Model C for $499. When it hits stores later this fall, the PicoStill will retail for $349.
You can read part one of this post here: Brewing Beer with the PicoBrew Pico: Set-Up and Fermentation
If you purchase a Pico for yourself using the BEERCODE below from PicoBrew.com, you and I will receive coupons for two free PicoPaks each, good for any of the beers in the entire BrewMarketplace online store!
MY BEERCODE: R7Z0BUGS12
The PicoBrew Pico S retails for $799, and it is available directly from the manufacturer and from other retailers including Amazon [affiliate link]. The PicoStill and PicoBrew Pico Model C are available at discounted prices right now on Kickstarter.
Source: Manufacturer supplied review sample
What I Like: Almost everything is included so that you can confidently begin brewing your own beer, right on your kitchen counter; You can buy PicoPaks that are custom-made by you or that have recipes from popular breweries ready for you to try; The included manual is clear and easy to follow; You do not need to have any experience to use the Pico — you just have to be able to follow instructions; There is a less expensive PicoBrew Pico Model C available on Kickstarter; The PicoBrew Pico S can be used to sous vide; There is an add-on PicoStill if you’d like to distill your own hop oils, essential oils, and water; If you have the proper licensing, you can use the PicoStill to distill alcohol (!!)
What Needs Improvement: I do wish that the included user manual was more heavy-duty as it will eventually get wet; The up-front cost of the PicoBrew Pico S is prohibitive
