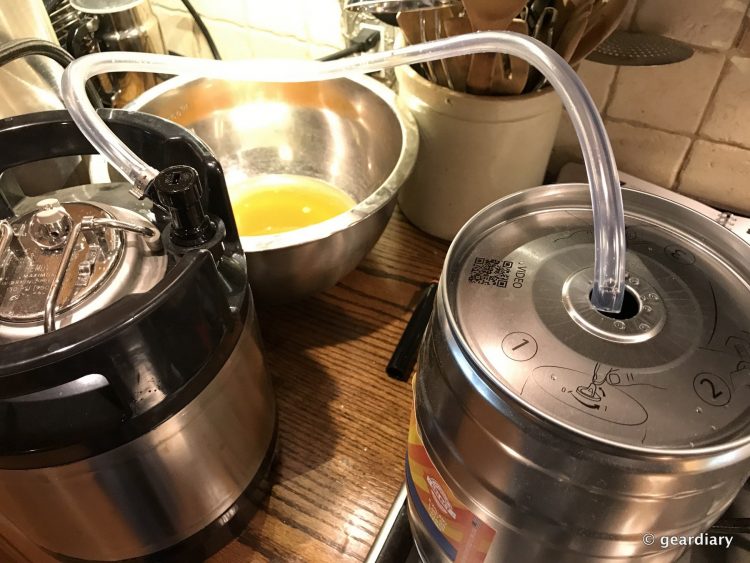
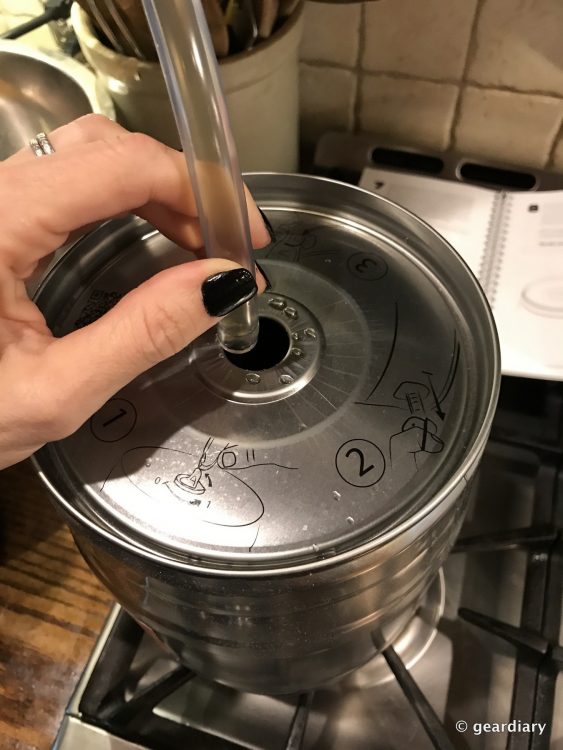
The point of this step is to catch any sediment that might come out of the racking tube (picked up from the bottom of your brewing keg), but you don’t want to waste any beer. The minute the beer coming out of the tube is clear, you hit the PicoBrew Pico S’s button to tell it you are done. I let it run a couple of seconds too long, mainly because I was fascinated by the smell and appearance of what was coming out of the racking tube. Once I realized I was losing beer, I quickly caught myself and hit the Done button. 😉
Next, you insert the racking tube into the serving keg and press the control knob on the PicoBrew Pico S again. Beer will start flowing into the serving keg. There’s a trick to this, too. If you were smart, you might have stuck the brewing keg into the fridge the night before to cool it down. As the chilled beer enters the room temperature serving keg, you’ll see condensation which allows you to monitor the beer level as it fills the keg.

If you didn’t chill the beer first, you’ll need to keep a close eye on what’s flowing into the keg, because you must leave at least an inch between the top of the beer level and the top of the serving keg (so there’s room for the CO2 during carbonation). At some point, you’ll either notice there is air entering the tube or you’re an inch from the top of the keg, and that’s when you’ll press the Done button again. It’s important not to remove the racking tube at any point during the filling, as you are trying to keep things as clean as possible, but once you’ve filled the keg and hit the Done button, you are safe to remove it.

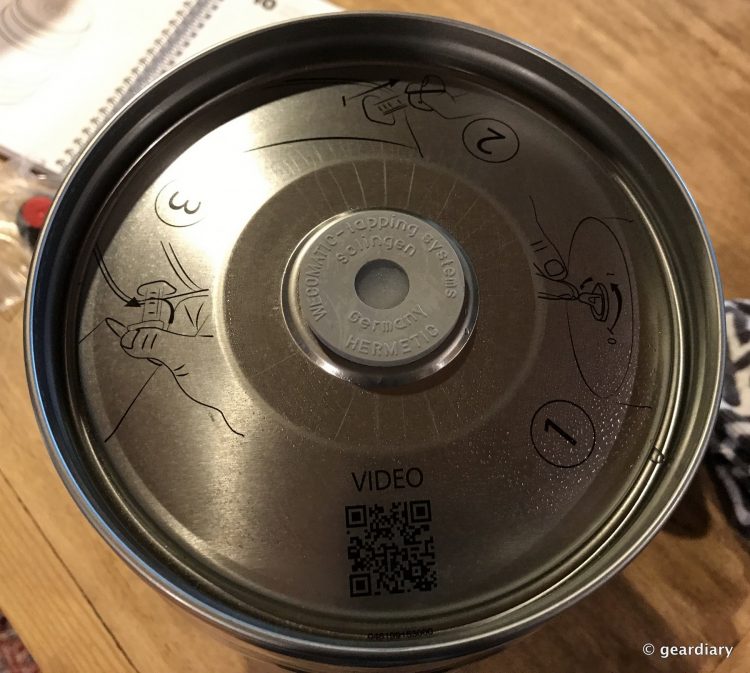
Now you’ll place the special carbonation adapter into the bung hole of your serving keg. See how it has that opaque center? You’re going to pop that into the serving keg when you insert the CO2 regulator. The directions didn’t say to do this, but I soaked the carbonation adapter in the hydrogen peroxide and water sanitation fluid and then rinsed it off with water just to be safe.

