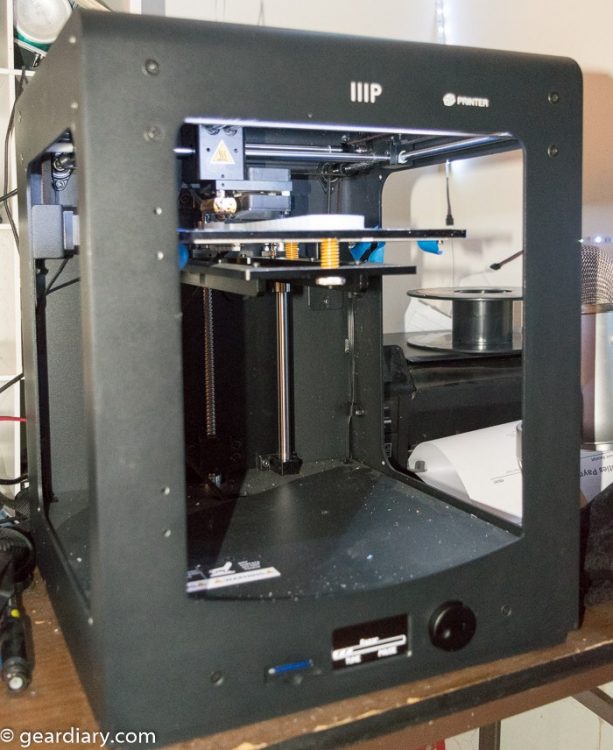
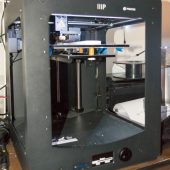
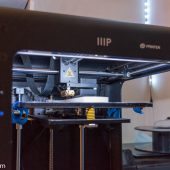
I’m in the market for a 3D printer for many reasons, so when Monoprice offered to loan me their Maker Ultimate 3D Printer to review I jumped at the chance. It was easy to set up and use, but it is not quite ready for people who just want to press print. So, what makes it great? Let’s find out.
Monoprice has three printers in their current lineup of 3D printers. Their smallest is the MP Select Mini Printer; the middle model is the Maker Select, and the top model is the Maker Ultimate 3D Printer. The Maker Ultimate has styling and a mechanical arrangement and software that is very reminiscent of higher-end Ultimaker printers but is about 1/3 to 1/2 the cost of the Ultimakers. Monoprice can’t take 100% of the credit for this as the Maker Ultimate is a rebadge of the Chinese made Wanhao Duplicator 6. The only real difference is that Monoprice has their branding on the build platform and in the software. One other difference between the Duplicator 6 and the Maker Ultimate is that the Maker Ultimate is $200 cheaper than the Duplicator 6. The nice thing about this is that if you need to replace a part like the hot end (the part on a 3D printer that melts the plastic), you can readily buy the parts online.
Let’s check out the specs of the Maker Ultimate:
Features
- Ultra high 20-micron layer resolution
- Can print from USB connection or SD™ card
- Up to 300 mm/sec print speed
- Extruder nozzle temperatures from 180 ~ 260°C
- Build plate temperatures from 50~ 100°C
- 200 x 200 x 175 mm build volume
- Compatible with Windows®, Mac® OS X®, and Ubuntu Linux
What’s in the box
- 1x 3D printer
- 1x Spool holder
- 1x Print bed mat
- 1x Package of hex wrenches
- 1x AC power cord
- 1x USB cable
- 1x Tweezers
- 1x Scraper
- 1x Card reader
- 1x MicroSD™ card with adapter
Setup with the printer is pretty easy. Prep the print bed with either Kapton tape or blue painter’s masking tape (which is what I use), and then before you apply a layer of glue stick, you level the print bed. The Maker Ultimate doesn’t have an auto-leveling system, so you have to do it manually by using a piece of paper and following the prompts on the screen. To adjust one of the three leveling screws, you just twist the knurled knob the appropriate direction. The idea here is at each leveling point you should feel some resistance between the bed and the print head when pulling the paper out. I found that the knurled knobs were rough on my hands, and I would have preferred a wing nut to adjust the height.
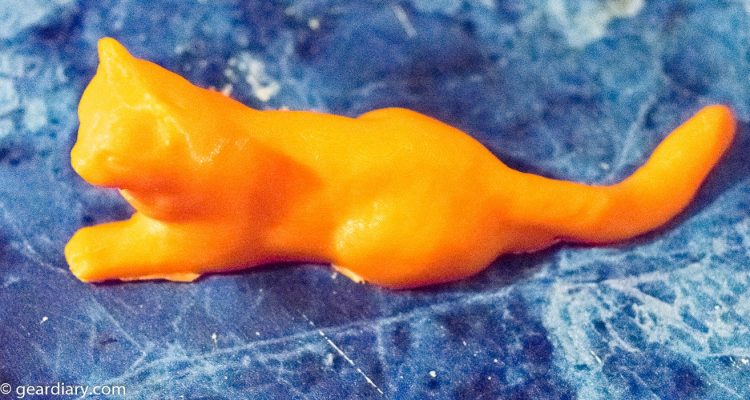
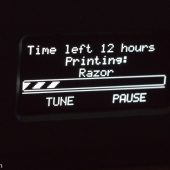
Once adjusted, you prep the bed with a layer of glue stick, select print, and then select an image off of the SD card. There was at least one file on the SD card already — a cat — so I printed it first. After that, you can make your own gcode(the file format most 3D printers use to make the prints) using the recommended software, Cura. Cura is made by the same company that makes the Ultimaker printers. The instructions for setting up Cura were in the included manual, and they are enough to get you started.
Cura is easy to use and takes almost no time in slicing the models on my laptop. Once you have the file, copy to the SD card, and it’s ready to print. Now you can keep the basic settings, but you will want to adjust them based on how your prints are turning out. My first print went well, but others didn’t, and the reason for this is each kind of material you print with may require different settings. Make sure you adjust these further if you are printing something other than PLA, which is the material most 3D Printers can print. This printer can also use ABS and PetG as well, but I find PLA is pretty forgiving and doesn’t smell when you are printing with it. During my review, I used Hatchbox PLA in two different colors. I had bought fluorescent orange and glow-in-the-dark PLA, and both printed with very similar settings.
With that said, it’s easy to mess up a 3D print. 3D printing isn’t as simple as printing on a piece of paper for many reasons, but it’s getting easier with each generation of these printers. If you get one, there’s much learning if you are unfamiliar with the process, and you WILL make a bad print or two, but I found that’s part of the fun! If the print messes up, figure out why and try again. Sometimes it’s as simple as fixing the design.
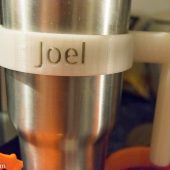
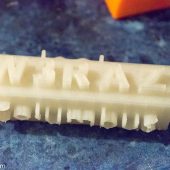
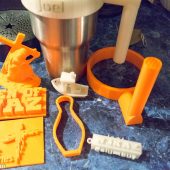
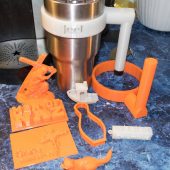
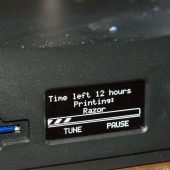
One big question I got when talking to friends on this is how do you get the designs? Thingiverse has a ton of different things you can print — everything from simple plastic hooks to little plastic toys and more. If someone had a problem and they solved it with a 3D printer, invariably you can find the STL (Stands or Stereo Lithography…the file format used by slicers like Cura) there. However, if you wanted to try your hand at doing some 3D designs of your own, you can use Tinkercad online for free. Tinkercad is very basic, but with it, I was able to design some hooks for my shower to hold my razor and my shower puff. I was also able to take some logos for my church and a men’s group I attend and printed those too. You can do a lot with Tinkercad, but eventually, you will want to move on to other software.
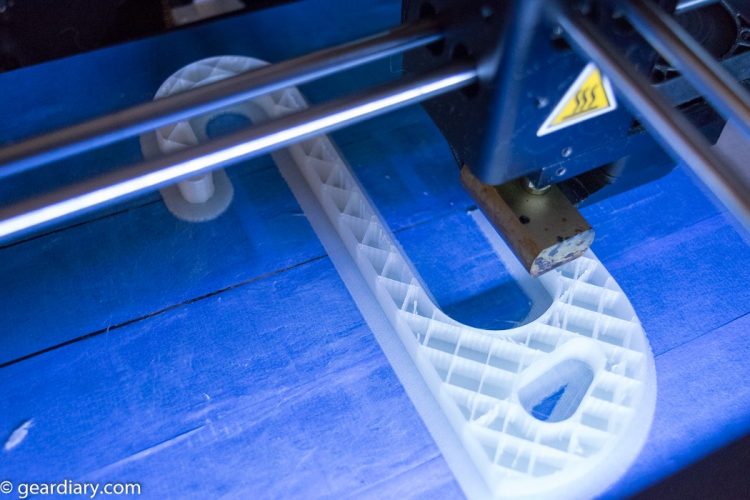
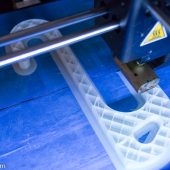
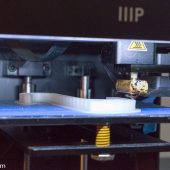
Now that I talked about how to get the designs, how do they print on the Maker Ultimate? I found that this printer did a fantastic job printing most of the things I wanted, but it did get a bit fiddly when I tried to print bigger things. I like the open design of this printer, but one problem this has is that prints can dry faster than they should which caused the PLA to shrink a bit in the corners on larger prints, but it did pretty well on smaller things like hooks and other things I wanted for around the house. With that said, you can overcome some of this by adjusting the models and adding some additional support to the models. That and making sure it is level before you start big prints will go a long way towards making sure your prints are successful.
With that said, it’s not ready for your grandma to have one in her kitchen to print hooks and what not. You need to make sure you make adjustments when things don’t go well. So we’re not living in a world of matter replicators just yet.
One other thing that you need to be ready for is that you will get some waste on this, be it from unsuccessful prints or just the support material you need to include in your model. A bit of waste comes with the territory for this technology now. You may need to spend some time with your prints after they are done to remove this support material and to clean up the print before you use it. I found with the Maker Ultimate that the clean up was fairly easy depending on the model printed.
Conclusion
I think that the Maker Ultimate is a great printer and you can do much worse at this price level. Printing was reliable, and it was easy to set up. If you are reasonable with your expectations, then you will be happy with this printer; just don’t expect perfection. 3D Printing isn’t like sending an order to Amazon. However, if you temper your expectations, you can have a lot of fun AND make useful and fun things that can make your life better.
The Maker Ultimate 3D Printer is available directly from Monoprice for $599.99.
Source: Manufacturer supplied review sample loan
What I Like: Easy setup; Accurate prints; Replacement parts easy to get
What Needs Improvement: Would like if it auto-leveled, but this is a minor quibble

