
The Lowdown
The TP-Link Tapo C675D Security Camera stands out for combining two 4K cameras into a single flexible, solar-powered security solution. The fixed lens keeps a constant eye on key areas while the pan-and-tilt lens actively tracks motion, giving you broader coverage without needing multiple devices. Installation is mostly straightforward, and once set up, the camera delivers sharp video quality, responsive alerts, and a feature-rich app experience.
Overall
Pros
- A subscription is not required
- Two cameras in one unit
- Very fast notifications when motion is detected
- Ability to save 24/7 footage to an optional microSD card (not included)
- Advanced features for a non-subscription-required camera
Cons
- I wish the daily summaries feature were not locked behind the Tapo Care subscription
Keeping an eye on my property while I’m away from home is always a concern because my house is pretty secluded. For that reason, I have many security cameras installed both inside and outside my home. I enjoy testing a variety of cameras because I’m always looking for the next best one that I can add to my array. Today we’re taking a look at the TP-Link Tapo C675D Security Camera. It’s two cameras in one! Let’s see if it’s a keeper.
What Is It?
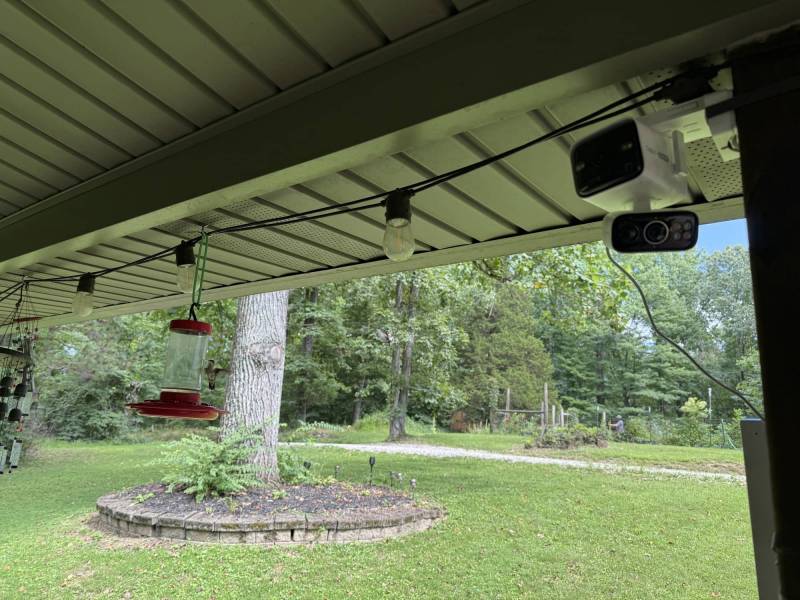
The TP-Link Tapo C675D is a dual-cam security camera that is powered by a solar panel, and it doesn’t require a monthly or annual subscription.
What’s Included?
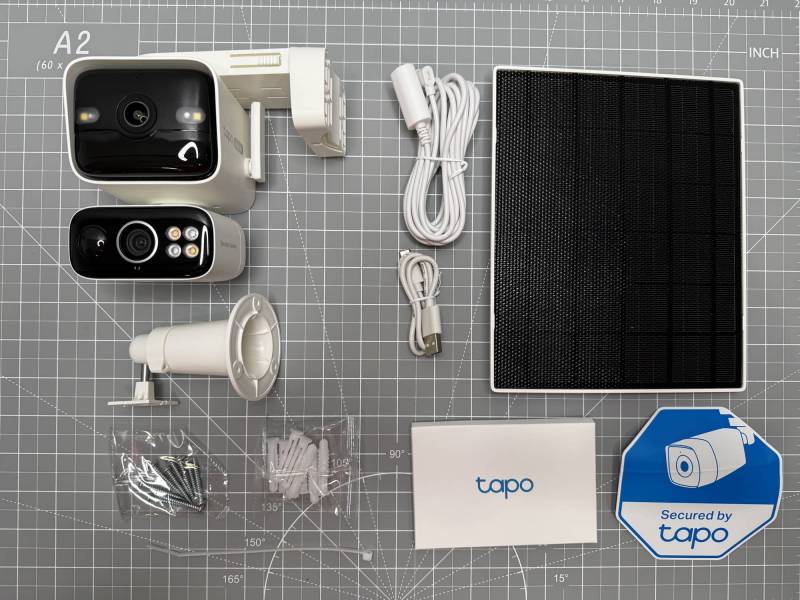
- Tapo Camera
- Tapo Solar Panel
- Tapo Solar Panel Bracket
- USB Adapter Cable
- Extension Cable
- Mounting Hardware
- Sticker
- Quick Start Guide
Tech Specs
TP-Link Tapo 4K Dual-Lens Camera Model – C675D
Cameras – Fixed Lens: 4K (3840 × 2160px) Pan & Tilt Lens: 4K (3840 × 2160px)
Local Storage – MicroSD Card Slot on Camera (Up to 512 GB)
AI Detection – Motion Detection, Person Detection, Pet Detection, Vehicle Detection
Wireless Connectivity – 802.11b/g/n, 2.4GHz Wi-Fi, 802.11a/n, 5GHz Wi-Fi
Weather Resistance – IP65
Dimensions (W×D×H) – Camera Dimensions: 4.02 × 6.31 × 5.20 in (102.6 × 160.3 × 132 mm)
Solar Panel Dimensions: 8.31 x 6.83 x 0.67 in (211.2 × 173.6 × 16.9 mm)
Design and Features
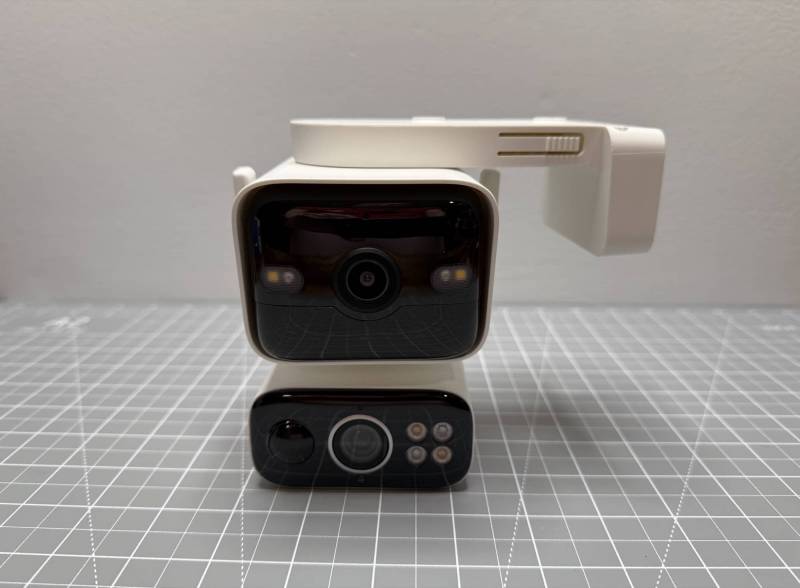
The Tapo’s boxy shape gives it an interesting form factor. The larger camera up top is the fixed camera. You can position this camera manually, but once positioned, it won’t move (unless you physically reposition it). The smaller camera below the fixed camera is the pan and tilt camera.
The fixed camera has a 4K wide-angle lens in the center with IR and spotlight LEDs on either side. There’s a microphone above the lens and a motion sensor below it.
The pan and tilt camera has a microphone above the lens and a light sensor below it. On the left side of the lens is the motion sensor, and on the right side are IR and spotlight LEDs. There are also a red and a blue alarm light.
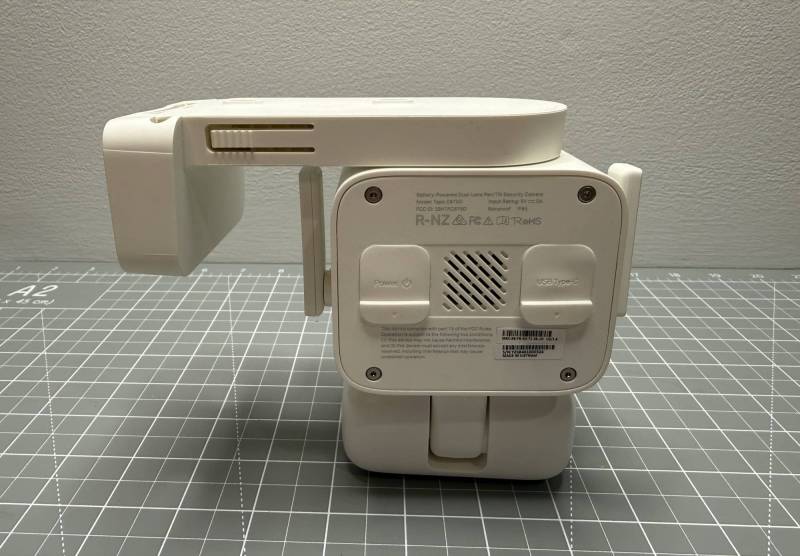
On the back side of the TP-Link Tapo C675D Security Camera, you’ll find two protective flaps with a speaker between them.
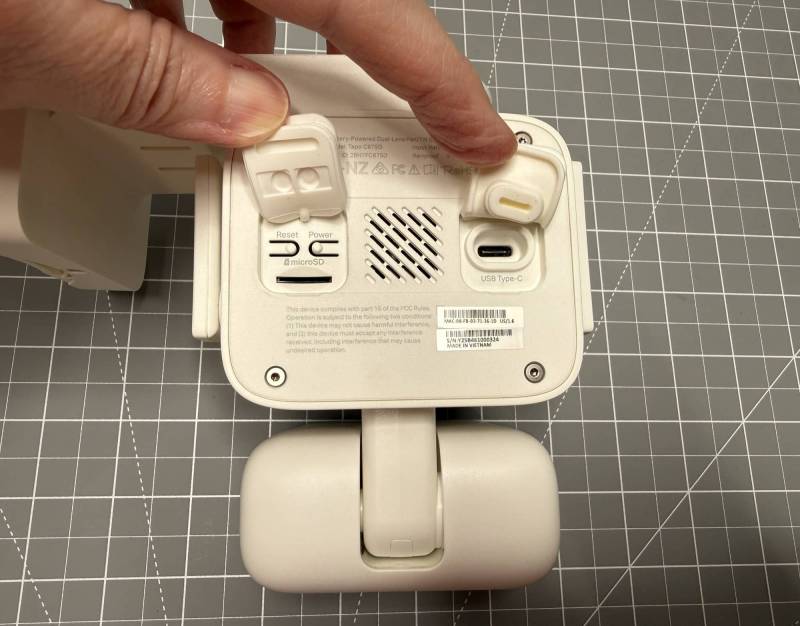
One side has buttons for reset and power buttons, and the microSD card slot. Note that TP-Link does not include a microSD card with this camera. The other flap protects the USB-C port. I’m not even sure why they included this flap since you’ll be plugging the solar panel’s cable into this port.
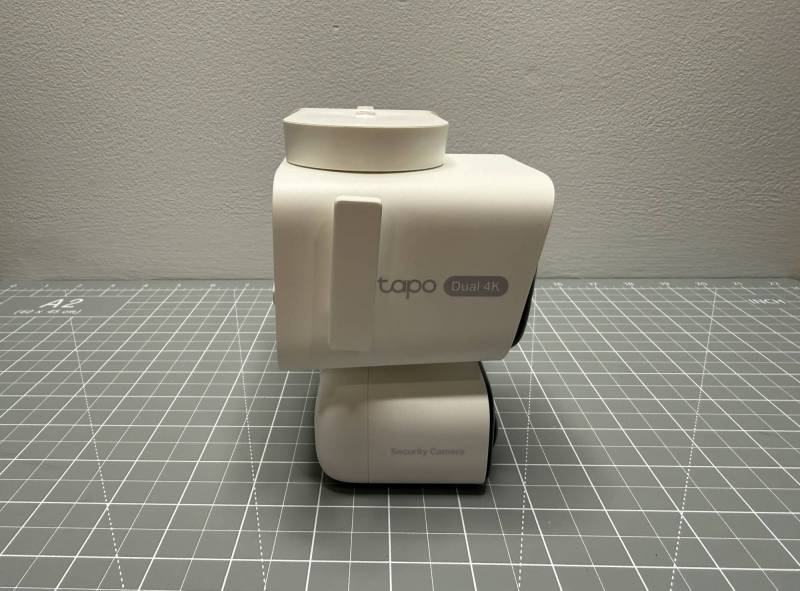
On both sides of the fixed camera is a small WiFi antenna. These antennas can rotate just like the antennas on your WiFi router.
Installation and Setup
Before installing the TP-Link Tapo C675D Security Camera, fully charge the camera’s batteries using the included USB-C cable.
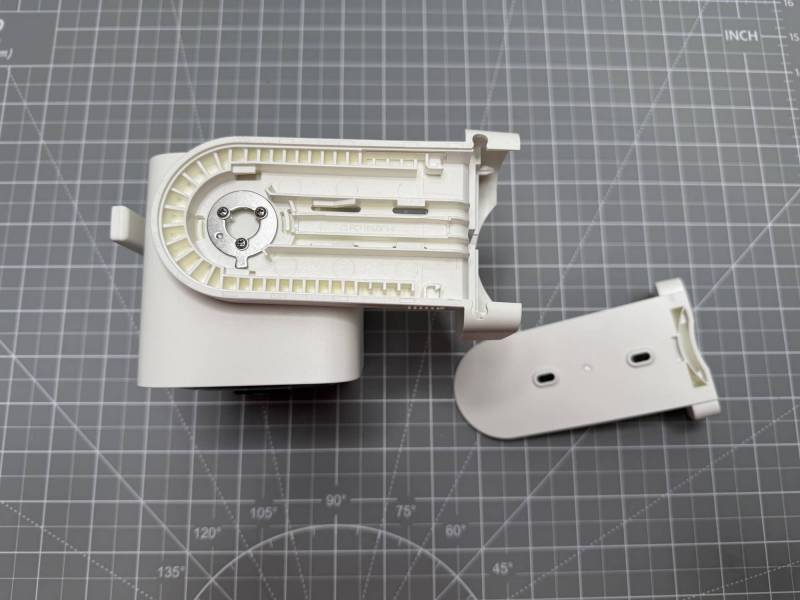
Mounting the Tapo isn’t difficult since a bracket and hardware are included for both the camera and the solar panel for a wall or eaves mount. If you want to mount the camera on a pole, you will need to buy some pole mounting loops to attach the mounting bracket securely to the pole.
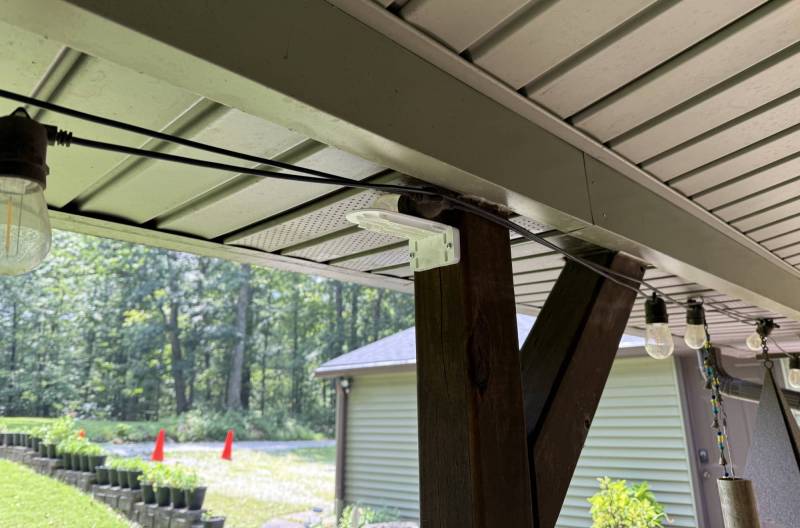
When I test cameras, I usually rig a temporary mount with zip ties or Velcro straps, but this time I decided to attach the mount with screws to a post on my front porch. I’m glad I did because I discovered a little issue that others might encounter when they install this camera.
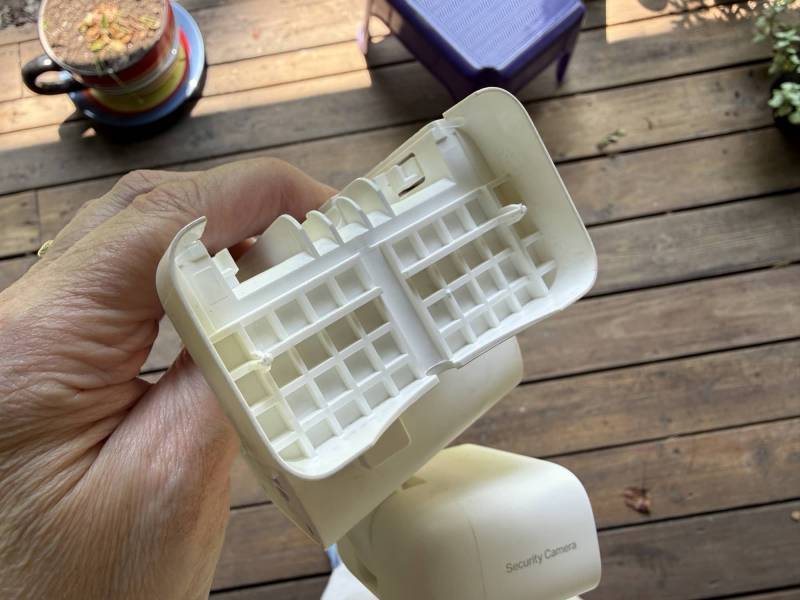
See those little posts sticking out of the camera side of the mounting bracket? They look like little Philips screwdrivers. Well, these little posts have to be lined up perfectly with the screw heads on the bracket that is attached to the wall (in my case, the porch post). I couldn’t figure out why the camera wouldn’t snap into the bracket until I noticed these little posts. No matter how I tried, I couldn’t get the camera to snap into the mount. I ended up taking some snips and snipping off those posts, and voila, problem solved!
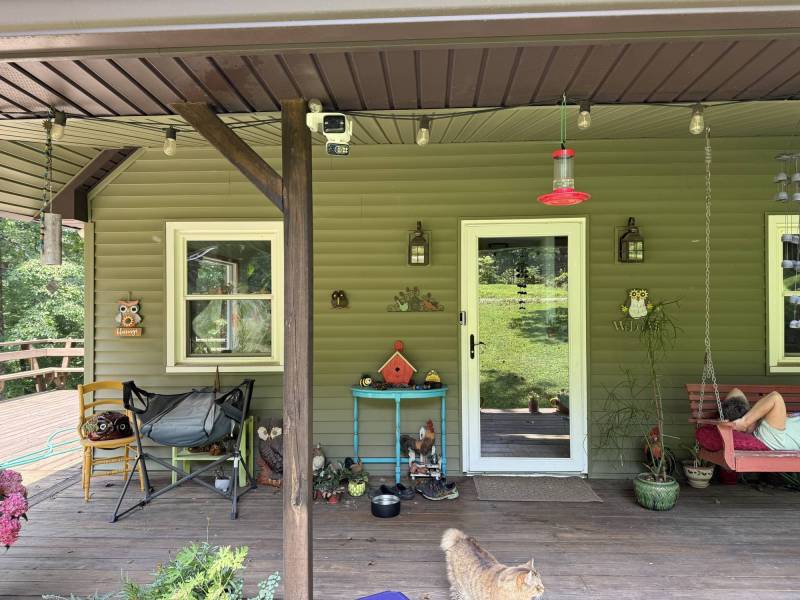
Once the camera is securely mounted, there’s still another step – the solar panel also needs to be mounted. By the way, I didn’t get any help from Ozzy (my cat) or Jeanne (my better half) with this installation. How rude 😉
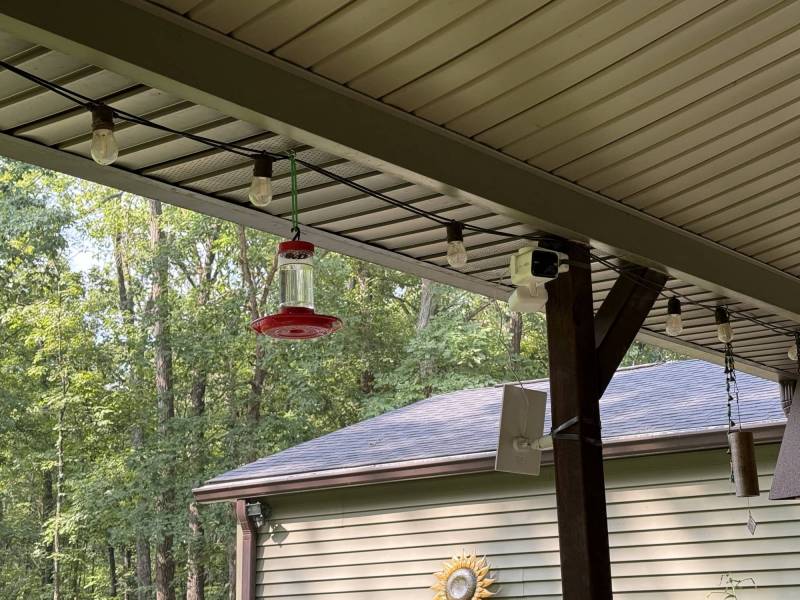
This time, I used Velcro straps to attach the solar panel because I wasn’t sure if the sun would hit the panel well enough to charge the camera’s batteries.
As you can see from the image above, I have positioned the fixed camera to point towards my front door. This way, I can easily see when the UPS or FedEx peeps drop off a package for me. The pan and tilt camera is normally pointed the opposite direction, to the road. But it will rotate wherever it needs to when it detects motion, or it will rotate when the fixed camera detects motion so that both cameras are pointing at the same thing.
TP-Link Tapo App
With the camera and solar panel installed, it’s time to power on the camera and install the Tapo app on your phone. The Tapo app isn’t just for cameras. It’s the app that is used for all of Tapo’s smart home devices like vacuums and more. I’m only going to focus on the camera-related features of the app since I don’t have any other TP-Link Tapo devices.
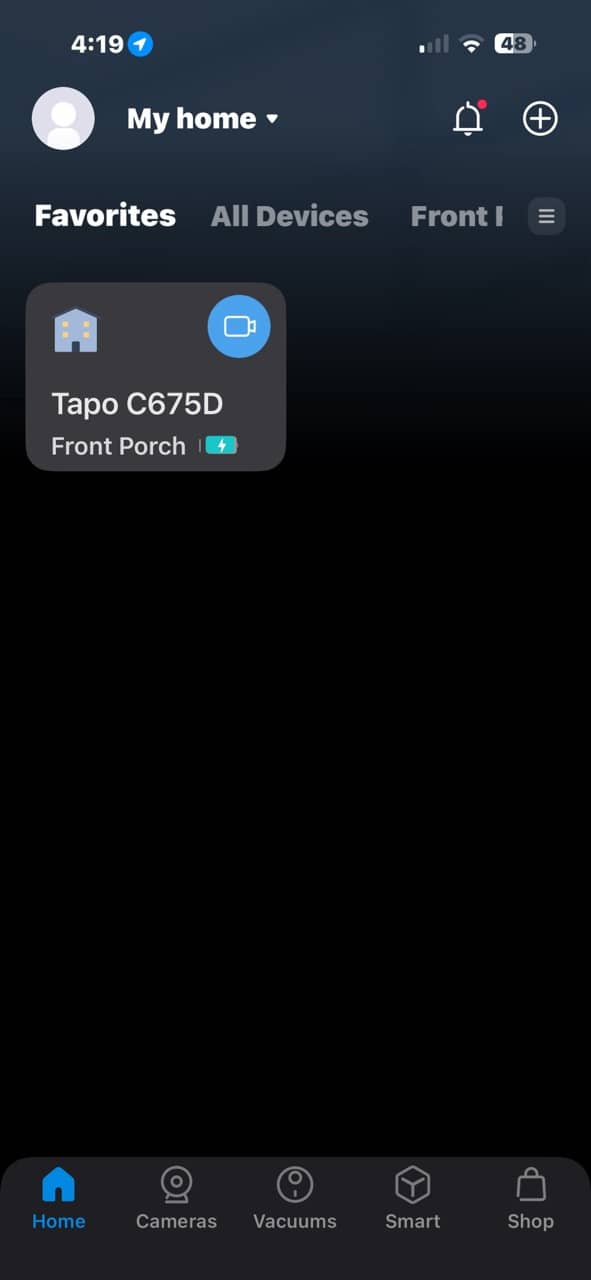
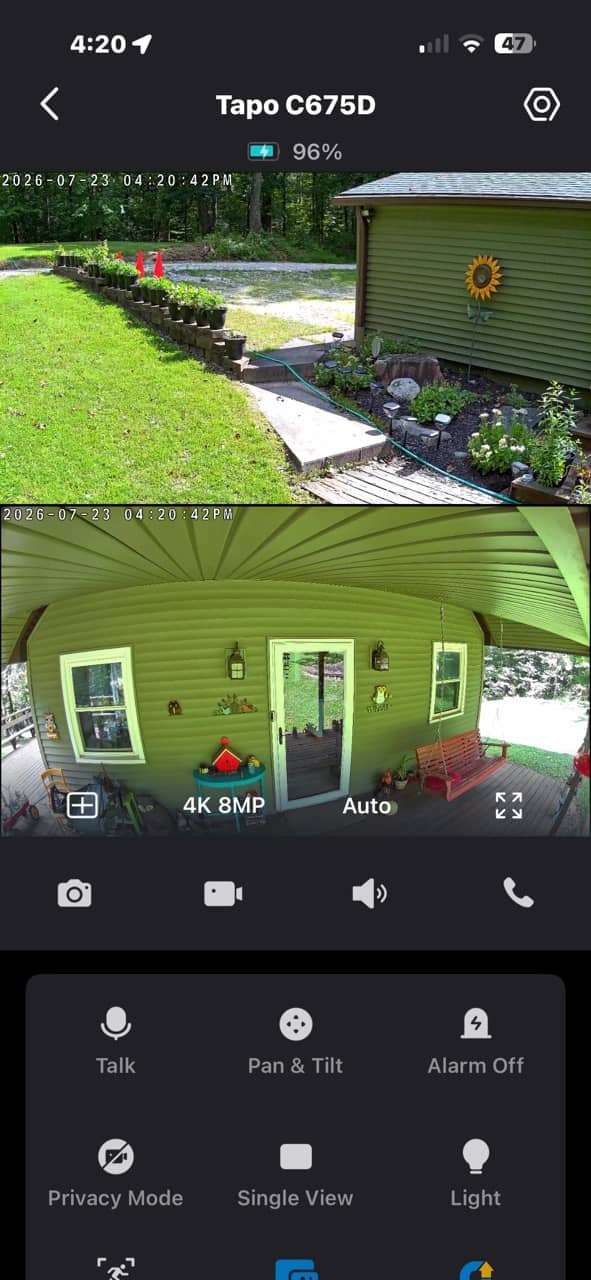
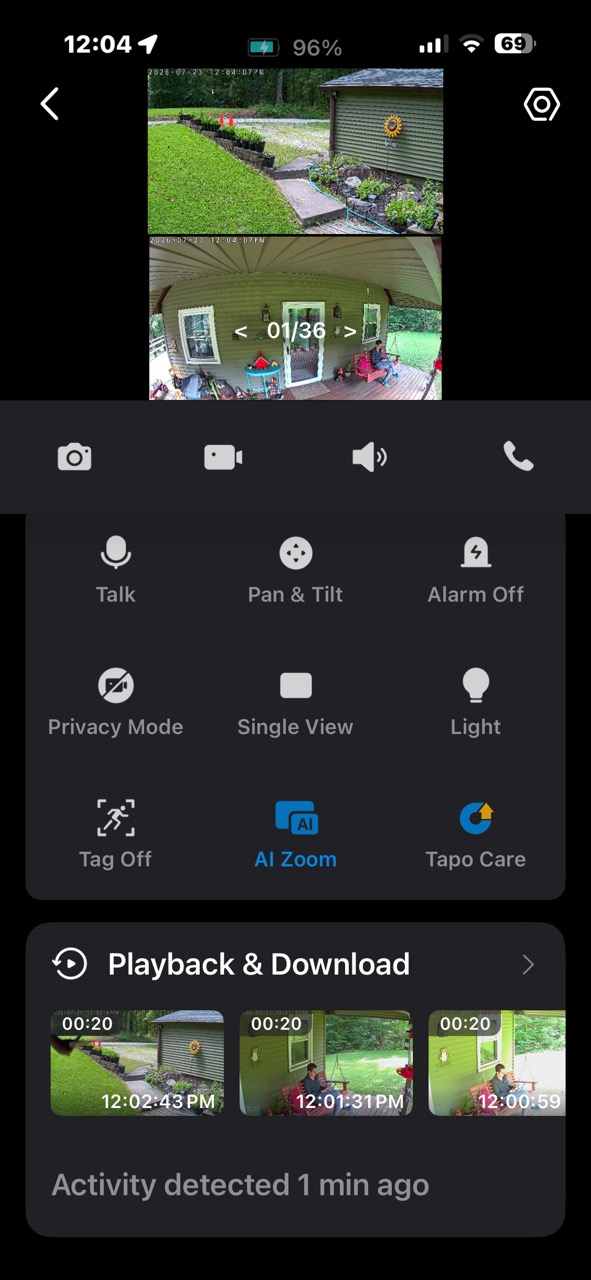
In the camera tab of the app, the C675D camera shows up with live views from both cameras. Buttons below the live view allow you to snap a picture, make a recording, mute the audio from the live microphones, two-way talk, set the alarm, privacy mode, switch to single view, toggle the spotlight, and more.
When you scroll up, the live view gets smaller, and you’ll see the newest 3 motion events that you can watch or download.
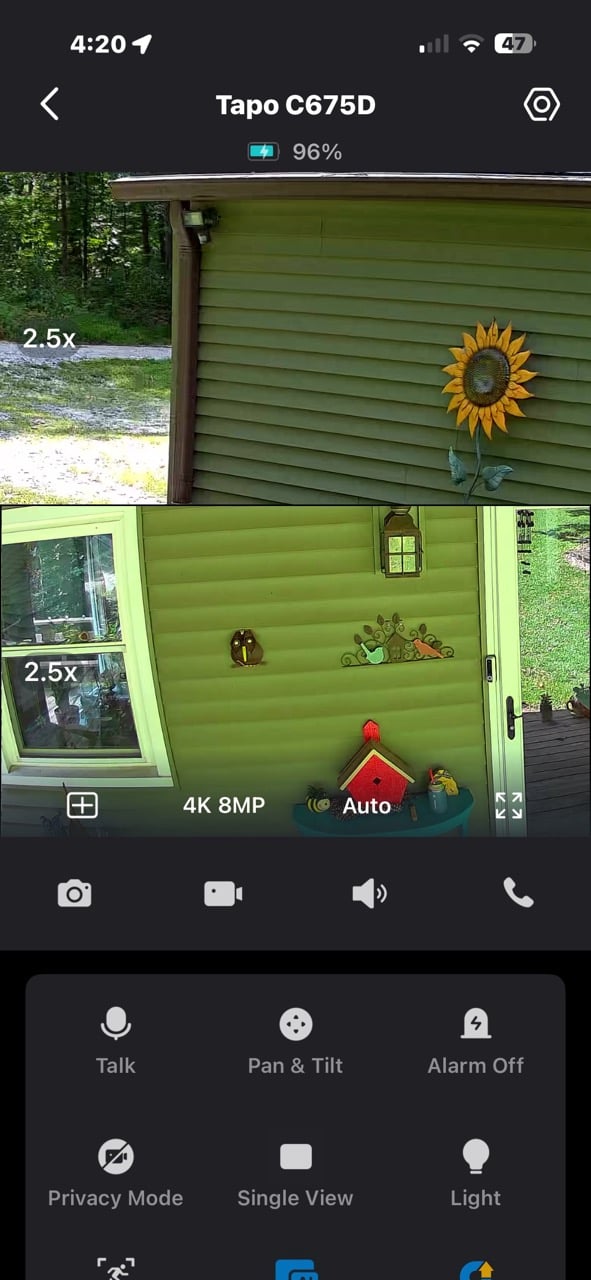
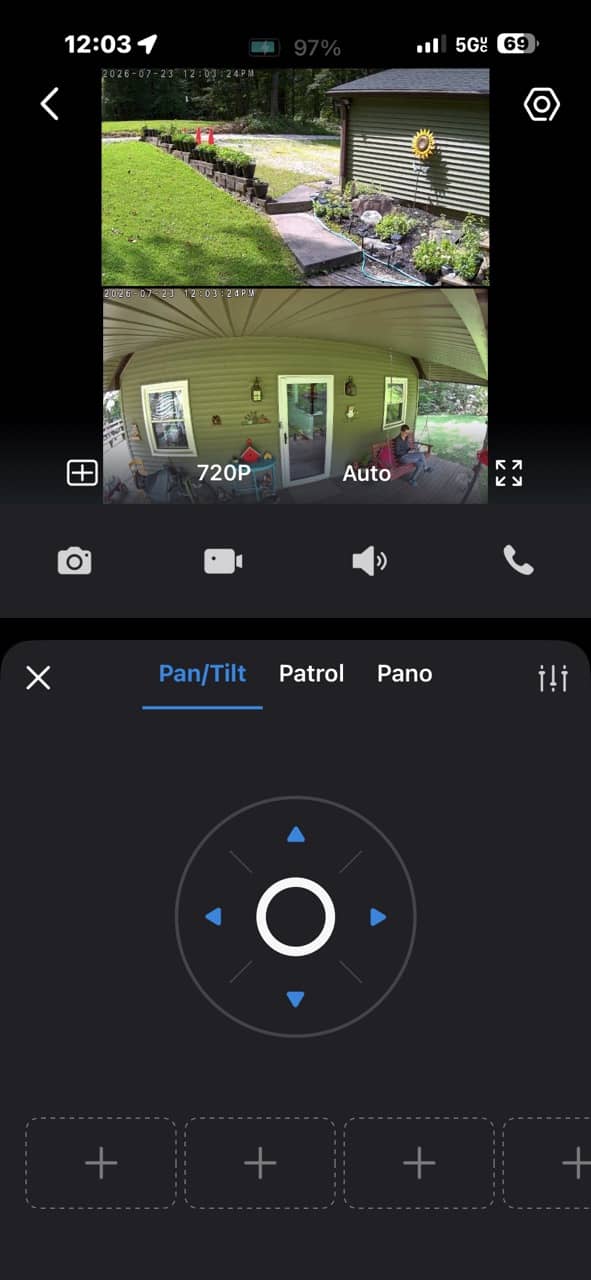
Tapping anywhere in either view (fixed or pan & tilt) will zoom in 2x, and tapping the Pan & Tilt button will let you move the bottom camera. You can also have the bottom camera patrol horizontally or vertically. There’s even a feature to have it take a panoramic shot.
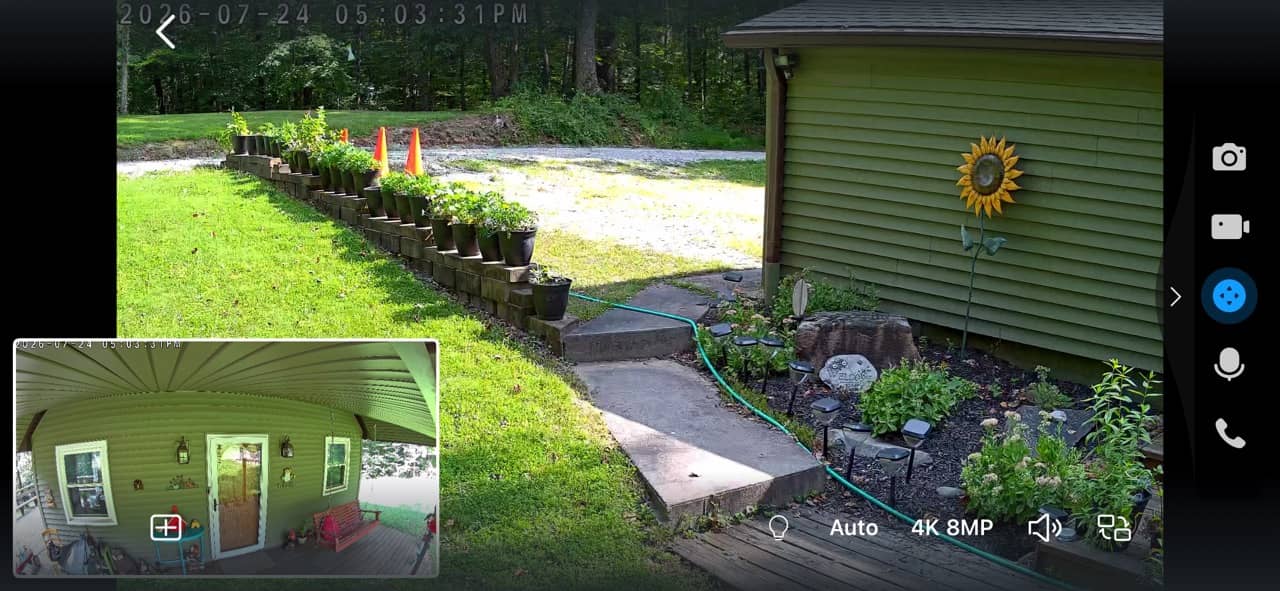
I think the live video quality is quite good.
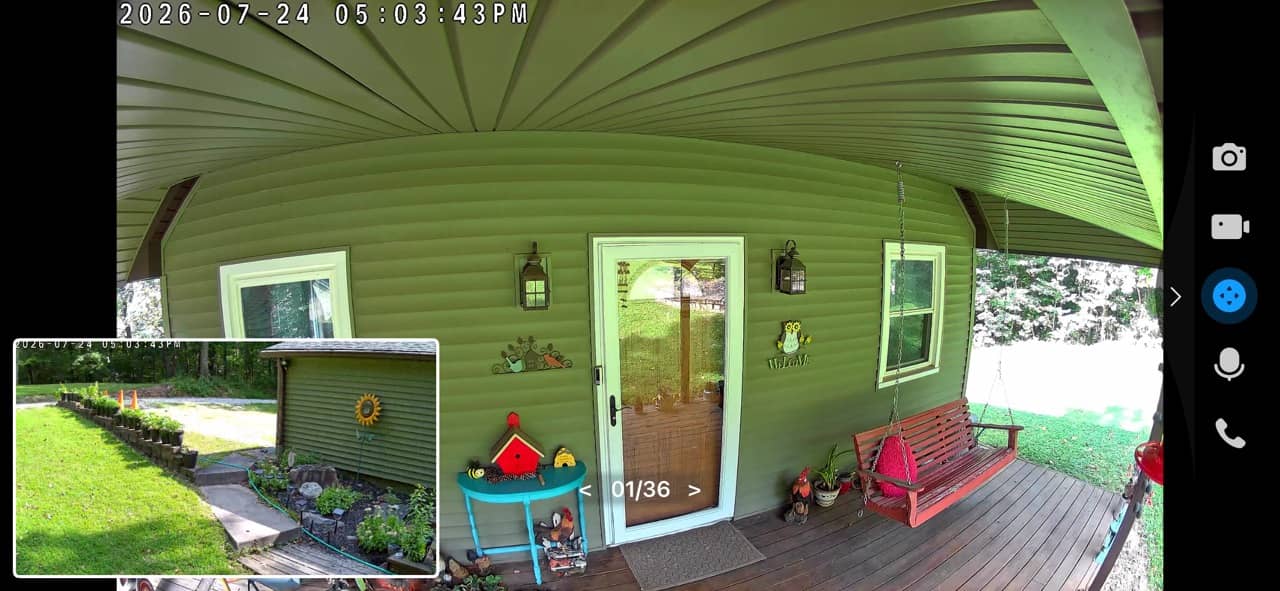
When you are viewing the cameras in landscape orientation, it puts the second camera picture in picture. You can even move the PIP to any corner.
Notifications, Night Vision, Video Summaries, and More
Notifications
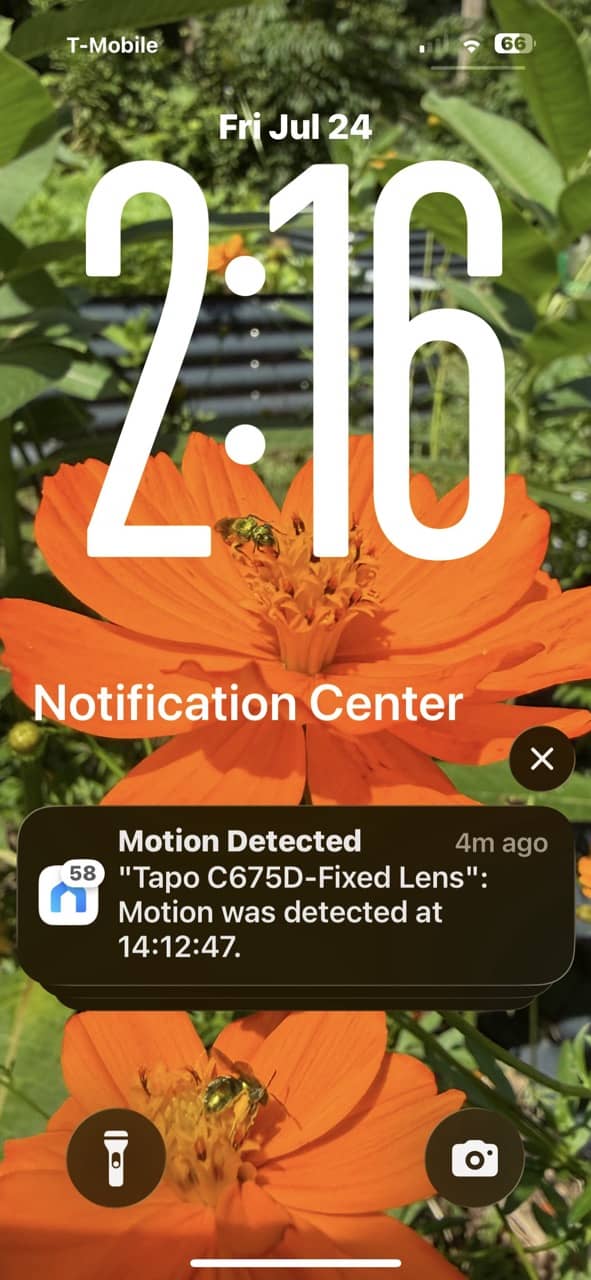
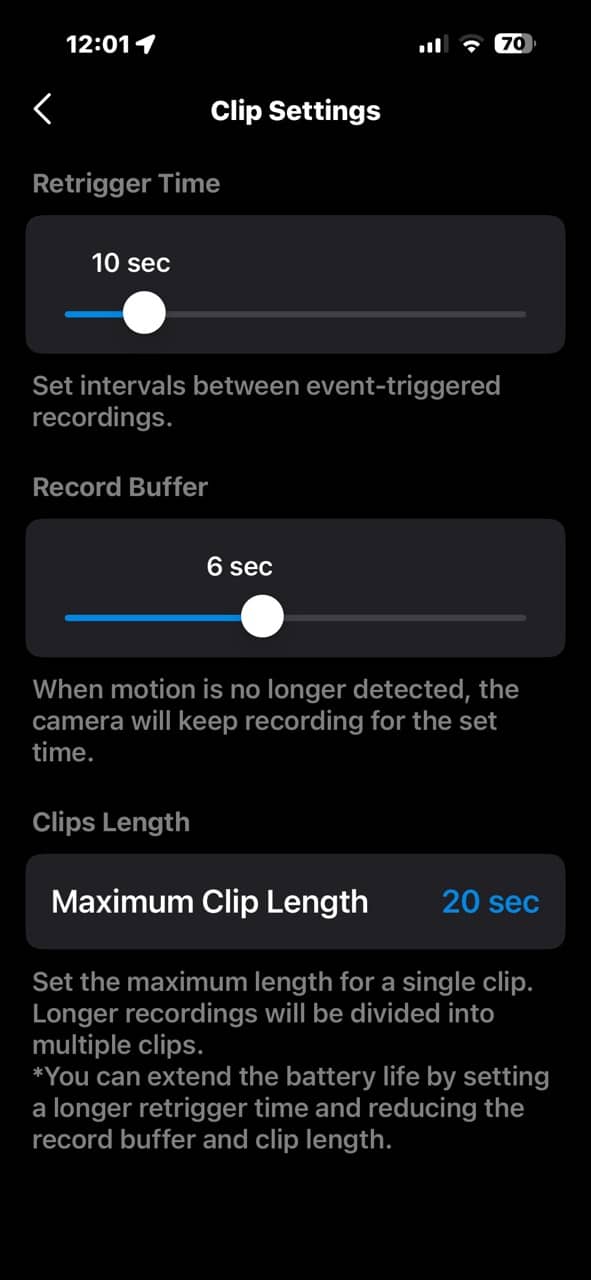
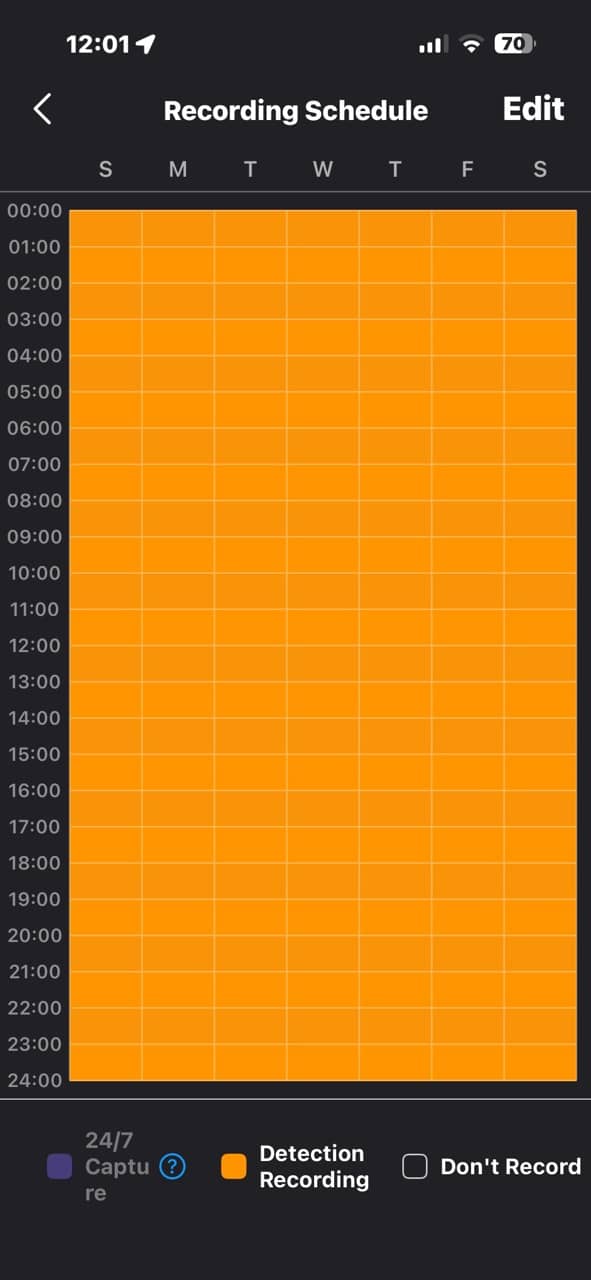
When it comes to notifications, this camera is fast and a little neurotic 😉 It seems to trigger all the time, which shouldn’t be a surprise since I have it right next to a very active hummingbird feeder. Luckily, you can adjust the re-trigger times, and you can also set up a schedule if you don’t want it to detect motion 24/7.
Night Vision
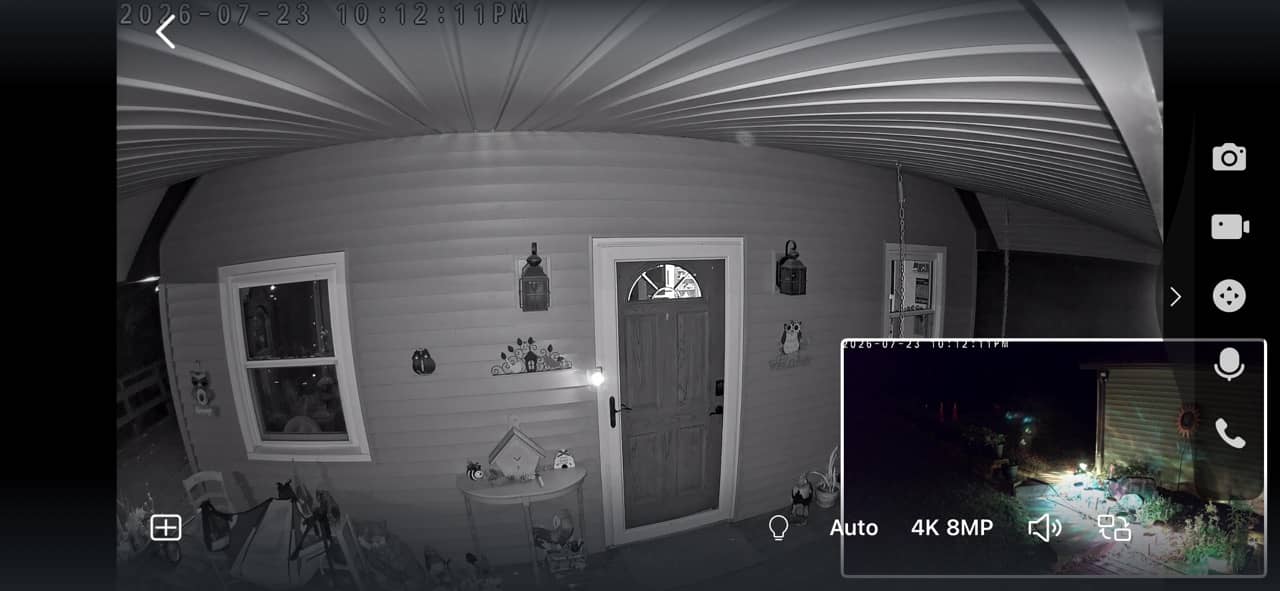
The IR night vision is crisp and clear.
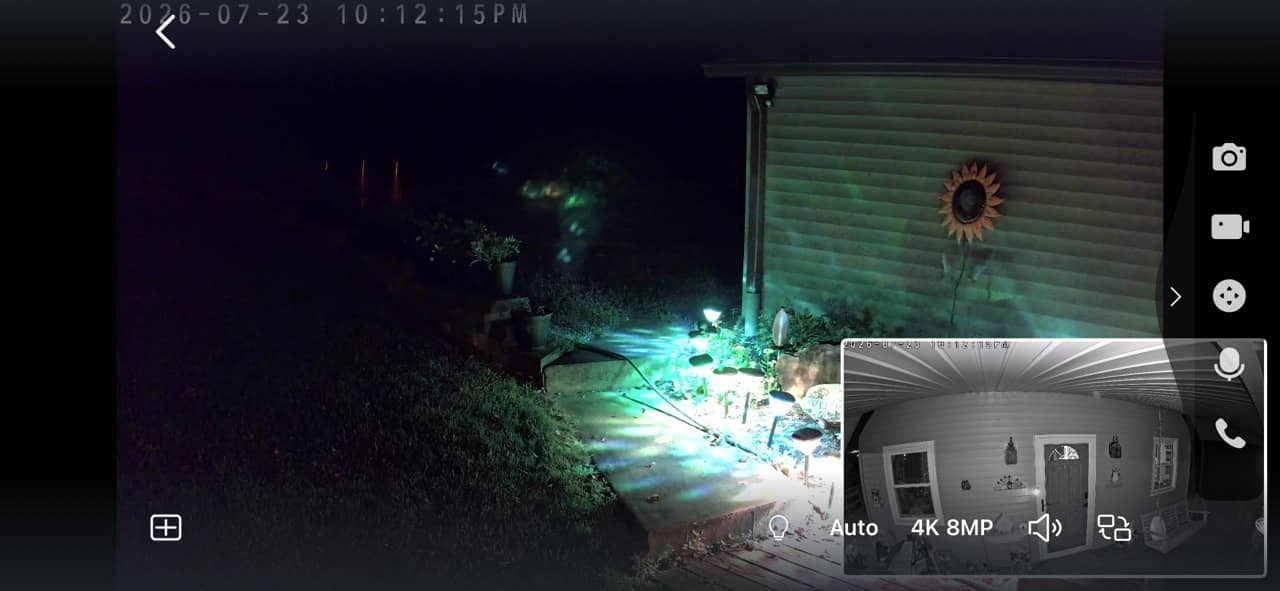
If you want a little color at night, you can turn on the spotlights.
Video Summaries
I know that I said that the TP-Link Tapo C675D camera does not require a subscription. But if you want some extra features, there is Tapo Care. With it, you get a pretty cool feature called Video Summaries. When you create a daily summary, the app will select from the day’s motion clips to create a little reel of your day, including some pleasant background music. You can watch a sample above.
Tagging and AI Zooming
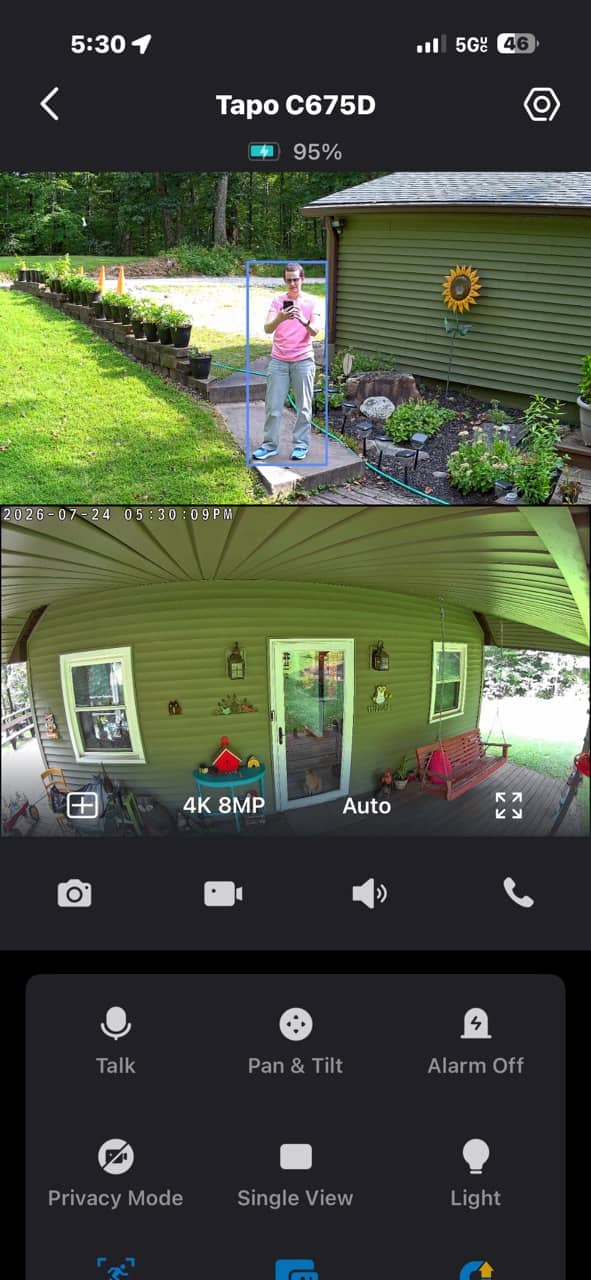
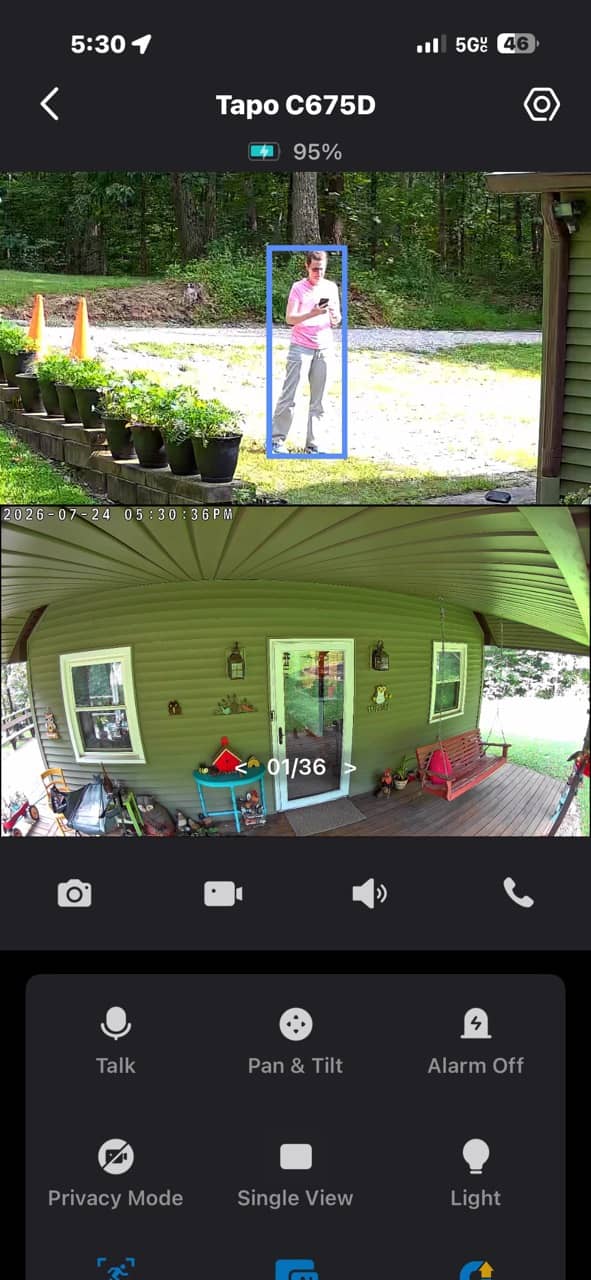
Enabling tagging will put a box around the subject that the camera is tracking. I’m not really sure how useful this feature is, but it’s there if you like it, and you can disable it if you don’t. Another feature that you can enable or disable is the AI zooming. If you check the images above, you can see how the camera will zoom in when it tracks certain objects. Both tagging and the AI zoom do not appear to be locked behind the optional Tapo Care subscription.
More about the Tapo Care Subscription
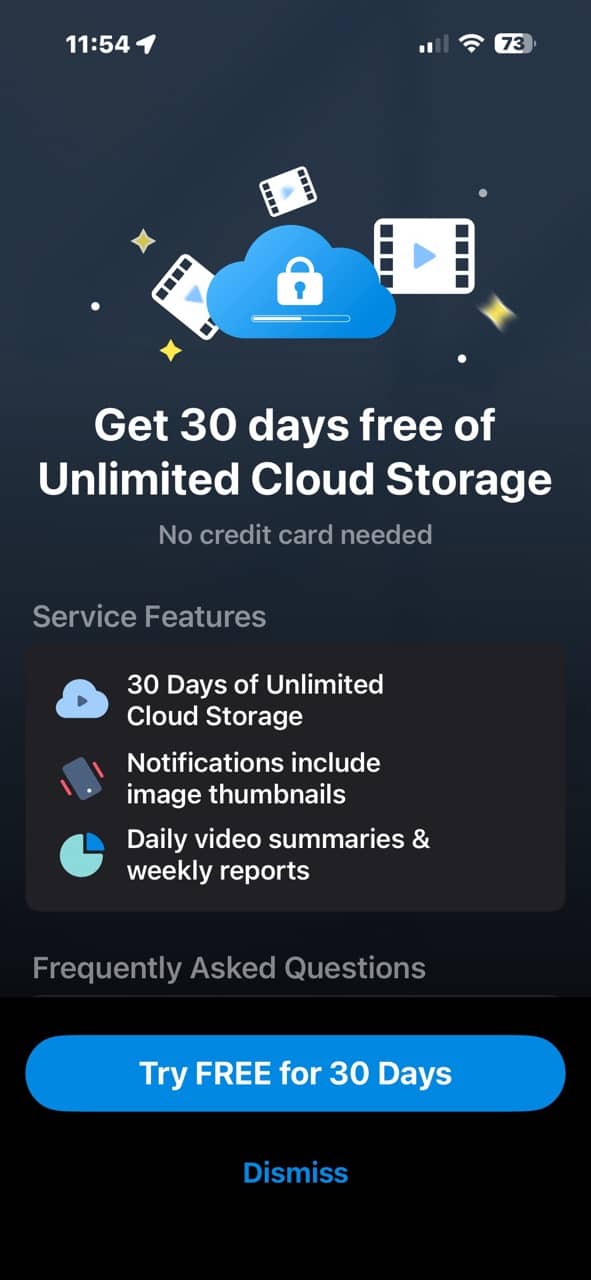
What is locked behind the subscription? Along with the daily video summaries, there’s also a weekly report, notifications with thumbnails, and 30 days of unlimited cloud storage. Note that if you have a microSD card, events will be saved there too. You can try Tapo Care for free for 30 days when you initially set up the camera. If you decide to pay for it, it’s $3.49 a month or $34.99 annually.
Final Thoughts
The TP-Link Tapo C675D Security Camera stands out for combining two 4K cameras into a single flexible, solar-powered security solution. The fixed lens keeps a constant eye on key areas while the pan-and-tilt lens actively tracks motion, giving you broader coverage without needing multiple devices. Installation is mostly straightforward, and once set up, the camera delivers sharp video quality, responsive alerts, and a feature-rich app experience.
What really makes it appealing is that it works well right out of the box without requiring a subscription, thanks to local microSD storage and robust built-in detection features. While optional Tapo Care features like video summaries are nice, the core functionality is strong enough on its own. Aside from a small mounting quirk and slightly overactive notifications in busy areas, the C675D is a versatile and reliable addition to a home security setup.
The TP-Link Tapo C675D Security Camera retails for $229.99; it is available directly from the manufacturer and other retailers, including Amazon.
Source: Manufacturer-supplied review sample.
What I Like: A subscription is not required; Two cameras in one unit; Very fast notifications when motion is detected; Ability to save 24/7 footage to an optional microSD card (not included); Advanced features for a non-subscription-required camera
What Needs Improvement: I wish the daily summaries feature were not locked behind the Tapo Care subscription 🙂


I’ve been thinking about getting a dual-lens camera for my backyard for a while now. Having two separate views from just one unit sounds super practical, especially for covering both the driveway and the side gate. Good to know it performs well in practice.