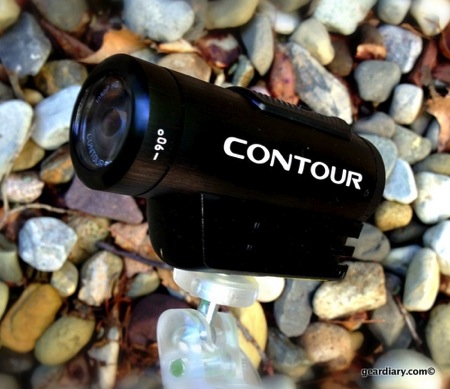
When it comes to HD action cameras there are a few key “musts” the device needs to have if you are going to take it seriously. It has to be tough. After all, action cameras need to endure bumps, bruises, vibration and moisture. It has to be mountable, since an action camera that can only sit on a tripod is called… a camera. It has to be simple to use, since having to stop in the middle of an activity to turn the camera on or off defeats the purpose. And, of course, it needs to take good quality video and, if possible, stills. At under $200 the ContourRoam2 couldn’t possibly offer all of these features, could it? Of course it does! That’s why I’ve been having so much fun playing with it ever since it arrived.
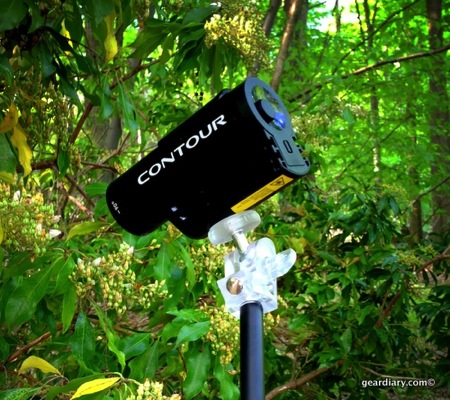
A few weeks ago, Perry reviewed the Oregon Scientific ATC Chameleon action camera. (Read the review.) It shoots to different perspectives at the very same time. That’s a good trick not offered by the ContourRoam2. And while it would be fun to shoot two videos at once, I didn’t find that not having it detracted from the overall experience of using the ContourRoam2. Let’s take a look at the HD action camera on video and then dig a little deeper into its specs and features.
The ContourRoam2 did well sticking out of my car’s sunroof, going for a walk with me, and spending time in the rain. I do wish I’d had this when Elana and I went zip-lining in Jamaica a few weeks ago. Now THAT would have been some awesome video!
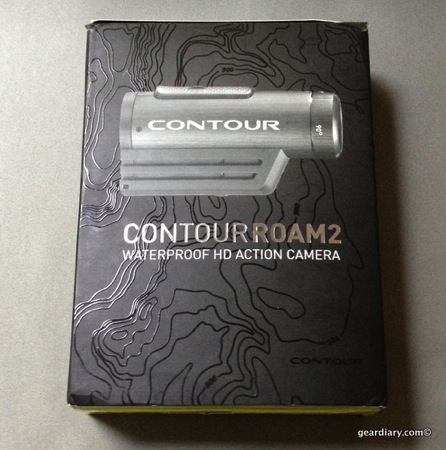
The packaging on the ContourRoam2 is rather simple. An outer box slips off to reveal an inner package that holds the camera and the various included accessories. I do appreciate the ease with which the package opened. It was a foreshadowing of the simplicity of use built into the camera itself!
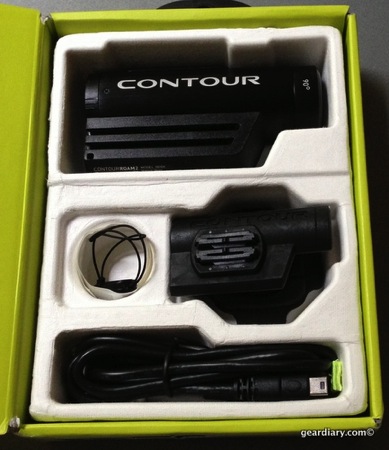
The camera is joined by two mounts, a safety lanyard, a USB to miniUSB charge and data-transfer cable (can we PLEASE standardize to microUSB already????), and a soft pouch for transporting the ContourRoam2.
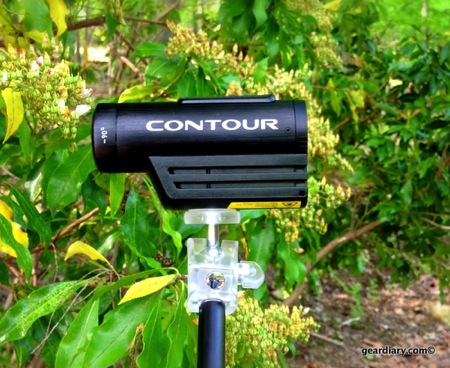
The camera itself is a small, compact and well-designed unit. Buttons are kept to a minimum. In fact, to adjust some of the settings, you will need to download some free software from the company and connect the camera to your computer. This may sound a bit cumbersome, and it is, but it helps keep the camera simple; I don’t mind the trade-off.
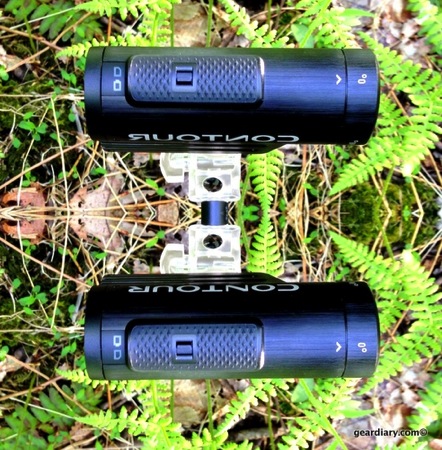
The rectangular area on the top is the on/off “switch”. Slide it forward, and the camera turns on and starts shooting video. Slide it back, and the camera turns off. It is simple, effective, and it means you can turn it on and off without having to look at it or fumble around. The simplicity of this did take me by surprise and, (bows head with embarrassment) I have to go to the website to learn how to use the damn thing. (Seriously, I expected the camera would be easy to use, but that’s ridiculous!)
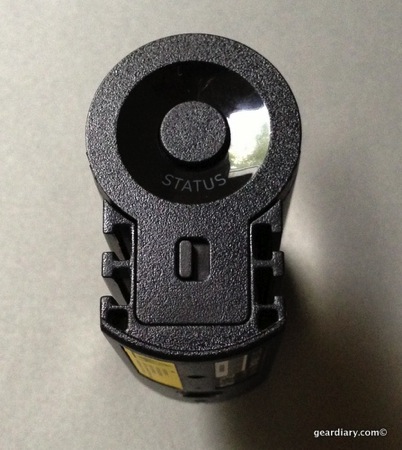
The back of the camera is just as simple. The “Status” button activates the Laser Line for 15 seconds and displays the current battery and memory status. The Laser Line is a neat feature that helps you make sure you get a perfectly aligned shot. As the product page notes, it is also there because “Lasers are cool.” I couldn’t agree more. 🙂
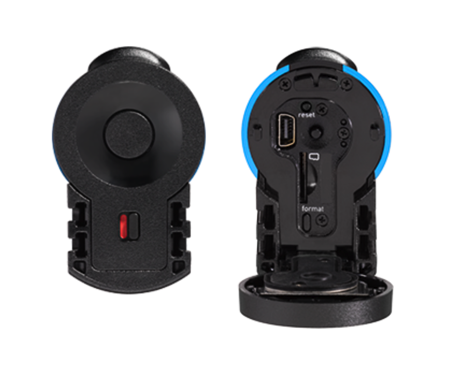
The toggle below the Status Button locks the back door. Flip it to the left and the back panel lifts up and open to reveal a miniUSB port, format the microSD card (the company includes a 4GB card but it can take up to 32GB), and buttons to format the card or reset the device.
The ContourRoam2 can shoot video at a number of settings.
Full HD » 1080p (1920 x 1080) @ 30/25fps
Tall HD » 960p (1280 x 960) @ 30/25fps
Action HD » 720p (1280 x 720) @ 60/50 or 30/25fps
(Yes, in the video I failed to mention that at 720p you can get video at 60 frames per second.)
You can also set the camera to shoot 5MP stills at intervals of 1, 3, 5, 10, 30, or 60 seconds.
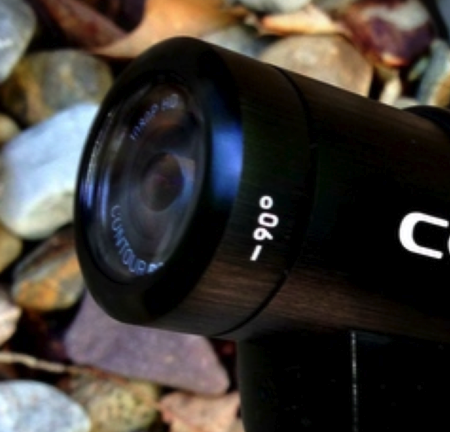
Since the ContourRoam2 is designed to be mounted almost anywhere, the camera is equipped with a lens that rotates up to 270°. That means you can mount it on its side under a skateboard and always get the perfect, vertical perspective. Sure, you could always rotate the video during post-production but this makes life much, much easier.
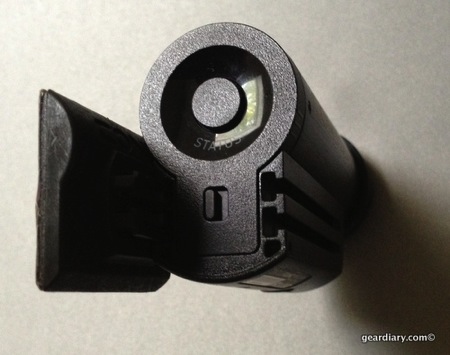
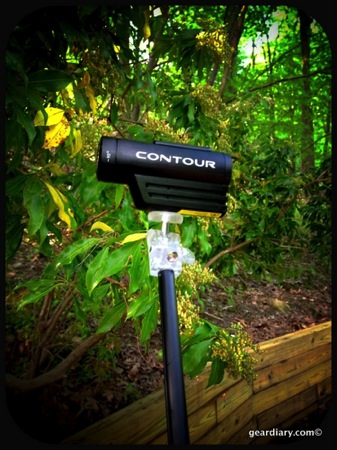
And speaking of mounting, the camera ships with a Profile Mount and a Rotating Surface Mount. That’s enough to get you started, but if you want to use the camera in a variety of settings then you’ll want to purchase additional mounts. That’s all good and well, except for the fact that the additional mounts are a fortune. A helmet mount kit is $60. A suction mount is $39.99. A bike mount is a whopping $79.99. In other words, the cost of getting a variety of mounts can add up quickly. One bit of good news on this front is the waterproof case. The camera itself is waterproof up to a meter. For just $40 you can get a protective case that will let you take the camera to a depth of 60 meters. Now THAT’S impressive. (Better still, it is just $22 here on Amazon.)
In addition, you can get the HeadBand Mount for $19.99 here on Amazon.
In all, the ContourRoam2 has impressed the heck out of me. It is easy to use, compact, takes good video and lets you add decent still shots into the mix. I’ve had fun using it in the car and while going out for a walk and a jog. I’m looking forward to using it in a variety of settings and adding those videos to our Gear Diary YouTube Channel. (Subscribe Now.) And when I lead a congregational trip to Israel I can see this camera being a terrific way to document the tour.
At under $200 this camera is a great deal. The accessories add up quickly and can make this a pricey prospect. Still, the overall package is so terrific that I can’t really complain. That’s why I’ll be investing in the waterproof case and a couple of extra mounts later this week. You can learn more here. Get it here through our Amazon Affiliate Store.
MSRP: $199.99
What I Like: Small; Easy to use; Shoots great video and stills; Mountable; 3.5 hours of shooting on a charge
What Needs Improvement: Accessories get pricey rather quickly
Source: Manufacturer supplied review sample

