For years, Kev and I have talked about planting a garden so we could grow our own vegetables and be somewhat self-sufficient. Because we live on the top of a big rock, if we plant a garden it will be an endeavor involving a bulldozer and hauling topsoil. Until that becomes feasible, we’ll have the OPCOM Farm GrowBox hydroponic garden.
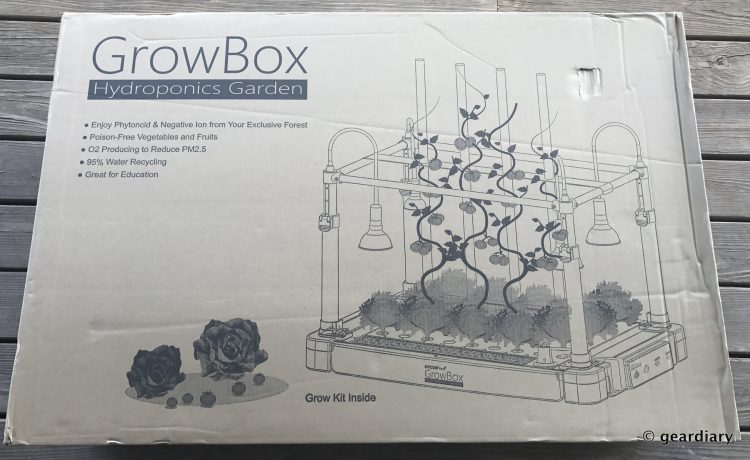
So let’s get to it! After placing your order, a box like this will show up at your house. This box measures about 43″ long by 29″ wide by 11″ deep, and I’m guessing that it weighs about 25-30 pounds; consider yourself warned!
After placing your order, a box like this will show up at your house. This box measures about 43″ long by 29″ wide by 11″ deep, and I’m guessing that it weighs about 25-30 pounds; consider yourself warned!
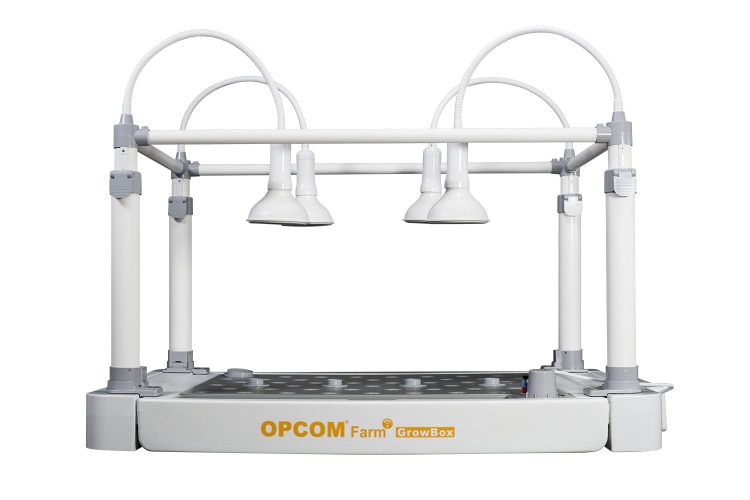
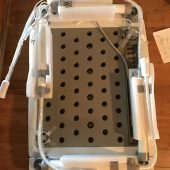
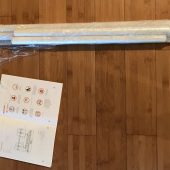
The box is chock-full of the parts needed to put together the GrowBox; there is the approximately 38″ long by 27 main body of the grow box, the four tubes that make up the lighting support kit, the 8 screws you’ll need for installation with a Phillips head screwdriver (included), four E26 mount LED grow lamps, a climbing tube holder, four climbing tube, a sprout cover, 12 sprouting sponges, an insect net (also handy for keeping your cat out, I’ve found), a draining tube, a warranty card, a user manual, and a Growing Starter Kit.
There’s a lot of plastic wrapped around the pieces, so unpacking takes a while and creates a pile of recyclable cardboard and non-recyclable styrofoam and plastic wrap. The upside of all of this is that your items will arrive pristine, unscratched and unbroken.
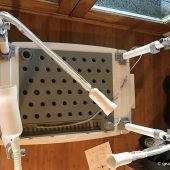
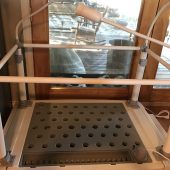
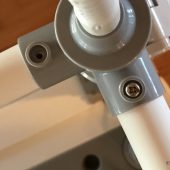
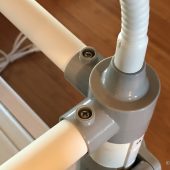
The first part of putting the OPCOM Farm GrowBox together is to raise the four support arms straight up. You’ll want to make sure that they are as far down as they will go, and you’ll need to lock the lever on each arm to make sure that they stay there. Next, it’s time to put in the four tubes that will help make the support arms sturdy.
Each tube has a screw hole in its end that will need to be lined up with the socket on the corresponding support arm. You’ll use the included screw and screwdriver to hold them in place. You only need to hand tighten the screws rather than using power tools, because you don’t want to damage the plastic.
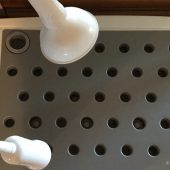
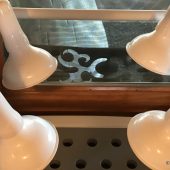
Now it’s time to install the four LED lamps.
Now you need to add 4.5 gallons of water; for the record, that was 18 trips back and forth to the sink with my 4-cup measuring glass. 😛
You’ll know you’ve filled it enough when the water level indicator shoots it’s blue cap to the top of the tube.

This Opcom Farm looks awfully complicated. I am using Vivit.green for years. Super simple. Nearly no maintenance except pouring water into the tank every two weeks (using rain water for that). And no pots, soil or complicated piping system needed. I have now aprox. 80 plants in my plant wall. In spring we will buy an other one to grow salad and tomatoes 🙂 My little son even surprised me with snow flakes hanging from one of the plants. No idea how he put them up there. https://uploads.disquscdn.com/images/06fc0cc523446c50714b222c410cf35c44ab49f48937501d67374277452dca2e.jpg