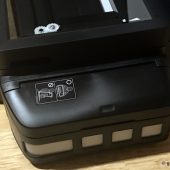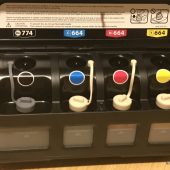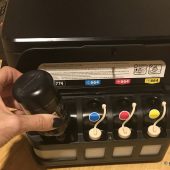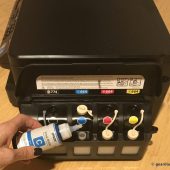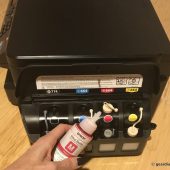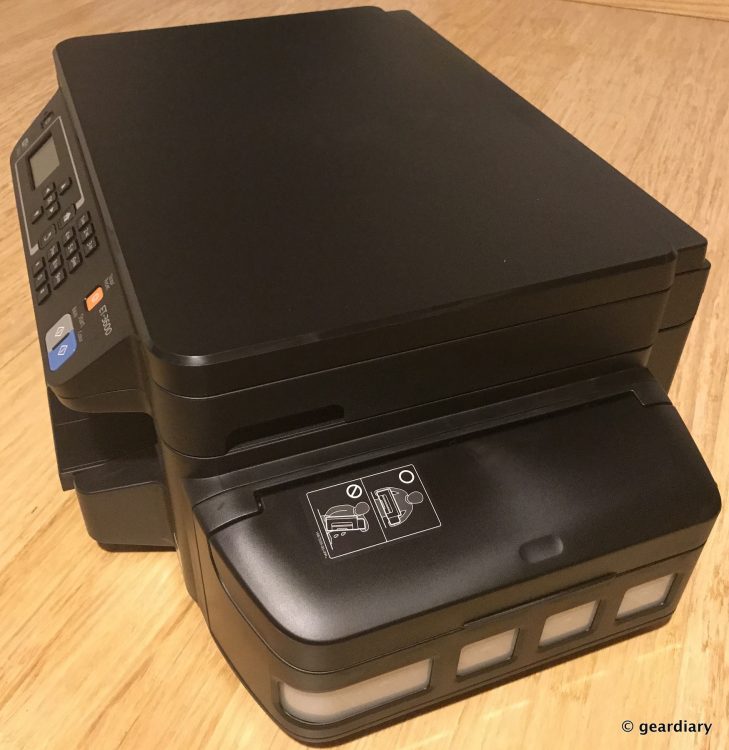
Inside its cover, there are four color ink tanks; an overly large black tank blue, red, and yellow.
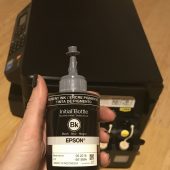
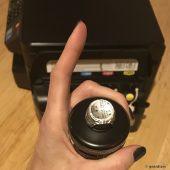
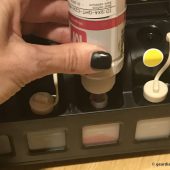
After unpacking the printer, it’s time to fill the tanks for the first time. Checking the included ink bottles, you’ll want to select the four that say ‘initial bottle’, setting aside the ones that say ‘bonus bottle’. After removing the plastic wrapper, you’ll snap the top of the bottle off and then unscrew the top to remove the foil top. With the lid screwed tightly on, you’ll dump each initial bottle into its corresponding color tank. Epson says that you might want to wear gloves for this part to make sure that you don’t get any ink on your hands, but I was able to do it without any messes.
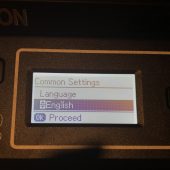
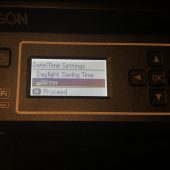
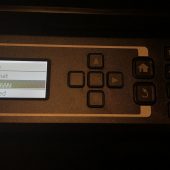
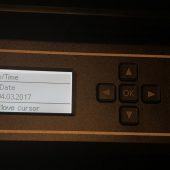
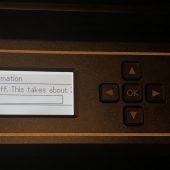
The next step is to plug the printer in and then select your language, date, and time. These are all first-time setup things, but the next step is to select the setup manual button, and then press okay. Next, you press one of the start buttons (either the color or black & white button; it doesn’t matter), and the printer will start charging the ink and prepping the ink lines; it takes about 20 minutes to complete, and once it’s done the power light will stop flashing and the display will tell you it’s done.
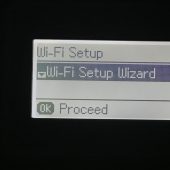
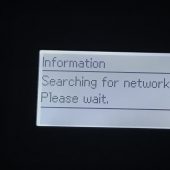
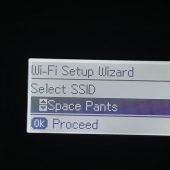
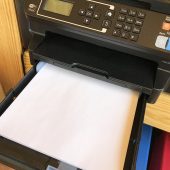
After setting up your wireless network, and then adding paper to the cartridge, you’re done with the printer-based part of the setup. The tray can hold up to 150 sheets of paper, and it will work with letter or legal size, A4, Envelope #10, 8×10, 5×7, 4×6, 3.5×5, A6, half letter, and user defined (where you enter the measurement for portrait and landscape).
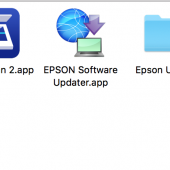
As soon as the printer is on your network, you’ll be able to print from your phones or tablets, but it takes a few more steps to use your computer. You can either insert the included driver disk or you can visit the Epson site to download the drivers and utilities for your particular operating system. I’m using it on a Mac, and the included apps and utilities are two scanner apps, a software updater (be sure to run it after the installation), and an event manager. There’s also a guide for using the printer, and the utilities include a firmware updater.
Once everything has been set up, it’s time to print!
