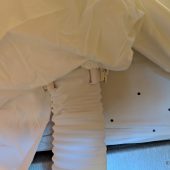
I like to sleep in a cold room, but I want the bed to be warm on winter nights. In the past, this meant climbing in, shivering, and waiting for body heat to do its thing. I’ve been using a BedJet V2 Climate Comfort System for the last month; climbing under freezing sheets is now a thing of the past.
When you look at the BedJet site, you’ll have several different models to choose from. You can get a single-zone BedJet like the one I was sent, which is great for heating or cooling an entire bed of any size, or you can get a dual-zone BedJet which splits the bed in two and has a heating or cooling controller for each side.
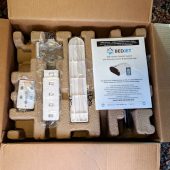
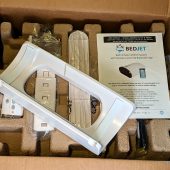
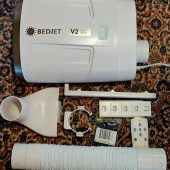
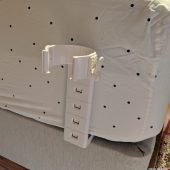
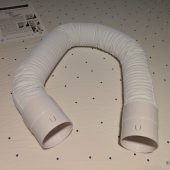
Included in the box are the BedJet V2 (single-zone, in my case); the stretchable, compressible, and bendable air hose with fabric liner; an adjustable height mattress mount with two pre-installed sheet clamps; four height extending links; an air nozzle, and a wireless remote control with included battery. I was also sent the optional ($15) vertical mount BedJet stand, which is necessary if your bed doesn’t have at least 7″ of clearance.
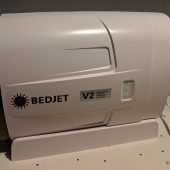
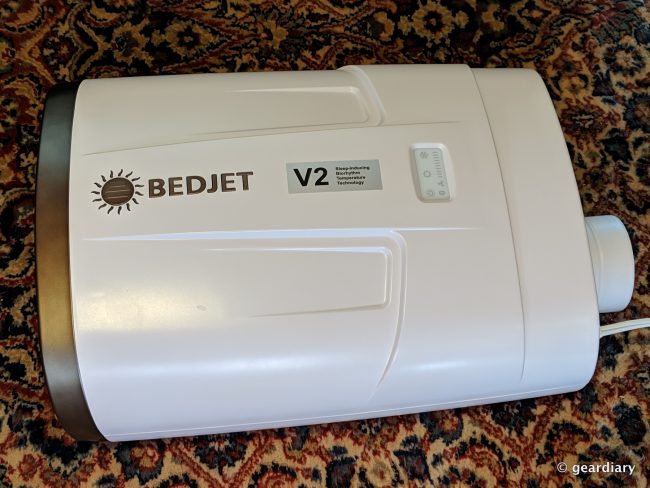
The BedJet measures about 16″ long by 13″ wide by 6.5″ thick when lying flat. It is composed of matte white plastic with gold accents.
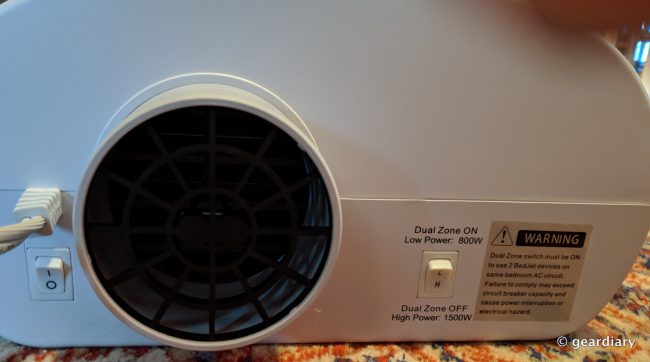
This is the end where you’ll attach the air hose. On the left, there is a power on and off button, and on the right, there is a toggle for dual-zone (low power) or single-zone (dual-zone off, high power). I am using a single-zone, so it’s on dual-zone off/high power.
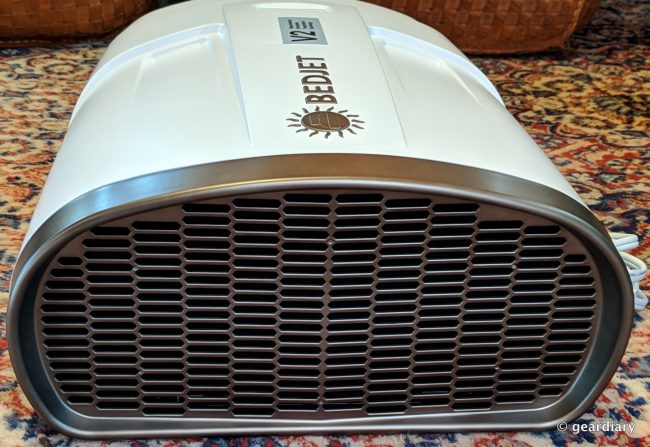
This end handles air intake for the BedJet. The gold button on top is actually a release so that you can remove the grille and clean the filter. You should do this every three months or when the air intake end is visually dirty; if you have a dog or cat, then you may need to do this more often. Under the grille, there’s a mesh filter that can be cleaned under running water. Once it is dry, you can snap everything back into position and carry on.
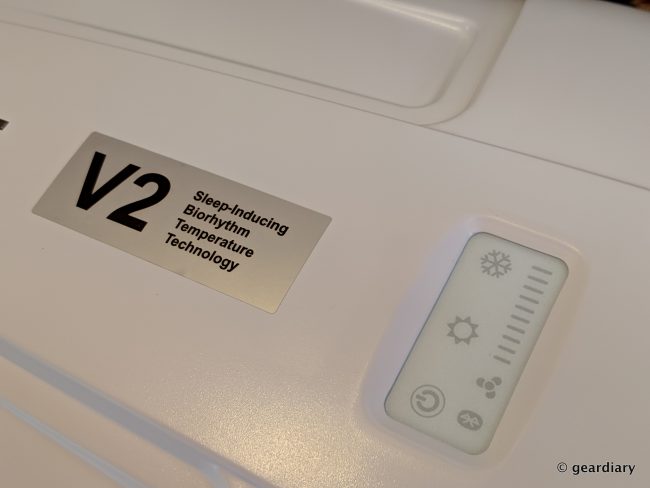
On the top of the BedJet unit, there is a display that shows you the BedJet’s status; note that it is not a control panel, rather it’s just a quick status display. When the BedJet is turned on, the power icon will glow. When cool-mode is on, the snowflake icon will glow. When heat-mode is on, the sun icon will glow. The Bluetooth icon glows to show that you are connected to your device — because, yes — there is an app. The airflow level will glow relative to how high you have the fan turned on.
So let’s get this thing installed! The first order of business on a single-zone install is to figure out if you are going to pump heat in from the bottom of the bed or from one of the sides. If you want whole bed warming or cooling while slightly favoring the left side of the bed on lower settings, pick the bottom left corner. You can reverse that if you want more heating or cooling on the right side. If you really want to install the BedJet at the base of your bed, you have three sections you can focus on — mostly cooling or heating the right, left, or middle of the bed. The bottom left or right corners are probably the best selection, though. I opted to install everything on the bottom left corner of our bed. I sleep on the left side of the bed, and while Kev gets cold, I’m the one whose teeth seem to constantly chatter and I have the coldest feet; it is what it is. The trade-off is that I have all the mechanics of the system on my bed, which took a little while to get used to.
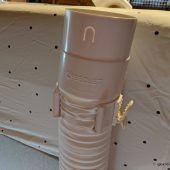
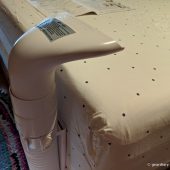
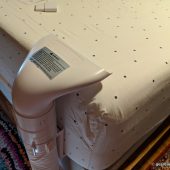
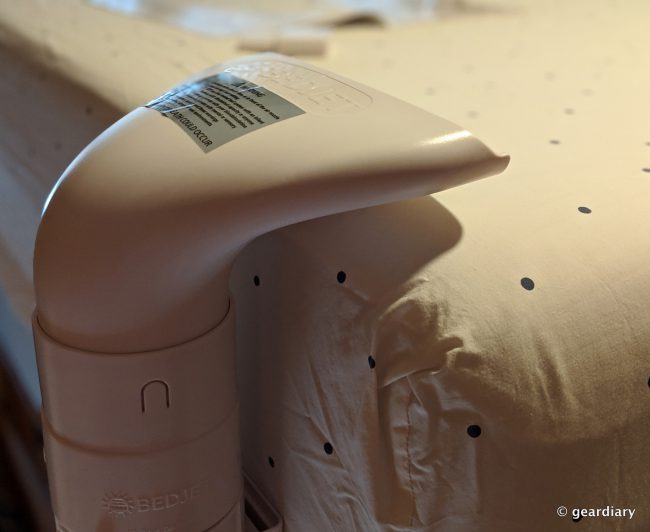
After sliding the hose mattress mount under the mattress, you may or may not have to add a height extending link. Our mattress is super tall, so I had to add a couple. The air hose is held by the clamp on the mount, and you want to get the air nozzle installed so that it is as flush as possible with your mattress.
- Too high.
- Just right.
Ours sits about 3/4″ above the mattress; it’s been working fine. The first week or so, I noticed that I kicked the nozzle a few times (I sometimes like to flip my feet out and over the covers, once I’m warm), but it held in place and I’m used to it now. Now I just poke a foot out a bit higher on the side of the mattress when I want to cool down a bit.
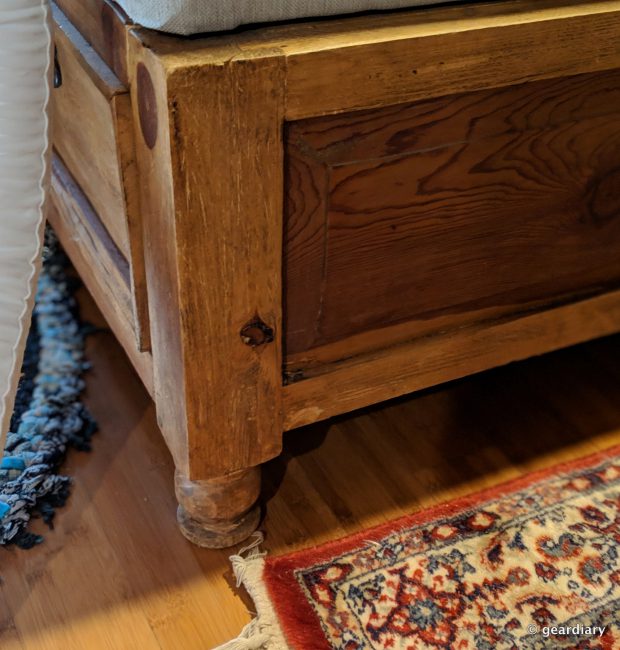
The next question is where will the main body of the BedJet go? Our bed doesn’t offer 7″ of clearance, so we can’t tuck the BedJet out of sight underneath.
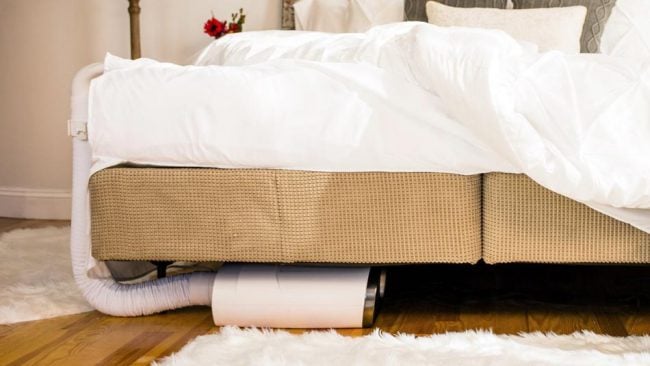
Here’s the ideal BedJet placement for those of you with beds that have enough clearance.
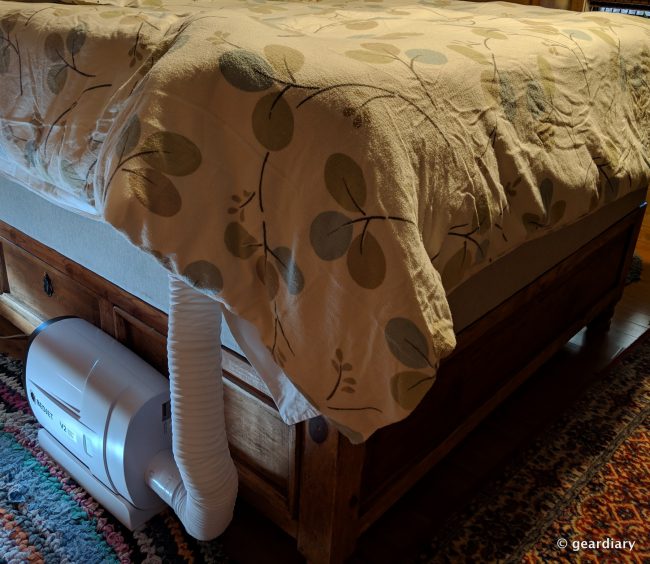
BedJet included a vertical mount stand for my review, which worked out perfectly for me. I’ll just stand the device close to the bottom left side of the bed; there wasn’t quite enough electrical cord for me to stick it at the base of our bed, so I just have to remember not to kick it when I’m stumbling around in the dark. See? Tradeoffs for getting most of the heating or cooling on my side of the bed.
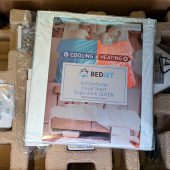
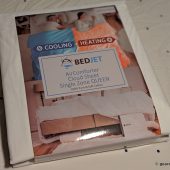
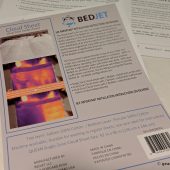
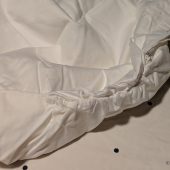
BedJet also sells a special AirComforter Cloud Sheet Accessory, which is a bed sheet specifically made for a single-zone twin, queen, or king bed, or a dual-zone queen or king bed. It functions as your flat sheet, so you don’t want there to be any other layers between you and the cloud sheet. I’d urge you to consider getting one of those for whichever BedJet model you order because while you can make the BedJet work with a regular sheet (using the clamps built onto the side of the hose mount, this special 100% pure cotton “cloud sheet” is made to basically function as a comforter filled with warm or cool air inside its chambers versus some other insulation like down or polyfill. When air isn’t blowing, the cloud sheet is just a slightly heavier than usual, yet ridiculously soft to the touch, sheet. Since it is a double layer, the cloud sheet adds a nice heaviness under whatever other comforter or blanket you might be using. If you’ve used an electric blanket before, you might think this is a similar experience; it’s nothing like that. There are no weird wires running across you, and the heat is more like a fluffy cloud covering you.
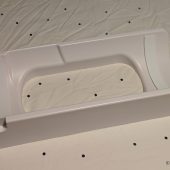
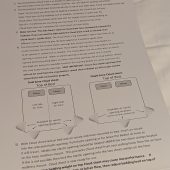
The single-zone cloud sheet has three built-in elastic and snapping nozzle openings: one at the bottom left corner, bottom dead center, and bottom right corner. I undid and used the bottom left corner snaps; you’ll want to make sure that the other two opening are snapped shut so you don’t lose heating or cooling air generated by the BedJet.
Here’s everything installed and ready to go on our bed! The cloud sheet warns that you don’t want to have excessive bedding weight on top of the cloud sheet, because it can cause poor performance. We use a Company Store down comforter with a flannel duvet cover. In the past, we have also spread other blankets on top as needed, but since using the BedJet, that hasn’t been necessary. We get into a pre-warmed bed, and our body heat creates enough warmth after the BedJet has shut off to keep us comfortable all night. I’ll talk about the different settings and programs in a bit.
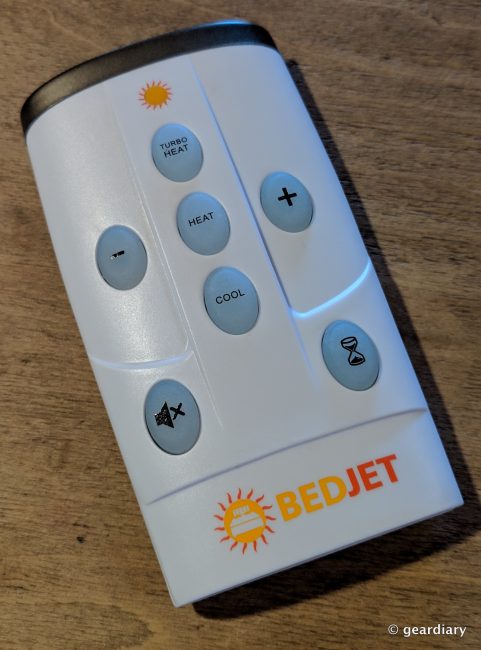
This is the included BedJet remote. It and the iOS or Android BedJet app are the only two ways of controlling the BedJet device, so you won’t want to lose it. With it, you can turn normal heat mode on or off, turn turbo heat mode on or off, turn the cooling mode on or off, add or decrease warm or cool airflow, mute the remote’s beeper, or increase the time left on the auto-shutoff function beyond the defaults set.
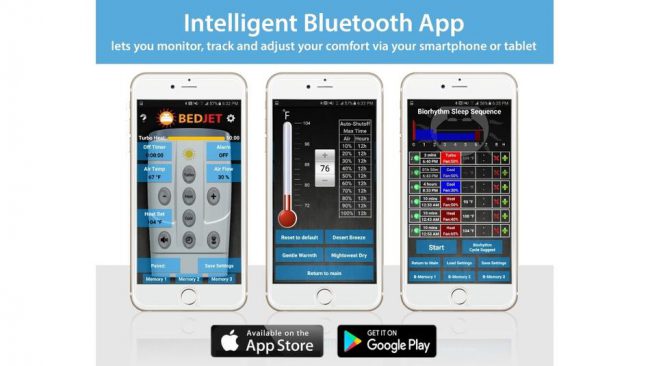
The app is really the best way to control your BedJet, though, because that’s where you can really see what’s going on. After pairing the BedJet with the app, you’ll need to have your phone within 30 feet of the BedJet in order to maintain the connection, but from within the app, you can select whether you want turbo heat, regular heat, or cooling. Turbo heat is basically a short burst (10 minutes or less) of very high air flow and heat set at 109ºF. Normal heat mode is set at 104ºF, and you can set it to run from 20 to an hour. You can adjust the airflow, save settings, save your top three favorites to memory, and you can adjust the operating temperatures. You can run the BedJet in heat mode all night if you want to, but in order to do so, you’ll have to lower the temperature until all shutoff times in the table read 10 hours or more. You can also program custom heating or cooling profiles for every hour of the night.
With the BedJet, Kev or I can easily turn the heat on shortly before we go to bed, and when we get in bed, it is warm and welcoming.
But that’s not all the BedJet can do. If you use it in the summer, it can also be used for cooling while you sleep. Instead of waking up in a sweaty swamp, as long as the ambient air in the room you are sleeping in is 79º or cooler, the BedJet will scoop cool air from floor-level and pump it under the covers with you. This cool air wicks away your body heat and the body moisture that “gets trapped in the bed by your mattress and bed covers. This method of bed cooling has been demonstrated by infra-red cameras to provide the most rapid removal of body heat and body moisture from a bed.” It’s been too cold for me to use the BedJet’s cooling feature very much this winter, but I can tell you that the one time I accidentally made the bed too hot for comfort (turbo heat is no joke, y’all), switching to cooling felt amazing — all the cool air in my room was pumping under the covers, and it was chilly in no time.
Whether you need the single-zone or dual-zone BedJet setup will depend on you and your sleep partner. Kev tends to run a lot hotter than I do, so I was worried that running heat on my side of the bed might still cause issues; it hasn’t. Since I don’t run the BedJet all night, the temperature is warm enough for us to both get comfortably in bed, and after it’s shut off at 20 minutes, we are already producing enough body heat for things to be comfortable for both of us. In the summer, I may switch the BedJet to Kev’s side of the bed; he can get too hot, and I suspect that with this that will no longer be a problem. If you and your partner need vastly different temperatures to sleep well, then a dual-zone may be the perfect solution. If your partner needs it cold and you need it hot, you can do that or vice-versa. BedJet is one of those things that sure — you can live without it, but once you’ve experienced it, you won’t want to.
The Single-Zone BedJet V2 Climate Comfort System with Biorhythm Sleep Technology retails for $499 (it’s on sale right now for $299), and it is available directly from the manufacturer. The Dual-Zone Model retails for $1129 for Queen and $1149 for King; it’s currently on sale for $689 for Queen and $709 for King.
Source: Manufacturer supplied review sample
What I Like: Easy to install; Easy to operate with remote or phone app; Warms or cools your bed for your most comfortable sleep; Perfect for freezing cold nights and cold rooms; No wires, tubes, or heating pads under or over your body; Creates a perfect sleep environment
What Needs Improvement: If you have to install it on the side of your bed, whoever sleeps on that side will need to be careful not to stub their toe on it for the first few nights

