The Robo3D R1 Plus has been a ton of fun at our house. We found a bunch of models to print on Thingiverse before venturing out and designing our own models. Below is a showcase of the models we chose, some details regarding each print, and how they came out using the Robo3D R1 Plus 3D Printer.
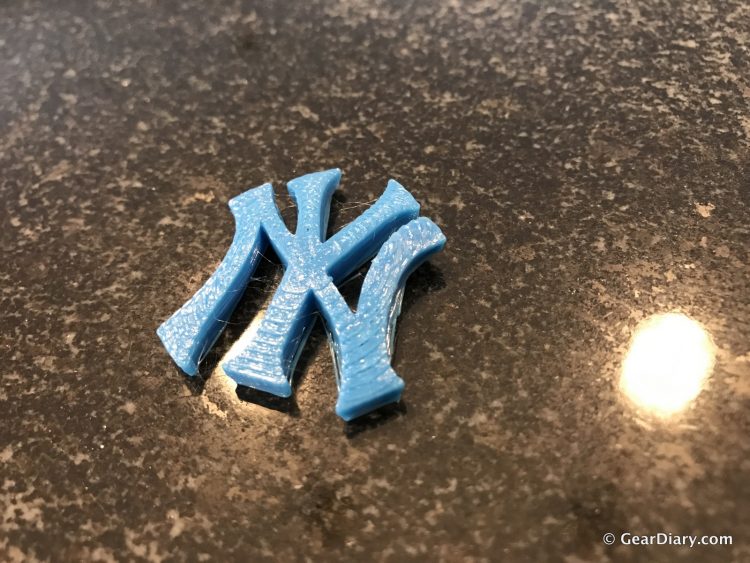
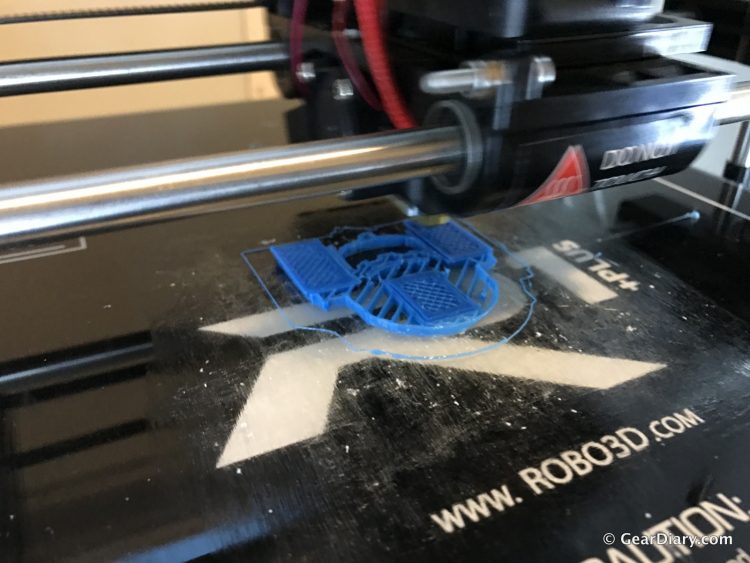
The first real model I tried printing was the New York Yankees logo. It took about 20 minutes for the Robo3D R1 Plus to print, since it’s a relatively small model. Here’s a link to the Thingiverse page where I downloaded the model: New York Yankees logo.
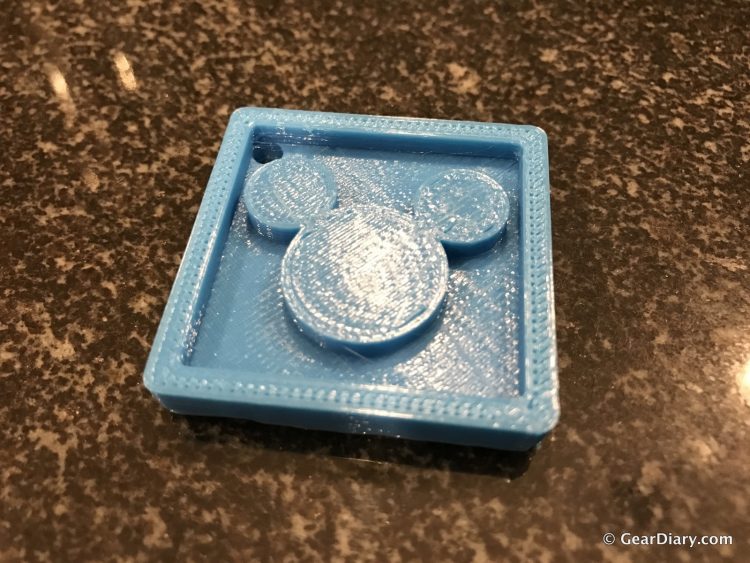
Then once I figured out how to print, I printed a Mickey Mouse keychain for my 2-year old daughter since she LOVES that mouse…like obsessed. The keychain took about 35 minutes to print since it’s slightly more detailed and required more filament than the Yankees logo. Here’s a link to the Thingiverse page where I downloaded the model: Mickey Mouse keychain.
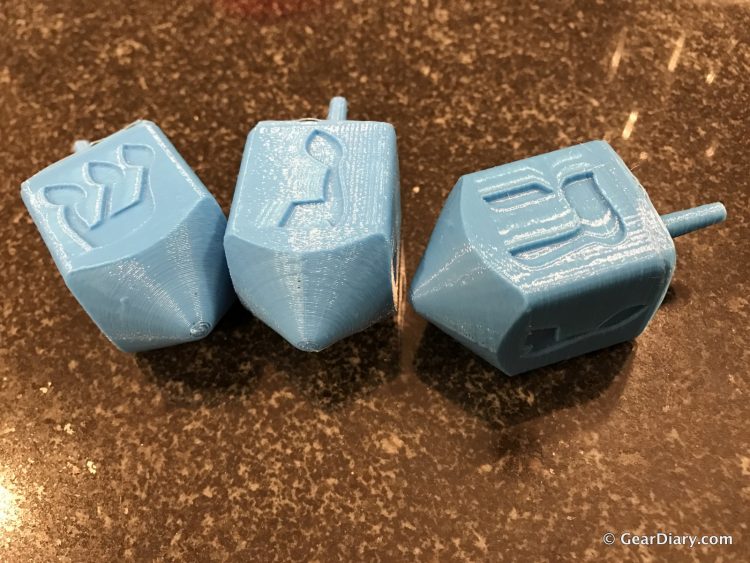
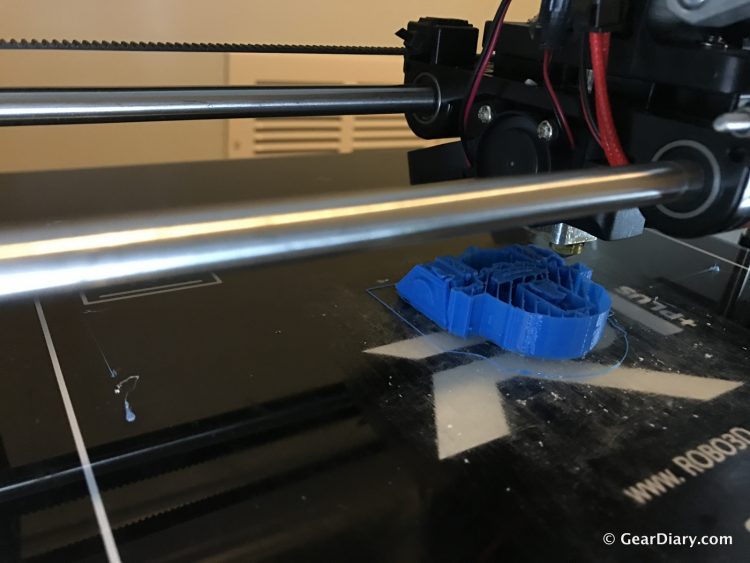
Now that I felt like I got the hang of printing, I went for something slightly bigger, more complicated, and holiday themed: a dreidel! The dreidel was modeled using two separate parts: the handle, and the dreidel body. The Robo3D R1 Plus was able to print both parts during the same print and they fit together perfectly! This print took about 1 hour and 45 minutes to complete. I even printed a couple of extras for gifts! Here’s a link to the Thingiverse page where I downloaded the model: Dreidel.
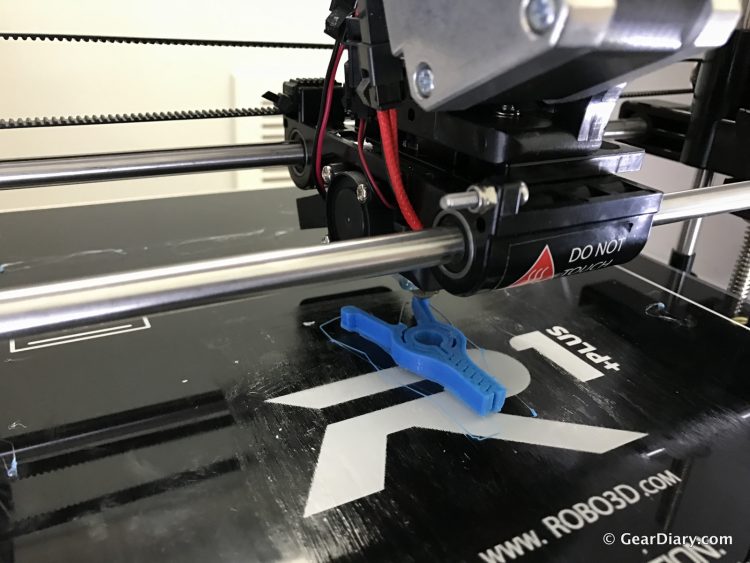
Next, I decided to print something that we could actually use around the house, so we decided on a snack bag clip! There were three different size options and I chose the small one just to make sure it actually worked, as I was dubious. But, lo and behold, after about a 45 minute print, the snack bag clip worked! I was actually able to pinch it to pull apart the jaws and it really worked keeping a chip bag closed! Here’s a link to the Thingiverse page where I downloaded the model: Snack bag clip.
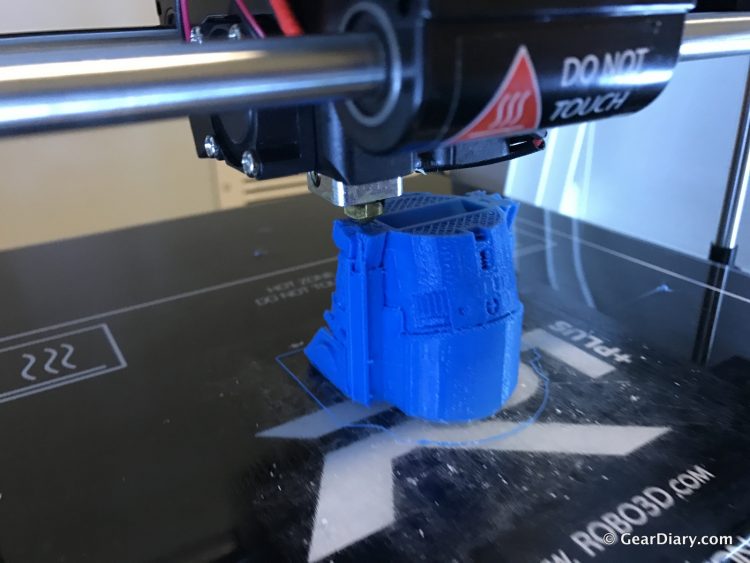
Finally, after building up the courage, I decided to print something that would take about 4 hours and 40 minutes to print…R2-D2! This was my largest and most complicated print to-date, and my first print that required support material. Support material is printed, as the name suggest, to support material above it during the printing process. A fair amount of support material was printed so it took almost 30 minutes of pulling with needle nose pliers and cutting with an X-Acto knife to free the model from its support material. While it’s not perfect, I’m happy with it considering my short experience with the Robo3D R1 Plus. Here’s a link to the Thingiverse page where I downloaded the model: R2-D2.
I’m still a 3D printing novice, my prints are not perfect, and I’m sure there are software settings that still need to be adjusted. But it’s been so much fun learning how to 3D print with the Robo3D R1 Plus, and I’m excited to keep getting better with more practice.
If you haven’t already, check out our full review of the Robo3D R1 Plus if you’d like to hear more about the printer itself. We loved the price compared to the functionality it offers.
You can buy your own Robo3D R1 Plus 3D printer at Robo’s website.
