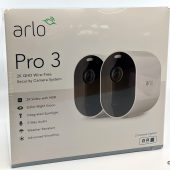
Maybe you’ve lost packages to porch-pirates, or maybe you have a stalker ex; perhaps you live in an isolated area, and you need to know what’s going on when you’re not home. For those reasons and many more, adding security cameras around your home’s perimeter can give you peace of mind, and the Arlo Pro 3 system is a great choice to consider.
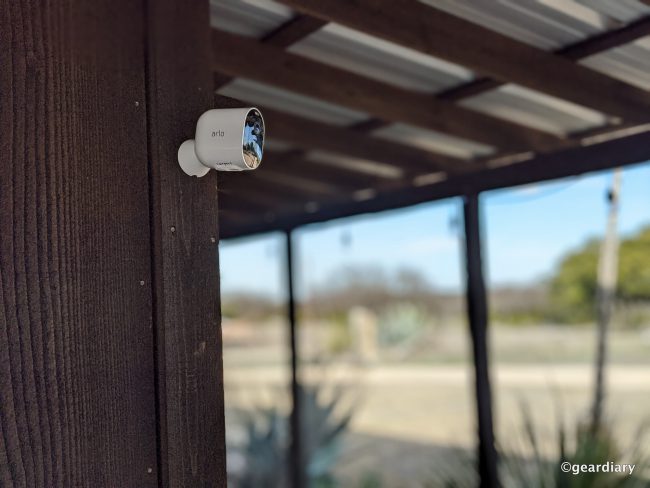
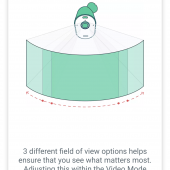
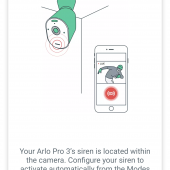
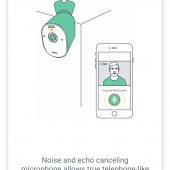
The Arlo Pro 3 system boasts having a fast and easy wire-free setup; it has up to a 160º viewing angle, an integrated spotlight that you can manually operate or set to shine automatically when motion is sensed, night vision in color, and 2K video for clearer detail and colors. The Pro 3 camera has weather-resistant housing that makes it safe to use outdoors. The camera has a built-in microphone and speaker so that you can engage in a two-way conversation with someone should the necessity arise. There’s even an alarm that you can trigger which might startle and scare off a burglar — assuming you live in a populated area with neighbors who haven’t already become too jaded by false car alarms.
There are various Arlo Pro 3 2K QHD Wire-Free Security Camera system configurations available. I was sent the $499.99 2-camera system; a $649.99 3-camera system is also available, or you can start with the 2-camera system and add additional cameras later for $199.99 each.
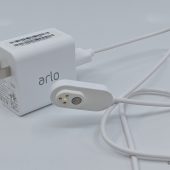
The 2-camera system comes with the two Pro 3 cameras, two removable and rechargeable batteries, one magnetic charging cable, a smart hub, an ethernet cable, a screw-in wall mount with mounting screws, a magnetic wall mount with mounting screws, a power adapter, a quick start guide, and a window decal warning potential burglars that you have the cameras.
Side Note: Believe it or not, those window stickers saying you have an Arlo video camera might actually make a good crime deterrent! I recently read an article about what thieves said might discourage them from robbing a home, and it was mentioned that getting a camera and making it visible would work.
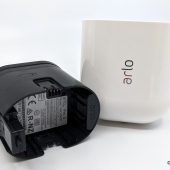
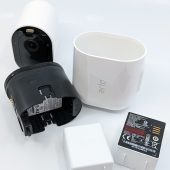
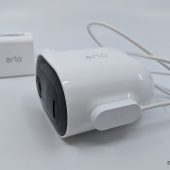
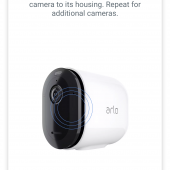
So back to the Pro 3 cameras. They measure 3.5″ long by 3.1″ tall by 2″ wide, and they weigh a solid 11.2 ounces each with battery installed. The bulk of the body is matte white plastic; there is a shiny black plastic front on each camera that houses the camera, the motion sensor, a bright LED spotlight, a microphone, and a speaker.
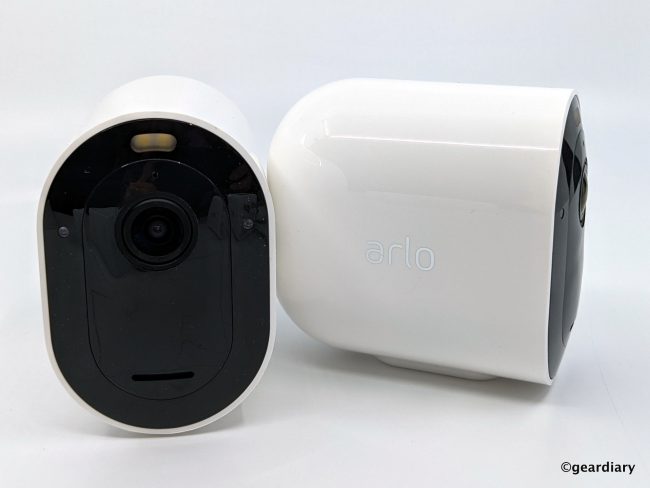
The back of the camera has a threaded hole for the mount attachment.
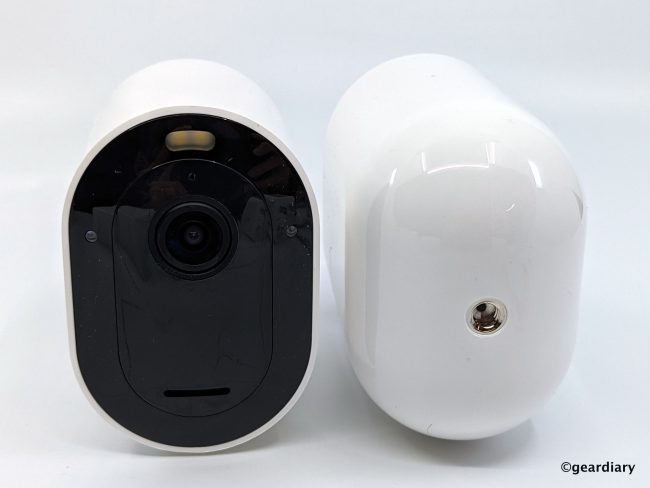
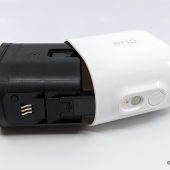
The button on the bottom opens the camera for battery removal when pressed; the magnetic mount for the USB Type-A charging cable is close by.
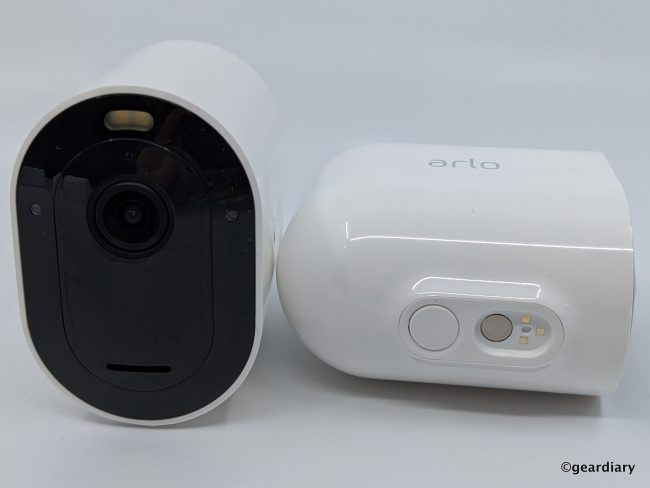
When you press the button, you can slide the camera and battery out of the housing. If you purchase the optional $49.99 charging station and a couple of spare batteries (at $49.99 each), you’ll become very familiar with this move because once done, you can easily rotate batteries in and out of the cameras for continuous monitoring. If you don’t buy a spare battery, you’ll have to either remove the cameras from their mounts for magnetic wireless charging, or you’ll have to bring the power to the cameras and attach the cables to them where they hang. It takes about 3.5 hours to fully charge a battery with the included cable charger; the charging station does it a bit more quickly at 2.9 hours. Battery life on the camera can last from 3-6 months with normal use, but (obviously) if you have a lot of activity, the batteries will need to be charged more often.
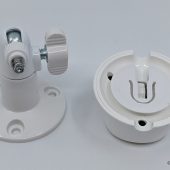
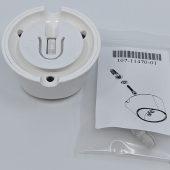
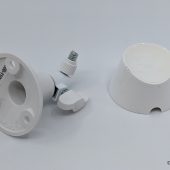
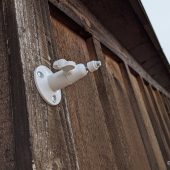
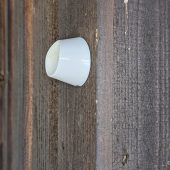
There are two types of mounts included in the box, one magnetic wall mount and one screw-in adjustable indoor/outdoor mount. Each mount comes with a set of screws and plastic drywall wall anchors.
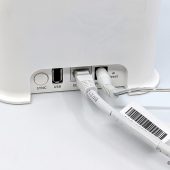
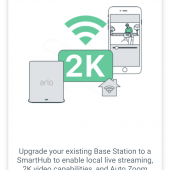
The Arlo Pro 3 comes with a smart hub that must be set up in order for the cameras to connect to the cloud and display their information in the Arlo app.
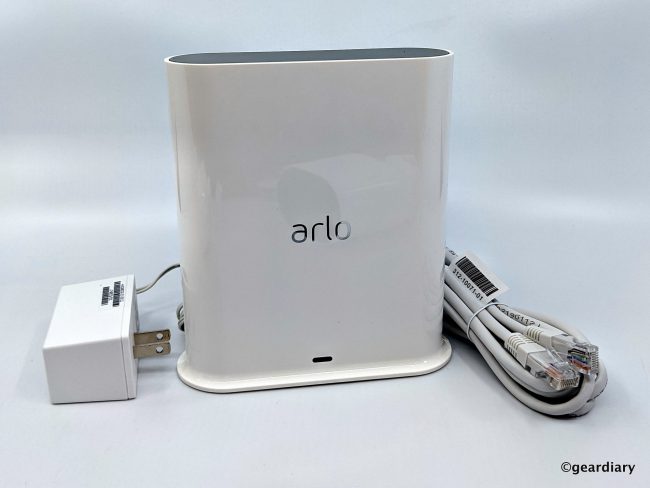
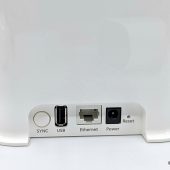
On the back of the Base Hub, there’s a sync button, and USB port, an Ethernet port, the power cable port, and a reset button.
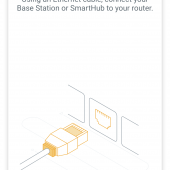
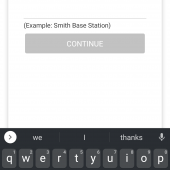
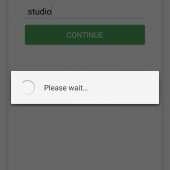
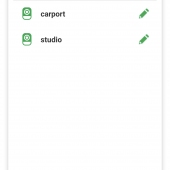
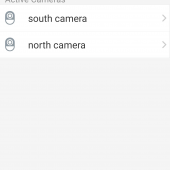
After downloading the Arlo app and creating your account, follow the directions in the app to connect the base station to your network and add your cameras. You’ll have a chance to name the cameras, and the names are easy to change later if needed — I did this repeatedly until I settled on naming the cameras North and South.
You’ll be walked through the different features from the app …
Since it’s the first time for you to turn on the cameras since they came from the factory, you’ll likely have a camera update to take care of before you mount them.
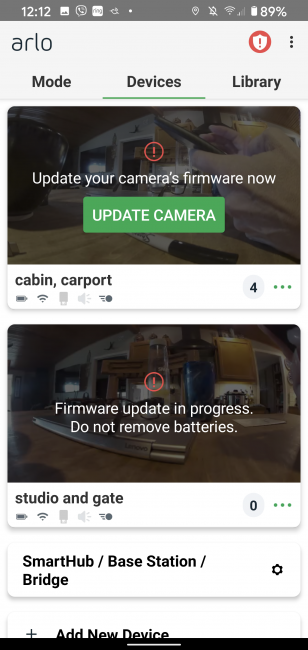
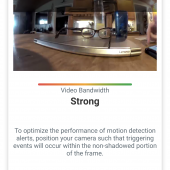
As the cameras use WiFi to work, you’ll have to make sure that anywhere they are installed has a good, strong signal. You can always check your network signal under each camera in the Devices Tab.
Because I’m headed to different sides of our house with the cameras, I labeled them. Murphey’s Law says that if I have two unmarked cameras, I will try to install them in the wrong spot. 😉
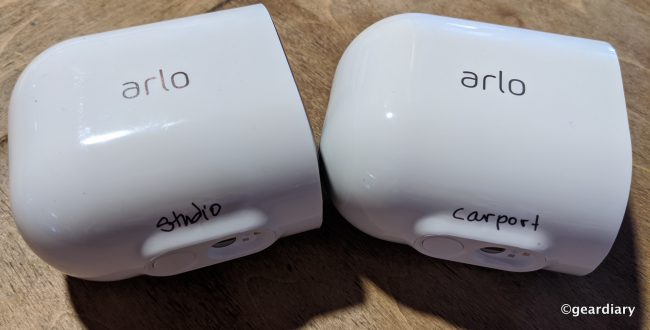
I wasn’t sure if it really mattered if we used the screw-in mount versus the magnetic mount, but since the north side of our house is more exposed, we opted to install the screw-in mount there.
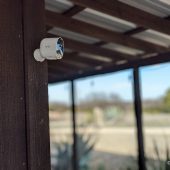
And since the camera on the south side of our house is under cover, I figured the magnetic mount would perform well there. I should mention that the magnet in the magnetic mount is very strong; the camera will be held securely even in the strong winds of hard rain — which we experienced a few days after installation.
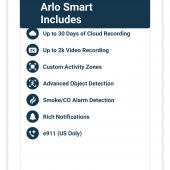
Included with the Pro 3 system is a three month Arlo Smart trial. An Arlo Smart plan gives you up to 4K cloud recording with 30 days of video history; person, vehicle, animal, and package detection; custom activity zones, and e911 emergency call service (in the US only).
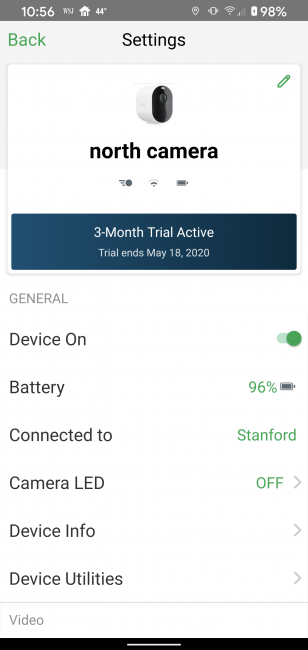
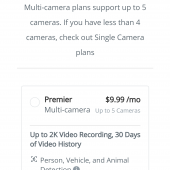
A multi-camera plan for up to five cameras is $9.99. I am planning on paying for it when the trial is over because I have found those features to be very useful.
Setting up the custom activity zones allows you to pick the exact areas from which you want to receive motion alerts. I foolishly set the yellow area and called it “driveway” … we have four cats and a dog.
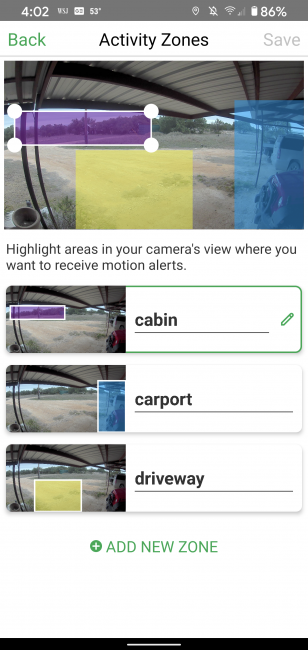
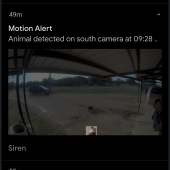
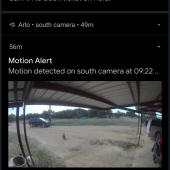
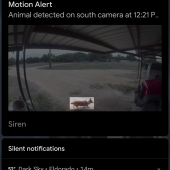
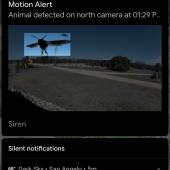
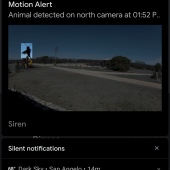
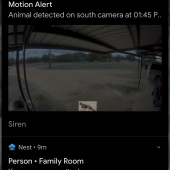
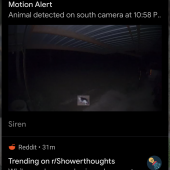
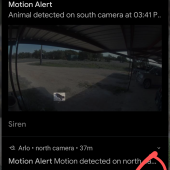
They set this alert off all the time, but the good news is that the camera is able to tell us that it’s an animal. The app preview is also kind enough to highlight the animal in question when it sends you a motion notification. I love this feature!
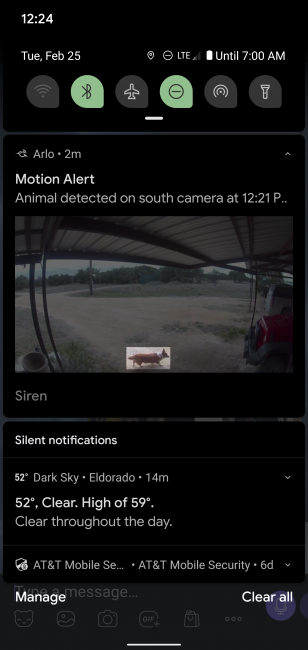
We live in an area with a feral hog problem, and I have a terrifying story of confronting a small group of hogs knocking over and getting into the cat food bin on our back porch when I thought I was about to catch a raccoon in the act. With that incident in mind, I figure it’s only a matter of time before we have a feral hog sighting on one of our cameras … ugh. I’ll add it to this review when it happens.
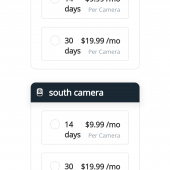
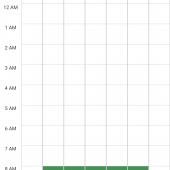
With the Pro 3, you can also opt to pay for the CVR plan, which records 24/7 non-stop to the cloud with a continuous video plan. As you might imagine, this plan is not inexpensive at $9.99 per camera per month for 14 days of continuous video recording and $19.99 per camera per month for 30 days. But if you honestly need this type of surveillance, I’m guessing the price won’t be a deterrent.
That sounds like a huge battery drain to me, but if you need that kind of protection, you’ll probably also want to add a $79.99 solar panel to each camera.
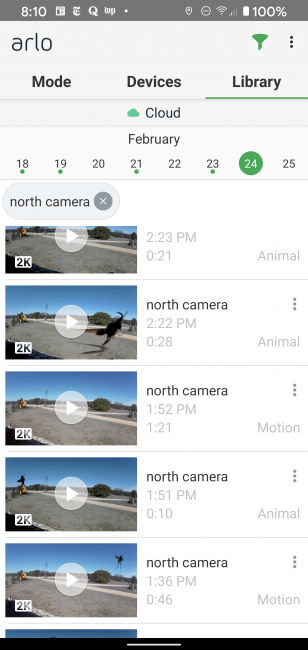
You can make using the Arlo Pro 3 as simple or as complicated as you’d like. Once you’ve charged the cameras, connected them to your WiFi, and mounted them, you can simply use the app to keep up with all notifications. At any time, you can tap the number under each camera to see all the trigger events for the day.
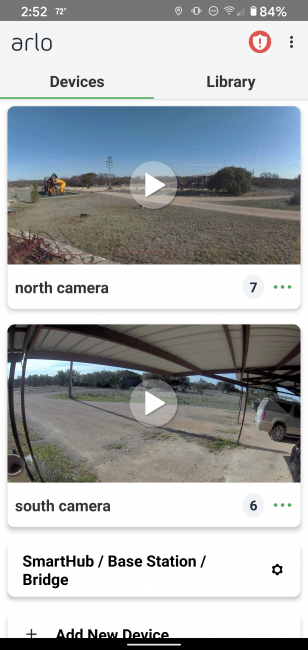
Clicking that will open up a list of captured video for the day — each ranging from 10 seconds to a bit longer if the camera captured continuous movement. As you can see in this screenshot, a red wasp colony has decided that the camera is mounted in a desirable spot for constant cameos; hopefully, we can figure out how to move them along painlessly as our weather warms up. Even so, you can be assured that birds will try to sit on your cameras; so far, them doing so hasn’t knocked either of the cameras off-kilter.
Have you ever been stung by a red wasp? It’s not fun. 😛
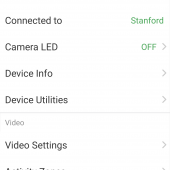
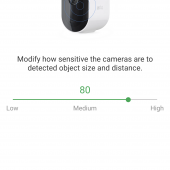
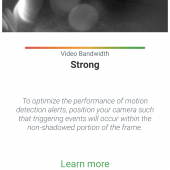
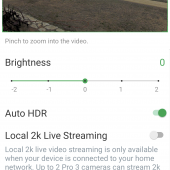
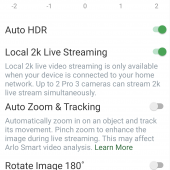
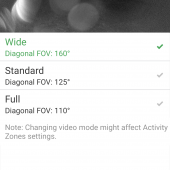
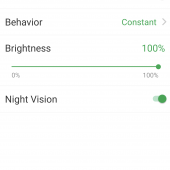
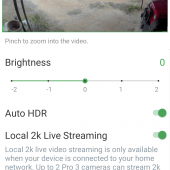
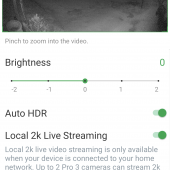
If you want to dig in a bit and customize your views a bit more, there are plenty of settings that can be tweaked individually for each camera …
Even though all of the alerts we’ve received and videos we’ve captured have (so far) been what I’d consider normal movement around our home, I love the idea that even when I am on one of my frequent trips, I can see exactly what is happening around my home as it happens. Tapping the number to the right of each camera’s name will show you the motion recordings that have happened that day; they reset to 0 after you look at them, so you can always tell when there are new clips to peruse. The three green dots pull up the subscription CVR if you’ve opted for a subscription on that particular camera.
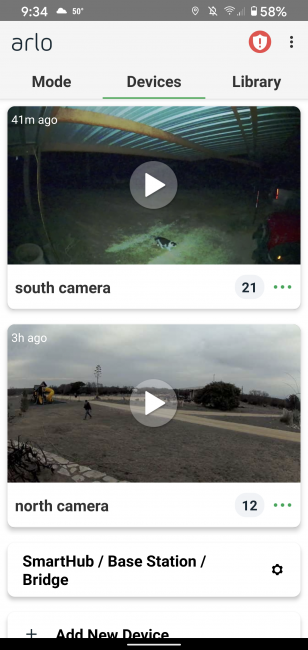
At any time, you can opt to go live by tapping the arrow in the Devices list on the corresponding camera, and when you do that, you’ll have a full-screen live view that can be pinched and zoomed if you want to look more closely at something interesting.
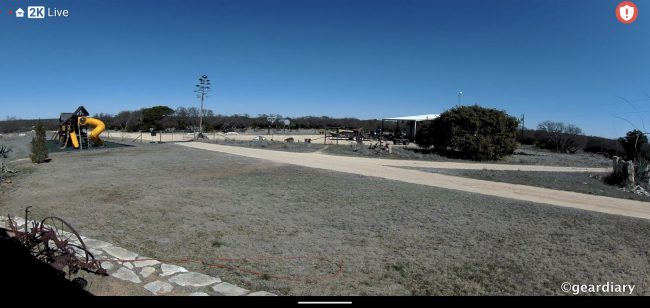
If you tap the live view screen, you’ll have the option to turn the sound on or off, speak to someone (or yell at a pet to get off your car) by tapping the microphone.
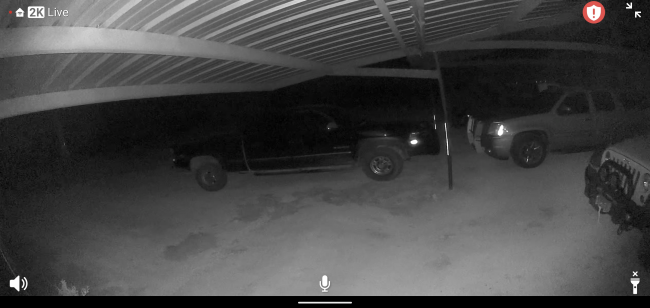
Note the color of my jeep in this photo and then in the next photo.
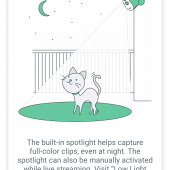
There’s also a flashlight option that you can manually toggle which beams a VERY bright LED at the camera area; you can adjust the strength of the beam with the slider. Notice that when the flashlight is manually toggled, the items in the camera are in color — even in the dark. That’s a cool feature. The flashlight will also automatically pop on at night when motion is detected to record footage of whatever is happening in color.
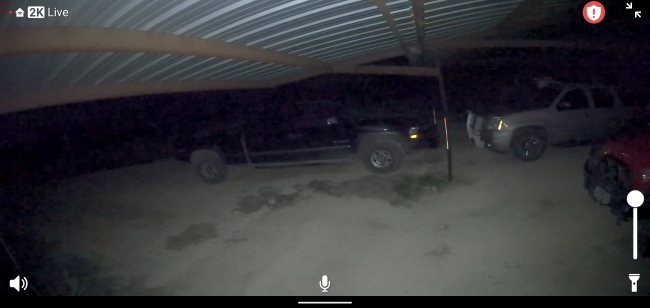
Night vision in color with the LED flashlight
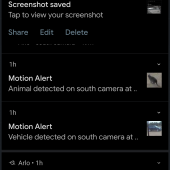
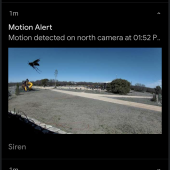
With Arlo armed and running, any time there is movement, I get a little popup notification. Again, this can be a bit much because of our constantly prowling pets and that red wasp family from hell,
- The pets, birds, and flying insects can be a bit of a problem. :/
Under general settings, most of the options are self-explanatory, but let’s take a look at the options under Arlo Smart, namely smart notifications, package detection, e911, and Call a Friend.
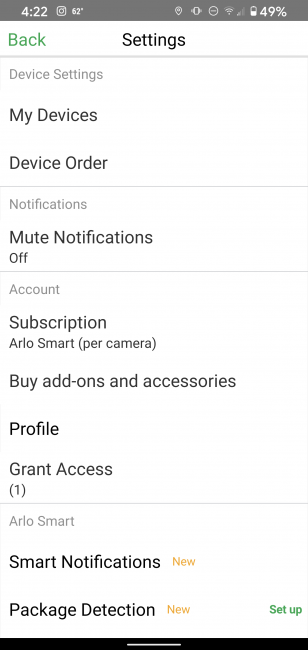
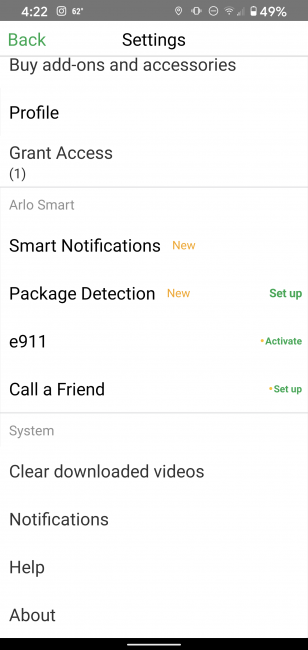
Click any of the photos to start a slide show.
- Each camera can be managed individually.
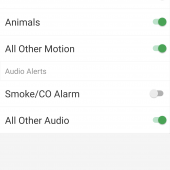
- If you want to turn off animal motion alerts, you can do it here.
- You can set up package detection.
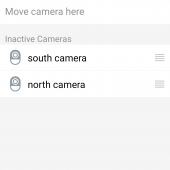
- Only one camera can be set for package detection, so if you are using that feature you’ll want to drag and drop the correct camera into the Package Detection slot.
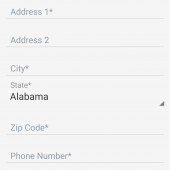
- If you want to take advantage of the e911 features, you’ll need to enter your address here.
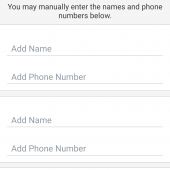
- And to use the Call a Friend feature, you’ll have to add names and phone numbers for the people you would like Arlo to contact.
If you don’t want to pay for Arlo Smart after the trial period is over, “you can still add up to 5 cameras to your Arlo account, live stream, and receive motion and audio notifications.”
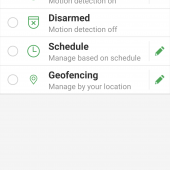
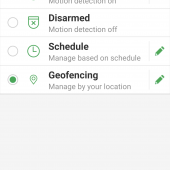
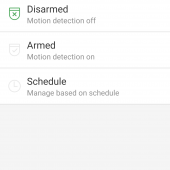
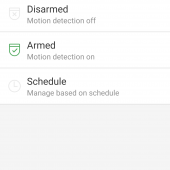
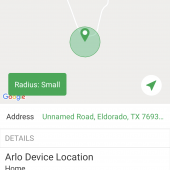
One last feature that I’d like to touch on is Arlo’s ability to use different Modes including Armed, Disarmed. Schedule, and Geofencing.
- Armed means motion detection is on, while Disarmed means it is off.
- If you select Schedule, you can block out times when you want the motion sensor to be armed.
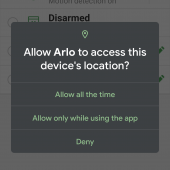
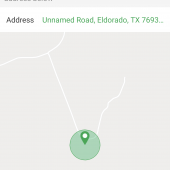
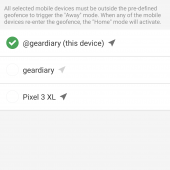
- Geofencing will allow you to turn off motion sensing when you are home and it will automatically turn on when you leave.
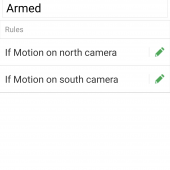
- You’ll have to select the device that triggers the geofencing regulated actions.
The Arlo Pro 3 wireless camera system can send alerts to your Apple Watch if you wear one; you can also use Arlo with the Google Home Hub and the Amazon Alexa Show. All you have to do is add the Arlo skill to either platform on your device, and then you’ll be able to ask Alexa or Google to show you the view from a particular camera. Obviously, this only works with the Google and Alexa devices that have displays. Also worth mentioning is that if you have the Arlo Pro 3 with the VMB4540 Smart Hub that it ships with, Apple HomeKit is now compatible. If you have an earlier Smart Hub or base station, HomeKit will be supported in the future.
Using the Pro 3 system is actually very simple once you’ve adjusted the settings to your preference, and having the cameras in place gives me great peace of mind. If I want even more security around my home, I could look into adding the new Arlo Video Doorbell, the upcoming Arlo Pro 3 Floodlight Camera, the Arlo Light, an Arlo Baby cam, or even the wire-free LTE Arlo Go for more remote applications. Arlo has something for nearly every application to make sure that your home, business, or property are monitored and safe.
The Arlo Pro 3 retails for $499.99, and it is available directly from the manufacturer and from other retailers including Amazon [affiliate link].
03/23/20 Update: Shortly after I wrote this review, the COVID-19 pandemic began, and we have now entered a period where self-quarantining and physical distancing are the safest options to keep from being infected or to keep from infecting others. If you have an elderly, at-risk, or remote loved one you can’t be with but you’d like to be able to SEE at any time, The Arlo Pro 3 can help with that. Ship a unit to the person you would like to stay in contact with; once set up, they can send you access so that you can view footage and keep an eye on them. You’ll also be able to “use the camera’s 2-way audio feature to stay virtually connected and keep the grandparents from feeling lonely as well. Arlo’s e911 action via Arlo Smart also stands out as it can allow users to access emergency services local to the camera’s location vs. the user’s personal location, ensuring they can monitor and take swift action in urgent situations.” Stay safe, you all!!
Source: Manufacturer supplied review sample
What I Like: Easy to set up; App is intuitive and easy to use; App allows you to micromanage each camera and its features; Arlo Smart is a subscription service that adds value to your security system; Instant notifications when there is motion; Pro 3 has a floodlight that films in color when activated at night; You have two-way communication when the camera is in live mode; You don’t have to pay for a subscription to get monitoring; Long-lasting battery; Can be mounted anywhere reached by your WiFi signal; So many available accessories and add-ons so you can create your perfect system
What Needs Improvement: The Arlo Pro 3 needs to be placed in an area with solid WiFi, so be mindful of that when considering where to install them; Add-ons and subscriptions can make this system expensive

