Labels. We get them when we are young. Sometimes we earn them. Sometimes we don’t. Sometimes they are flattering. Often they are not. Labels. Once they are there, they are difficult to shake. Oh, wait, this isn’t about that kind of label is it?
No, this is about those labels that you print up and then attach to items you want easily identified. For example if you are sorting the various cables that go with the various gadgets you have collected over the years labels help you know what is inside each box without even opening it. Or if you have five different wall adapters for a wide assortment of electronics you can put labels on the cords so you know which adapter fits which device.
When I was a kid I had one of those label makers with the rotating wheel. You put the cartridge containing the bright and rather thick strips of plastic and then “printed” the label one letter at a time. More recently I had the opportunity to review a more “advanced” version that no longer required the letter by letter wheel. (That review can be found here.) It was a huge step forward. Today we will take a look at the DYMO LabelManager PnP that arrived for review a few weeks ago. This is labeling for the 21st century.
Here’s a look.

From DYMO:
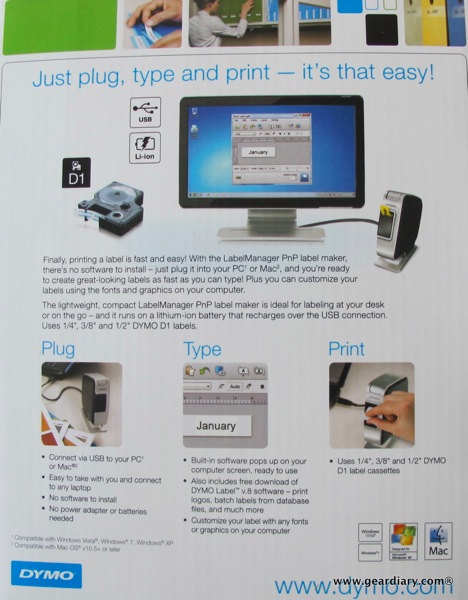
The DYMO® LabelManager™ PnP offers the answer to various label challenges. Connectable by USB you can label wherever directly from your PC or Mac, leaving power cords and batteries no longer needed. As the built-in software pops right on to your computer screen, ready-to-use, you can use all the font styles and sizes available in Windows/Mac or graphics on your computer. Editing your text and managing the lay-out of the label (borders, orientation, margins, …) has never been more easy. It’s high printing speed and compatibility with a wide range of labels make the DYMO® LabelManager™ PnP even more professional!
There’s no software to install just plug it into your PC or Mac, and you’re ready to create great-looking labels as fast as you can type. Plus you can customize your labels using the fonts and graphics on your computer. The light weight, compact LabelManager PNP label maker is ideal for labeling at your desk or on the go and it runs on a lithium-ion battery that recharges over the USB connection.
Specs:
Prints on D1 labels up to 1/2″
Prints up to 2 lines of text
Connect to your PC or Mac®
Use your keyboard and PC monitor to create labels
Compact modern design fits on every desk
Power: USB rechargeable Lithium-Ion battery
Compatible operating systems: Windows® 2000, Windows® XP, Windows Vista, Windows 7 and Mac®
Dimensions: 8.74″H x 3.15″W x 6.81″D, 1.59 lb.
1-Year mfr. limited warranty

What’s in the box?
DYMO LabelManager Plug N Play label maker
1/2″ starter D1 label cassette
USB cable
Li-ion battery pack
Quick start guide
Warranty card

The unit itself is rather small. It measures 8.74″H x 3.15″W x 6.81″D. The body is made of black and silver plastic while the base is metal. It is quite light and surprisingly sturdy. It looks and feels as if it would fit right in whether used in a home office or at work.
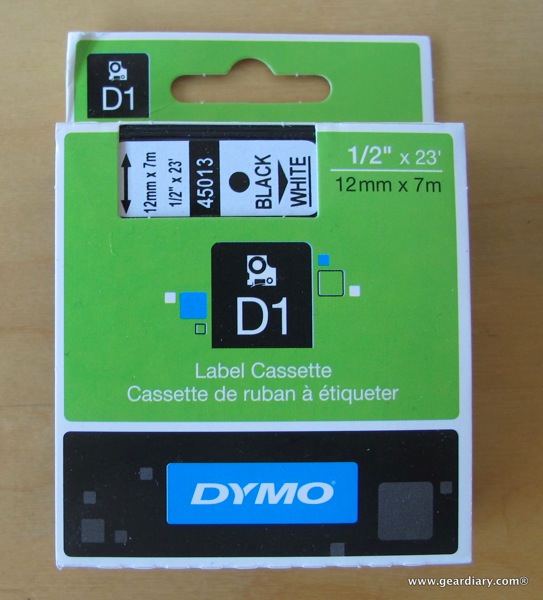
Getting started is quite simple. You open the door of the unit by pulling on the front rectangle of plastic. It opens right up. Inside is a compartment for the label cassette.
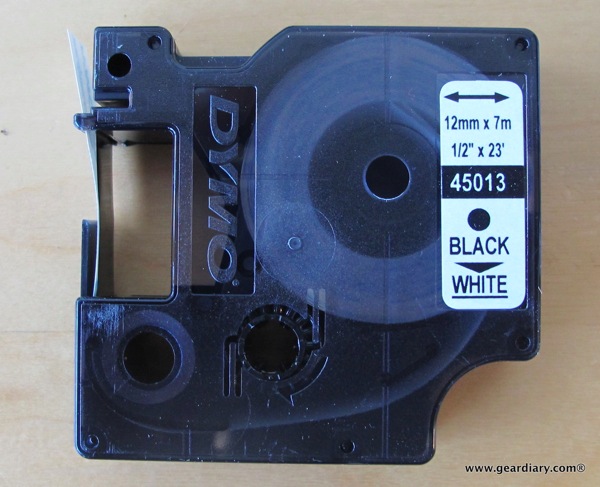
A variety of labels are available. As with printers, I suspect that the bulk of the profit when it comes to one of these is found in purchase of replacement cassettes.
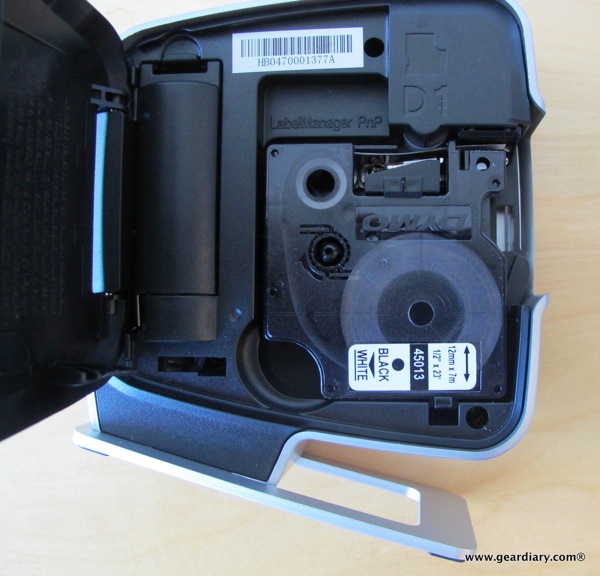
One cassette is included with the LabelManager so you can get up and going immediately.
Be warned however, Staples sells individual cassettes for a whopping $18.99. That can get rather pricey rather quickly.
The cassette pops right into the LabelManager. There is one orientation for it so a bit of trial and error is all that is required. If it does not fit one way rotate 90 degree and try again.
From there you simply plug the included USB cable into the LabelManager and the computer. There is no software to install since everything you need is right on the device itself. It even works with both Windows and Mac.
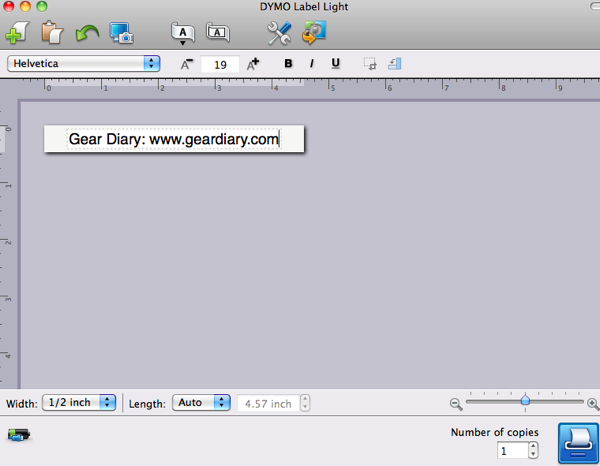
On my Mac I simply plugged it in then opened the Finder. The LabelManager appeared and I clicked the Mac software. Simple. Fast. Easy.
The onboard software does not have the aesthetic appeal of most Mac , it certainly gets the job done. You can add your own text, you can add images or you can grab a screenshot with just a few clicks of the mouse. When you first start using the device it pays to click around a bit and play with it in order to learn how it works and what you can do with it.
When you are ready to print, you simply click the icon in the lower right corner of the window.

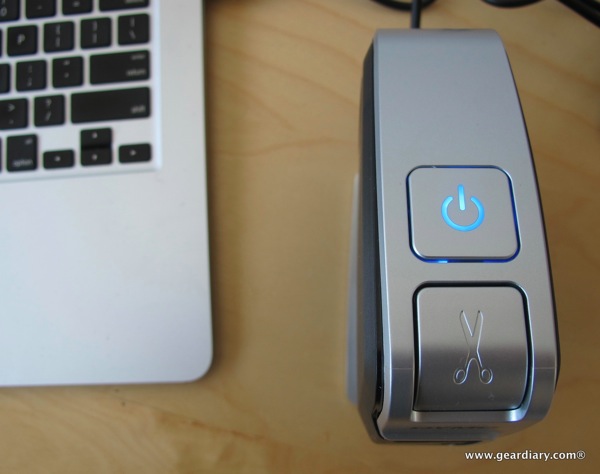
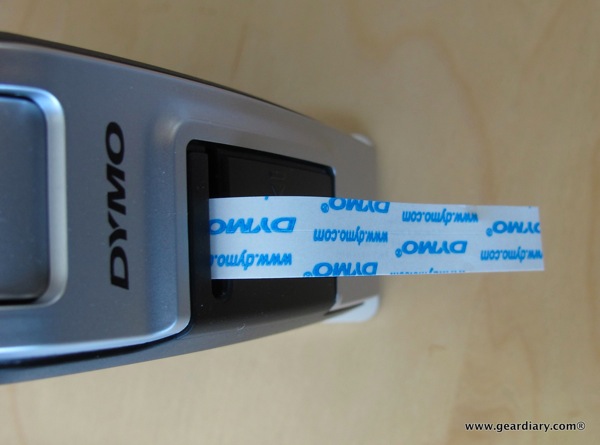
The label immediately begins to print. When it is done you press down on the button with an image of scissors and the label is cut from the device.

One small element I love is the fact that the labels are perforated on the back. That means you can simply bend a printed label slightly and then easily remove the backing paper. There is no need to try to get a fingernail between the label and the backing.
So what can you do with the device?
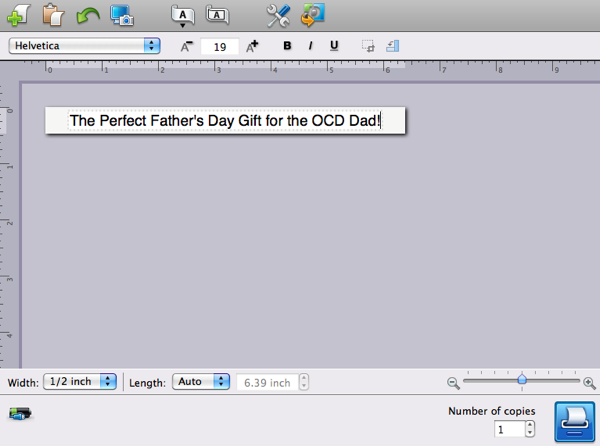
Well, I think it could make a great Father’s Day gift. Print up a label that states the obvious and…
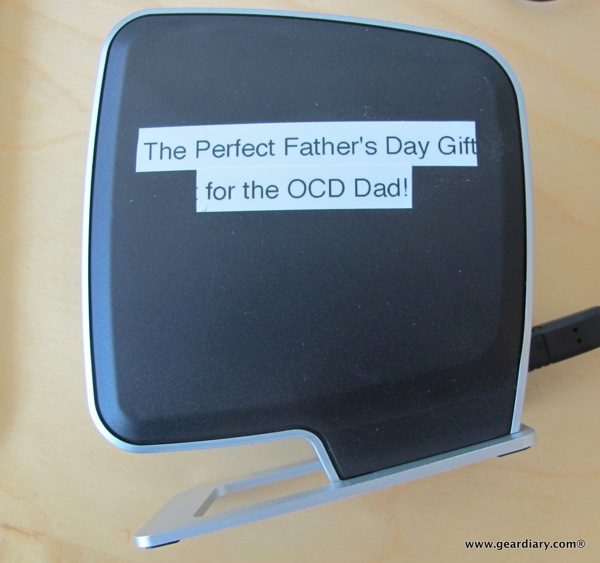
You can label the LabelManager!
This is a simple, 21st century update to the traditional label maker. It is fast, east you use and easy to pack away when you are done. If you need to add labels to things this is a great way to do it.
You can get more information here.
MSRP: $59.99, but you can get it for $49.99 at Amazon [affiliate link].
What I Like: Simple to use; “Plug and play”; Works with both Windows and Mac
What Needs Improvement: The real cost is in the label cassettes and can add up quickly.
