While I was waiting for my MacBook Pro with Retina display to show up, Dan was kind enough to loan me his 13″ MacBook Air. Once it had arrived, I found his Air inside a protective plastic shell … which I promptly removed.
I did wonder for a few moments about whether or not I was taking a chance of having something happen to Dan’s laptop, but in the end I decided just to be extra careful, Sorry Dan! No tossing his Air in my bag next to the car keys, no laying it naked on the carpeted floor just behind the driver’s seat in my car, or any other “risky” behavior that might get me blamed for fresh superficial scratches and the mistreatment of his ~$1000 piece of equipment.
What do I have against those plastic cases? I’ve used them before, and while they seemed to work well enough, I’m no longer convinced that they add enough protection to offset the extra weight and bulk that they can’t help but provide. In fact, it makes sense that these shells might actually be creating a scratch zone where debris can rub against the laptop unchecked, because they generally don’t come with a layer of neoprene to add padding and remove free space between the shell and the laptop (likely because that might over-insulate the hardware and keep it from cooling properly).
For drop protection, nothing is going to protect like a padded laptop bag or sleeve, but for scratches? Similar protection to what the hard plastic shells offer can also be found in the new generation of thick clear skins, like the ones made by BodyGuardz.
The BodyGuardz site describes their skin’s ultra-tough material as being the
same material used to protect cars from scratches, sometimes referred to as ‘car bra’ material or paint protection film.
If you already have a laptop bag that you like to use when commuting, but you want to be able to shuffle your laptop around the home or office without worrying that every little thing might scratch up your investment, a thick clear skin will probably be the perfect thing.
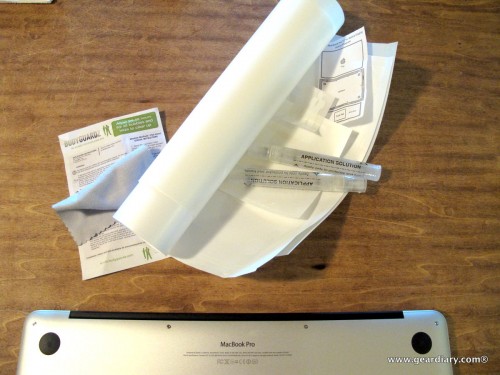
The BodyGuardz kit includes instructions, a microfiber cloth, two spray bottles of application solution, a stiff squeegee, a chart of the cut-out pieces (showing where they are meant to go), and the pre-cut protective film.
Getting into the kit may seem a little bit intimidating at first. There you are, looking at something you have to install, and perhaps you have visions of trapped flotsam and jetsam — or worse, bubbles! — under the installed skin.
And sure, this can happen.
So here are some tips you should consider before getting started:
1. Start this project in the evening. You’ll need to turn your laptop off, and you’ll need to leave it off for at least an hour or two. Your laptop will also need several hours (preferably overnight) to cure after the installation, so you don’t want to do the installation right before the time you’d usually toss your laptop in its bag to leave for school or work.
2. Lay out the pieces, and think about where they need to go (and what you’ll need to do to get them properly centered) before you start removing them from their backings.
3. Make sure that your laptop is clean; have supplies nearby to clean each part before you start on it. Use the included microfiber cloth (or a larger one of your own) so that you don’t leave lint behind. In other words, do not use a paper towel.
4. Do spray some of the application fluid on your fingers; spray it liberally on the piece you are about to apply, and jump right in. But don’t spray the fluid directly on your laptop.
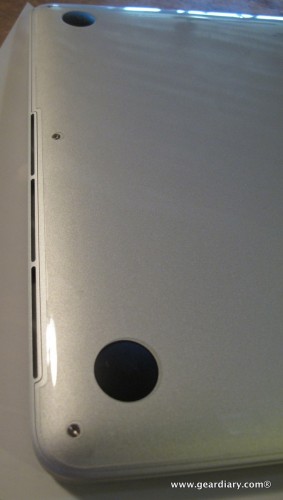
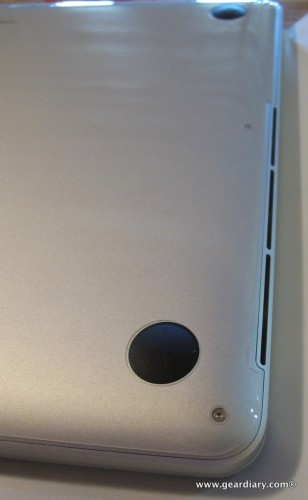
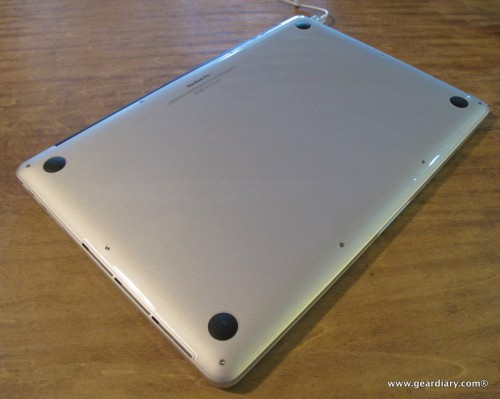
I began with the back. I figured it would be the toughest piece to install, since it had holes for every screw and holes for the rubber feet. I wet my fingers down well, and I pulled the entire skin from its backing. Because the skin was wet enough, I was able to slide it around on the laptop’s bottom until everything was properly situated.
Once I basically had the skin where I wanted it, I wrapped the squeegee in a microfiber cloth and I firmly pressed all of the liquid and bubbles out from under the skin — starting from the middle and working my way out to the edges. I used a second microfiber cloth to catch any excess fluid. With everything properly centered, I ended up with ~2mm left uncovered on the sides and ~1mm on the top and bottom edges. That’s pretty close to perfect!
I did have one corner that didn’t want to lie down, so what I did was leave it as something to check back on after I had installed the top.
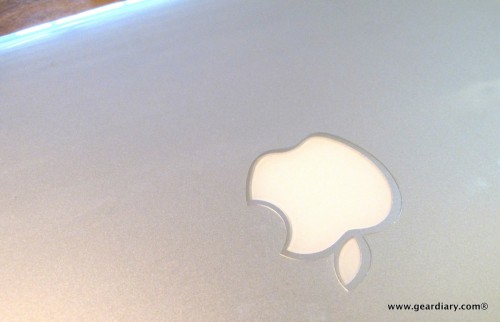
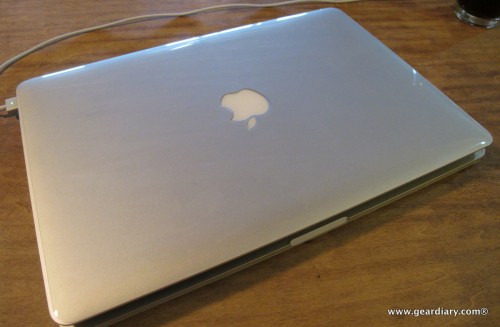
The easiest way to apply the top is to use the Apple logo as your starting position, so once again I wet my fingers down, removed the top skin from its backing, and sprayed it down, too. I ran into a bit of an issue, because the apple cutout is a bit larger than the apple itself. It didn’t seem possible to get it perfectly centered, but I knew I had to be close.
Urgh! Everything installed, and I was off by roughly 3mm on the left side …
… and 1mm on the right. I guess 2mm was the sweet spot, but even after lifting the skin up, respraying and retrying, I kept ending up with the same result. Rather than ruin the skin through repeated removals, I decided just to make it work.
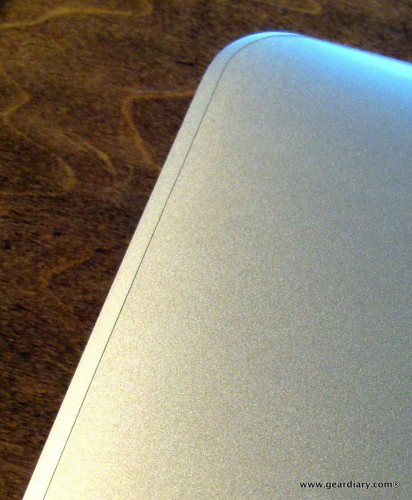
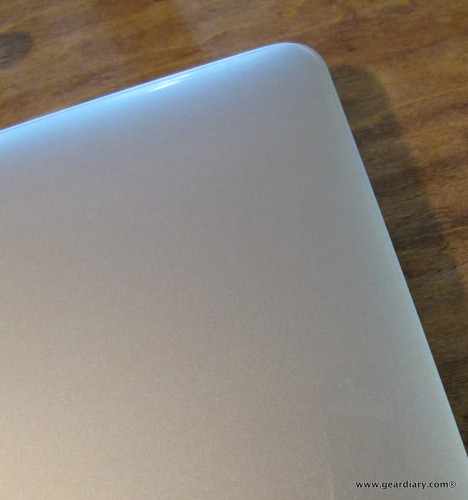
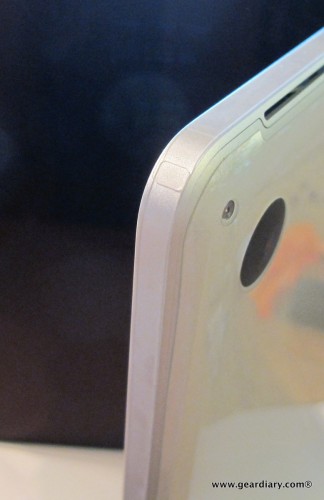
The most obvious result was that the left side of the lid is left a bit more exposed (going from ~3mm to 1mm) …
… whereas the right side is just about perfect (going from ~1mm to 0mm). It’s not something anyone but me would notice, but it does gall my inner perfectionist. =/
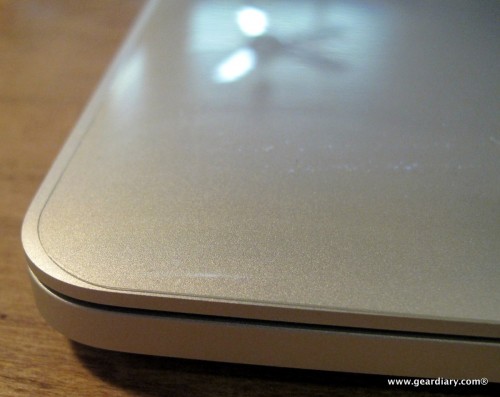
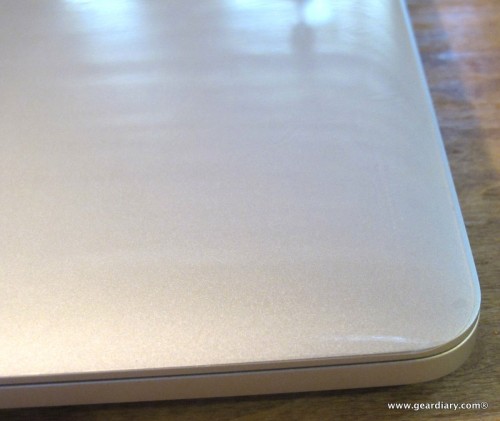
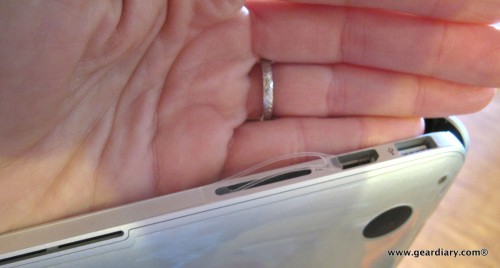
Next to be installed were the side skins. There were two small strips for the back side of the laptop, a long one for the front, and two medium length ones for the sides. I installed the side strips first, then placed the front strip and found that I had ~4mm overlap on each side.
I was able to remove the left side strip, then lay it back down properly scooted to the curved base of the headset jack.
I did the same on the right side, but there was no way to get the SD cutout to properly align. So I just snipped it at the base of the slot, and the problem was solved.
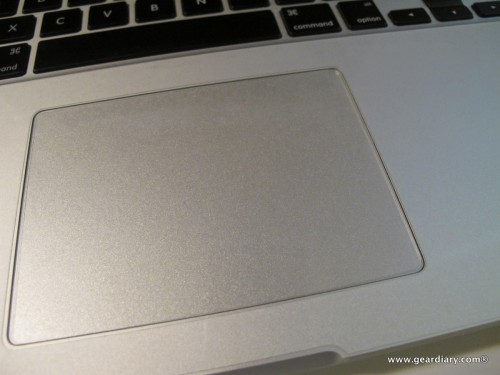
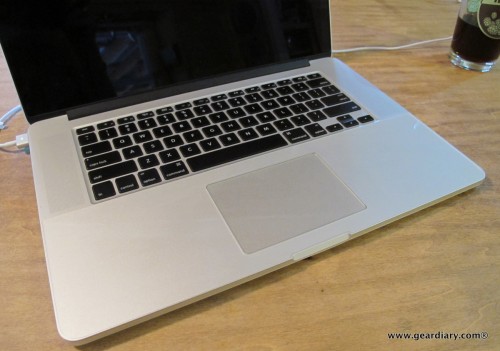
Next was the touchpad cover, which fit perfectly and didn’t give me any trouble …
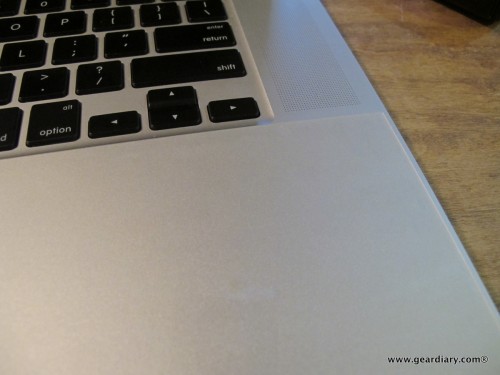
Followed by the handrest strip, which framed the touchpad.
There were a couple of times that I noticed I had a little bit of dust under the film, but it was easy enough to lift the film from the closest corner (before the final squeegee), spray some applicator fluid on my fingers, rub the spot with the dust, scrape the dust off the film with a fingernail, and then lay the film back down.
I also had a couple of bubbles show up along the way, but I was able to press just about all of them out with the squeegee wrapped in the microfiber cloth.
After all the film pieces were installed, I returned to the corner that had given me trouble before. Sure enough, the corner had dried out enough so that it was tacky enough to lay down.
I’m the only one who will notice that my cover isn’t perfectly centered, and that’s just me being obsessive. Because of the BodyGuardz protective film, my laptop can go into my bag, to the table, to the backseat of the car, to wherever without me worrying about scratches or other superficial dings.
The skin pieces will need to cure overnight so that they won’t lift or slide, especially on the corners and edges. If you missed a bubble, don’t stress or try to lift the skin back up; the bubbles will work themselves out over the next few days, usually without leaving any evidence that they were there.
And no, applying this skin won’t protect my laptop from a fall, but that’s why I generally keep it in a bag when it’s in transit.
The BodyGuardz Ultimate Protective Clear Skin is relatively easy to install, as long as you think about what you are doing and have the materials you’ll need along the way right at hand. Once it’s on your device, you can enjoy worry-free use, which is why I also have self-purchased BodyGuardz skins on my iPhone and my iPad.
The BodyGuardz Ultimate Protective Clear Skin for MacBook Pro with Retina Display is available directly from the manufacturer.
MSRP: $49.95
What I Like: Relatively easy to install; provides a layer of protection between your devices and everything else; keeps your laptop pristine, which improves your resale value when that time comes
What Needs Improvement: I wish that there was a spare top piece of film included (because I am still slightly obsessing about it being off-center). Urgh
Hat tip to BodyGuardz for supplying this non-returnable review sample and our thanks to them for being one of our newsletter underwriters.

Hi Judie,
Great review!! I’m getting one soon, for my yet to be delivered macbook pro with retina display 😉
I have a small question, how about after we remove clear skin(may be after a year or two)? Does it leave any residue or any sticky adhesive?
-Nick
Hi Nick, I haven’t removed this one yet (nor do I plan to), but I can speak from experience that on iPads, iPhones and other devices there is no residue when you remove the skin. It is tough to remove, but there is no residue left. =)
Great.. So after using it for a few days, do you still recommend buying it?
I’ve been using it for well over a month, and yes — I would totally recommend buying it. =)