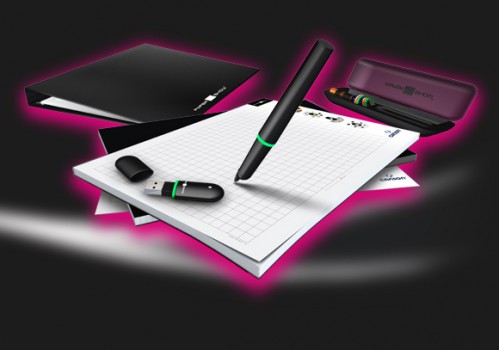
In the old days I would print out handouts whenever I had a class I was going to teach or lecture I was going to give. Inevitably however, half of the packets were left on the seats or on the floor and ended up being wasted. About six months ago I decided to try a different approach. It was an experiment but it’s turned out rather well for me. Instead of handing out packets of information, I simply use my MacBook and Keynote with one of the flat-panel televisions that we’ve installed in our building. It works phenomenally well — especially now that I can use my iPhone is my remote. I’ve even found a nice side benefit to doing it this way — instead of everyone looking down at their individual packets of paper, everyone’s attention is focused in the same place during discussions and, as a result, classes become far more interactive.
There is, however, a difficulty. Unless I want to actually sit on the computer during the class there’s no easy way to put additional information up on the screen. At least there wasn’t until I tried Papershow.
I wasn’t sure what to expect when the review unit arrived but after using it a bit I must say that I’m really quite impressed with it and the potential that it has to create interactive presentations.
Let’s take a look —The Hype-
The folks at Papershow describe their product in this manner…
Do you dream of breathtaking presentations?
Dynamic and interactive meetings?
PAPERSHOW will revolutionize your meetings !
PAPERSHOW is a new way of attracting and convincing at a meeting.
In other words, it’s intended to be a remote white board. You simply write on the special pad of paper with a special pen and everything that you write or draw appears on your computer screen or, if your computer is hooked into a larger projector or television, on the screen.
The Reality –
After using it for a bit I must say the hype is pretty darn accurate!
What’s in the box —
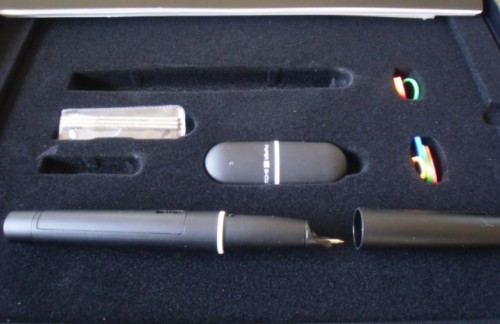
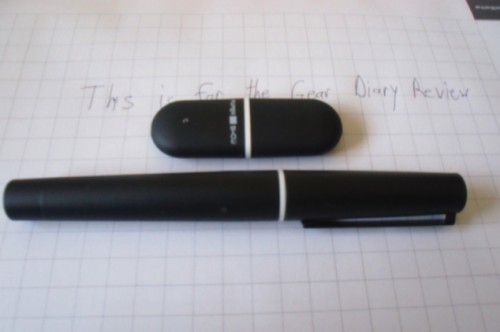
Battery operated Bluetooth pen.
USB Bluetooth dongle.
Pad a special paper
Sample of special printer paper
Pen refills
Various colored accents for the pen and the dongle (seriously? color coordinating the dongle and the pen???)
Set up —
Setting up the device was relatively easy. I put the battery in the pen, plugged the Bluetooth dongle into my computer (XP only — more on that later), uncapped the pen and waited for the pen and the dongle to pair with one another. You must(!) do the setup in this order in order for it to work.
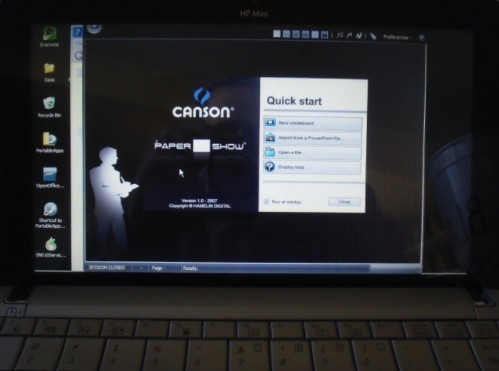
After that it was as simple as drawing on the paper. The first time I did start the program, in fact, I was blown away. It not only works when it works exceptionally well and there’s relatively no lag time between what you do on the paper and what appears on the screen.
How it works —
Once you set up the device to the system works quite well.
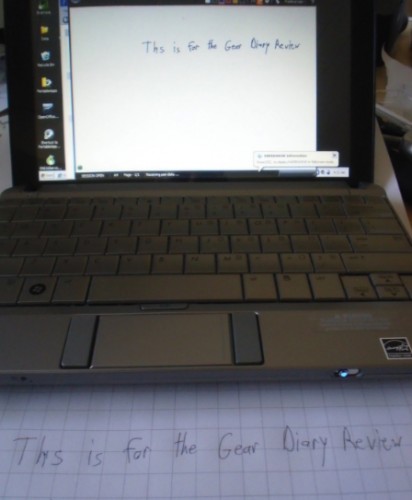
You simply write on the pad in the way that you would with any normal pad of paper and everything that you write or draw a magically appears on your computer screen or the device to which the computer is attached. In addition, you can erase something from the screen (obviously it isn’t erased from the pad but you can tell that you’ve scribbled it out) and you can change the color of the pen and the fonts as well. In fact, you can change the color, shape, and thickness of the line that you draw.
As is the case with other digital pens (I’m currently working on a review of my new Livescribe pen as well) the pad of paper has microscopic dots that are not easily seen by, upon close examination, are clearly there. They allow the optical sensor in the pen to track all of the movements you make with the pen and translate them into digital information that appears on your computer screen.
You can import an existing PowerPoint slideshow and simply put it up on the screen. In this way you can have a presentation and have the added benefit of adding real-time notes.
What I liked —
It allows you to write on a piece of paper and have the images appear on your screen for all to see. In doing so, it allows presentations to become far more interactive than they might otherwise be.
Relatively easy setup and use. Overall the application and the device are highly intuitive.
What needs improvement —
The pen is relatively thick end, aesthetically, not at all pleasing.
XP only!
Has only one specific use.
Requires the use of their proprietary paper that can get costly. (48 sheets of notepad paper retail for $12.99, printer paper runs $19.99 for 200 sheets)
In the paper isn’t exactly inexpensive. For example —
Once you insert a Bluetooth dongle the software takes a seemingly long amount of time to open (half a minute or so but it feels like longer).
Conclusion – There is a lot to like about Papershow. It is a product intended for individuals who make numerous presentations so it will have a limited audience but for that audience it is a great solution.It needs a Mac solution to truly be a universal solution but if you are currently using Windows (or have access to a Windows device) it is excellent!
Papershow is available from Staples with an MSRP of $199.99 for the Papershow Starter Kit.

Dan, I was salivating at this review – I am highly visual and do a lot of sales and training presentations using a “Back of the Napkin” approach on a blank sheet of paper. (referencing the book by Dan Roan http://www.thebackofthenapkin.com). I'll make a trip to Staples to test drive the product, but I'm a Mac guy… although using Parallels may be the answer.
I was given the papershow kit at a conference I attended by Microsoft. I installed the software on a PC laptop and it worked great. I then tried to install it on my mac using parallels and I couldn’t get it to recognize the dongle. Has anyone else had any success?
Sorry Cruiser but I don’t use a Windows virtual machine on either of my macs. Silly question but… Does the Windows install on your Mac recognize other USB devices?