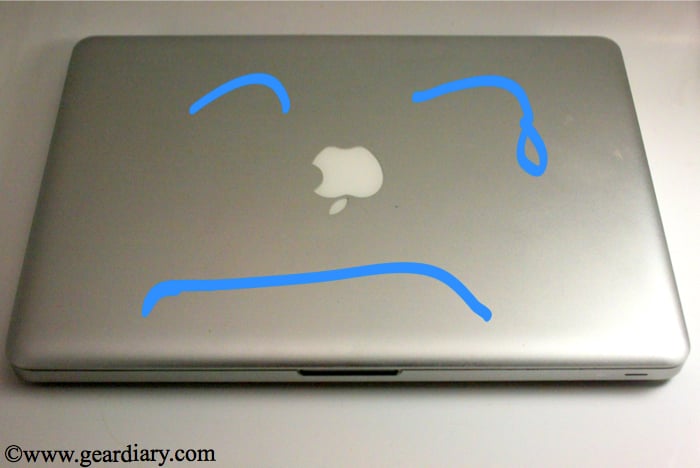
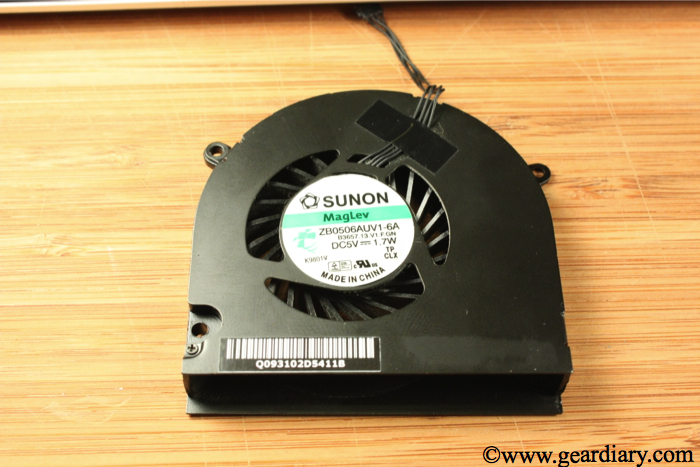
In part 1 of this 3 part series, I discovered that my computer was not acting happy due to a fan issue. Catch up with the post here to follow my MacBook adventure. One goal of this project is to avoid the Apple Store and keep the cost down as low as possible. The fan noise is definitely out of control, the machine is running hot and it has become super slow. My next plan of action is to open up the case to clean and lubricate the fan. I took a few photos to explain how to open the machine, take out the fan and clean and lubricate. Remember, this is purely for informative purposes. Please read the disclaimer below!
DISCLAIMER: ALL OF WHAT YOU ARE ABOUT TO READ WAS DONE AT MY OWN RISK! IF YOU CHOOSE TO DO THE SAME, YOU WILL VOID ANY APPLE WARRANTY FOR THAT MACHINE. NEITHER GEAR DIARY NOR I ARE RESPONSIBLE FOR ANY DAMAGE THAT RESULTS FROM YOU DOING THE SAME. (ALTHOUGH IF YOU DO AND, AS A RESULT YOU FIX YOUR FAN WE WILL HAPPILY TAKE CREDIT) ![]()
IN OTHER WORDS, THIS POST IS NOT A RECOMMENDATION, BUT RATHER IT IS SIMPLY A RECOLLECTION OF HOW I SAVED MY OWN LAPTOP.
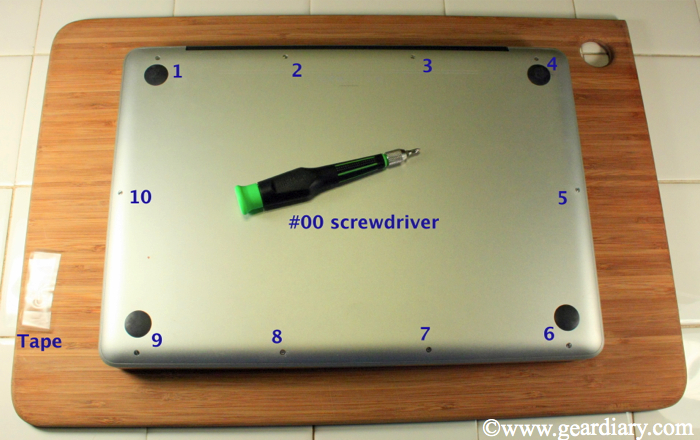
Before beginning fan extraction and cleaning you need to set up your tools and work area. Make sure the area is clean and safe to open the machine. Also, make sure you take proper care to avoid any static electricity. You do not want to fry our computer! You will need a #00 philips screwdriver and a piece of tape attached sticky side up. (the tape trick is via Dan) I chose to place the MacBook on a cutting board so I can easily rotate and move without touching anything I am not supposed to.
Make sure you back up your machine and turn the power off. Carefully extract the 10 screws from the under side of the case and place each screw on the tape to avoid losing them. They are tiny, so a drop on the floor could be a bad thing! Three of the screws are longer than the rest. They will only fit in those holes, so it is not difficult to replace them.
Here is the inside of the MacBook Pro. It may look intimidating, but just touch the parts you are supposed to and it will be fine. I used a can of compressed air to lightly clean off any dust bunnies I could see being careful not to disturb any connections or parts. For this part of the project, the fan is all we will be messing with.
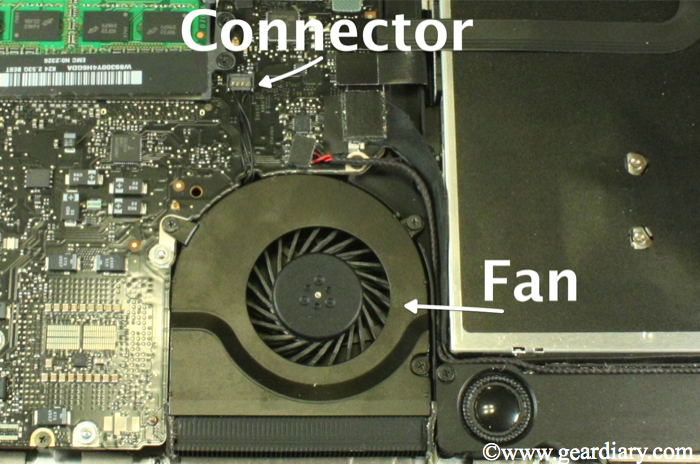
The image above shows the fan unit and the connector. Using a small screw driver, preferably something made of plastic, lightly disconnect the fan. Simply lift the connector and it will disconnect. I was careful not to pry or force it apart.
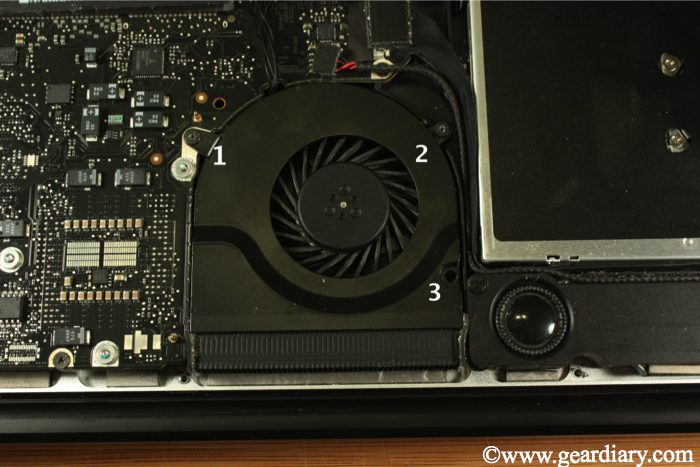
Once the fan is disconnected, it can be removed via the three screws. Make sure you keep track of which screw went where. When the three screws are removed, lift the fan out of the machine.
Once the fan was extracted, I cleaned the blades and any dust I could find thoroughly. I then used a q-tip to lightly dab some oil on the small metal piece in the center of the fan. If you choose to do this step, be careful and use a small amount of oil wiping any excess immediately. I would dab the oil, wipe and spin.
When the fan is clean, lubricated and ready to go, simply reverse the she process to remove it in reverse order. Take special care to replace all screws in the correct locations and make sure everything is tight. Once the case is back together, you may boot up the machine. Check iStat Pro to ensure the fan is running and listen carefully for the excess noise.
Upon cleaning the fan, my noise was almost non existent after a few minutes. I was ecstatic thinking I fixed my machine for free! Unfortunately, the next day the noise and heat returned. There was no way around it, I was going to have to change out the fan. Watch for the third and final installment of this series as I shop for and replace the fan and also double the RAM since I was already inside.

