The Lowdown
That’s where the AnkerMake M5 shines. Yes, you can play tinkerer to your heart’s content, but if you just want to set up and fire off some prints, you can do that too. It bridges the gap from “this is a cool concept for hobbyists” to “literally anyone who can work a regular paper printer can troubleshoot this 3D one,” and that’s HUGE for the industry.
Overall
Pros
- Easy to set up out of the box
- Comes with all the tools you need in one organized package
- Anker’s branded slicer software is easy to learn
- You can monitor prints from a phone, thanks to the 3D printer’s built in camera
- The AnkerMake M5 takes 3D printing from hobby to mainstream!
Cons
- It’s pricier than other printers
- It takes up a fair bit of counter space
- The standard supports are a little aggressive
A few years ago, I was sucked into the world of 3D printing with a Creality Ender 3 Pro. I have joked for years that I don’t need a pet; I have a 3D printer because, much like a pet, it is moody, sheds, and often has ailments it can’t explain. But I’ve been testing the AnkerMake M5, and it’s as close as possible to 3D printer perfection!
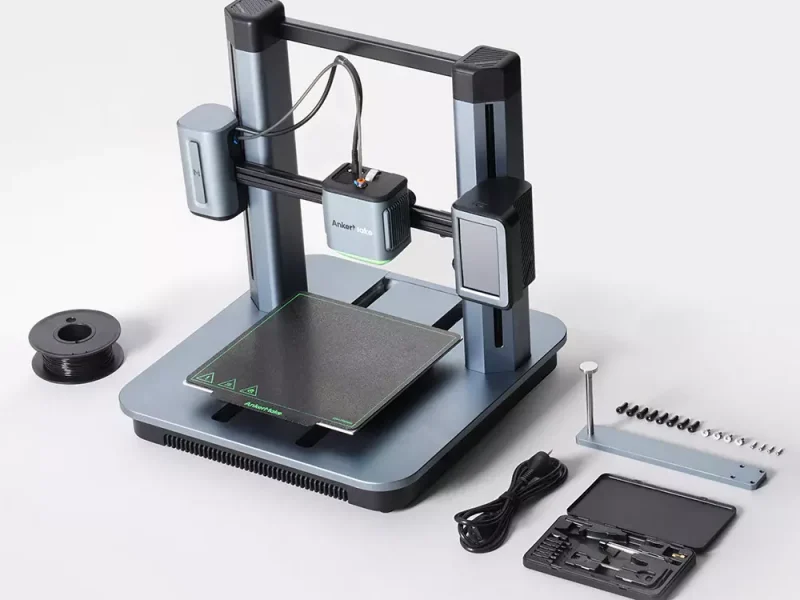
Anker clearly took a long look at the 3D printer market before rolling out the AnkerMake M5. They’ve included a ton of bells and whistles out of the box that make the experience more enjoyable.
Before we dive in, I’m going to provide a very brief primer on 3D printing terms:
Slicer: Software that takes the file to be printed and creates the code that the printer can read. This is where you can determine the size of your printed object, whether you’ll need to print extra supports for overhanging areas, adjust the temperature based on the material, etc.
Hot end: This is kind of self-explanatory; it’s where the plastic filament is extruded. Gets extremely hot. Do not touch.
Print Bed: This is where the print is extruded from the hot end. It often has a magnetic or glass cover that can be removed for cleaning or prying the print free. Print beds can heat up to make the initial layer adhere better and need to be leveled for optimal printing performance.
Extruder: The extruder is the part that feeds the plastic filament into the hot end. The Anker (and many other 3D printers) does this via a Bowden tube that runs from the extruder to the hot end.
Filament: This is the plastic that gets melted and reformed into your 3D print. It comes in spools, is unrolled, and is fed through the bowden tube to the extruder.
Nozzle: This screws into the hot end and determines the size of the extruded filament, which can impact the quality and visibility of the layers of your print.
Now, on to the AnkerMake M5!
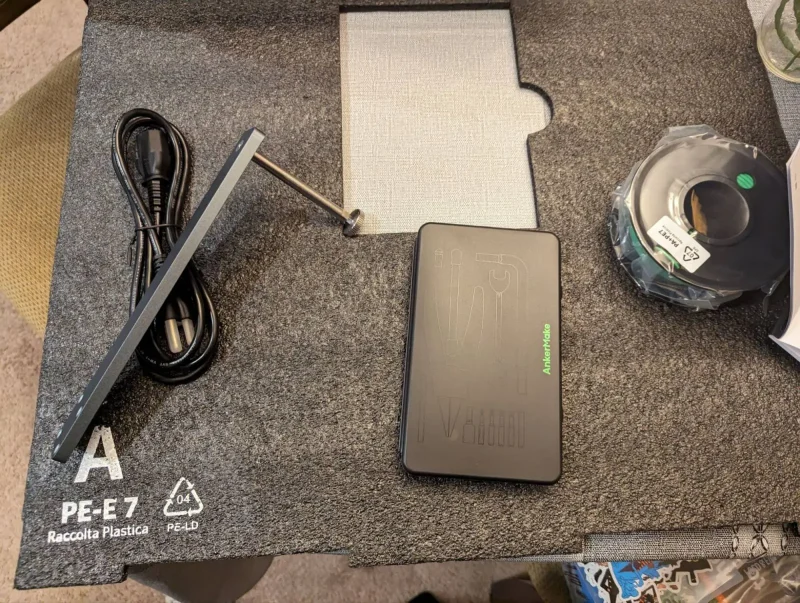
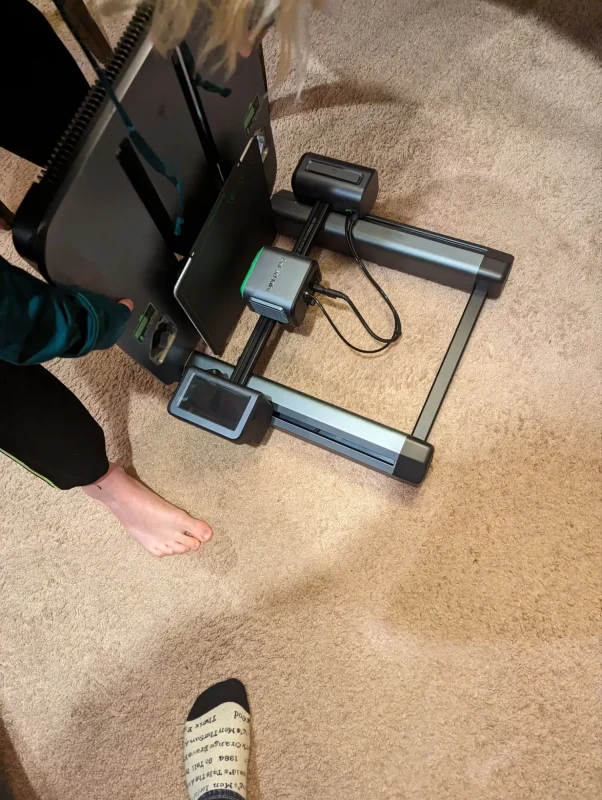
Anker really took to heart many things that make 3D printing difficult for newbies. Unboxing and constructing the AnkerMake M5 was super easy. Most of the pieces are pre-assembled, and you just have to attach the various wire connections and screw in the frame.
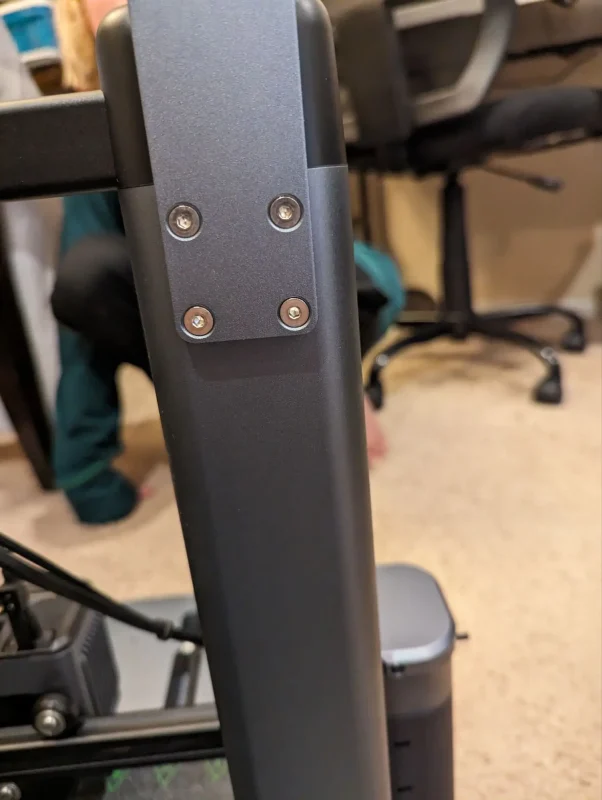
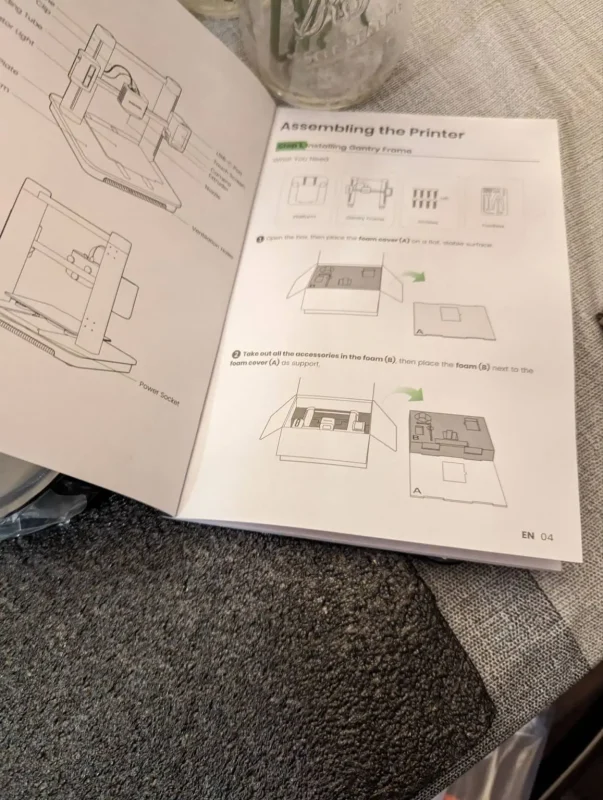
Anker helpfully labels the bags for each screw set needed, and the manual very carefully walks you through each step so there’s no confusion.
I built the AnkerMake M5 while recovering from surgery, which meant I couldn’t lift more than 5 pounds at a time. I had to enlist my 10-year-old son as an assistant; I instructed him, and he did all the actual manual labor.
He was a little apprehensive at first, but Anker’s packaging and instructions made it super easy; we were up and running in no time.
The only snag I had when setting up the AnkerMake M5 was feeding the filament into the extruder. It took more effort than I expected to get the filament fed all the way through — I hit resistance and thought it was in all the way, but nothing exited the extruder when I ran a test print.
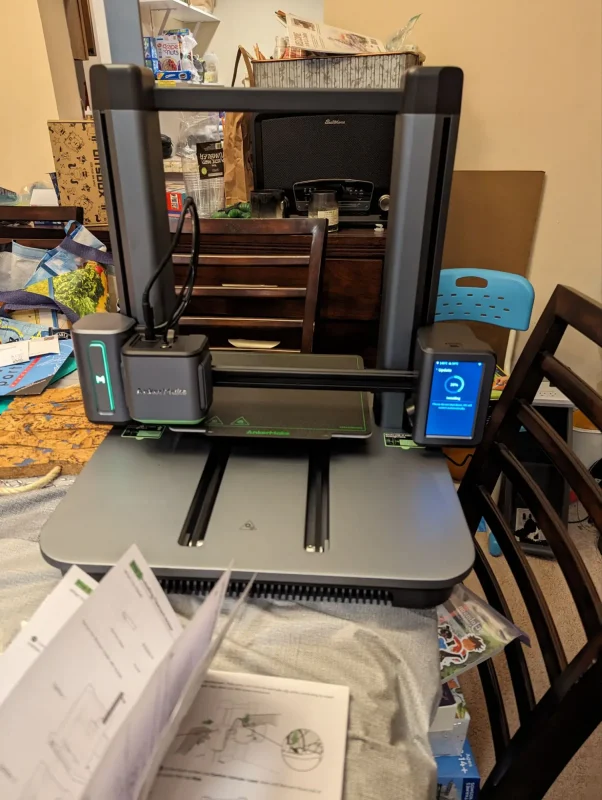
It turns out you have to give it a harder push than expected, and then you’re off to the races with printing!
To format your print for the AnkerMake M5, you need to use slicer software. That takes the file and turns it into a gcode format that the printer can read. Multiple slicers are available, but Anker’s branded version is extremely good.
It’s built off PrusaSlicer, my preferred slicer, with my other printer, so the learning curve was quick and easy for me.
Even if you’re unfamiliar with slicers, Anker has made it super simple. The default settings will work for a good chunk of basic prints, and if you need to make changes, there’s a robust search feature that makes it easy to track down what you need.
For example, the supports in the slicer are traditional by default, but I prefer tree-style (more on that below). All I had to do was type “supports” into the search, and I could zero in on the setting in no time.
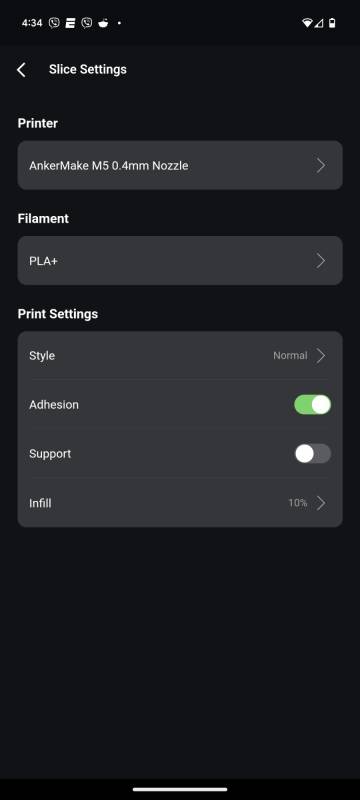
I prefer doing my slicing on the computer because I often search multiple sources and like to make tweaks (and sometimes use TinkerCad to adjust prints or add features).
However, if it’s a fairly straightforward print from Printables or AnkerMake, you can also grab and slice from the mobile app and send it right to the printer from there. Note that the printer needs to be on and available for you to slice from the app.
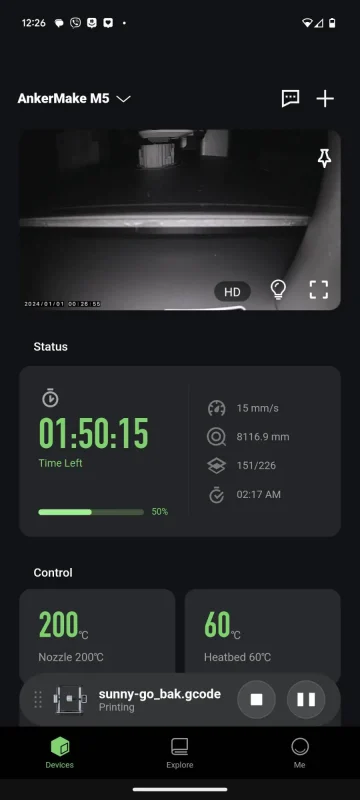
But where Anker really stands out is that they put a camera in the M5, and you can stalk your prints from anywhere via the slicer software on your phone or computer.
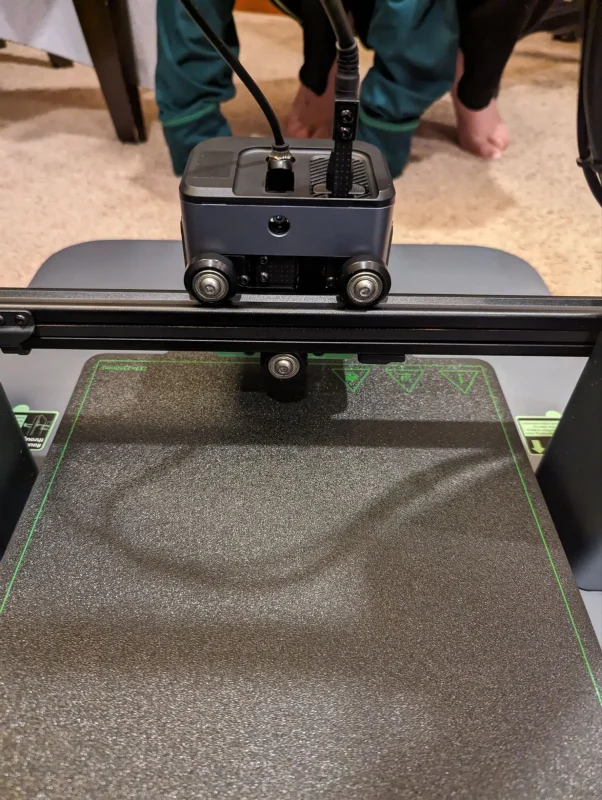
Here’s the thing — the hot end of a 3D printer reaches around 205 Celsius or 400+ Fahrenheit. And even with Anker’s improved printing speed, there are still prints that take 6+ hours.
It’s generally a TERRIBLE idea to leave your home while the printer is running, but it’s even nervewracking sometimes to let it run while you’re out of the room.
The camera means you can closely watch your prints without babysitting them for hours. I’m also only a little ashamed to admit I once fired up the camera on the slicer software because I was sitting with my back to the printer and didn’t feel like getting up to make sure the first layer looked ok.
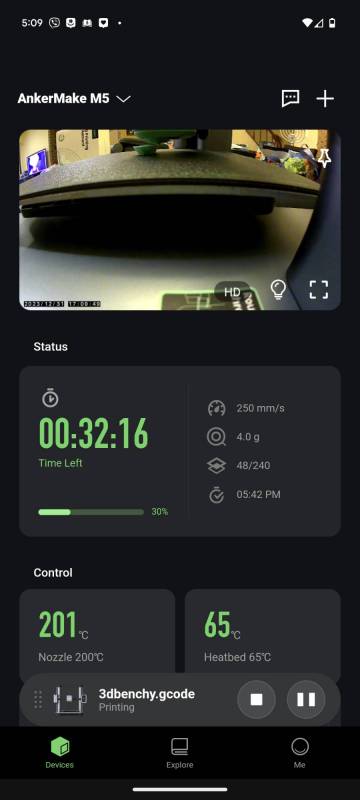
But lazy printing scenarios aside, the camera is also handy for everyday prints. I’ve had prints that lasted 6+ hours, and the camera means I can leave the room and do other activities and just peek at the camera to make sure we’re on track.
I still don’t like leaving it running overnight, but if it does have to run that long, at least I can easily reassure my anxiety that there’s no reason to worry.
The AnkerMake M5 connects via WiFi to the slicer software, so you don’t have to fiddle with a microSD card. Just hit a button, and your print magically starts up on the printer.
This is a really minor benefit and one that might not matter if you’ve never dealt with having to manually load your prints onto a card. But it’s so nice just to hit slice and send it instead of making sure the card is loaded in the computer, finding the folder where you dropped the print, remembering what you named the print, and then inevitably selecting the wrong one on the printer and having to cancel and restart the print frantically.
Once you’ve adjusted, sliced, and sent your print to the AnkerMake M5, it’s ready to roll.
First of all, the AnkerMake M5’s bed auto-levels itself before each print. That’s a huge time and frustration saver. If you have to adjust the bed manually, and you don’t realize it’s not level before the start of the print, you’re likely to end up with a terrible first layer at best and a lovely pile of extruded spaghetti at worst.
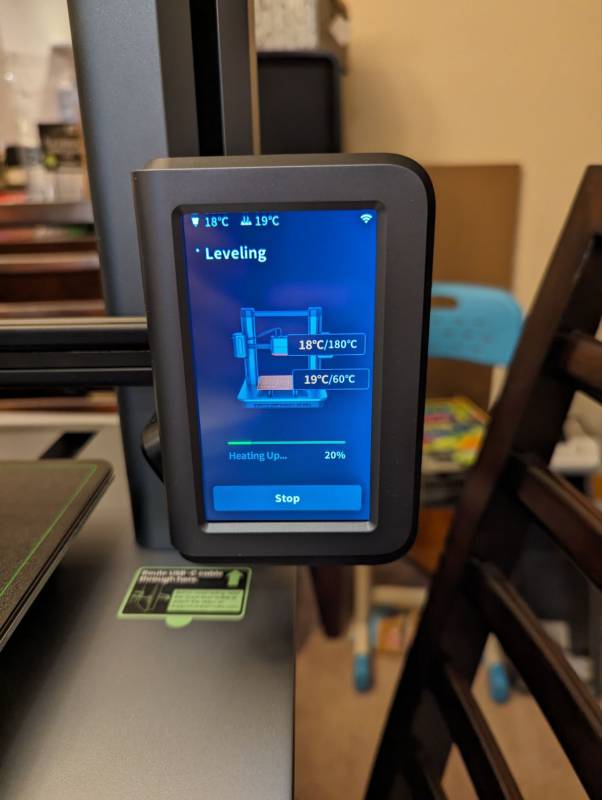
After that, you can check the status and estimated time remaining on the touchscreen LCD to the right or stalk the print via the app and camera. But assuming everything is dialed in, the AnkerMake M5 will just chug along, layer by layer, making your print to your specifications.
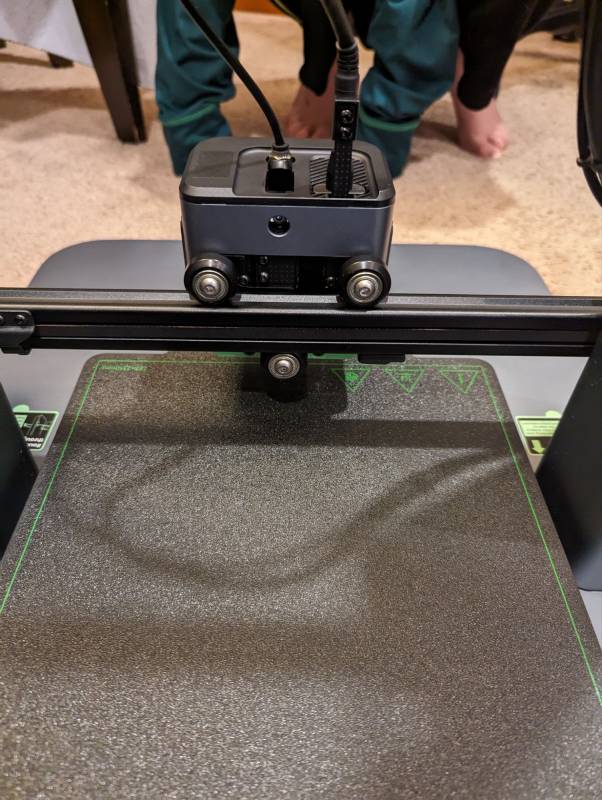
The AnkerMake M5 can hit up 500mm/s of filament to print, and while I haven’t pushed it to that speed, it’s notably faster than my Ender 3, which runs at around 40ish mm/s.
My son loves the extendable sword prints, but they can take forever due to the precision needed. The Anker does them in 2/3 of the time the Ender 3 does, with better results.
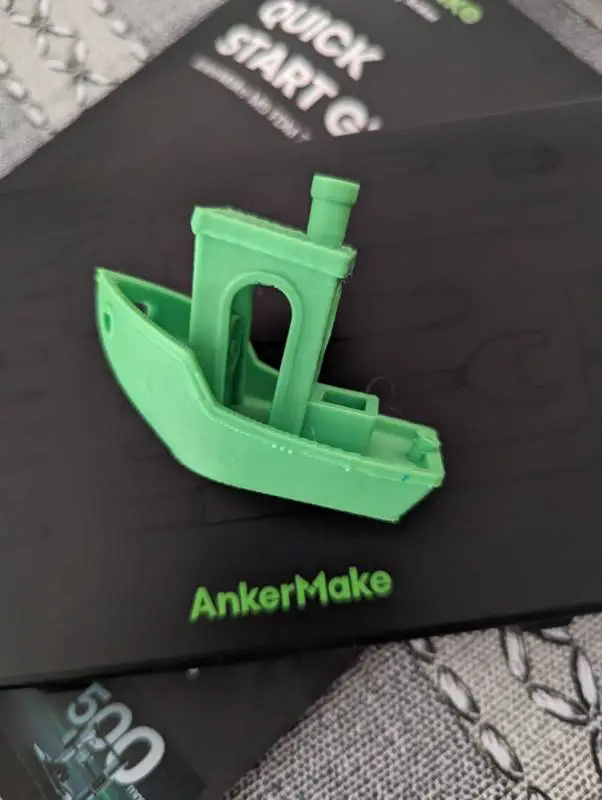
Can’t test a 3D printer without making a benchy!
The same goes for my favorite print, infinity fidget cubes. These are an excellent test of how dialed-in a slicer and printer are with each other because they require the printer to handle printing hinges in place.
If it’s not set up well, the printed item’s hinges will fuse and won’t move, or the interlocking spots will be weak and snap after a few rotations. The AnkerMake M5 had an infinity cube in my hands in half the time the Ender 3 would and with significantly fewer adjustments along the way.
Here’s a clip of the AnkerMake M5 in action, as well as the finished products (both prints I demoed were printed in place, meaning I pulled them off the printer and they were printed already hinged, connected, and moveable.):
Since 3D printers like the AnkerMake work by putting the model together layer by layer, you need to code in supports if a part isn’t going to be touching the build plate.
You can use regular supports where the plastic basically builds up and encases the target area, or you can use what are called organic or tree supports.
These look like they’re almost climbing out of the build plate. They use less filament and are far easier to break off the finished print. I almost always use these, and the one time I used the default supports, I was reminded why I do!
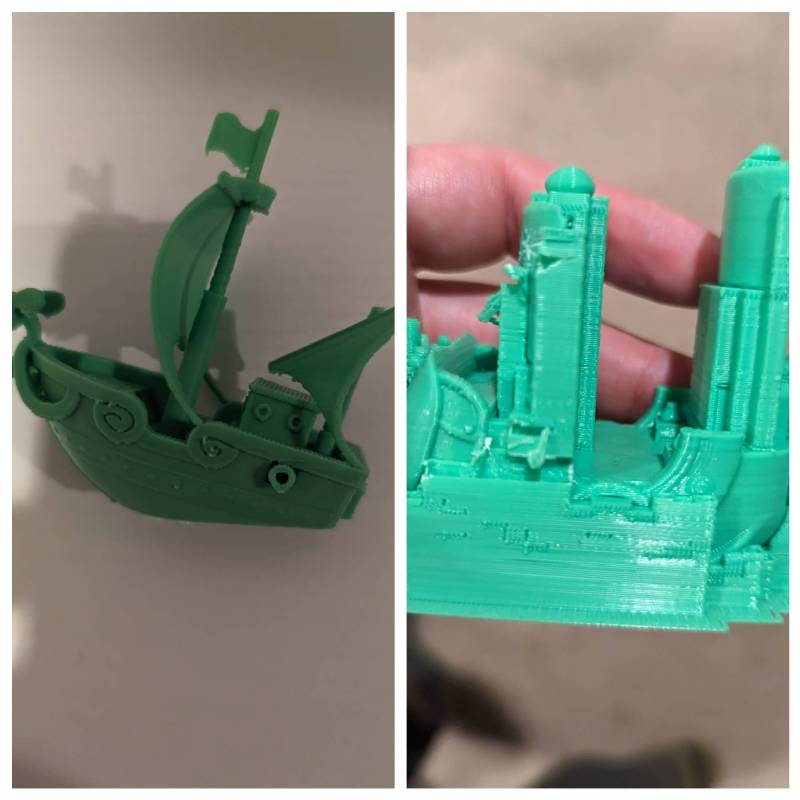
The left was printed with tree supports, and the right was printed with regular ones — we’re never getting that ship out!
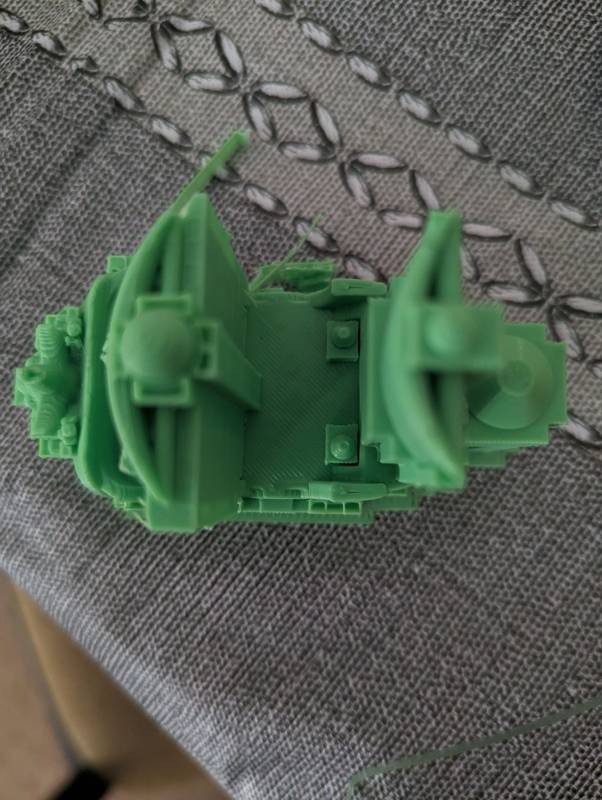
Top view of a ship printed by the AnkerMake M5 using tree supports.
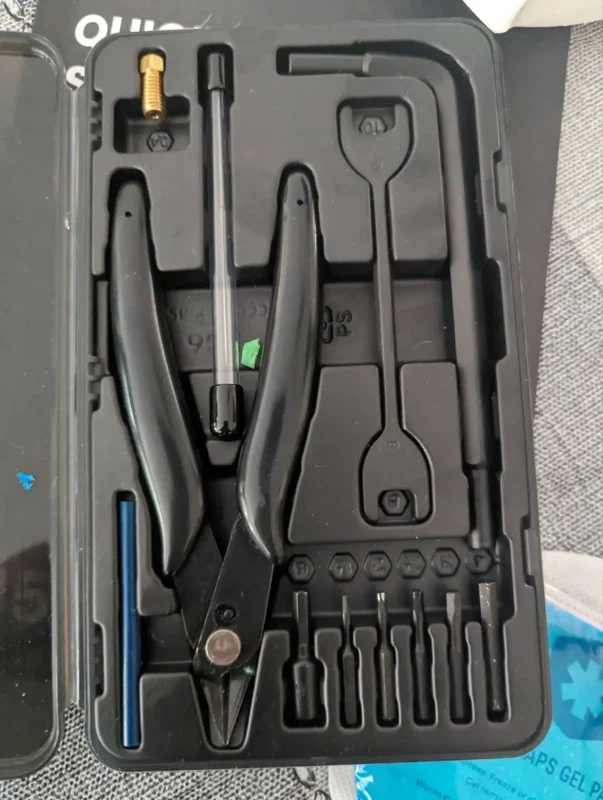
Anker really thought of everything. 3D printing involves a lot of little tools-clippers for the filament, hex wrenches for the screws, extra nozzles, a small wrench for tightening the nozzle when it’s hot, etc.
The AnkerMake M5 comes with a nice plastic tool case with everything organized inside, so you can keep all your maintenance tools in one place. It’s a super minor thing, but it’s so convenient not to have a cup full of loose tools hanging around or spending time guessing if you have the right hex wrench for each screw.
Likewise, the printer’s touchscreen interface is super easy to navigate. You can easily see how to set up extrusion if you’ve loaded in a new filament or need to rewind it for a color change. The touchscreen is responsive, and I like how you can clearly see at a glance if it’s up to temperature for your print or still warming up.
The only thing I haven’t had to do with the AnkerMake M5 so far is major maintenance. The good news is if I do, Anker has a slew of excellent videos explaining how to handle everything from loading filament to swapping out motor belts. You can browse all their support videos here.
In fact, here’s their help video on how to swap the filament nozzle, and it showcases how Anker really designed the entire machine to be user-friendly:
Meanwhile, replacing the nozzle on the Ender 3 requires taking the entire hot end front off, removing the silicon sock that protects the heat block, and grabbing a small wrench to unscrew the nozzle and again to screw in the new one.
The wrench they supply is about 3″ long and made of metal, meaning that if you spend too long trying to get the nozzle screwed in, the laws of thermodynamics get frisky, and your fingers get toasty. Then you have to screw the whole thing back together again.
It’s not that the Ender 3 is harder. It’s that there are more steps. It’s like having to take apart your chandelier every time you change a lightbulb versus just unscrewing and replacing the bulb. Yes, most people can handle taking apart a light fixture, but it’s far easier not to have to do that.
That’s where the AnkerMake M5 shines. Yes, you can play tinkerer to your heart’s content, but if you just want to set up and fire off some prints, you can do that too. It bridges the gap from “this is a cool concept for hobbyists” to “literally anyone who can work a regular paper printer can troubleshoot this 3D one,” and that’s HUGE for the industry.
3D printing is an amazing tool. It can be used for customized fixes around the house, cool and unique cosplay, teaching kids about visual design…the possibilities are legitimately nearly endless. It’s also finally user-friendly and accessible to more people thanks to devices like the AnkerMake M5.
At $699, the AnkerMake M5 3D Printer is not the cheapest, but if it’s in your budget and strikes your interest…you won’t be sorry!
The AnkerMake M5 sells for $699; it is available directly from the manufacturer and other retailers, including Amazon.
Source: Manufacturer provided review sample
What I Like: Easy to set up out of the box; It comes with all the tools you need in one organized package; Anker’s branded slicer software is easy to learn; You can monitor prints from a phone, thanks to the 3D printer’s built-in camera; The AnkerMake M5 takes 3D printing from hobby to mainstream!
What Needs Improvement: It’s pricier than other printers; It takes up a fair bit of counter space; The standard supports are a little aggressive

Be the first to comment on "AnkerMake M5 Review: 3D Printing Made Easy Enough for Almost Anyone to Do it!"