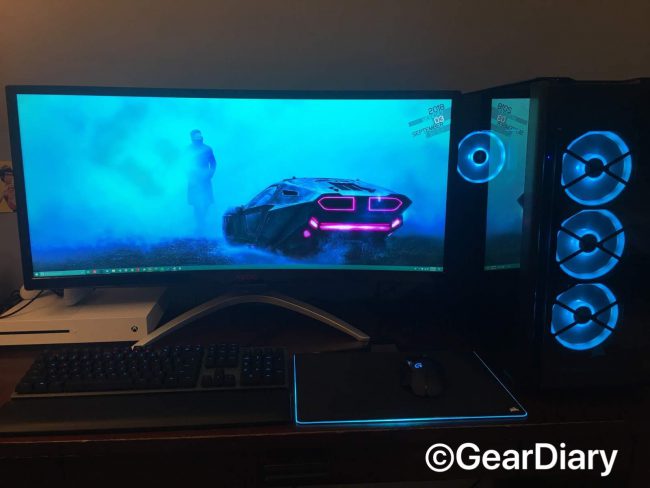
Before classes began this year, I’d decided it was finally time to get a new PC. My current laptop was a behemoth, weighing a little under 5 pounds with hardware a little over 7 years old. I’d been wanting and looking for a new PC off and on for a few years now, but nothing either fit what I needed or was within my price range.
With various back to school sales going on, I figured this would be the ideal time to pull the trigger.
For my rig, I’d decided beforehand that I wanted a system with enough internal room that I could make any additions or part replacements I needed down the line, a luxury my laptop hadn’t afforded me. Knowing I wanted something with ample room, I decided to go with a mid-tower sized case, ultimately picking the Corsair Obsidian 500D SE ($249.99). A bit pricier than some of the other similar sized cases I had been looking at but the aesthetics were something I couldn’t pass up. I did end up spending more on the case that I probably should have, but the result completely justified my decision.
Because I spent more on the case I decided to stick with AMD’s Ryzen series of CPU’s choosing the Ryzen 5 2600 ($165.99). A cheaper option over their equivalent Intel competition’s i5 8600k series, there was marginally different in terms of performance I could find between the two with Ryzen being, on average, around 3% slower than Intel. This worked out in my favor, as Ryzen recently has announced that the Ryzen 2 series CPUs will always be backward compatible. This means that as my hardware ages or if I have a problem with my CPU I can easily upgrade or downgrade without the need to check my motherboards.
Speaking of motherboards, as I am using an AMD CPU, I did need to choose a compatible motherboard. For this build, I decided to go with the ASUS Prime X470-Pro ($105). The X470-Pro is an ATX sized motherboard, supporting the Ryzen 2 AM4 style of CPU and boasting support for the faster DDR4 memory and 3 separate USB 3.0 style outlets. This meant that the motherboard not only fit within my case and met all the compatibility requirements I needed with the bonus of supporting the faster DDR4 memory and multiple USB 3.0 outlets.
Unfortunately, graphics wise I did have to settle for less than the 1080ti I would have liked to nab, as crypto miner’s rapid bulk purchases of the higher end GPUs have either made the GPUs completely sold out for months or risen the prices for them to the point they would have cost nearly as much as my completed PC. I settled instead on the reasonably priced NVIDIA GTX 1060 6GB GPU ($376.32) which would still handle just about anything I could need for the foreseeable future at roughly a third the cost.
Memory, power, Wi-Fi, and cooling were less of a crucial decision, as compatibility is less of a concern nowadays. I chose the Corsair Vengeance Blue LED 16GB DDR4 memory, Crucial MX500 500GB for my boot drive and SSD, the Corsair RM750x for my power supply, an ASUS Wi-Fi PCI Express card for my Wi-Fi connection, as my computer is too far away from my router to feasibly utilize an ethernet cable, and an additional set of Corsair LL 120 series of fans. While the additional fans might have been a bit of overkill in terms of the cooling needed for the case, this was my first custom build, I didn’t want to take any chance with overheating. Something which just might have saved my CPU, which we will discuss later.
Once all my parts had arrived, I set up a static-free workstation using a plastic table, anti-static bags that came with the motherboard and an additional anti-static wristband. I made sure to set up the motherboard outside of the case to test the system and ensure it would boot and post to the monitor before installing everything.
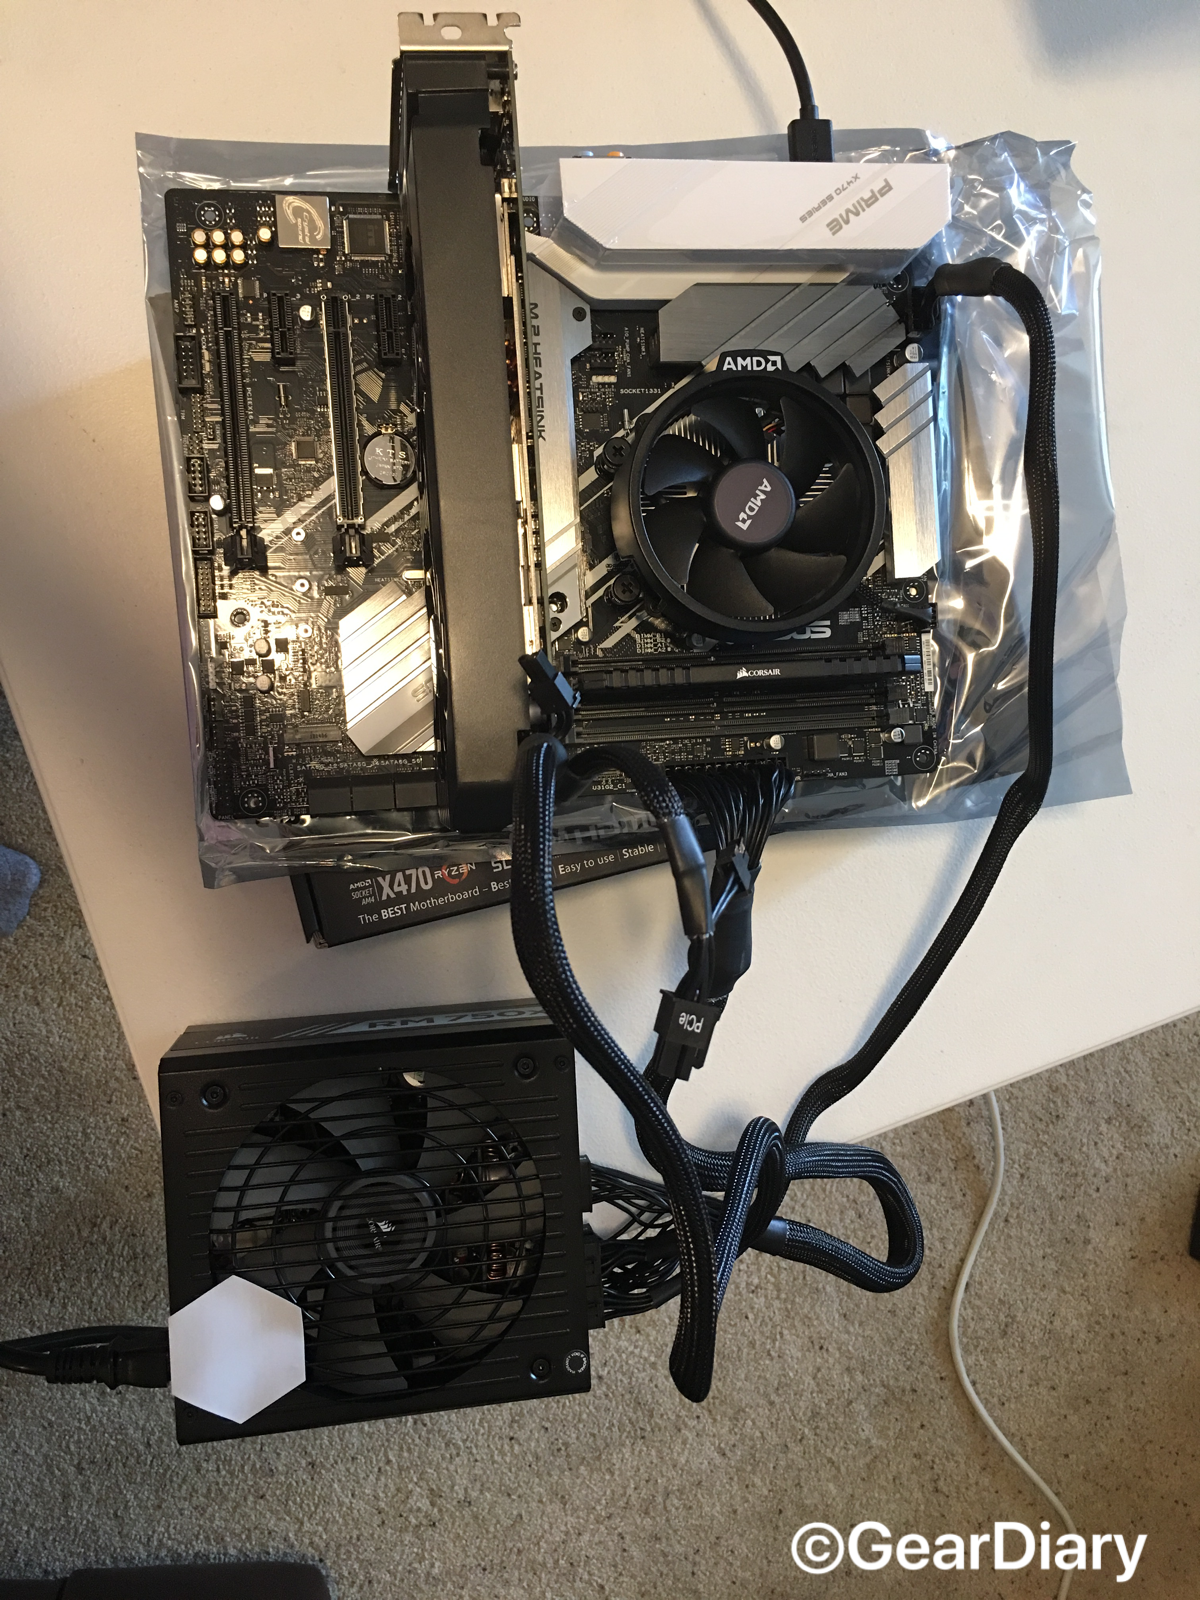
Disheartened after an hour of resetting and trying to get the motherboard to post, it was switching from the HDMI port to DisplayPort on the motherboard that finally solved my problem. Finally working, I unplugged my wiring and began the setup process in my case. I decided to work on the cables and fan system before even setting the motherboard in the case, this turned out to be an extremely wise decision.
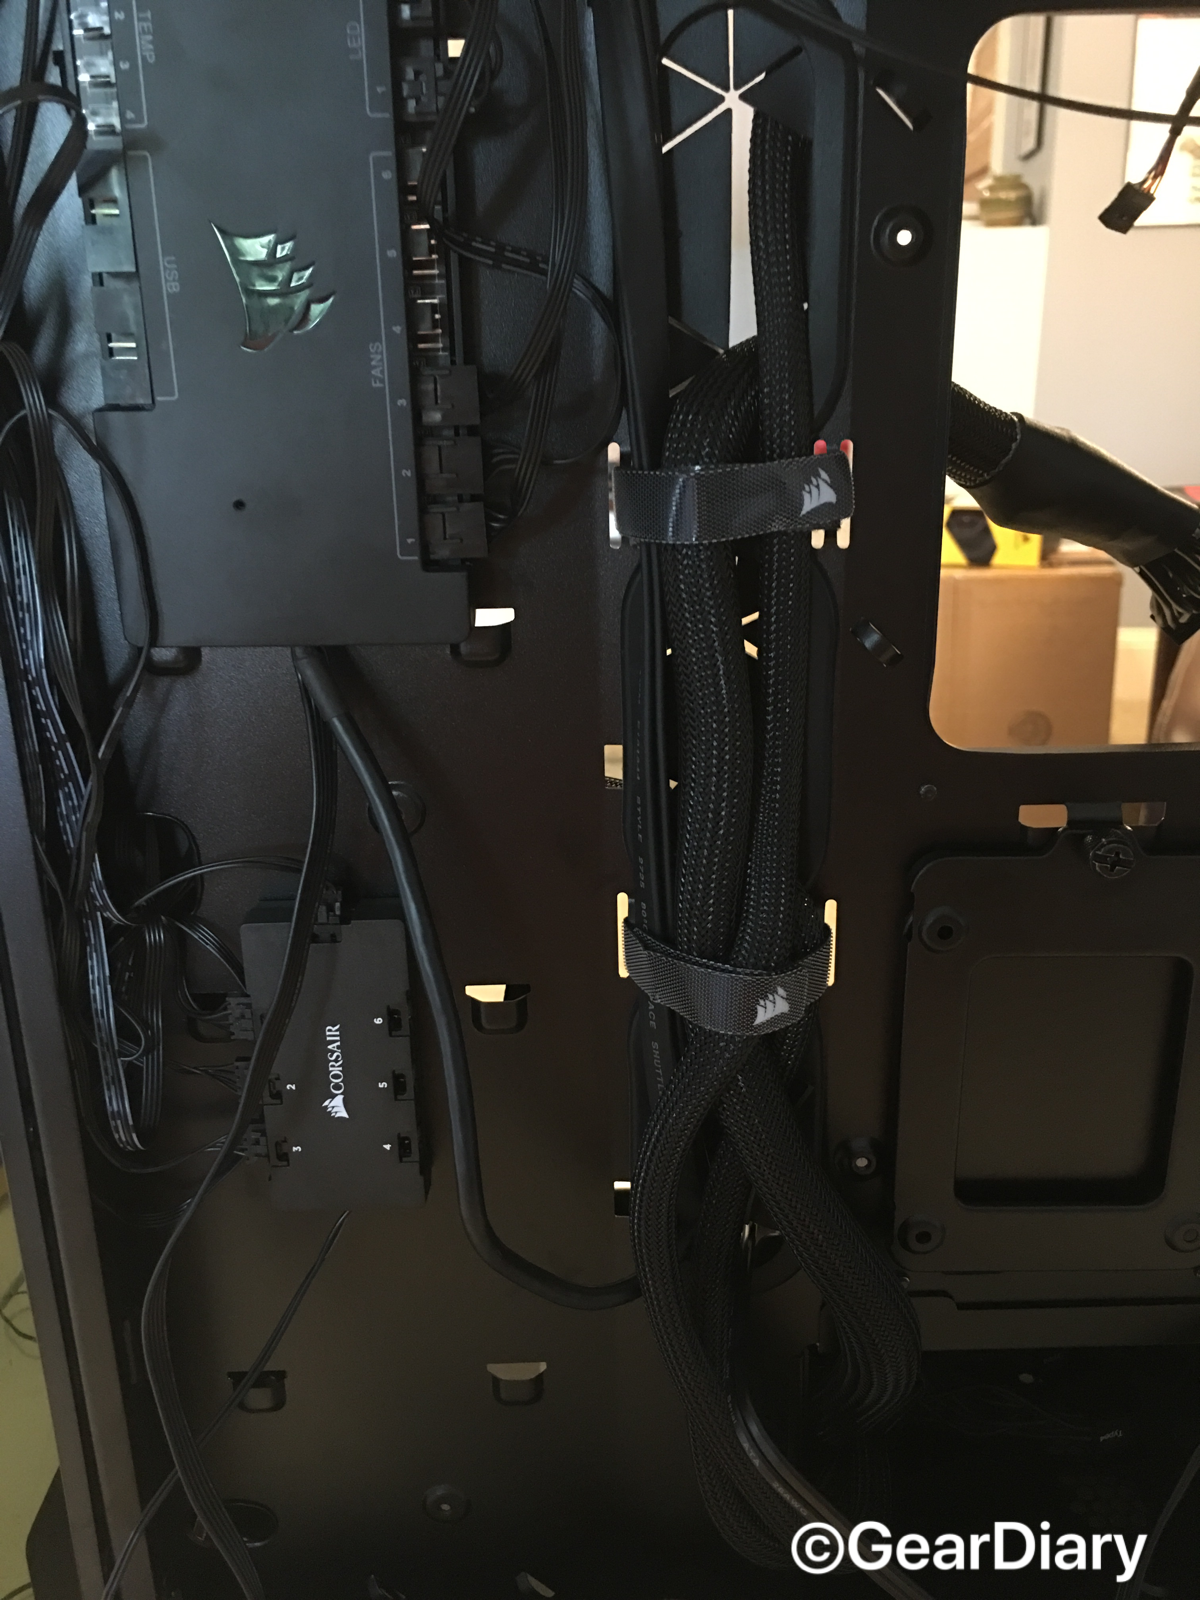
Not only were many of the grommets a pain to work with, but the confined space would have been incredibly difficult to work in with the motherboard installed while working on wiring. It was after I was able to get all the wiring fully installed, the motherboard hooked up, and everything working that the first major problem surfaced my CPU temperature. Following the installation of Windows and driver updates, I began running a test to see how my new computer was performing compared to my old laptop. The glaring issue that arose was the CPU temperatures. Idling at nearly 80 degrees C was not okay. For reference, the normal CPU temperature should be around 27-S35 degrees C while idling or handling a light load such as browsing the internet. Despite CPUs having a built-in shut down once they reach unsafe temperatures, I wasn’t willing to risk running the PC at such temperatures.
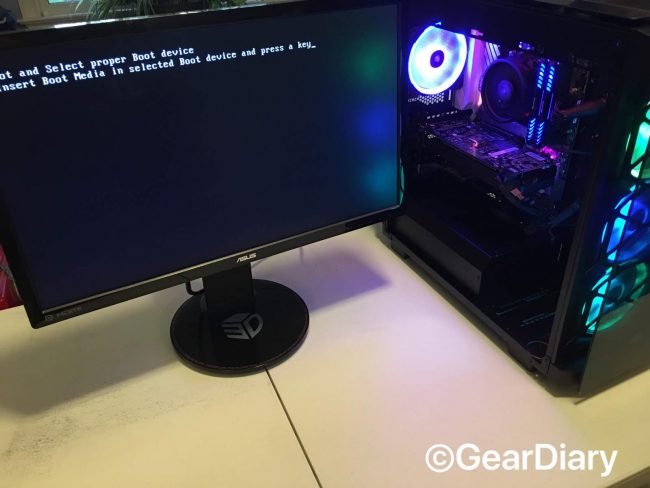
My first thought was that I might not have mounted the included cooler properly. I uninstalled the CPU cooler, removing the thermal paste from both the CPU and cooler, reapplied the thermal paste and reseated the cooler on the CPU. Again, while slightly cooler at around 78 degrees C something was clearly wrong. I’d already reseated the cooler, reapplied the thermal paste and checked the sensors to make sure none were malfunctioning. Clearly, the included CPU cooler was not working properly. It might have been an issue with the radiators or the fan simply being misaligned, but I simply do not have enough experience with either to feel comfortable tearing it down to try to see what the issue might be. By this point I was also on a time crunch; school was now in full session again, and I needed my PC functional. A quick trip to Best Buy, and I returned with the Corsair H100i v2. I would be taking no chances with an overheating CPU this time around and opted for not only a brand I know well but an all-in-one liquid cooler. Not without its drawbacks, liquid cooling does a substantially better job at cooling than air cooling, and I simply was not willing to risk burning out my CPU on my first build. I returned home, uninstalled the air-cooler and top fan bracket, installed the radiator and mounted the new CPU cooler. It worked. My idle temperatures were down to a cool 27 degrees C and peaking at 65
degrees C under stress test.
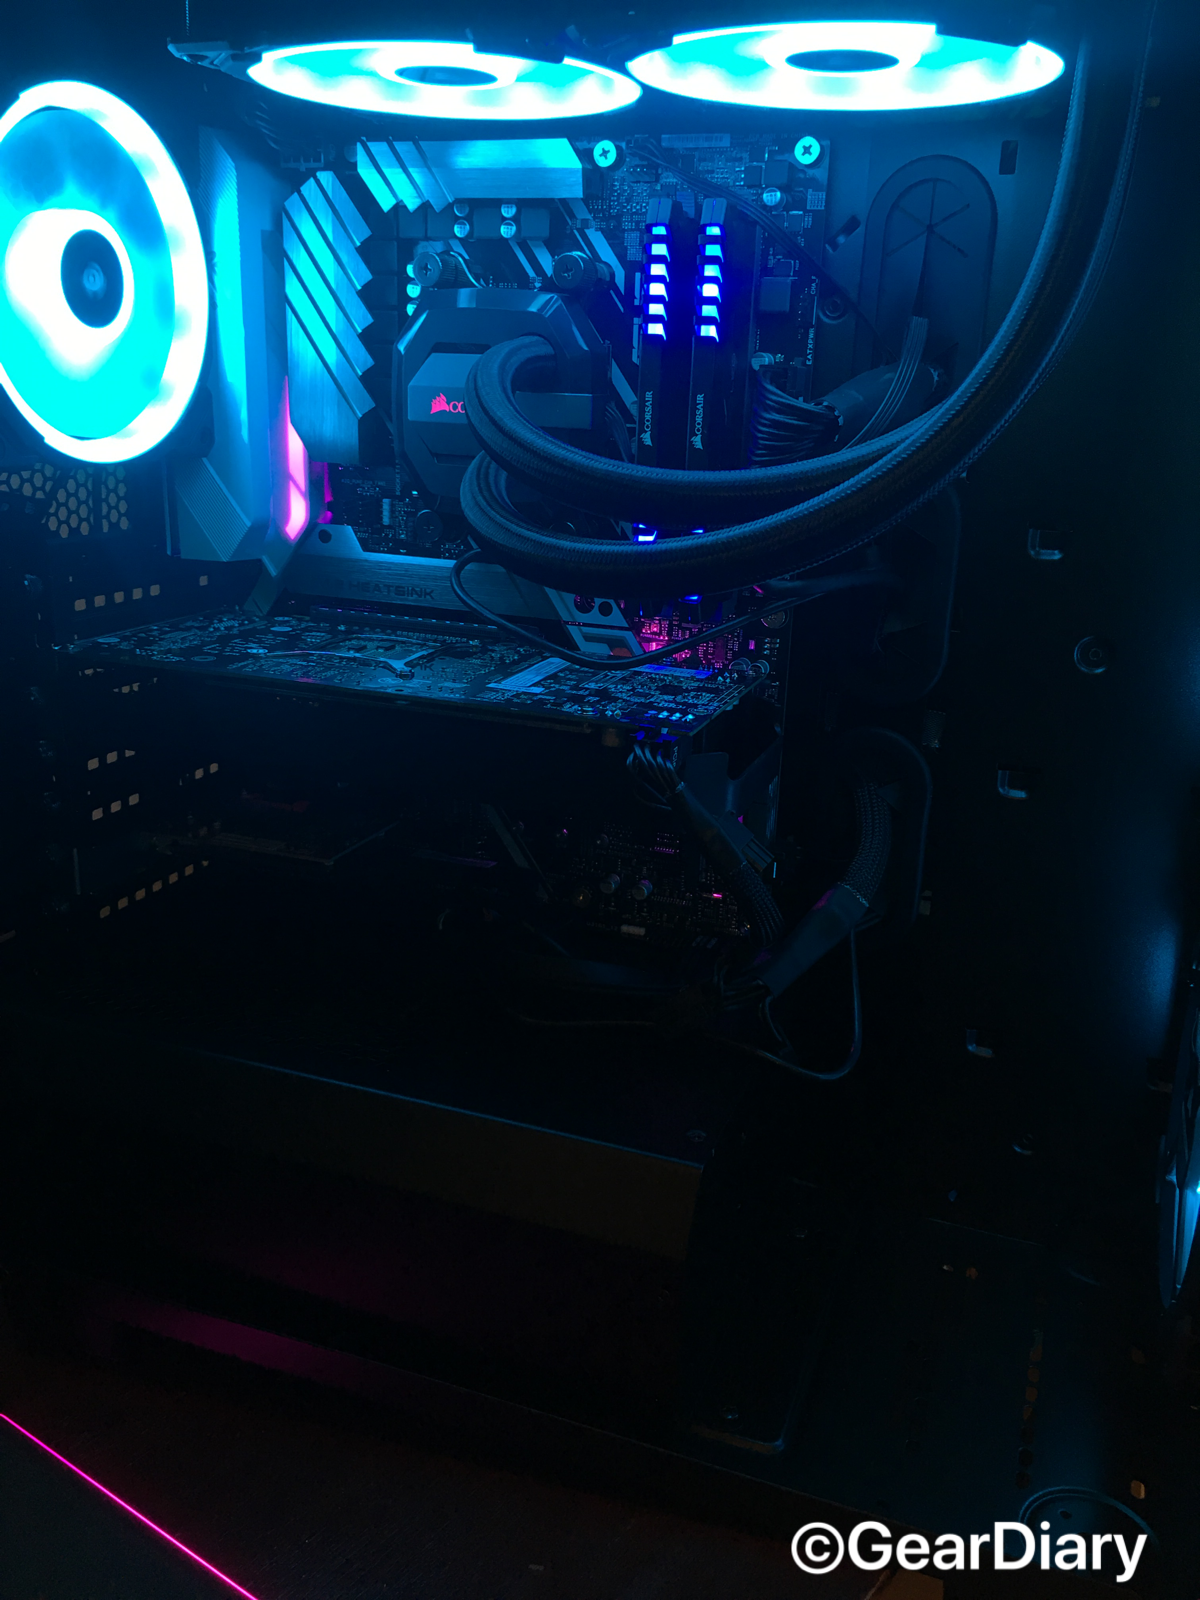
I have been using this new PC for around three weeks now, and it runs wonderfully. I am a sucker for RGB lighting, and the sight of the case all lit up brings a smile to my face every time I boot it up in the morning, plus as everyone knows, RGB makes your system faster. While initially purely serving as an aesthetic, I did find an alternative use for the lighting, as a warning system. Scared by the initial overheating issues I ran into I set up as a precaution, the RGB lighting to change all my peripherals and entire system lighting to red as an alert to any potential overheating in the future, serving as a visual cue for me regardless of what I am doing. Not only powerful enough to handle my day to day and school activities, the system can easily handle much of what I throw at it. Multiple applications of CAD software, editing software and rendering to some degree the system powers through like a champ. All in all, for coming in under the price of a new MacBook Pro, my PC easily handles all of the tasks I need with the possibility of easy future upgrades.

Parts Used and Cost:
Case: Corsair Obsidian Series 500D RGB SE Mid-Tower Case $249.99 Gotten on sale for $205 https://www.corsair.com/us/en/Categories/Products/Cases/Obsidian-Series-500D-RGB-SE-Premium-Mid-Tower-Case/p/CC-9011139-WW
Motherboard: ASUS Prime X470-Pro AMD Ryzen 2 AM4 DDR4 DP HDMI M.2 USB 3.1 ATX Motherboard $164.99 Gotten on sale for $105. https://www.amazon.com/gp/product/B07C57Q1XH/ref=oh_aui_detailpage_o00_s00?ie=UTF8&psc=1
CPU: AMD Ryzen 5 2600 Processor with Wraith Stealth Cooler $165.99 https://www.amazon.com/gp/product/B07B41WS48/ref=oh_aui_detailpage_o00_s03?ie=UTF8&psc=1
GPU: PNY NVIDIA GeForce GTX 1060 6GB $376.32 https://www.amazon.com/gp/product/B0792SPV7Q/ref=oh_aui_detailpage_o00_s02?ie=UTF8&psc=1
RAM: Corsair Vengeance LED 16GB (2x8GB) DDR4 2666MHz C16 Desktop Memory $167.99 Gotten on sale for $142.99
https://www.amazon.com/gp/product/B079HGN5QS/ref=oh_aui_detailpage_o06_s00?ie=UTF8&psc=1
Memory: Crucial MX500GB 3D NAND SATA 2.5 Inch Internal SSD $99.99 Gotten on sale for $89.99 https://www.amazon.com/gp/product/B079HGN5QS/ref=oh_aui_detailpage_o06_s00?ie=UTF8&psc=1
Wi-Fi: ASUS Wi-Fi PCI Express Adapter (PCE-AC56) $59.99 Gotten on sale for $39.99 https://www.amazon.com/gp/product/B00JNA337K/ref=od_aui_detailpages01?ie=UTF8&psc=1
Cooling: Corsair LL Series LL120 RGB 120mm Dual Light Loop RGB LED PWM Fan 3 Pack $109.59 Gotten on sale for $79.99
https://www.amazon.com/gp/product/B075VGN4M1/ref=od_aui_detailpages01?ie=UTF8&psc=1
Corsair Hydro Series H100i v2 Extreme Performance Liquid CPU Cooler $129.99 Gotten on sale for $105.99 https://www.corsair.com/us/en/Categories/Products/Liquid-Cooling/Dual-Radiator-Liquid-Coolers/Hydro-Series%E2%84%A2-H100i-v2-Extreme-Performance-Liquid-CPU-Cooler/p/CW-9060025-WW
Power: Corsair Rmx Series, RM750x, 750 Watt, Fully Modular Power Supply, 80+ Gold Certified $114.99 Gotten on sale for $99.99 https://www.amazon.com/gp/product/B079HGN5QS/ref=oh_aui_detailpage_o06_s00?ie=UTF8&psc=1
Total Cost: $1,411.25
