The Lowdown
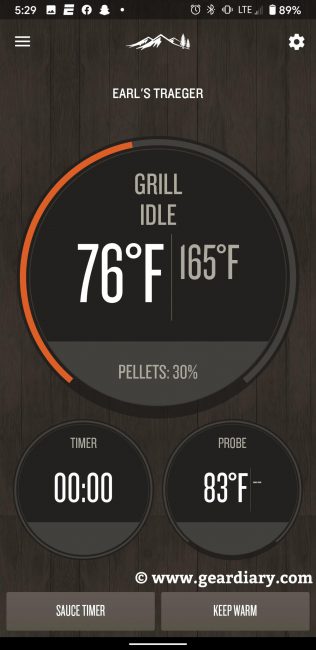
The Traeger Pellet Sensor is super easy to install and adds a great feature to an already amazing grill. The fact that pellet levels can be checked on the app means there is no excuse to have a pellet emergency again, especially on long cooks. I prefer not to open the lid while smoking meat and tend to check the pellets more than I do the food. Now, I can let it sit and do its thing and have peace of mind knowing there won’t be any problems.
Overall
Pros
- Simple installation
- I never have to worry about knowing the level of pellets while away from the grill
Cons
- Absolutely nothing
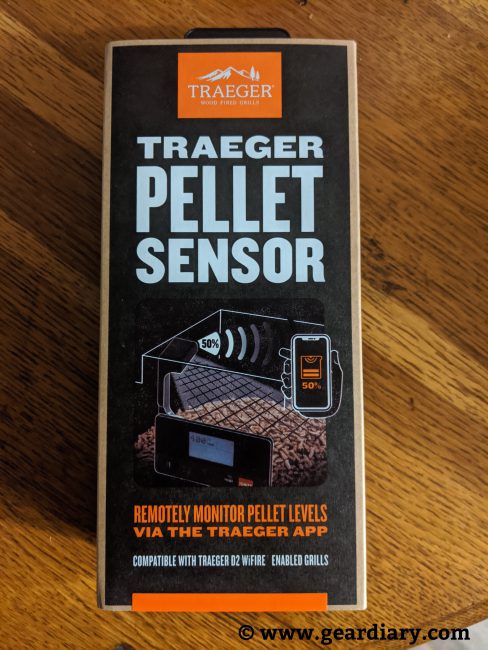
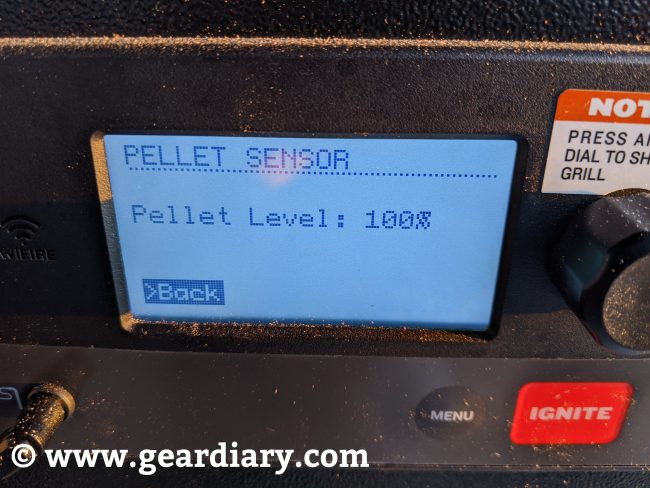
I absolutely love my Traeger 575 Pro. Since we still have grilling weather in South Texas, it has been working overtime. I recently installed the Traeger Pellet Sensor, and I’ll never have to guess on the level of pellets again; it’s just another way to make your smoker more user-friendly and more techie. The Traeger Pellet Sensor integrates with any of the D2 WiFIRE-enabled grills providing readings of pellet levels from the app or the device screen. This means it is compatible with Pro 575 & 780 and Ironwood 650 & 885 grills. The package is simple, the sensor and two screws. I will walk through the installation, which might take longer to read than it will take to physically finish the job.
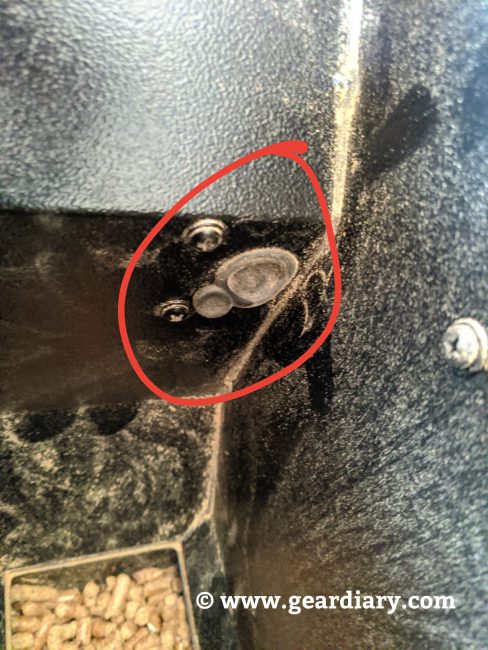
The first step to install the sensor is to remove the protective grate and empty the pellets from your Traeger. Once that is finished on the front wall of the hopper, you will find a rubber stopper and two screws. Remove both.
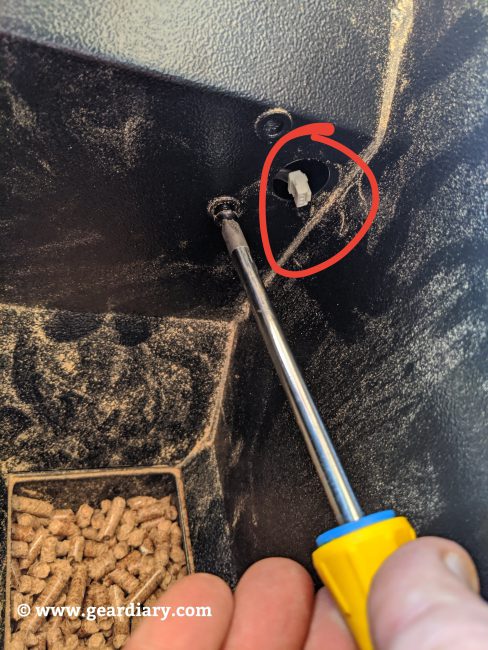
A white connector is hidden behind the rubber stopper, and you next connect it to the sensor. Word of caution, the wire from the pit is quite short so make sure you do not damage it by pulling too hard or let the connector find its way back into the hole. I was able to connect the sensor in one try but could see those being a slight issue if not careful.
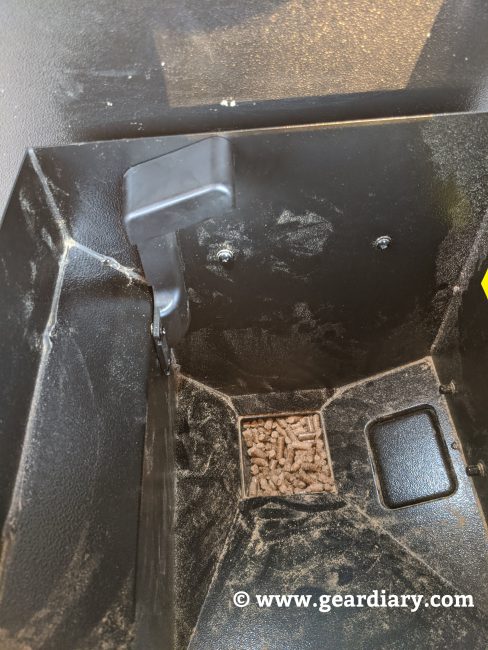
Now that the sensor is connected, simply replace the two screws to mount it. If you lose these screws, there are spares in the packaging. You are now installed. As I said, it will take you less time than it took me to explain. Just follow the instructions in the box.
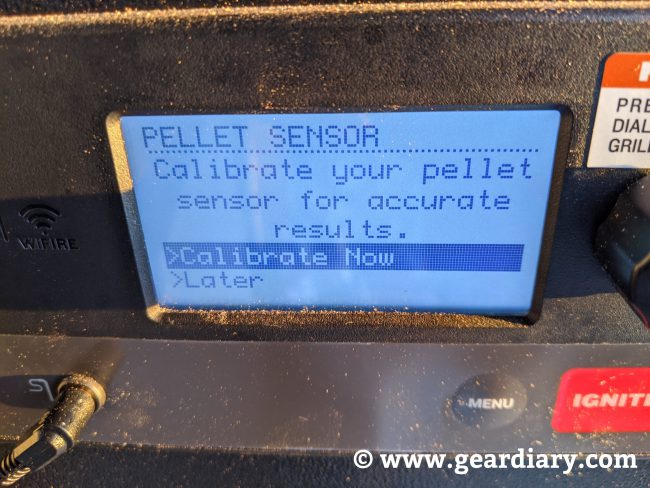
Plug the grill in and go to the menu. Select the Pellet Sensor item and follow the on-screen instructions to calibrate. If the sensor is installed correctly, it will light up the hopper.
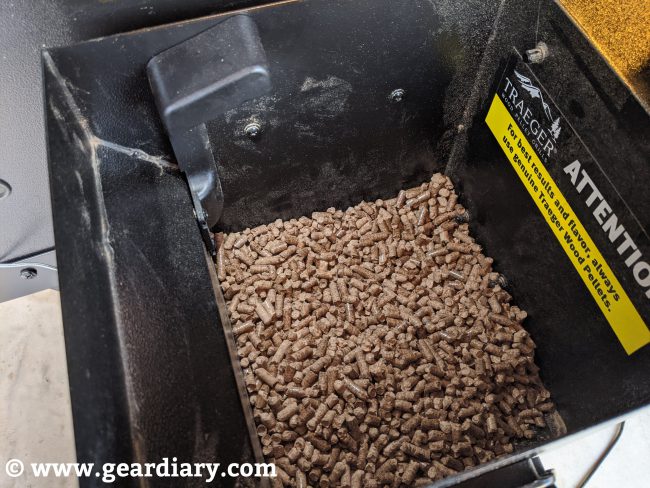
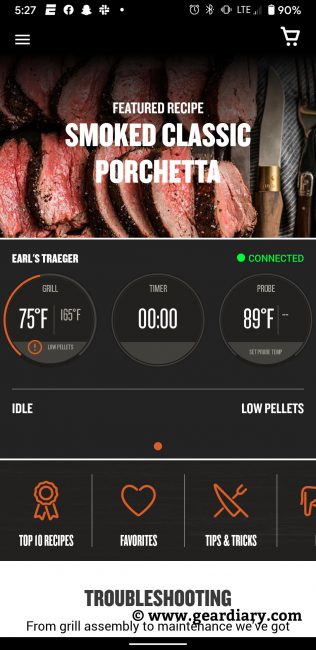
Now fill the pellets and get back to smoking! Here are some shots of the readouts.
The Traeger Pellet Sensor is super easy to install and adds a great feature to an already amazing grill. The fact that pellet levels can be checked on the app means there is no excuse to have a pellet emergency again, especially on long cooks. I prefer not to open the lid while smoking meat and tend to check the pellets more than I do the food. Now, I can let it sit and do its thing and have peace of mind knowing there won’t be any problems. If you have a D2 WiFIRE-enabled grill, do yourself a favor and get the Traeger Pellet Sensor!
The Traeger Pellet Sensor sells for $79.99; it is available directly from the manufacturer.
Source: Manufacturer supplied review sample
What I like: Simple installation; I never have to worry about knowing the level of pellets while away from the grill
What can be improved: Absolutely nothing

