While much of the world is spending a lot more time at home, many people, myself included, have taken up bread baking as a new hobby. Since commercial yeast is hard to come by, many have started using natural yeast to bake sourdough. Read on for my favorite beginner sourdough recipe and a review of Challenger Breadware’s groundbreaking bread pan.
While perfecting your sourdough loaf can be a bit of a rabbit hole; baking a simple, delicious loaf of sourdough can be fairly easy if you follow a good recipe. Jim Lahey, of Sullivan Street Bakery fame, most known for his no-knead bread recipes, has an excellent sourdough recipe that’s totally simple for the beginner sourdough baker to follow.
Once you have your favorite bread recipe/technique down, you’ll need something to bake your bread in. While baking bread directly inside a home oven works OK, you need to perform a bunch of “hacks” to get enough steam necessary to perfectly bake your bread. That’s where the Challenger Bread Pan comes in.
Jim Challenger, the creator of the revolutionary pan, began his baking obsession in 2016 and found that none of the existing baking methods were good enough to bake the perfect loaf in a home oven. The dutch ovens or combo cookers home bakers were using didn’t capture enough steam, or had inconsistent heat, or the handles were awkward, which lead to burns. He was frustrated by the choices available to a home bread baker, so he took matters into his own hands, and with some help from his friends, designed “a cast iron pan specifically designed to produce bakery-quality bread, baked in a home oven.”
More on the amazing Challenger Bread Pan later, we’ve got some dough to mix! What I love about this recipe is that it doesn’t have a ton of complicated instructions or advanced bread-making techniques. Plus, you can have fresh-baked sourdough within 5-6 hours while many more advanced sourdough recipes require a day’s worth of work and the dough to proof in the fridge overnight. Is it the “best” sourdough recipe out there? That’s subjective, but it’s my recommendation for beginners who are new to sourdough or those who have a hankering and want to bake a quick loaf.
Here’s the ingredient list for Jim Lahey’s Fast Sourdough:
Yield: One 9-inch round loaf.
Equipment: A 4½- to a 5½-quart heavy pot with lid (or even better, a Challenger Bread Pan); a large piece of parchment paper.
- 100 grams prepared/active sourdough starter (This will be about 1/2 cup depending on your starter, but I highly recommend a kitchen scale, they’re plentiful on Amazon and don’t cost an arm and a leg)
- 200 grams (about 1 1/4 cups, plus 2 tablespoons) unbleached all-purpose flour
- 100 grams (about 2/3 cup) whole wheat flour
- 6 grams (about 1 teaspoon) fine sea salt
- 230 grams (about 1 cup, plus 1 tablespoon) 65F-70F water
- Wheat bran, for dusting
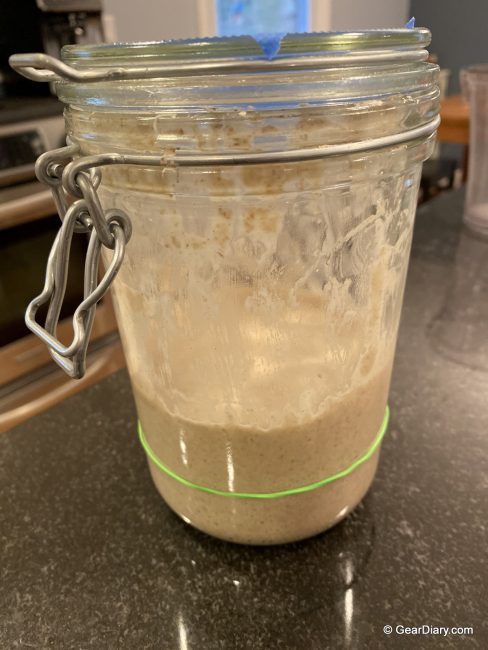
This is my starter. This is where all of my sourdough loaves begin. You can see it’s at least doubled (above the rubber band), which means it’s active and ready to bake with.
First Step:
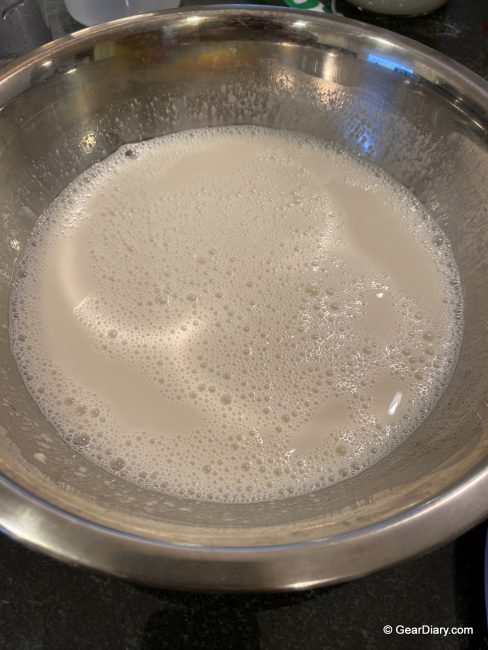
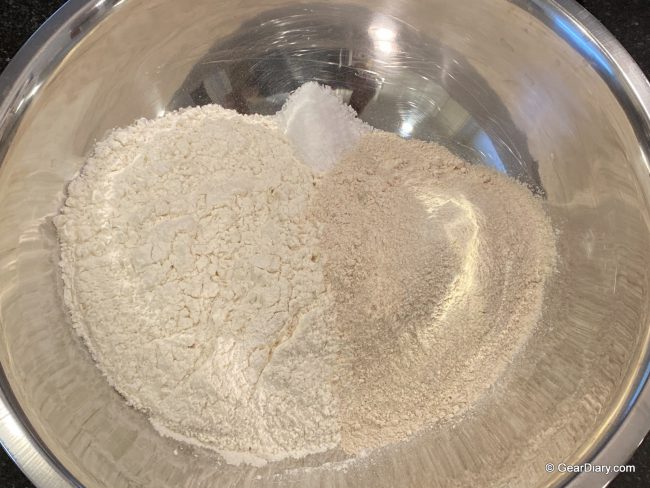
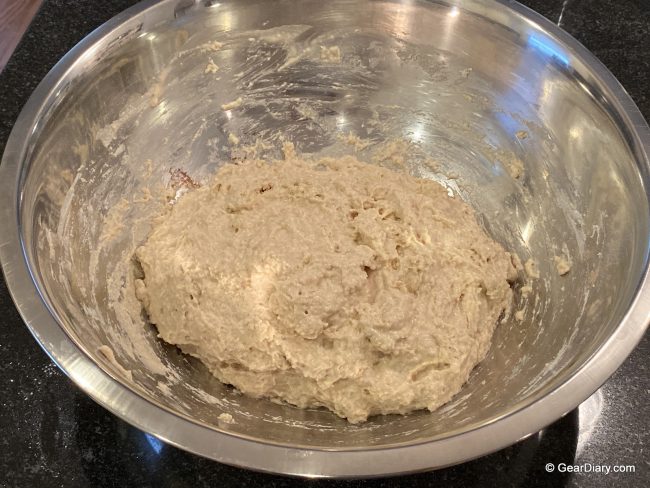
In a large bowl (make sure it’s small enough to fit inside your oven if it has a proofing setting like my Breville Smart Oven Air) combine your flours and salt and whisk to combine. In a small bowl, combine the starter and water and whisk it until the starter is dissolved in the water and the water is milky. Pour the starter/water mixture into the flours and quickly mix using a spatula. No need to go crazy here with mixing. Cover the bowl loosely with a wet towel and let the dough sit at warm room temperature for 30 minutes. I put mine in the Breville Smart Oven Air using the proofing setting at 80º F.
Second Step: (This step is the most complicated the recipe gets, but it’s still super easy!)
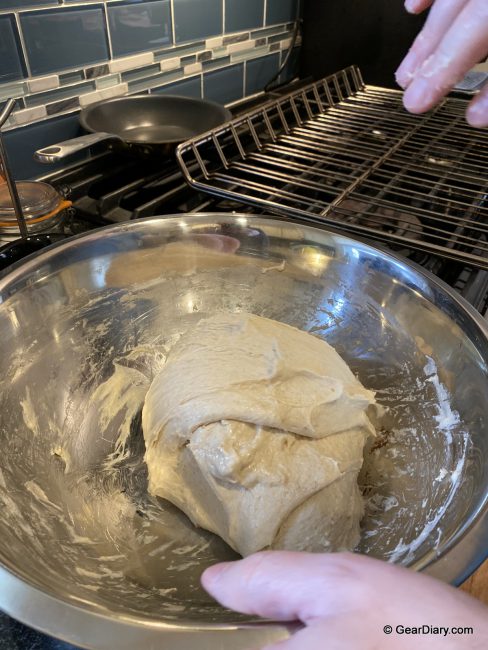
Turn the dough, pulling it off the sides of the bowl and folding into the center as you turn. You want to be sure your hands are wet so the dough doesn’t stick to your hands. Make sure you work the dough as little as possible. This step is also called the Stretch and Fold method, check out the YouTube link below for a quick demonstration.
When you’re done, cover your dough again with a wet towel and let it rest for 30 minutes before doing the stretch and fold method again. You’ll want to do this a total of about 5 total times, taking around 2.5-3 hours. This is how you improve the texture of the bread without kneading. Jim says that you’ll know the dough is ready when it can hold its shape without oozing back to the bottom of the bowl. It should peel off the side of the bowl easily.
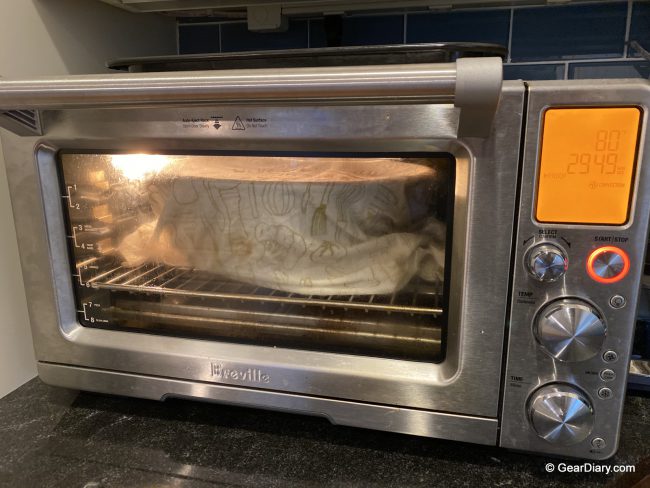
Dough resting in my Breville Smart Oven Air maintaining a warm 80-degree environment, perfect for bread proofing.
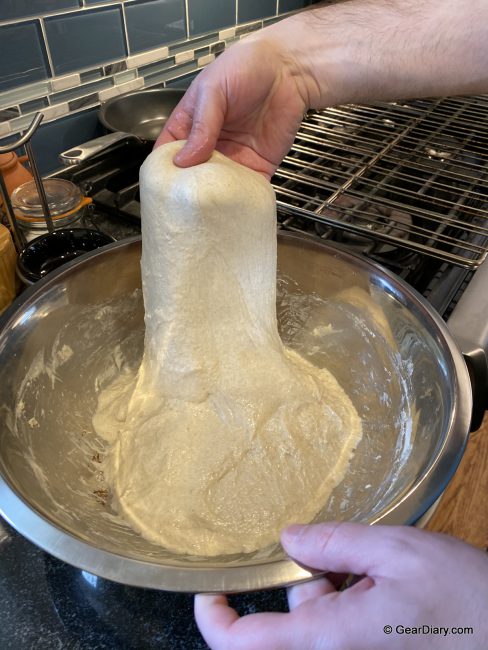
Doing the stretch and fold. You’ll notice the dough get more elastic over the course of this step, stretching/folding/resting.
Third step:
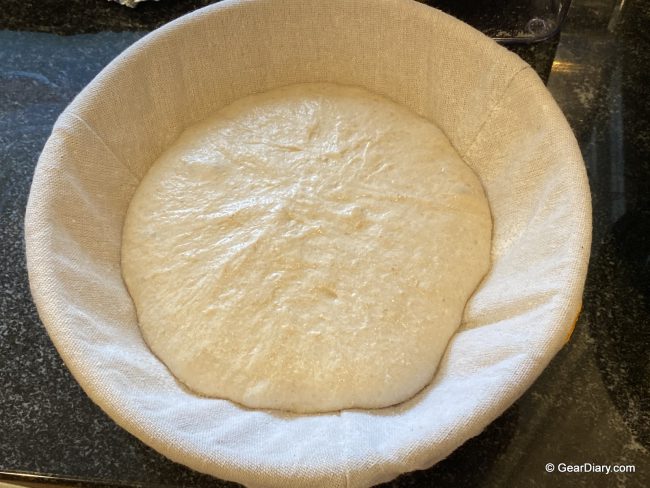
Place a piece of parchment paper on a sheet pan (or prepare a banneton or proofing basket if you have one handy) and dust the parchment generously with wheat bran. Lightly dust your countertop with flour, transfer the dough to said countertop, and form it loosely into a ball by gently folding the top, bottom, and sides on top of the middle, making a taut ball. You do not want the dough to tear here. Place the dough seam side down on your prepared parchment paper (or seam side up in your prepared banneton if you prefer) and cover loosely with a towel and let it proof for another 2 hours or so, until it’s doubled in size.
Here’s a great video illustrating how to shape a simple boule (round loaf):
Fourth step:
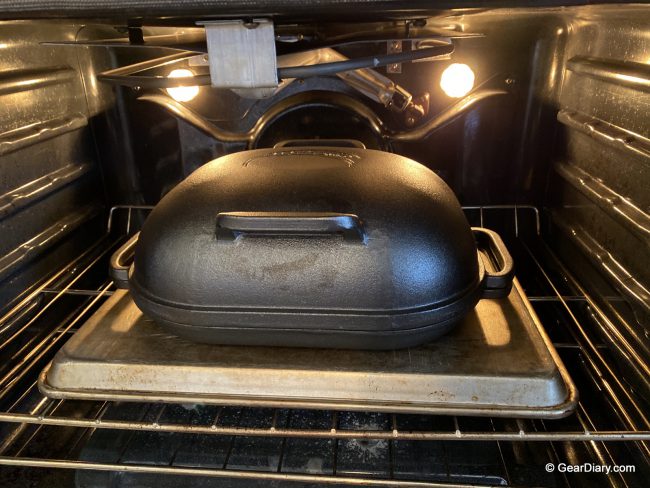
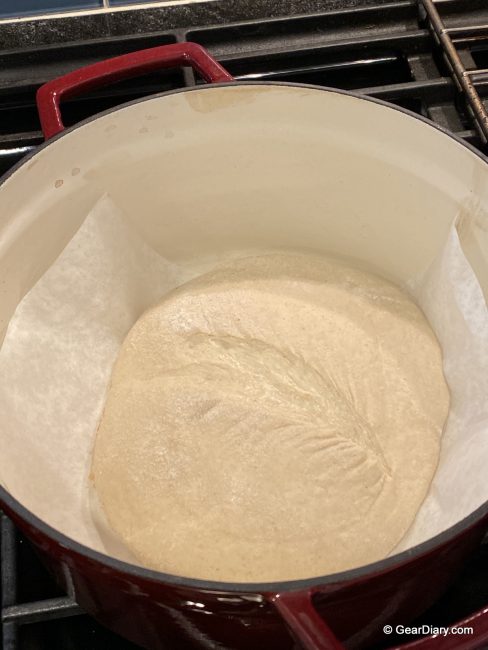
About an hour before your dough is finished proofing, preheat your oven to 500ºF and preheat a cast-iron pot with its lid. This can be anything from a Le Creuset dutch oven to a Lodge combo cooker, to the Challenger Bread Pan that I’m reviewing here. Just be careful when selecting a pot, as some handles are not made for high, prolonged heat. When your dough is ready, and you’ve been preheating the oven & Bread Pan/dutch oven for about an hour, take the pot out of the oven and carefully remove the lid. Transfer your dough into the pot and use a serrated knife (or bread lame) to score the loaf with a single long slash. The slash or score gives the loaf a place to vent the air inside as it heats up while allowing the loaf to expand in the oven. Cover the pot quickly, and place it in the oven.
Fifth and final step:
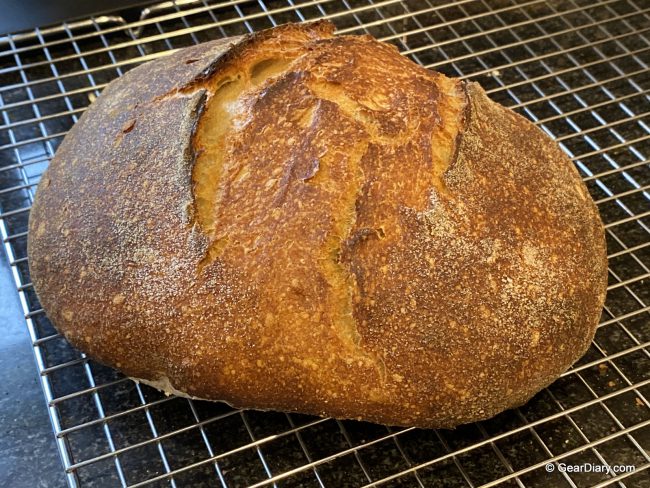
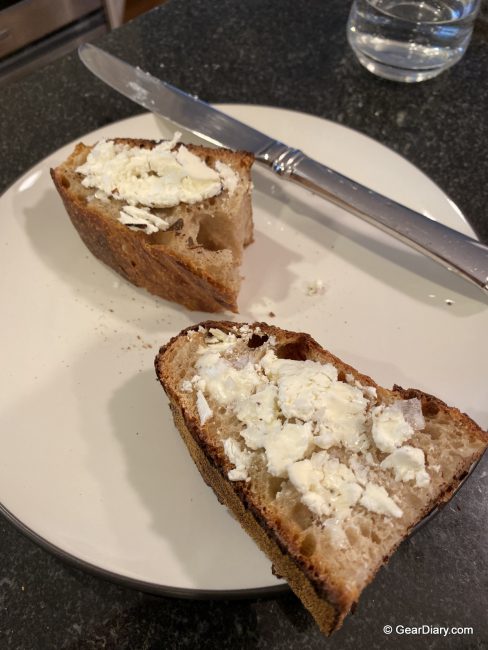
Bake the bread for 35-40 minutes with the lid on, then carefully remove the lid and bake for another 10-15 minutes with the lid off until the crust becomes very dark brown. Remember, color = flavor. When it reaches your favorite dark brown color, remove the pot from the oven and remove the loaf from the pot. Let the loaf cool on a cooling rack. Be sure not to cut into it for at least an hour, as the bread is finishing its bake on the inside while cooling down. When it’s cool, slice that bad boy up and share it with friends and family. Congrats, you made a delicious sourdough!
Sourdough doesn’t have to be complicated. As you’ve seen, it’s made with three all-natural ingredients, flour, water, and salt. While experienced bakers may be posting gorgeous amber loaves on Instagram with beautiful patterns or complicated scoring, sourdough doesn’t need to be fancy to be delicious, and it’ll feed your family and friends all the same. With that in mind, the right tools can elevate any ingredients, recipe, or technique, and that’s what the Challenger Bread Pan does.
I’ve baked a number of loaves in my Challenger Bread Pan, and I can say without a doubt that it’s the best bread baking vessel on the market today for the home baker. It’s not cheap, but quality design, materials, and craftsmanship costs money. It’s heirloom quality, and it’s built to last generations. It may not be for everyone, and your dutch oven may be doing the job just fine, but for someone who wants to elevate a simple recipe or for the baker looking to take the next step to make bakery-quality bread, the Challenger Bread Pan is the way to go.
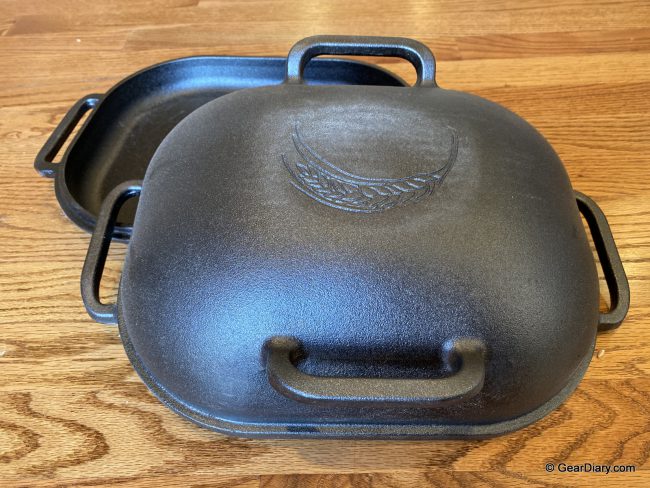
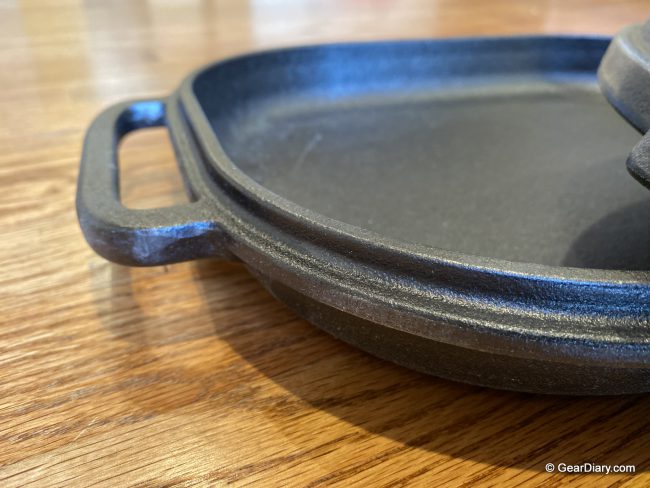
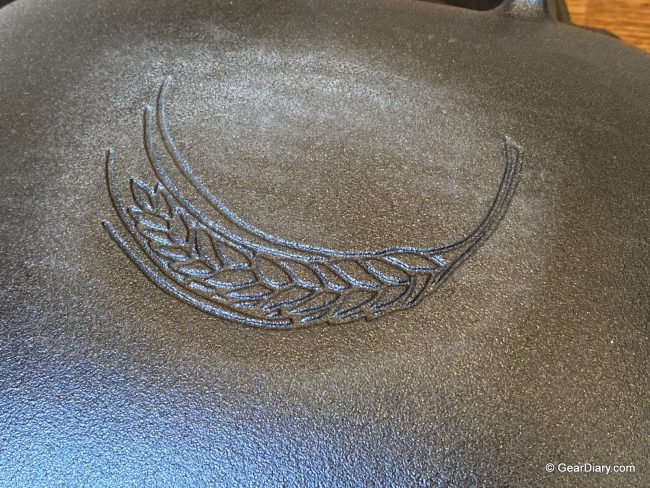
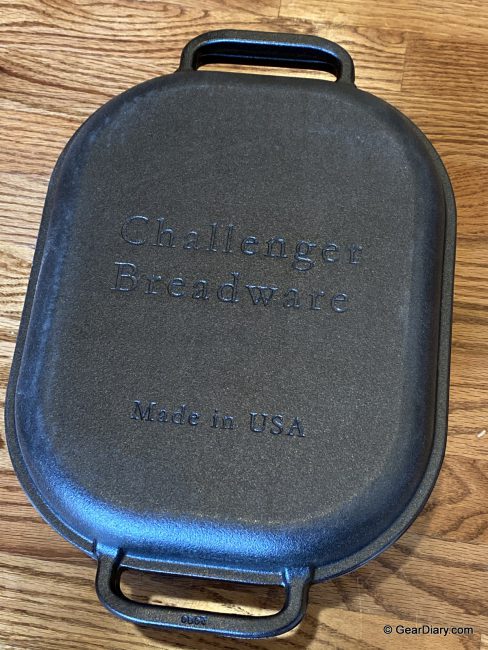
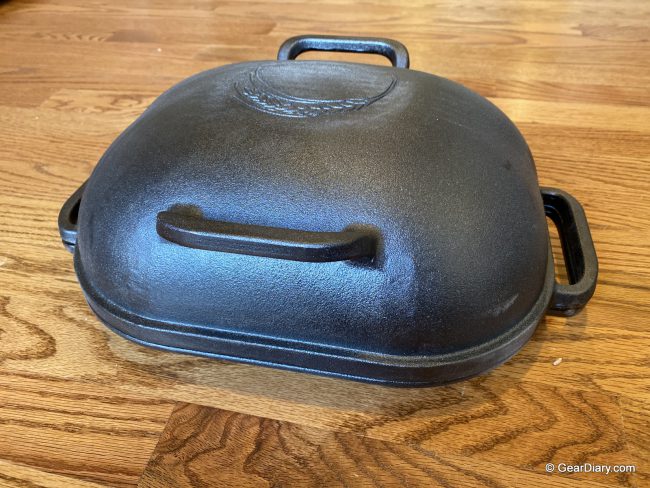
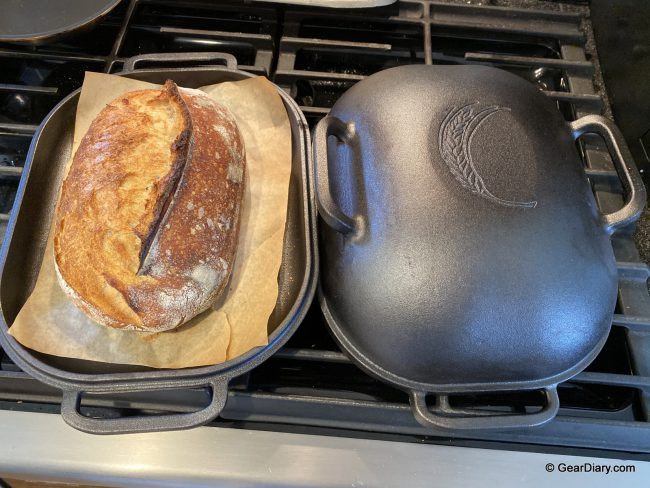
The thick, black cast iron absorbs, retains, and radiates heat like nothing I’ve used in the past. The shape of the bread pan is perfectly designed in the shape of a loaf of bread, which helps bring radiant heat as close as possible to the bread inside the pan, helping the dough’s oven spring. The handles are large enough to use with oven mitts (and you’ll definitely need oven mitts) and they’re perfectly placed allowing you to easily reach in and remove the top during the bake. The shallow base makes it easy to load your dough into the pan without needing to use parchment paper as a sling or fumbling around with the dough and accidentally burning yourself or dropping it, which could lead to degassing.
The Challenger Bread Pan retains steam better than any dutch oven on the market thanks to the tight seal between the cover and the base. Steam is what helps the bread get that crackling crust with rich colors, open scores, and allows your dough to reach its maximum volume. Without steam, bread just isn’t as good. The rectangular shape of the pan allows for many different shapes and sizes of loaves as well. Round dutch ovens only allow you to bake round boules, but the Challenger Bread Pan can bake round boules as well as oval batards, demi-baguettes, and loaves of many different sizes.
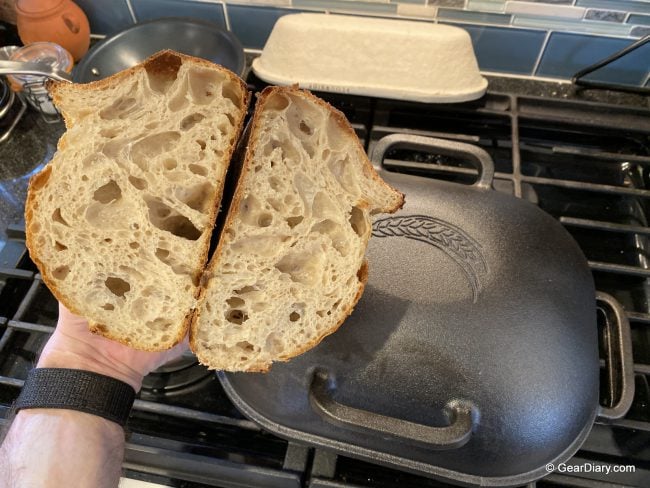
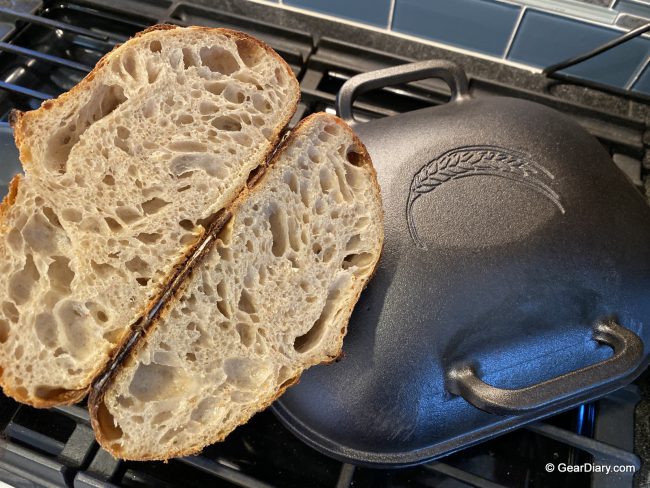
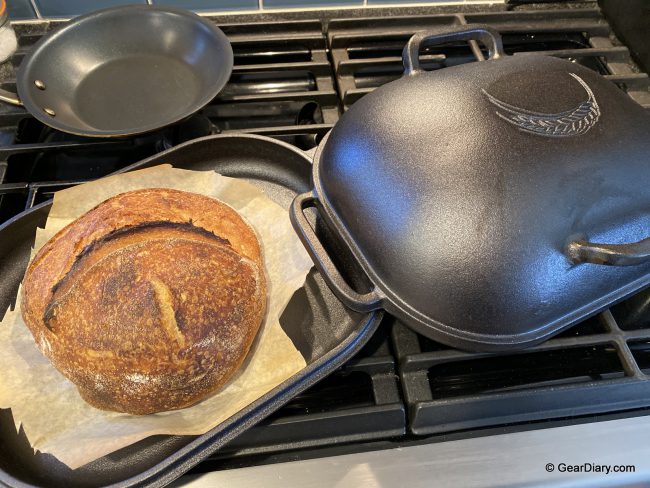
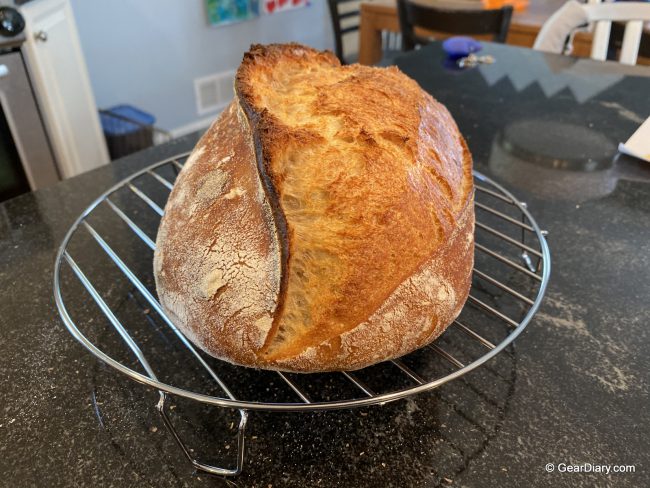
This is a loaf I baked in the Challenger Bread Pan using a more advanced sourdough recipe, but everyone needs to start somewhere!
I’ve been extremely impressed with the Challenger Bread Pan and am happy to report that it’s lived up to the hype created by the online baking community. Jim Challenger, my hat goes off to you. If you’re a baker looking for the absolute best way to bake your bread, look no further than the Challenger Bread Pan.
The Challenger Bread Pan retails for $295, and it is available directly from the manufacturer.
Source: Manufacturer supplied review sample
What I Like: Well designed with every detail thoughtfully considered; Traps steam incredibly well; Made to last a lifetime; Shallow base; Bakes a gorgeous, crusty loaf of bread
What Needs Improvement: Absolutely nothing. The price may scare some off, but it’s worth every penny

