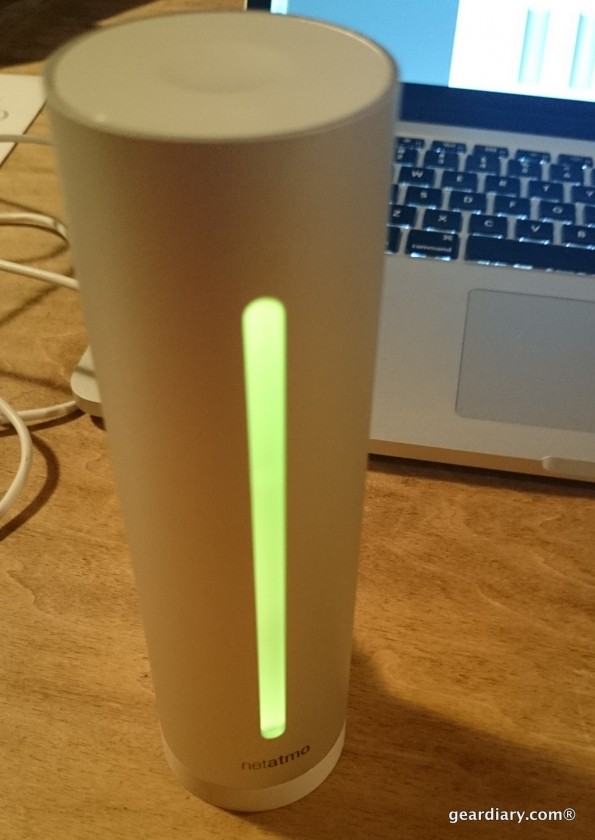
While I generally do a really good job of keeping up with the weather conditions outside of my home, I can’t say that I have ever considered what the conditions inside my home might be like, beyond whether it was cool or hot enough for comfort, of course. That’s all changed since I’ve been testing the Netatmo Weather Station.
The Netatmo system has an outside monitor that measures the usual weather station items such as temperature, humidity, and barometric pressure, and it also measures air quality. Like many weather stations, it also has an indoor component which measures temperature, and humidity, but with the added bonus of keeping track of air quality, CO2, and sound levels. The fact that it is a sleek system that looks good almost anywhere doesn’t hurt it, but there is one defining feature that sets it apart from any other I’ve seen: it also sends this information to your iOS, Windows Phone, or Android device.
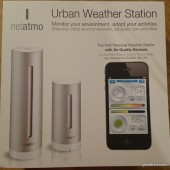
The packaging for the Netatmo Weather Station is very simple, dare I say Apple-esque.
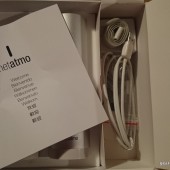
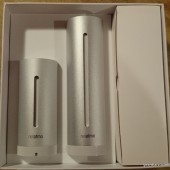
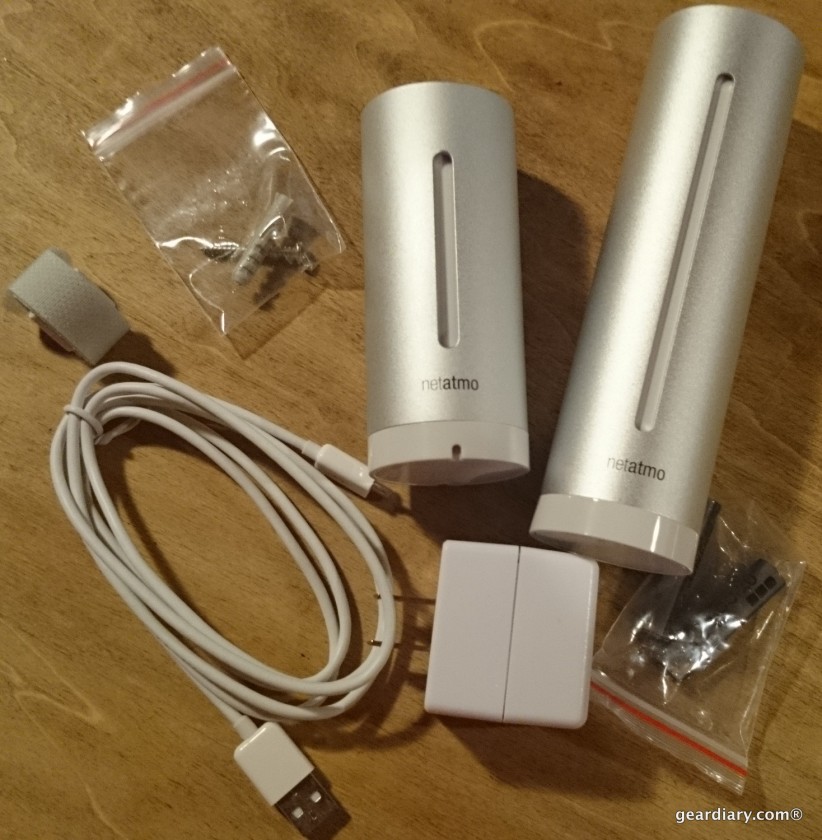
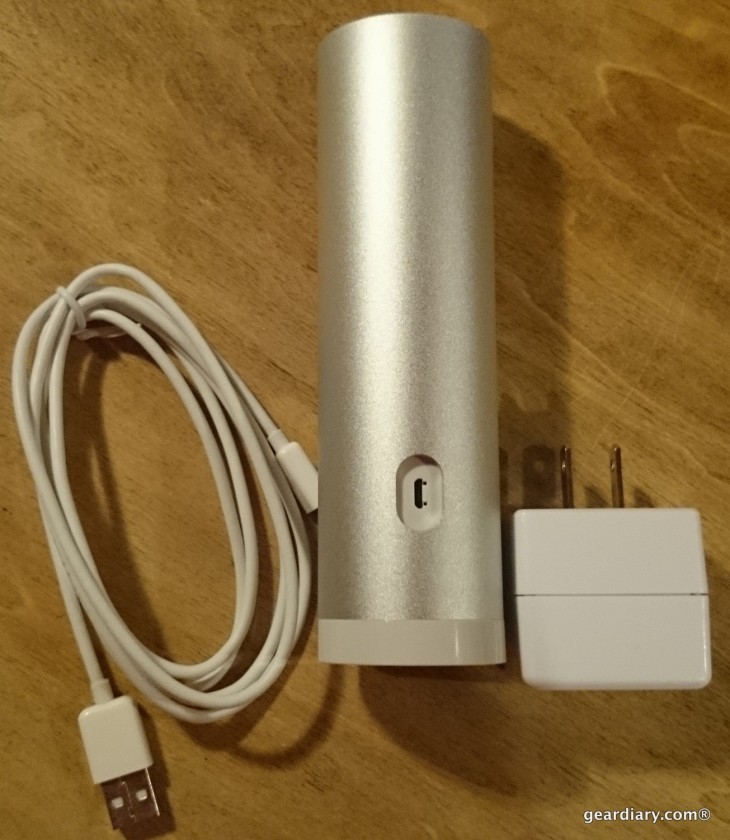
In the box you’ll find one indoor module, one outdoor module, a USB to microUSB wall charger, a set of mounting screws, and a velcro mounting strap. The outdoor monitor uses batteries, and they are included.
It’s pretty obvious once you look at the solid aluminum case with white plastic embellishments that Netatmo has a crush on Apple style, and why shouldn’t they? Apple products work well, and they look good just about anywhere … so should the Netatmo.
Getting set up is far easier with the Netatmo system than it was with the Oregon Scientific weather station that I recently reviewed. The Netatmo is described on the box as an “Urban Weather Station”, and as such there are no poles that need to be dug into the ground, and no other major installations or calibrations. Getting set up is a process that goes like this …
Plug the microUSB cable into the back of the indoor module.
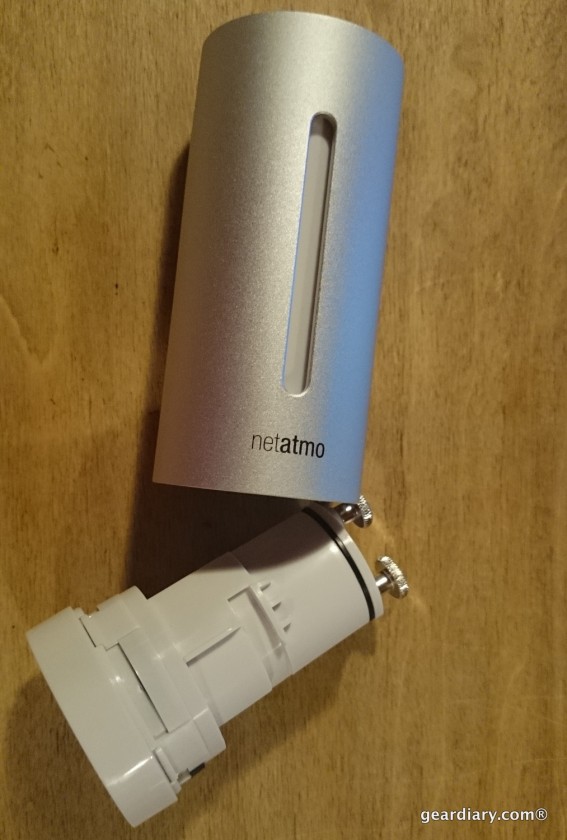
Unscrew the bottom of the outdoor module; install the included batteries by unscrewing the battery compartment and slipping them in.
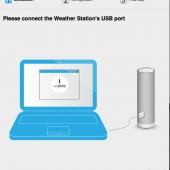
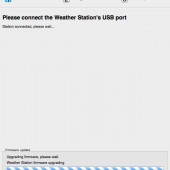
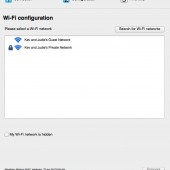
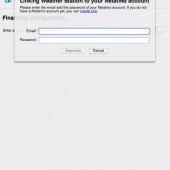
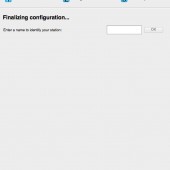
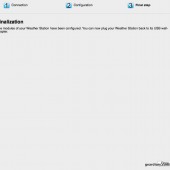
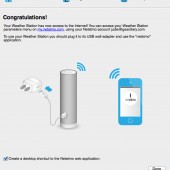
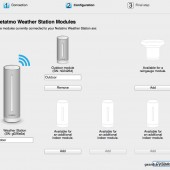
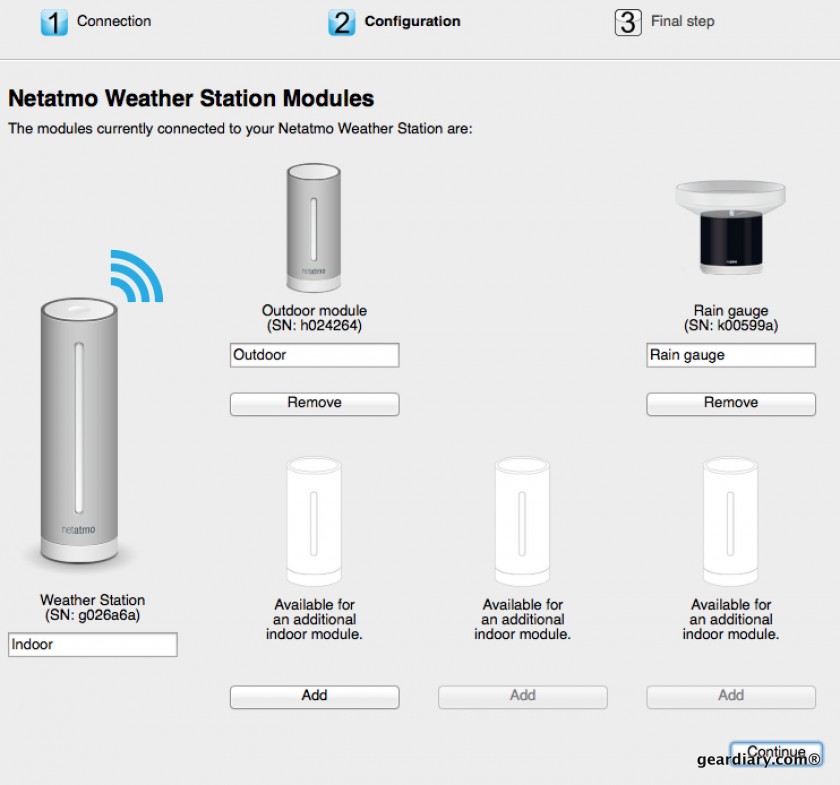
Go to http://station.netatmo.com and follow the instructions. (click the first circle to start a slide show.)
- Create an account
- Download software for your desktop operating system
- Connect the station to your computer
- Connect …
- Enter your account login information to connect the gauge to your Netatmo account
- Give this station a name
- Plug the station into the wall
- Done … but wait!
- You still need to connect to the outdoor module. NOW you’re done!
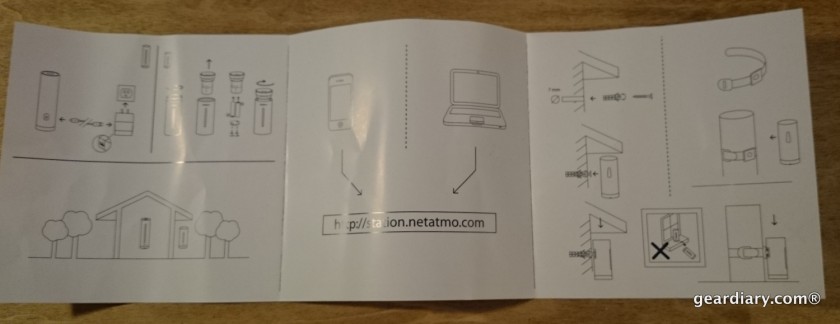
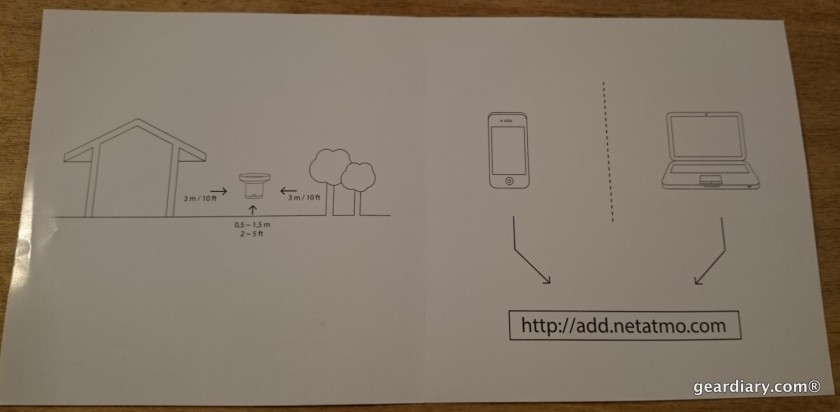
Once you’ve got the outdoor module connected to the indoor module, there really isn’t a lot of information about where you should install it included with the kit. The install leaflet shows it under an eve, but also shows that placing it on a windowsill is probably not a stable or safe option.
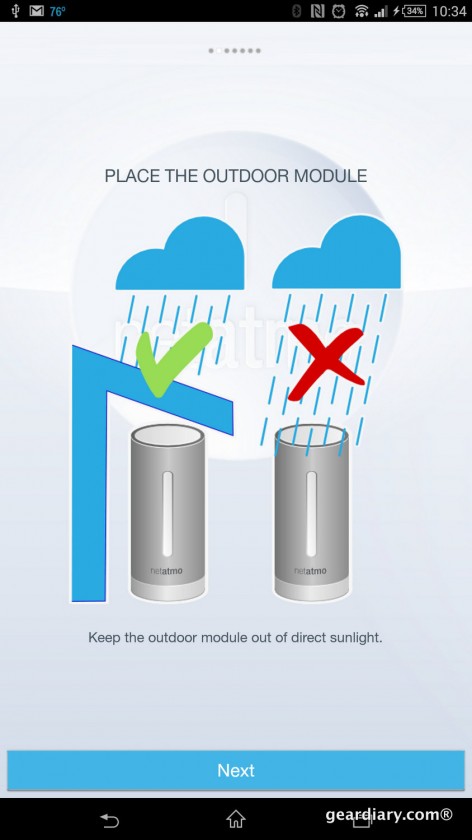
It turns out that the Netatmo app gives a little bit more information about that.
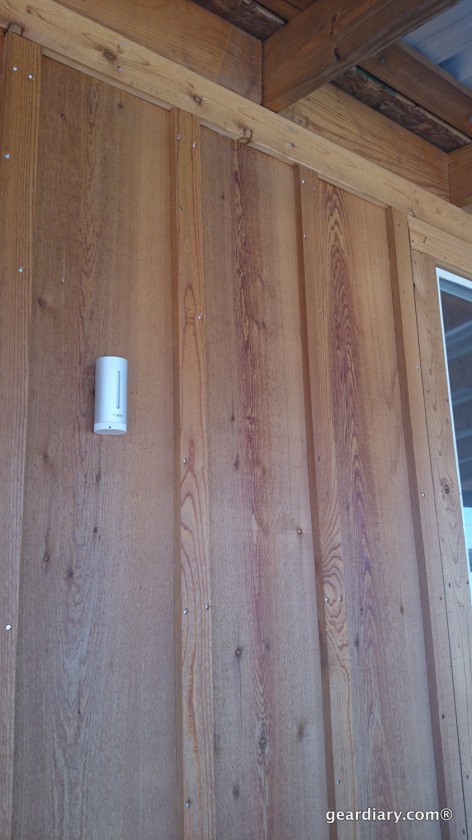
So with that in mind, I drove the nail into a covered area on our front porch. The outdoor module is small enough that it doesn’t look obnoxious or out of place, my guess is that most people won’t even pay attention to it. You can also use the included strap to secure it to a pole or deck railing — whatever works for you — as long as the module isn’t going to get pounded by rain or sun, I suppose.
With the setup exactly like this, you are ready to monitor indoor and outdoor conditions through either the app or on your computer. I decided to spend the extra $79 to get a rain gauge, because in Texas that’s the first thing you get asked when discussing the weather.
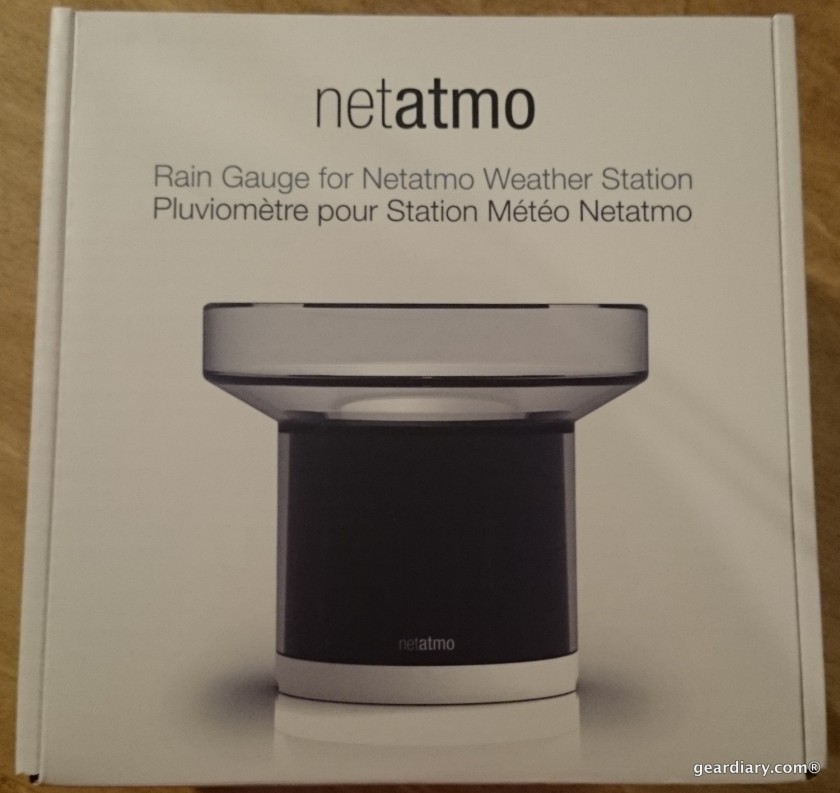
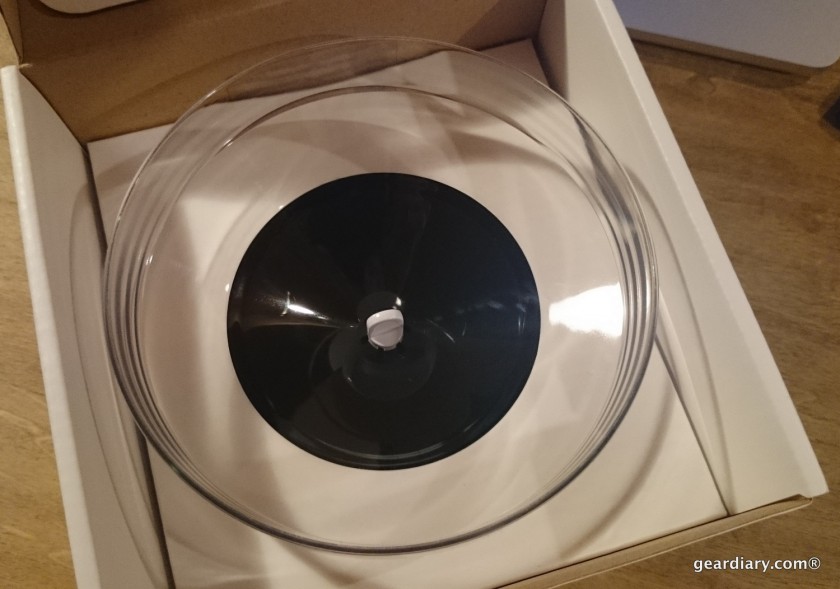
Simple seems to be a theme here. There is nothing in the rain gauge box but the rain collector and …
… incredibly vague instructions.
Where should I put the rain gauge? What do I install it on? How do I set it up? Only the shadow knows …
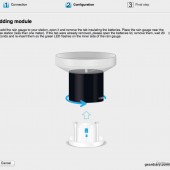
So I went online to the Netatmo site again, and in my account I selected the option to add a module.
That’s where I learned that I needed to unscrew the rain gauge’s base and remove the clear plastic with the arrow on it, which was protecting the already installed and obviously included batteries.
- Download the rain gauge connection software for your operating system
- Unscrew the base of the rain gauge and remove the plastic covering the batteries
- Enter your account login information to connect the gauge to your Netatmo account
- That’s the plastic you’ll need to remove to get the batteries working
As I mentioned, there’s really no information on where or how to install the rain gauge, so let me save you some time and aggravation …
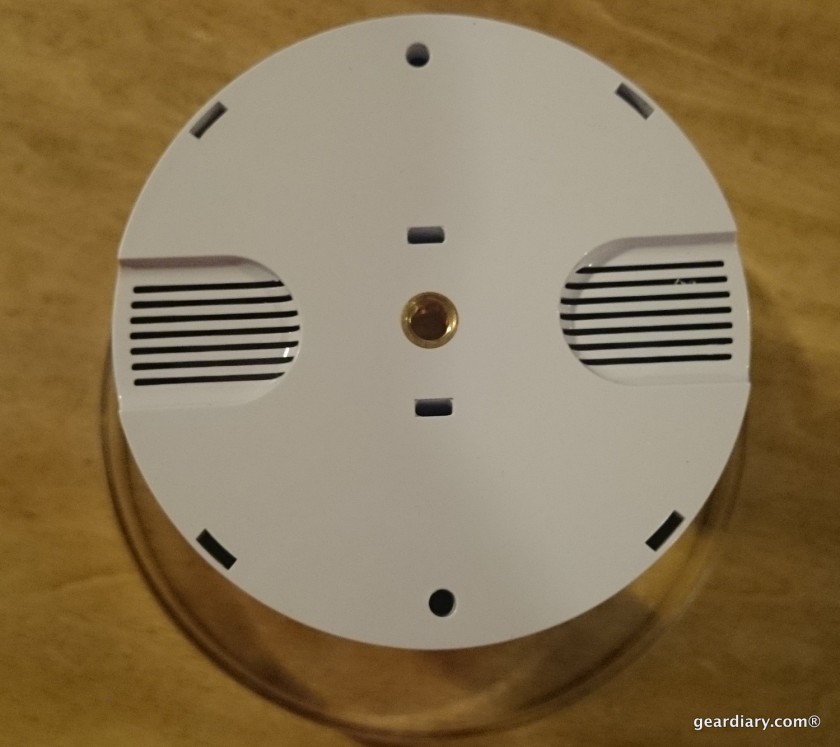
There is a hole on the bottom of the rain gauge; it is the same size as a standard camera mount. If you have a spare tripod or mounting piece, you can screw the rain gauge onto it, place it outdoors, and call it good.
If you want something a bit more permanent, you can nail or screw the rain gauge to the top of a 4×4 post, a wooden railing, or any other flat surface through the two holes showing on the left and right of this picture.
Because I have experience mounting other rain gauges, I can tell you that it would be best to put the gauge somewhere where it will be away from anything that might drip into it (eves, trees, etc), as those will mess up your reading accuracy. The best thing to do is probably nail it to the top of a 4×4 post that’s been set in the ground, but if that’s not possible or practical, you can do like I’ve done (for now), and set it on top of a table that’s in a good clear area. So far so good, even if it’s not exactly ideal (or secure).
I asked Netatmo what the wireless range was on the rain gauge, and this was their reply:
The theoretical maximum range where the Rain Gauge should still detect the Weather Station is 100m.
But this range is a maximum, measured without any obstacle. If you have walls between the two devices, this range will be shortened.
If you want to know what is the maximum distance where you can place your Rain Gauge, you can do a test with your outdoor module: they’re both using the same radio protocol, you should expect more or less the same value.
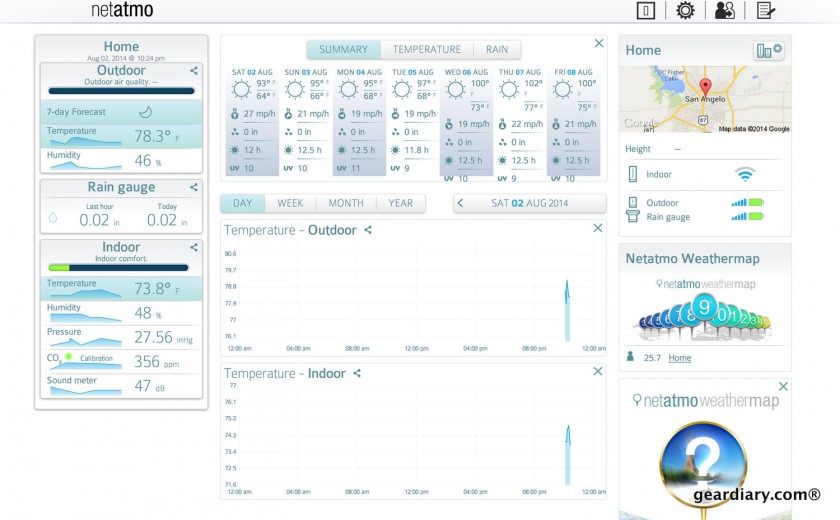
Here’s what my panel looked like soon after I’d set it up. You can see that there is general weather information showing at the top of the screen, and obviously I had only begun to collect data (so there wasn’t much to see.
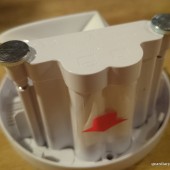
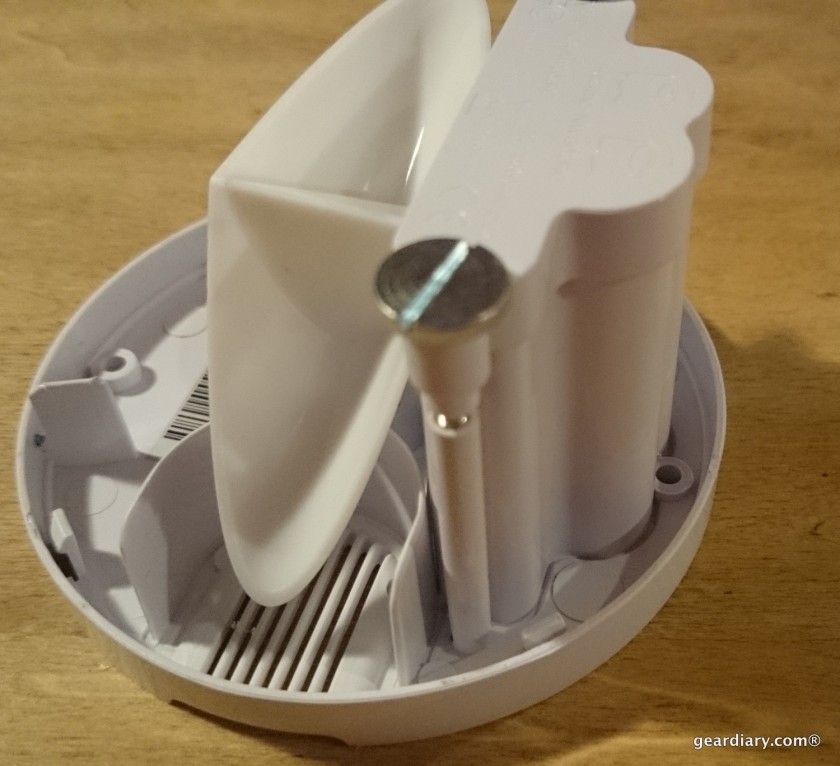
Those two scoops that you hopefully noticed in the picture of the rain gauge’s guts are what determine the amount of rain you’ve received. Because I tipped them back and forth a couple of times during setup, et voilà — rain.
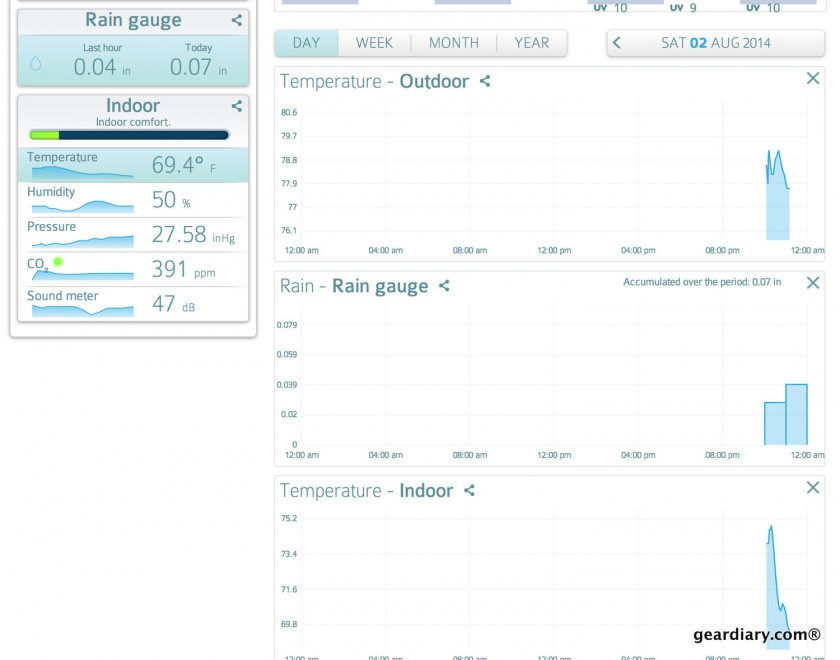
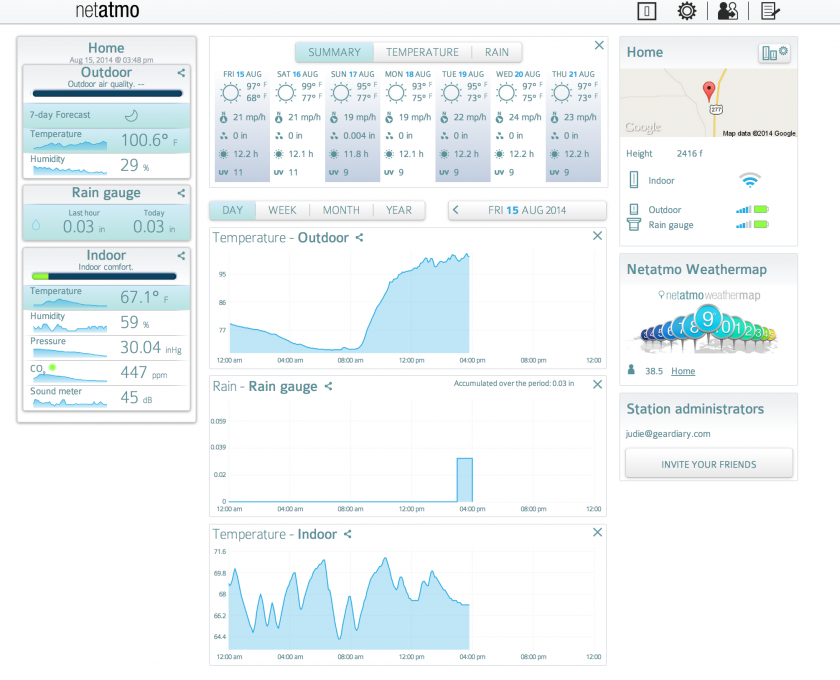
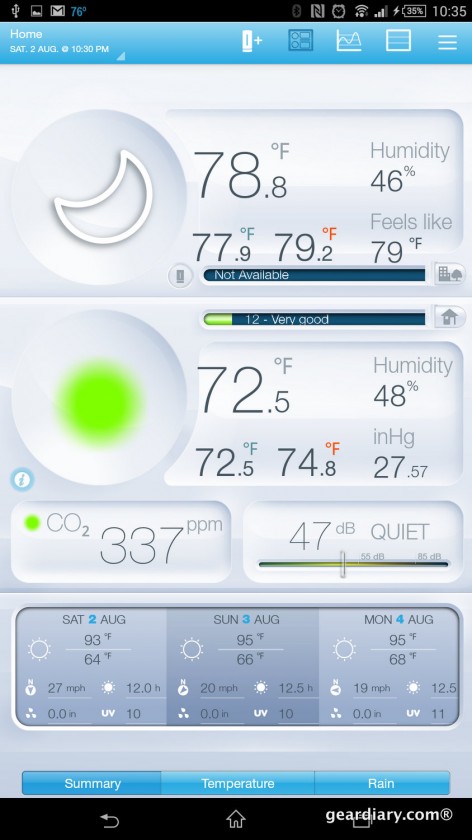
So now the whole system is put together, and I’ve been using it for a couple of weeks. I love how I get notifications on my Xperia devices and iPad when we get any rain at the house, but I also get heat advisories when the temperature outside is out of hand.
Even better, I have instant feedback at all times on what the air quality in my home happens to be, any time I want to check computer, my phone …
… or when I tap the top of the Netatmo indoor monitor.
In addition to the instant updates I can get from the Netatmo, I can also invite others to share this information, too. I’ve added Kev to my account, and he likes being pinged when there is anything of note going on in our house.
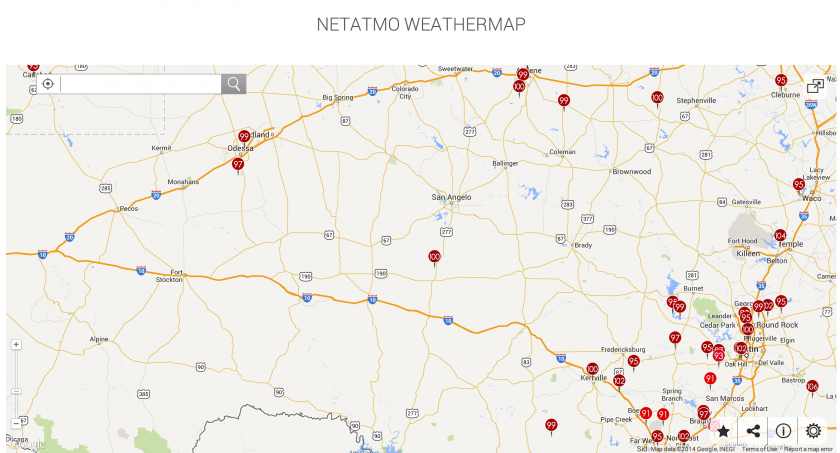
Due to the Netatmo’s wireless capabilities, I also have the option to opt into a map of Netatmo owners all over the world. Each user is submitting their outdoor temperatures which make up a real-time world weather map. Not only does this map show you temps as they vary across cities, it also illustrates how incredibly popular the Netatmo is in urban areas.
I have the only one operating in the San Angelo area, as it turns out, although I doubt that will be the case for long.
If you have more than a passing interest in what’s going on weather-wise outside your house and you are concerned about the quality of the air inside your house, and if you are intimidated by the big serious weather stations that involve calibrations and installations, then you should take a look at the Netatmo Weather Station. The ability to check your home weather from anywhere in the world — either over your phone or computer — coupled with the instant alerts when events such as rain or air quality changes occur, make the Netatmo invaluable.
Yes, I have a full-service, expensive weather station outside my home, but the Netatmo Weather Station is the source I depend upon for my up to the moment weather conditions.
The Netatmo Weather Station retails for $179, and it is available directly from the manufacturer or from online retailers such as Amazon [affiliate link]. Additional indoor weather modules and rain gauges are $79 each.
Source: The main weather station module was a manufacturer supplied review sample; I purchased the rain gauge module
What I Like: Extremely easy to set up; Modules look good indoors and out; Ability to monitor indoor and outdoor air quality; Instant feedback on indoor air quality; All information is immediately available on your laptop or phone; Alerts for rain and weather are pushed to your phone; You can add up to three additional indoor modules and one rain gauge module to the system
What Needs Improvement: Some of the Netatmo Weather Station install information isn’t very clear

