Last year, I bought a 3D printer. The first six months or so were pretty much spent churning out multiple Pokemon designs for my son, but we’ve branched out into more practical prints. Recently I’ve tried my hand at making lithophanes, 3D photograph prints, and the results have been so impressive that everyone in my family is getting lithophane photo gifts for the holidays!
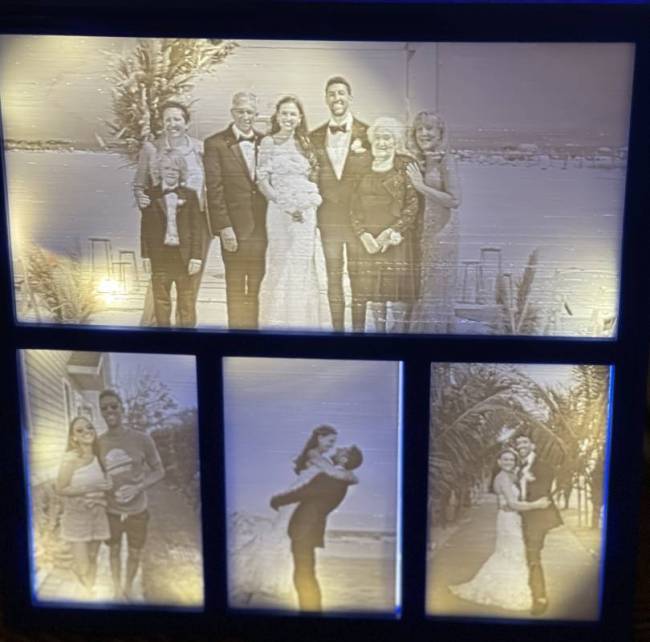
Lithophanes don’t have to be 3D printed; they are any artwork that is etched or molded so that the image appears when the art is backlit.
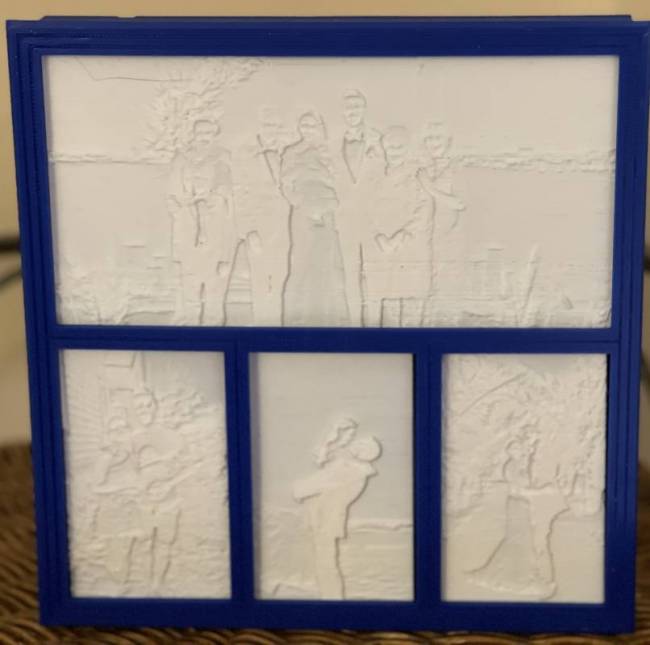
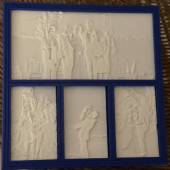
Without the backlight, you can make out the outlines of the photo, but you only see details once the light is on.
If you have a 3D printer and some white filament, you can make a lithophane; if you’re handy with glue and possibly a drill, you can make some incredible 3D printed artwork for your loved ones!
It’s so easy, even I could do it, and I’ve been known to glue my hands together even when wearing gloves. (It’s a skill.)
Note that I’m assuming you have some background on the basic vocabulary of 3D printing, but if you need more basic instruction, I highly recommend browsing a website like All That 3D. For reference, my hardware includes an Ender 3 Pro 3D printer and Hatchbox filament; I use PrusaSlicer as my slicing software.
Here are the steps to making a fabulous homemade gift that will make your friends and relatives think you’re an artistic genius:
1. Pick out the photo or photos you want to turn into lithophanes.
2. Browse Thingiverse, Cults3D, or your website of choice for lithophane frames. I used this lightbox design, so I needed four photos in total — three vertical and one horizontal.
3. There are several ways to turn a photo into a lithophane, but I use Lithophane Maker. There’s many options in lithophane makers-It’s Litho is another one that offers multiple templates, but the basic idea is the same for each. I’ve found that when I upload my photos using it, there’s minimal tweaking required afterward, and the images really pop with the backlight. You can use the settings there to indicate the size of the photos, and it will show you a preview of how the picture will be cropped, so you should be able to go right from generating the lithophane on the website to getting it ready for your printer.
4. Open your 3D print slicing software of choice and upload the lithophane .stl file. You want to orient the photo so that it prints vertically in line with how your printer bed moves; this makes for a sharper print and less likelihood of the printer having an issue with printing such a thin vertical print. Also, you MUST use a brim unless you really want to live on the wild side. The lithophanes themselves are going to be fairly thin, around 2mm ideally.
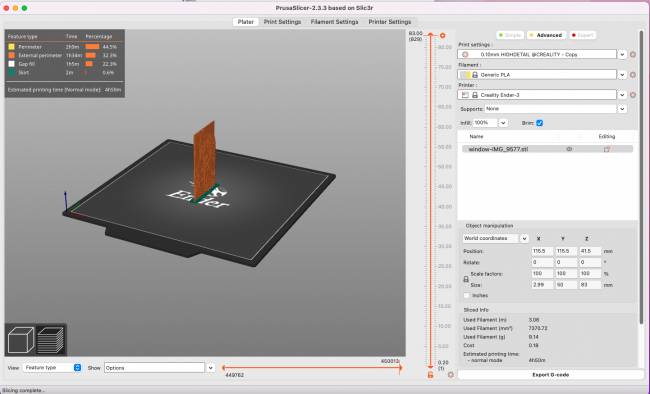
5. You should set it for 100% infill and the most detailed line size you can; I set mine down to .10mm.
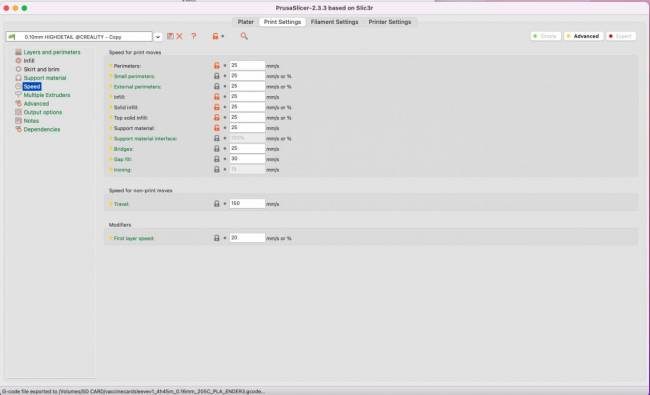
6. PRINT SLOWLY. I have all my settings down to 25mm/s. The slower, the better.
7. Wait impatiently as everything prints, and check it every 30 minutes by shining a flashlight through it to make sure it’s all working right so far. (This might be a skippable step if you aren’t as neurotic as me.)
8. Print all the various pieces of the frame.
9. Quietly curse your desire to make things for your family, the invention of 3D printers, and anything else you want to when you inevitably run into a clog or filament issue or the 3D print gods interfere with some aspect of the print.
10. Head to Home Depot, Amazon, or your hardware store of choice and pick up adhesive LED lights like these: Adhesive LED Strip Lights.
11. Measure the LED strip, and cut it down to the correct size to fit inside your frame.
12. Thread the LED through the back portion of the frame, peel back adhesive, and attach the LED strip to the frame’s sidewalls.
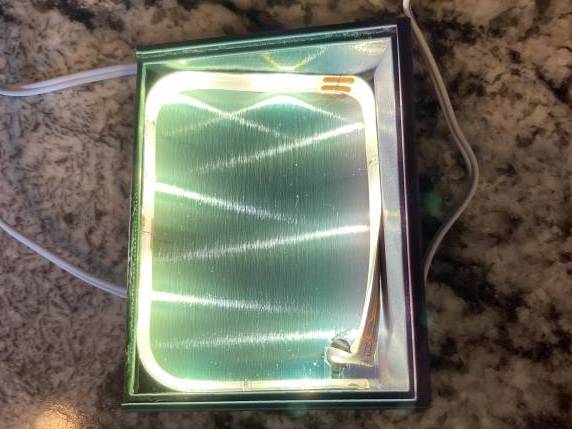
13. Optional: If you feel the lighting needs to be more even, you can attach the tin foil to the inside of the back to help evenly reflect the light.
14. Glue or screw the back onto the frame. If you opt for screws so that the pictures and/or the LED can be accessed again later, you might want to keep a very small drill bit handy to make the holes slightly bigger to accommodate the screws.
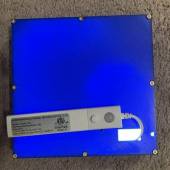
- The back of the Lithophane frame.
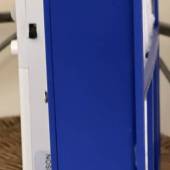
- The side of the Lithophane frame.
- The front of the Lithophane frame.
15. Light up the frame, crack open a beer, and celebrate that you made something super unique and cool!
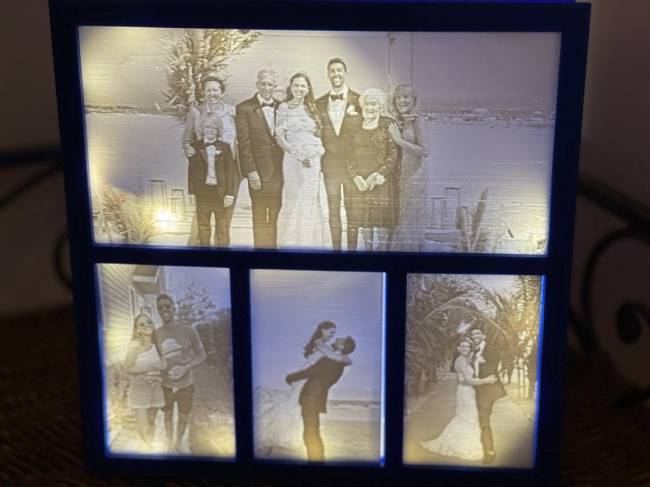
Honestly, while this seems like a lot of steps, most of it was hands-off. I may have monopolized the printer for a whole weekend, but the actual assembly and finishing took less than an hour.

This would make such a unique gift. I really need to learn more about 3D printing. Thanks for the info links!