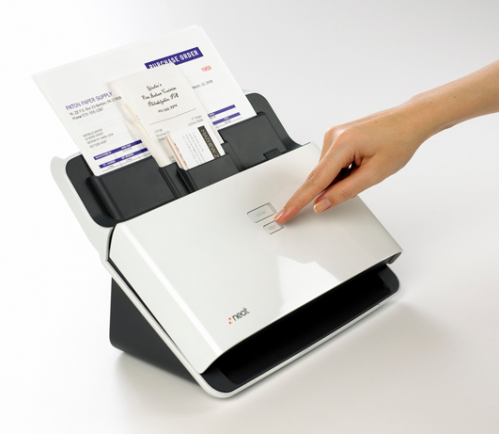
From The Neat Company….. “The NeatDesk is a high-speed desktop scanner and digital filing system that will quickly turn all the paper on your desk into organized, digital files. More than just a great scanner, NeatDesk also includes patented NeatWorks software to identify and extract key information from your paper files, then automatically organizes it in the easy to use database.”
I’ve tried a bunch of systems to manage my receipts, business cards and paper but I just can’t seem to find one that works the way I want it to. Previously I was using Evernote to manage my business cards but that meant actually taking a picture of each card and syncing it with the Evernote servers. For receipts I used Jott Not on my iPhone. But again the process was tedious.
When I saw the NeatDesk in a technology magazine I was immediately excited. It looked to be exactly what I needed to keep everything organized in one place. So I reached out to Neat and they were kind enough to send me a sample I could review it and continue to test it over the long term.
Just this week they announced a new version, 3.0, of their NeatWorks software for Mac which is exactly what you need if you’re scrambling to get those taxes done last-minute. If you’re done but felt the stress doing them perhaps the NeatDesk is the remedy you need to avoid the same issues next year.
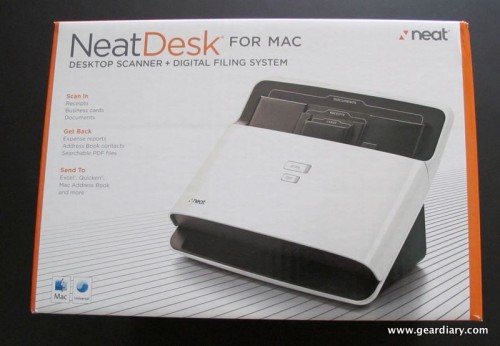
The NeatDesk arrived in its retail packaging.
Its key features are as follows:
Scan in receipts to:
• Save digital copies of receipts and records of vendors, date sand totals
• Create expense reports and manage business and personal expenses
• Keep track of expenses for tax time (records accepted by the IRS)
• Export data to Excel®, Quicken®, QuickBooks®, TurboTax®
Scan in business cards to:
• Keep digital images of cards and contact information
• Capture name, address company, title, etc.
• Create your own searchable contact database
• Export data to Outlook and more
Scan in documents to:
• Create searchable PDF files
• Edit text using copy/paste
• Organize and store in your digital filing cabinet
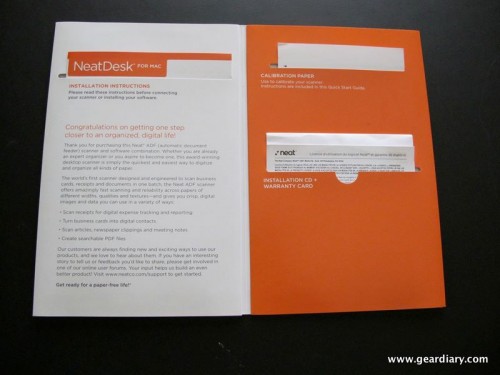
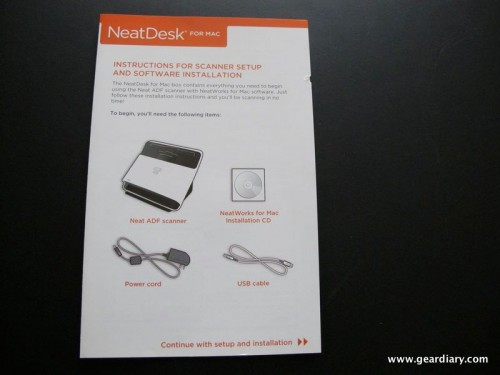
Upon opening the box you’re greeted with a small folder containing the software installation CD, user manual and scanner calibration paper.
Each section is neatly organized, no pun intended.
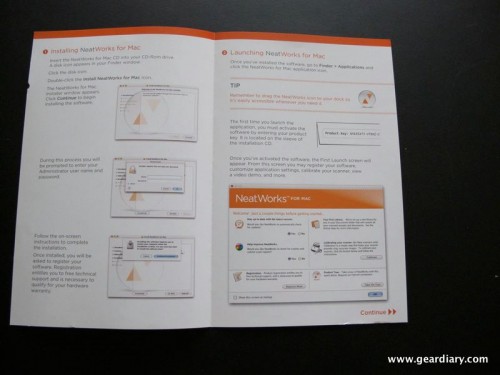
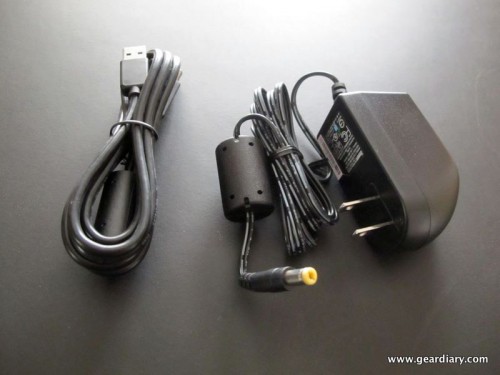
The quick set up guide includes a list of what’s included in the packaging. This includes the scanner hardware, USB cable, power cord, and software CD ROM.
Before connecting and setting up the actual hardware the first step is to installed the NeatWorks software on your Mac.
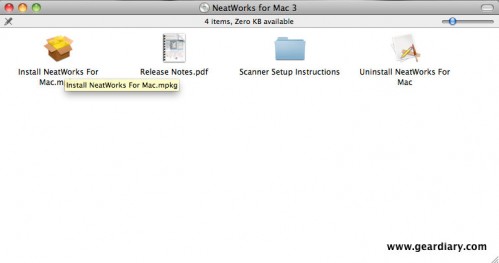
Inserting the CD-ROM reveals the installation file.
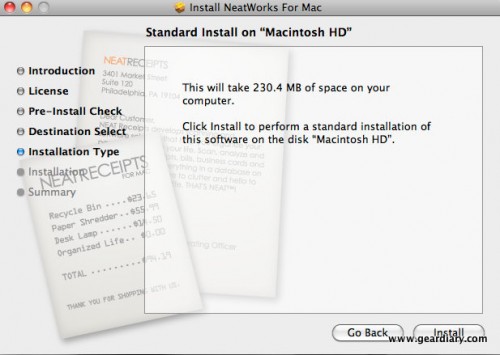
The installation process was very speedy and I completed it in a manner of minutes.
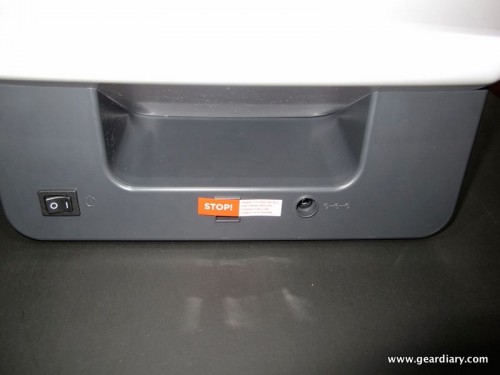
Once the software was successfully installed it was time to set up the actual NeatDesk scanner. This process was quite simple as well and involves only the power cable and a USB cable.
You simply connect the two cables to the back of the NeatDesk scanner and then connect the power cable to an outlet and the USB cable to an available USB port on your MAC. Neat does not recommend connecting the USB to a keyboard HUB and prefers you connect the scanner directly to one of the MAC’s USB ports.
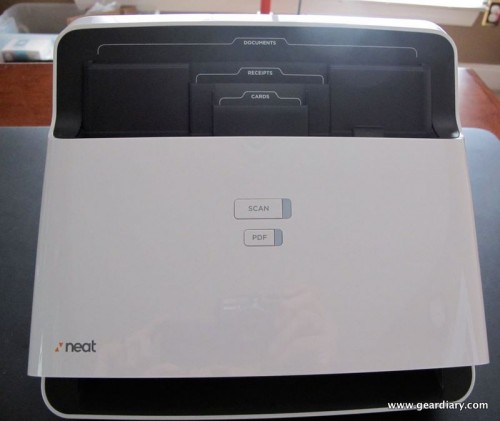
The NeatDesk scanner isn’t large. It fits quite nicely either on a desk, or in my case on a shelf in my built-in desk/work station.
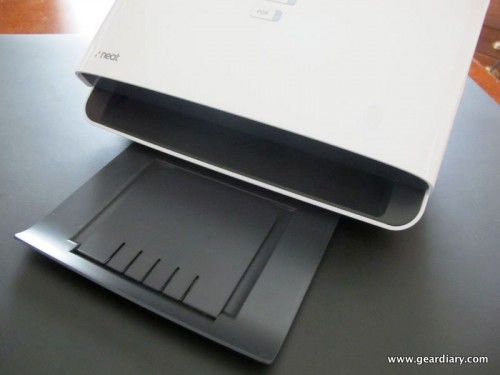
In addition to the tray on the back for your various paper items the scanner also has a pull out paper keeper on the bottom to keep your scanned items from flying out the bottom and disappearing after they’ve been scanned.
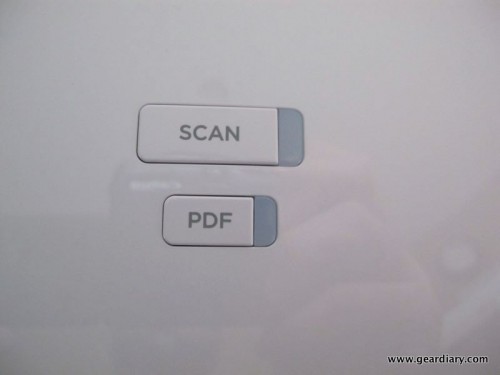
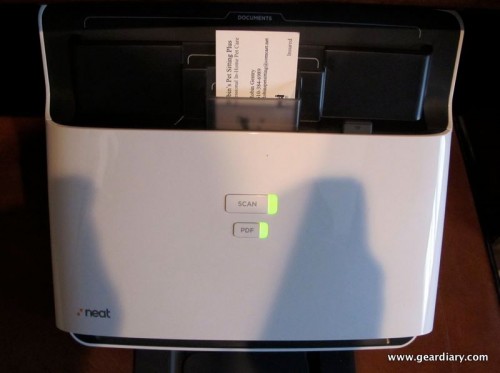
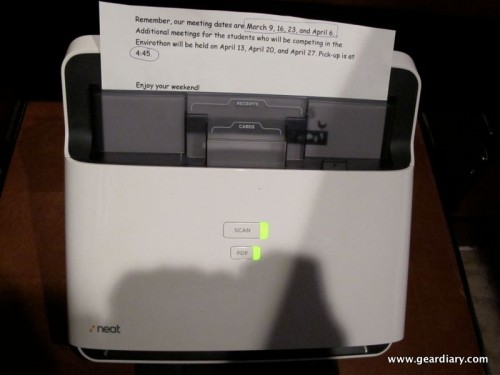
The front of the NeatDesk features two buttons. One for scanning items directly into the NeatWorks software and the other for scanning and converting directly into a PDF file.
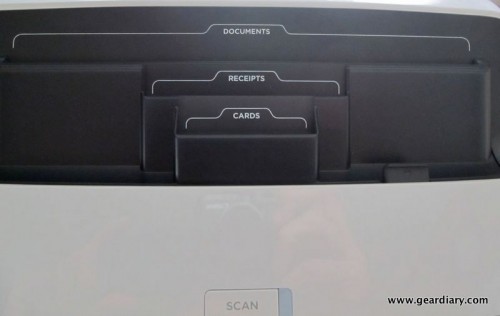
The removable input tray can scan both sides of up to 10 receipts, 10 business cards, and 10 documents at a time—or even a single, 50-page document.
The key to the functionality of the NeatDesk is its NeatWorks software. If you don’t want to spring for the NeatDesk scanner you can simply purchase the software for $79.95. Then new 3.0 upgrade seeks to solve help you organize your paper trail so you’re ready for tax time at a moment’s notice. The new tax specific features include:
*Assign a tax category to every scanned receipt, making itemized deductions easy
*Generate reports based on tax categories by highlighting total receipt amounts for each category
*Integrate with Quick Look to see an instant image preview with a single click
*Create sub folders to easily organize data
*Simplify workflow with keyboard shortcuts and blank page removal
To use the software your computer will need to meet the following requirements:
*Mac computer with an Intel® processor
*1 GB of RAM; 3 GB recommended
*Mac OS X v10.5.8 or later
*256 MB of available disk space for installation, 1 GB recommended for user data
*CD-ROM or DVD drive required for installation
*Available USB port
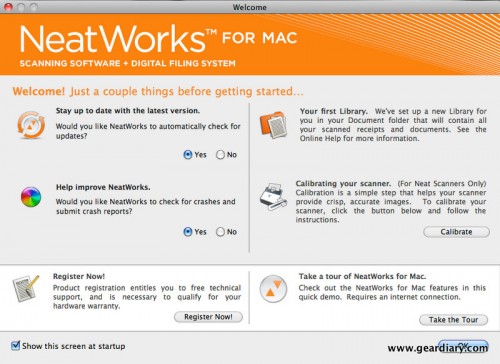
When you first launch the software an optional splash screen appears with some functions you can choose to enable or disable. This includes sending bug reports to Neat, automatically checking for new software updates, viewing a tour of the software and more. You can choose to disable this screen from appearing at any time.
Before you actually start scanning any documents you’ll need to calibrate the scanner using the calibration sheet included in the welcome folder. This process is quite simple and involves simply scanning in one small document.
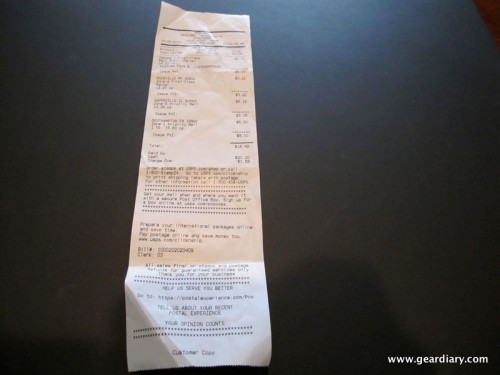
For the purpose of this review I scanned some receipts, some business cards and some documents. For my receipts I tried several, of various shape and size. The software gives you the option of scanning each item into one Inbox, which you then manually move and organize later or scanning documents into the folder you have highlighted.
So if you know you’re going to be scanning several receipts it’s probably easier to set it so that they’re all automatically sent into your receipts folder.
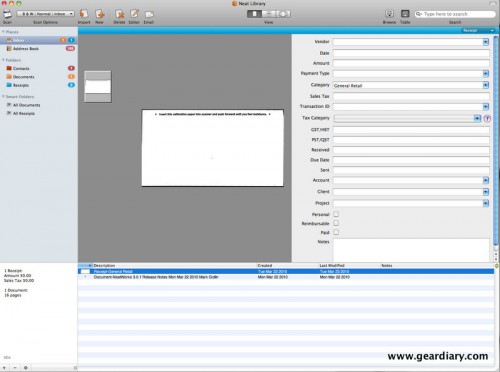
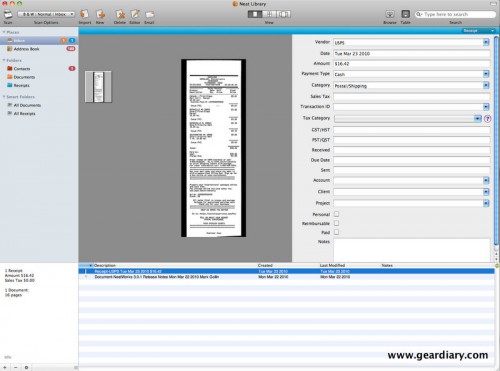
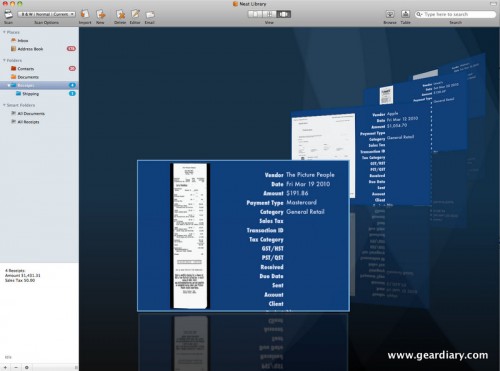
The scanning process takes only seconds and once it’s completed you’re presented with an individual look at the receipt you scanned it. The software actually analyzes the data on your receipt and uses it to automatically populate the fields. Using advanced OCR (optical character recognition) the software is actually able to read text, pull it off the scanned document, and smartly put it in the correct field.
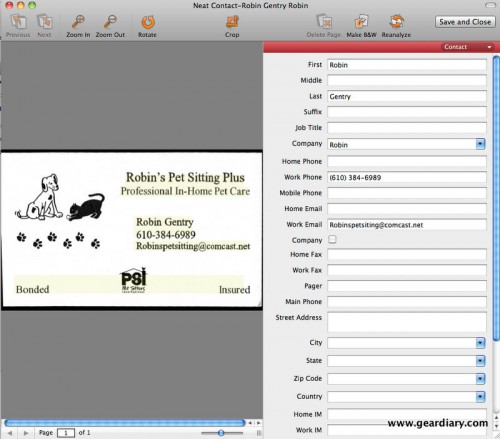
The scan-in process for business cards is the same as for receipts. Simply insert the card into the pre-fitted business card slot and either press the scan button on the front of the NeatDesk or you can initiate the scan from within the tool bar of the NeatWorks software.
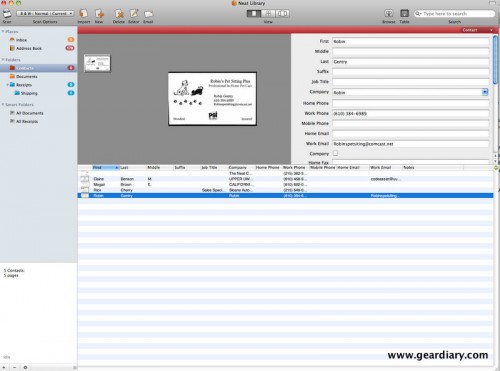
Once scanned in you’ll see your business card’s image and in a few seconds your contact’s information will be populated and his/her information will be automatically added to the NeatWorks built-in address book. If you want to sync your contacts over to the Mac’s address book you simply drag them from the NeatWorks software into the Address Book near the top and the information is transferred.
If after scanning in your document you notice an error in one of the populated fields you simply head into the “editor” to make changes. Here’s the really cool thing! Any text that’s highlighted in yellow is text that’s been recognized by the NeatWorks software. All you need do is simply drag it over to one of the fields and it’ll automatically insert itself or over-write and pre-existing text.
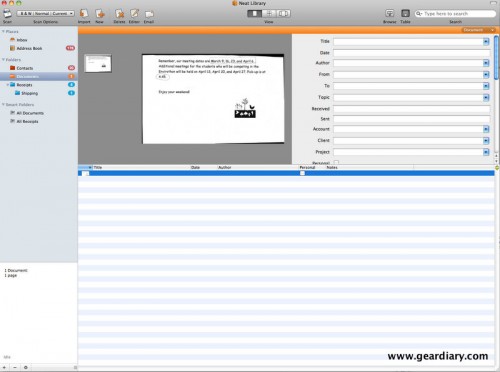
Scanning documents follows the same procedure as for receipts and business cards. You simply use the larger, rear portion of the tray. I’m amazed at how quickly documents are scanned. I tested the NeatDesk with multiple pages and didn’t have any issues with jamming or slow scan speeds.
Once you’re document is scanned in, if the NeatWorks software doesn’t recognize it, you’re free to add in your own descriptors to the fields.
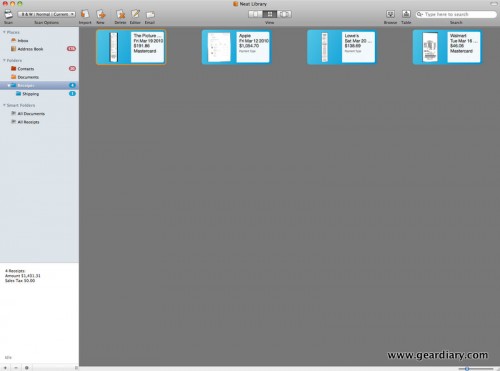
Once you’ve got a significant amount of data scanned into the NeatWorks software you’ll want to play around with it. The software provides some really unique views for looking at your data.
Besides the view shown above you can choose to see your data in a cover-flow like style.
Or in a smaller, more icon looking format.
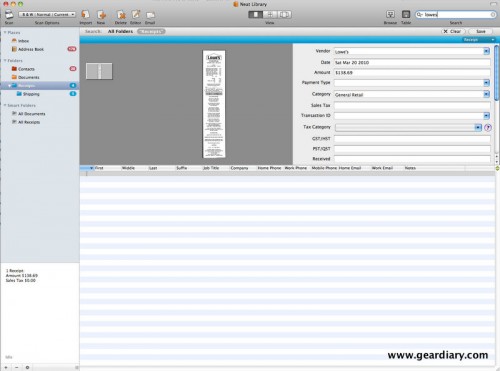
You can also use the software to search through all of your scanned items. Let’s say you need to find a receipt from a purchase you made at Lowes a few weeks ago. Simply type the word “Lowes” in the search box and NeatWorks will return all of the items matching your search criteria.
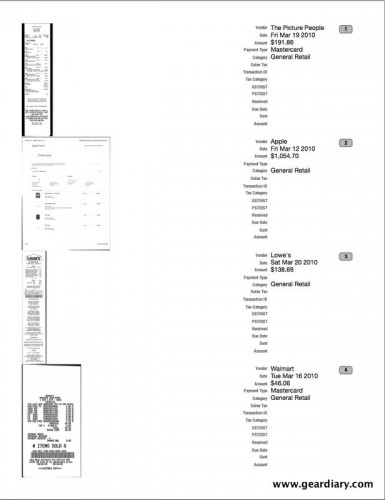
The software also allows you to generate reports which can be printed. You can print reports for each individual category or sub category. They are itemized and include both a visual copy of the receipt or document as well as the accompanying text.
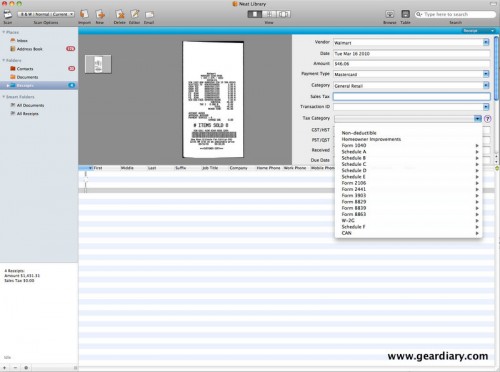
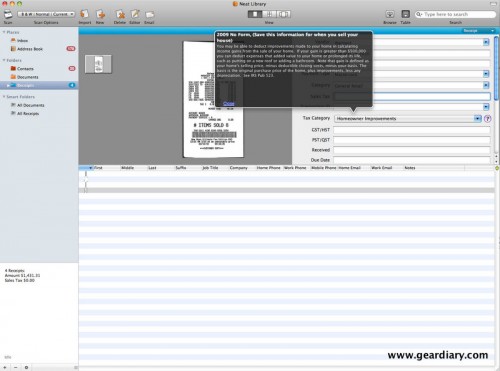
NeatWorks also allows you to assign a tax category to each receipt you scan in. That means when it comes time to do your taxes and you need to sort through your expenses and figure out your various deductions you’ll have everything organized in easy to decipher groups.
And if you are unsure about each of the tax categories the software can help you as well.
I consider myself a bit of an organization nut. Okay, I’m anal. I admit it. I’m truly amazed at everything both the NeatDesk and the NeatWorks software can do. It’s something that I can see using everyday, many times a day and for lengthy periods at the end of each month and the year.
Not only does the NeatDesk scan a variety of documents fast once it’s done the true power of the NeatWorks software takes over recognizing text, organizing and filing in a way that just makes it downright easy to use.
If you struggled with tax season this year or are someone in need of more organization in your life. Or your tired of saving mounds and mounds of paper and are ready to turn them into digital copies I strongly suggest you take a look at the NeatDesk.
Both the NeatDesk and the NeatWorks software are available from the Neat web store here.
M.S.R.P. – $399.95
What I like – Scans all sorts of documents, quickly and accurately. Small. Amazing OCR.
What I don’t like – Expensive (but good things sometimes are.)
