Spring time in Texas is hot; we do not really have seasons, just hot and not so hot. We are deep into the spring turkey hunting season, and some days it is just unbearable. I hunt with a bow, so that is done in a pop up tent blind. Turkeys can see extremely well, so I wear a long sleeve black shirt and black ninja mask. Of course I always wear my snake boots and long pants. The blind is basically an oven. I recently heard about people turning ice chests into an air conditioner on the go and decided to make one. Here is how I made my version.
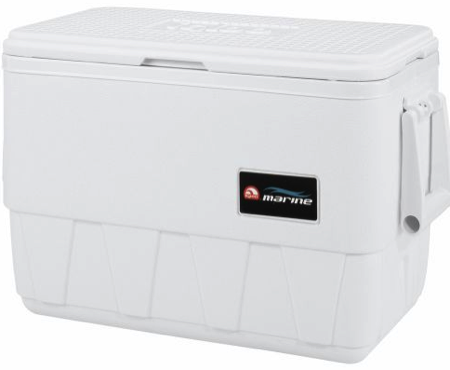
The ice chest I used is an Igloo 25qt Marine model. I chose this model because it was the most common used on the projects I found. It is available almost anywhere ice chests are sold and comes in around $30. What I will attempt to do, is cut holes in the lid to install a fan that blows across the ice and a vent to redistribute that cool air.
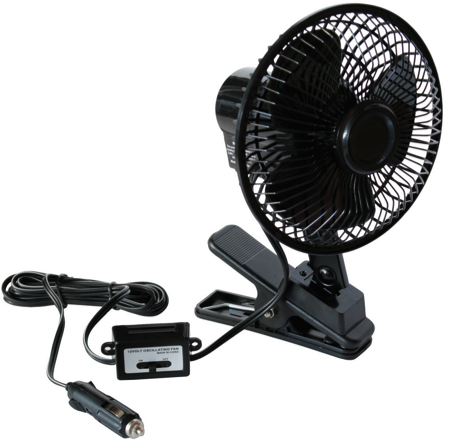
Other than the ice chest, to make your own you will need a fan, pipe for the vent and a 12v battery. I used an auto fan from Walmart that cost around $11, a piece of 2 inch PVC with an elbow, and a battery I used on my deer feeder. The entire project came out to around $50 since I had the battery.
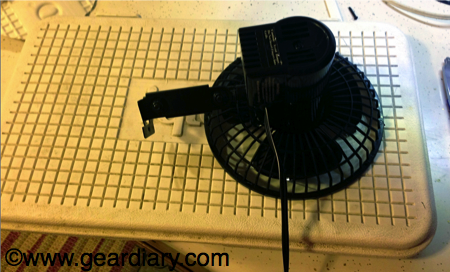
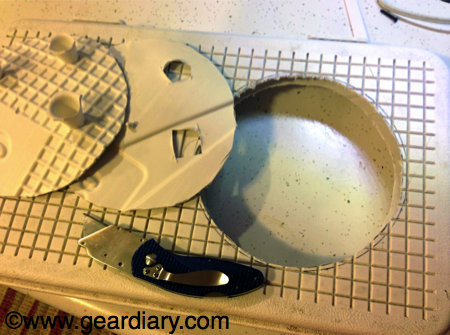
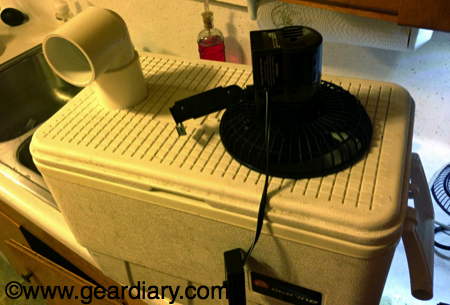
To make the opening for the fan, I simply took the front protector off, traced it and then drew a line slightly inside so it will not fall through the hole. I used the square grids of the lid to line up the hole and make it even. I cut this opening with a utility knife. Not a fun experience, but it got the job done. Repeat this step for the PVC pipe, but do not make the hole smaller. It needs to go all the way through. For this hole I remembered I had a rotary cutting tool, so it only took seconds.
Once the holes are cut, I just made sure everything fit. I used duck tape to hold the pipe in place and used it inside the lid under the fan because the lid is hollow and I wanted straight air flow. Currently, the fan is being held in place with the tape, but I plan on adding some c-clamps once the project gets out of beta testing.
The end of the fan is made to use a car cigarette lighter. I snipped the wire, stripped it, and attached it to the battery. The wire with the white strips goes to the positive connection. Since the fan has a switch and fuse,it is easy and safe to use. All that is needed now is ice and a warm day.
This project took less than an hour to build and the results are positive. I like how it is going, so I will clamp the fan down more permanently now. I also will build a box on the side to hold the battery and use a 12v solar panel to charge the battery while in the field. Since my only complaint on this model is the fan noise, I will build another using two large computer fans that are virtually silent. My only concern is moving enough air to make a temperature difference.
I hope you have enjoyed my DIY project and try your own version. Please share with us if you build one or have any improvements to this design.



Definitely I would use 14cm fans meant for silent computing. They still make noise, but only due to movement of air; you cannot hear the actual motor itself. Plus, you can put foam vent filters on top of flat computer fans, which both reduces dust getting inside, and lowers the noise level of the moving air.