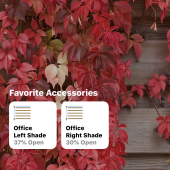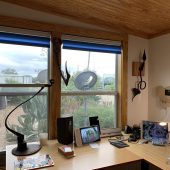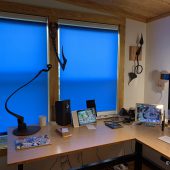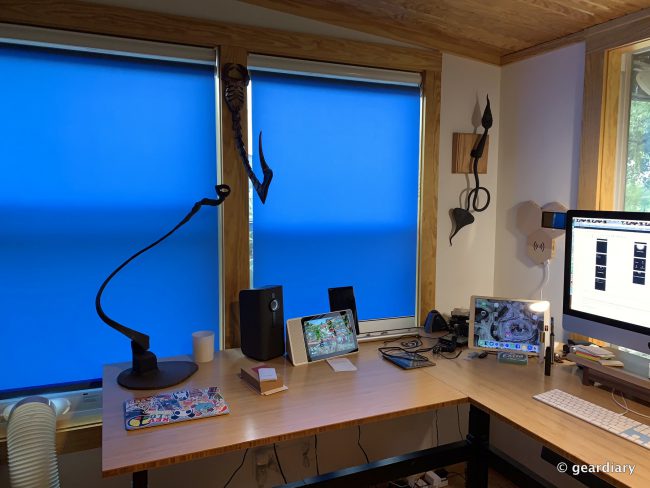
I have an office with two windows on our house’s south side; these windows take in brutal amounts of Texas sun and heat during the spring and summer. Lutron Serena Shades are custom-made window shades that can be controlled by a remote, by your smartphone, or with an AI assistant. What you end up with are smarthome-worthy window coverings.
You’re probably familiar with Lutron; they’ve been around for decades offering dimmers and other lighting control solutions. Lutron has fully embraced the idea of the connected home, and their Caseta smart lighting control system is one of the easiest (and most cost-effective) to implement in every home of any age because it puts the “smart control at the switch, so you can make your existing bulbs act smart, even LEDs.”
Lutron Caseta products work with Amazon Alexa, Apple HomeKit, Google Assistant, and they integrate well with other popular home equipment like Nest products, Honeywell thermostats, and Sonos speakers. Serena is Lutron’s line of motorized and connected window coverings. What Serena offers is a range of smart shades in a variety of fabrics that are custom-made to order for your windows.
If measuring your windows and installing your own blinds sounds like a DIY nightmare to you, that’s not a problem. You can get the whole turnkey experience by going through Budget Blinds, Lowes, or Home Depot. Just find a local store, take a look at what they can do for you, and pull out your credit card … done.
But if you feel just a little bit brave and even the tiniest bit confident in your DIY capabilities (or if you have a handy friend or spouse), then you can save a bit of money on the installation while decorating your home or office’s windows with gorgeous blinds that provide privacy, cooling, and smarthome features.
I opted to go the DIY route, so this review is based on my experience.
Serena Shades has hundreds of fabrics for you to choose from; you can order up to 10 free fabric samples to check colors and textures; the shades are offered in a variety of opacities so that you can either completely black-out a room when the shades are shut, or you can enjoy shade filtered light. Your first major decision will be whether you want a single or double cell fabric honeycomb shade or a more traditional roller shade. You start the order process here.
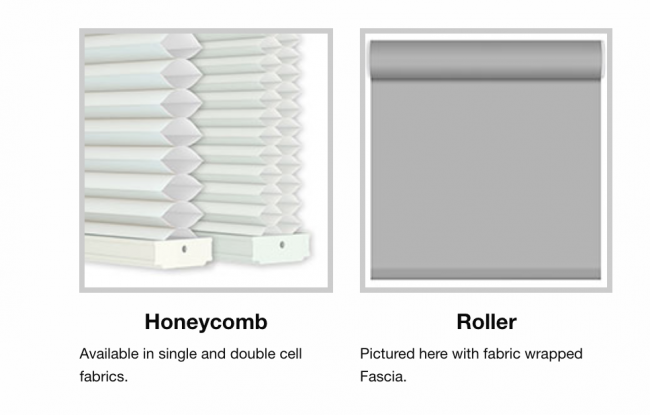
The Honeycomb shades can offer up to a 4.3 R value, which is a measurement of thermal resistance used to describe how well something provides insulation — or the “capacity of an insulating material to resist heat flow.” Serena’s FAQ mentions that a “typical double-pane window has an R value of 2.0, so adding a Serena shade can significantly increase the insulation of a window.” I have new double pane windows in my office, and I prefer the look of the roller shades, so that was the option I chose.
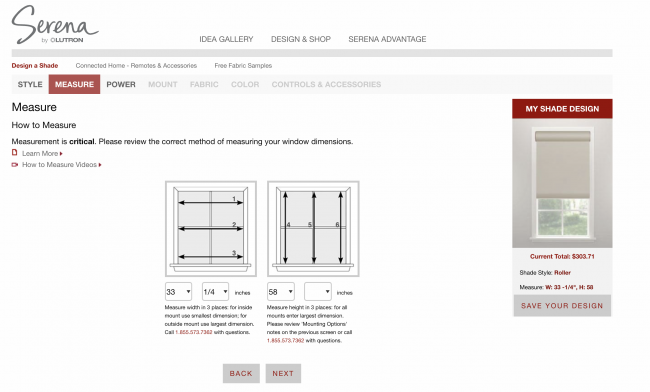
Now comes what was probably the most difficult part of the process: you’ll have to measure and create a shade for each window that you are purchasing for. Measurements must be taken on the exact window you’ll be buying the shade for in three points across and down. You’ll enter the smallest of the three width measurements in the drop-down menu and the longest measurement of the three for that window’s height measurement. If you live in an older house, this three-step measurement is super important because your windows may have shifted a bit over the years as your house settled.
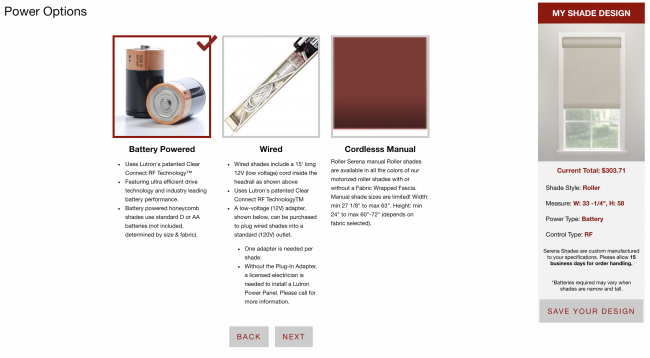
Now you have to decide how you will power your custom shades. Using wired shades is an excellent option if you’re building or remodeling, but you’ll need a licensed electrician to install the Lutron power panel. The other option is to purchase a low-voltage adapter for each window which means you’ll need to have a plug nearby for each shade. If you’re going to go the wired route, having the electrician hide all your wires and make the setup looks as custom as it deserves to be is the way to go.
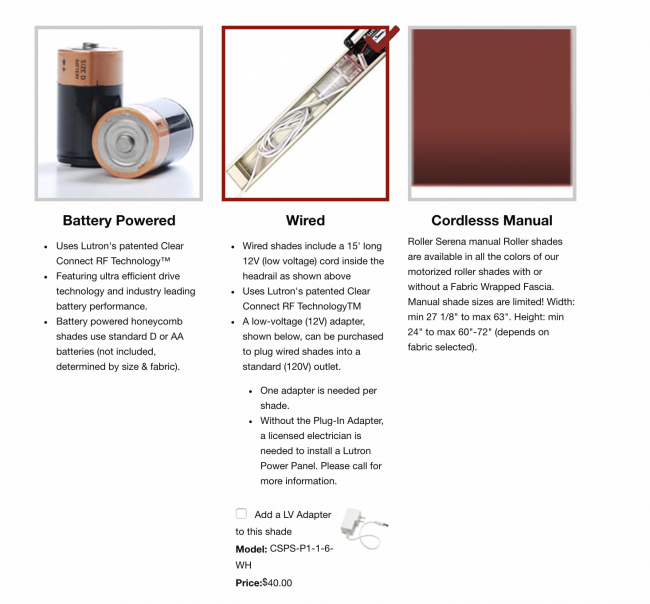
But if, like me, you want to add the shades after your home was built and electricity to each shade isn’t an option, you can choose battery-powered. You can also choose non-motorized cordless manual shades, but that would be like buying a truck without the tow package. Sure, you can do it to save a few bucks, but you’ll kick yourself for cheaping out later. 😉
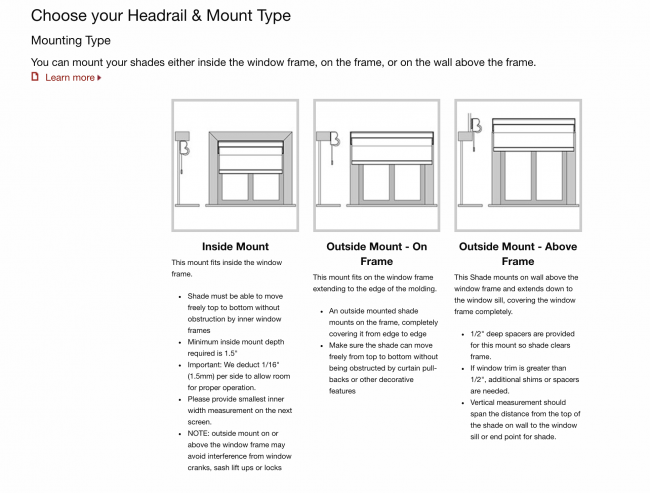
Moving right along … now it’s time to decide how you want to mount the shades. I went for the inside mount because I have lovely natural wood frames around my windows, and I didn’t want to do anything to take away from their beauty. If you have hand cranks, sash lift ups, or locks on your windows, the inside mount may not work for you.
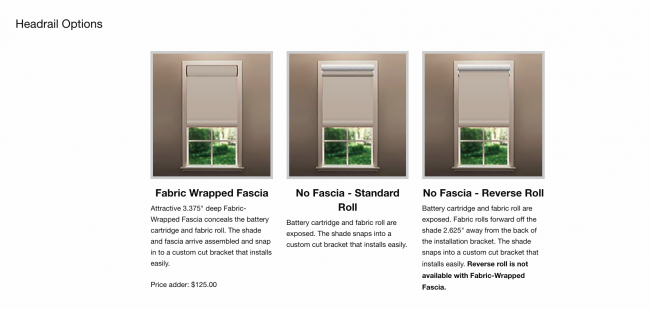
Now it’s time to choose from three headrail options. There is a fabric-wrapped fascia at the top; to be fair, this is a very elegant solution that will hide the battery compartment and the rolled-up shade, but it also adds $125 to each shade. The standard roll with no fascia shows the battery compartment at the top and the rolled-up shade; some might like that look, but I think the reverse roll with no fascia looks the cleanest.
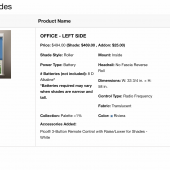
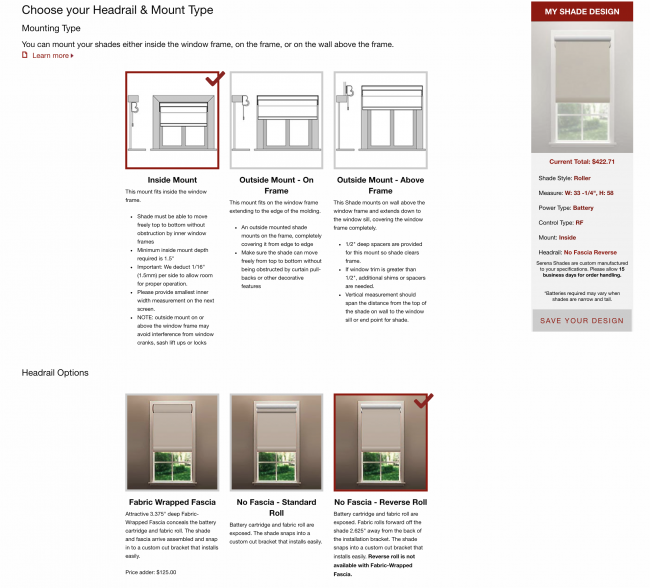
There is a tally going on at the right throughout the customization process, showing you your shade design with measurements and options chosen along with the current price for that particular window shade.
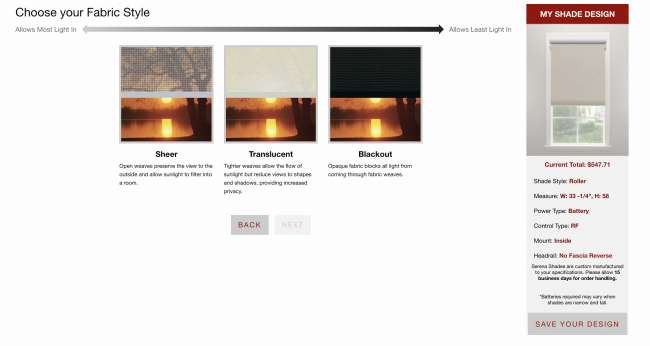
How much light do you want your shades to allow in? I get serious sun through the two windows I’m covering; blackout would be too much, and while sheer would have likely cut out a lot of the glare, I decided to go with translucent. I was largely guessing without a fabric sample in hand, but I thought it would allow light in without glare.
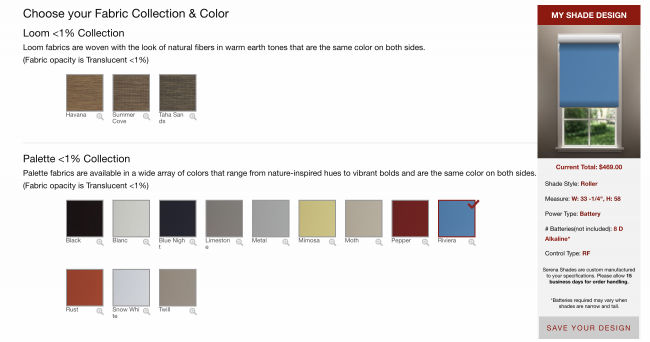
Here comes the fun part! These are the translucent colors available. I have a citron-colored accent wall breaking up a lot of stark white, a bamboo desk, a blue office chair, a black standing desk chair, and bamboo floors. I wanted something bright and fun, and the blue (Riviera) shade color looked like it would fit the bill. I loved that as each option was chosen, the “my shade design” would update to see exactly what I was getting.
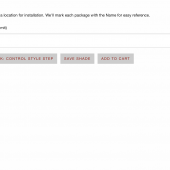
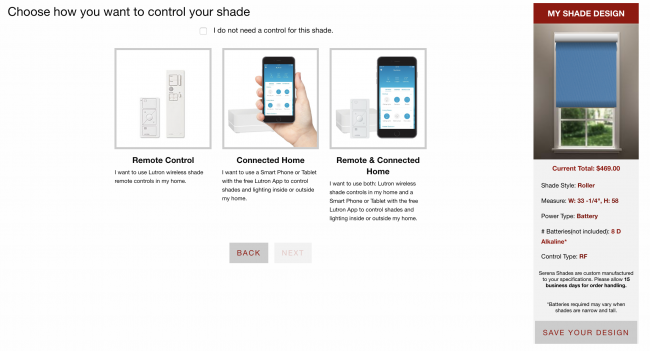
The last thing to decide is how you will control your shades. If you already have a Lutron Caseta set up in your home, you’ll already have the smart bridge, but if not, you can opt to add one to your order for $79.95 (and up, depending on options). The smart bridge is necessary if you want to use your phone or a smart assistant to control your shades. If that doesn’t appeal to you, you can just add a remote for $25.
Now you just need to name and save the window you’ve completed.
I lucked out: my right window had the exact dimensions of the left so that I could add it to my cart twice.
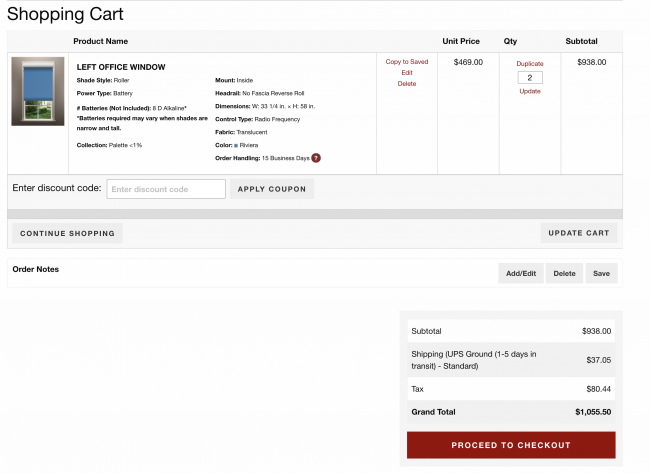
Lutron was kind enough to pick up $800 of my order, so I was fully expecting to pay $255.50, but my final bill ended up like this.
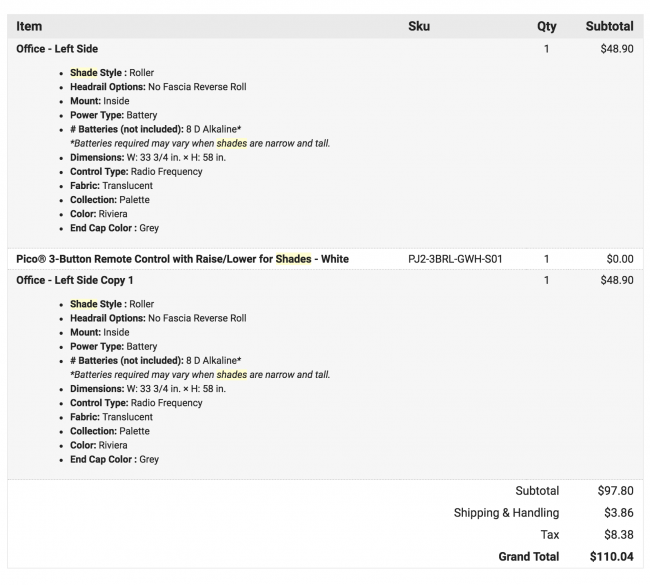
After placing my order, I was told that there would be a wait of approximately 10-20 days for my custom shades to be created and shipped. Fair enough! And then they came in … and I got nervous! What if I had mismeasured? What if they didn’t fit my windows? What if … what if … Do you ever psych yourself out like that? 😛

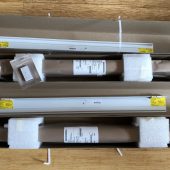
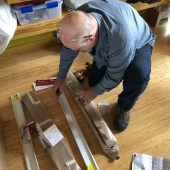
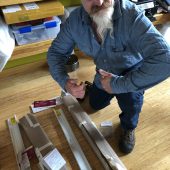
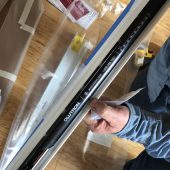
I knew before getting started that I would be enlisting my husband, Kev, to help me do the physical install; he has the power tools. Included in each box were the shade, screws for installation, and install instructions for connecting them wirelessly. The smaller box had the remote control that I thought I might need but wasn’t sure about.
After consulting the directions, Kev screwed the mounting bracket to the top of the first window frame.
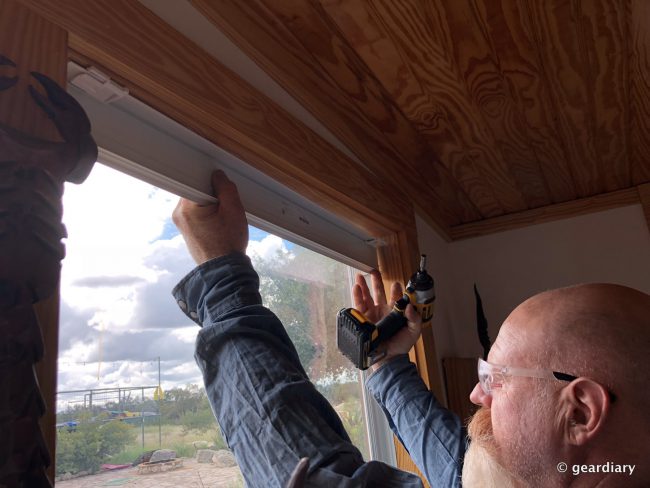
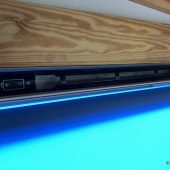
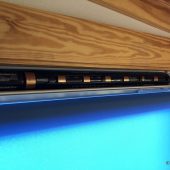
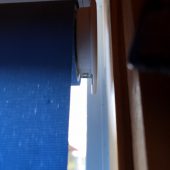
The shade roller locks into the mounting bracket; the cover on the shade holds the batteries, and it rotates up or down to give access to the battery compartment.
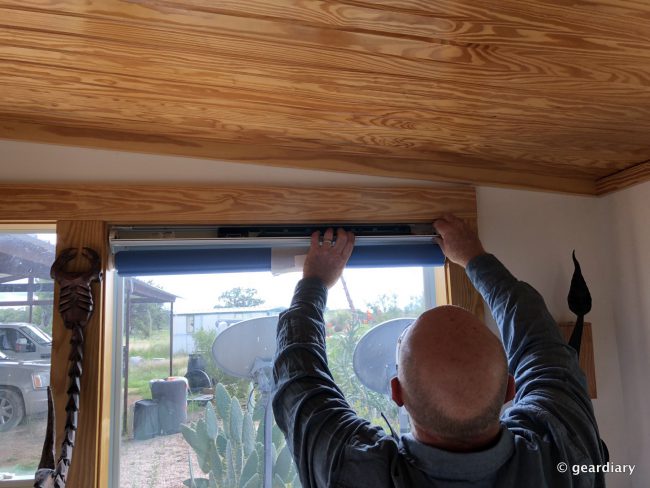
Kev couldn’t help himself; he wanted to see what the shades would look like, so he pulled them down — only to discover that you can’t roll them back up. I figured I’d be able to wind them back up later via the remote or software (I was right), but it’s probably a better idea not to do this.
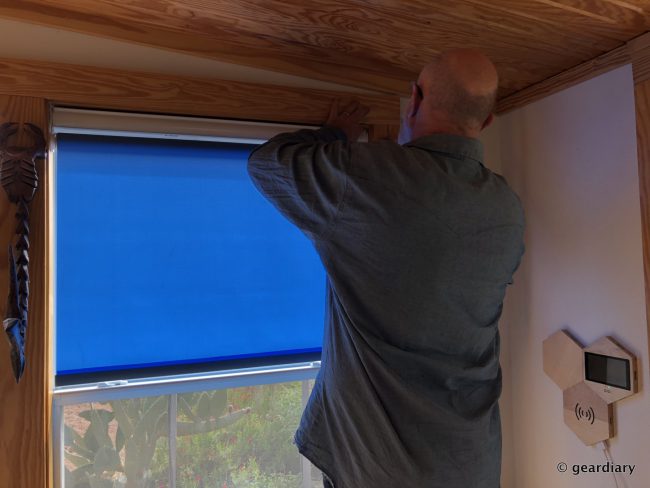
After Kev had installed the second shade, he pulled it down to match. Thanks? 😉
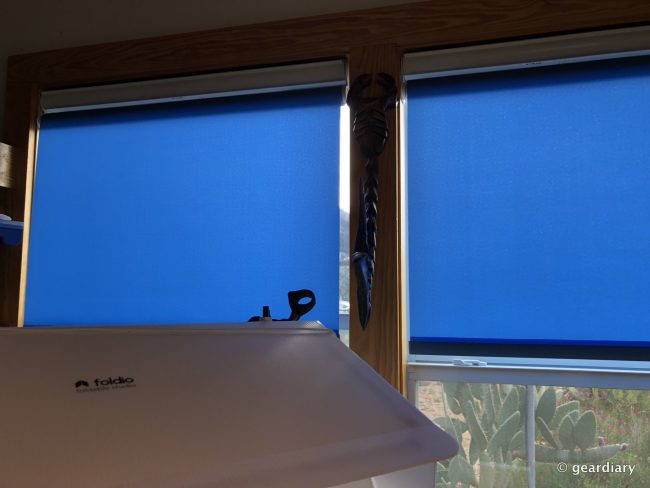
The shades were mounted (very easily, I might add), and now it was time for me to add the batteries. Each side took eight D-cells, but I think this varies depending upon the width of the shade. Once the batteries were placed into their holder, I swiveled the battery cover back up over them. I like that it is easy to open and close the battery compartment, but I still hope I won’t have to change them that often. We shall see!
Our patented power technology yields industry leading battery performance with store bought batteries. Battery life depends on the type of shade, the shade size, the fabric selected and the number of times shades are opened and closed each day. That means the shade has the potential to move thousands of times on a single set of batteries.
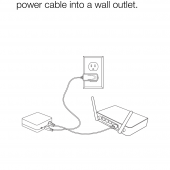
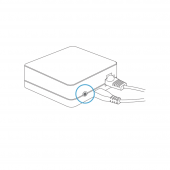
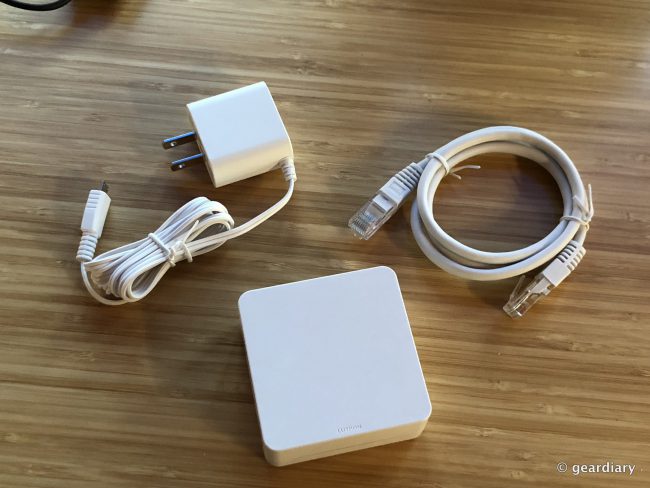
This is the Lutron bridge. If you haven’t installed one before, it’s very straightforward; you plug the microUSB into the bridge and then plug the ethernet cable into the back of the bridge and a free port on your router. I have an eero in my office, so I used one of its empty slots.
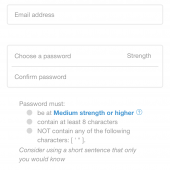
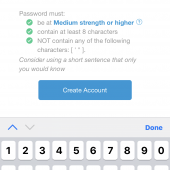
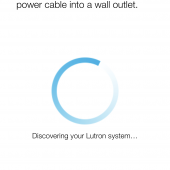
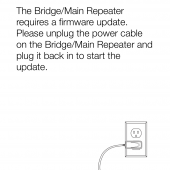
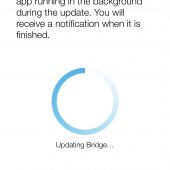
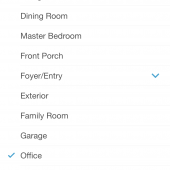
Since I want to be able to use my phone, Google Assistant, and Amazon Alexa to control my shades, I downloaded the Lutron Caseta app and started setting things up. I had to create an account with Lutron and then install an update.
Now comes the fun part — adding a device. Select shade/drapery, and go from there.
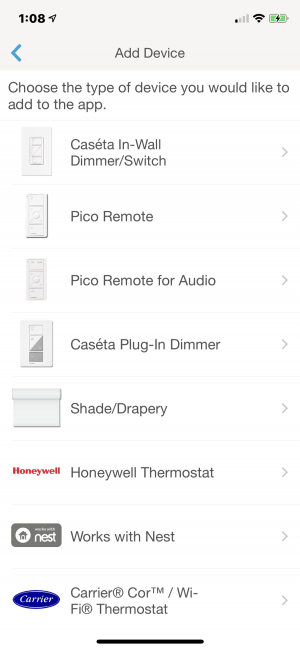
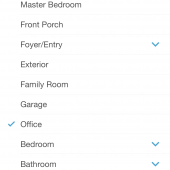
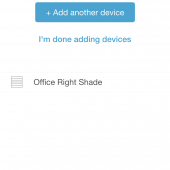
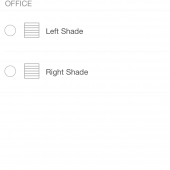
You’ll add each shade individually. There’s a little clear button on the right of each shade that has to be pressed for pairing; that’s probably the most difficult part of this process. By the time you’ve done it twice, you’ll be an old pro.
Now I had both shades added, but remember they were hanging half-open? I needed to get them set right and then set upper and lower limits.
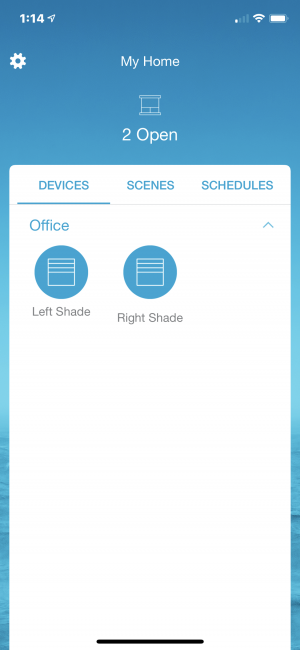
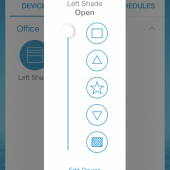
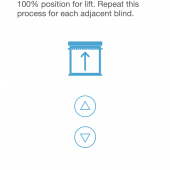
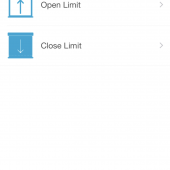
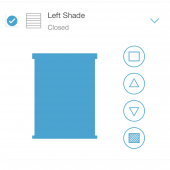
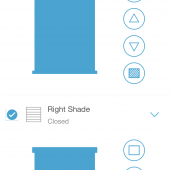
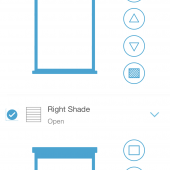
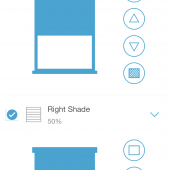
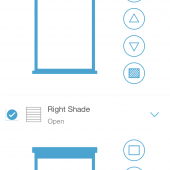
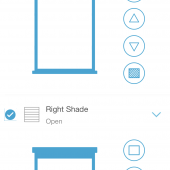
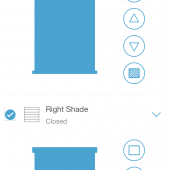
Clicking the shade I wanted to work with opened a window showing icons for open, up, 50%, down, and closed. Clicking the “edit device” option opened a window where I could set shade limits and adjust the shades to the open position to start. This was especially important because I have an AC hose hooked into the bottom of the left window, and I have the eero and Lutron bridge sitting on the right window’s sill; I wanted the shades to close just above each other item, which meant different limits on each side.
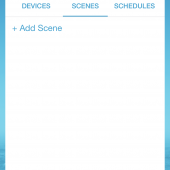
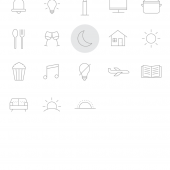
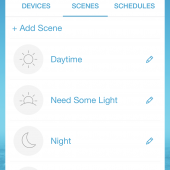
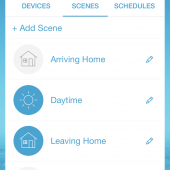
Next, I created several pre-programmed scenes for when I might like the shades to be opened or closed or at a point in between. It’s all straightforward to do through the app.
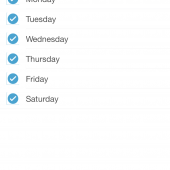
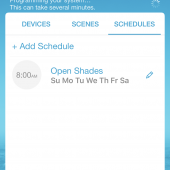
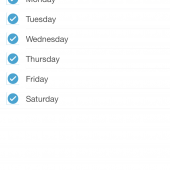
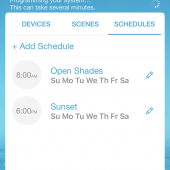
If you want to set your shades to automatically open or close, you can set schedules to do this.
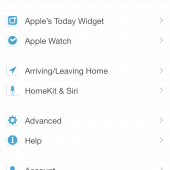
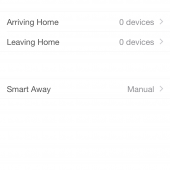
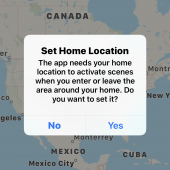
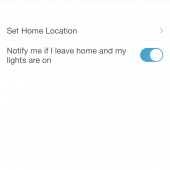
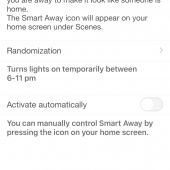
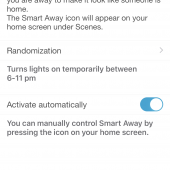
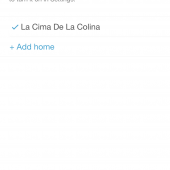
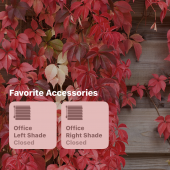
You can also tell the app how to operate your shades based on whether you are home or not. This requires using your phone’s location and allowing the app to locate and pin your home’s location. While you’re in the Settings menu, if you plan on using HomeKit and Siri to control your shades, you can set them up there.
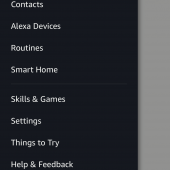
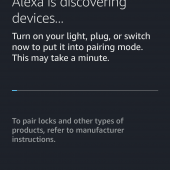
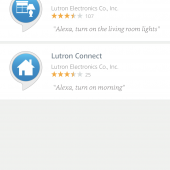
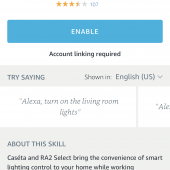
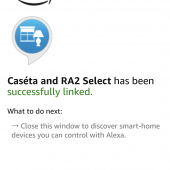
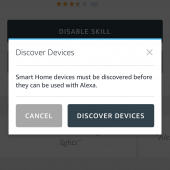
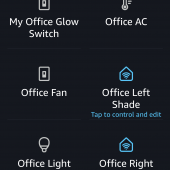
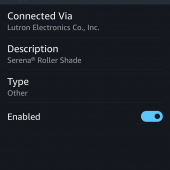
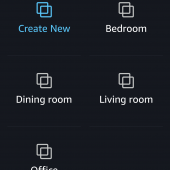
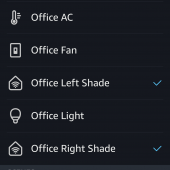
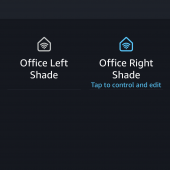
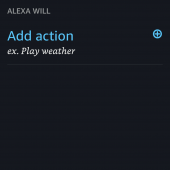
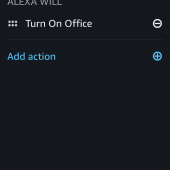
I also wanted to use Amazon Alexa to control my shades, so that was an easy setup through the Amazon Alexa app.
Installation was way easier than I thought it would be, and the setup took a little bit of my time, but it wasn’t tedious. And just like that, I now have two smart shades that I can control with my phone, Amazon Alexa, Google Assistant, or Apple HomeKit. The shades are gorgeous, and they are easy to control verbally.
Make no mistake about it, the Lutron Serena Shades are an investment, but they are absolutely worth it if you want smart shades that add value to your home and that look beautiful and operate flawlessly whether by remote, from your phone, or by voice through Amazon Alexa, Google Assistant, or Siri and Apple HomeKit.
I love that they look great with my wood window frames and white/citron walls, and they have solved my problem of baking under the brutal sunlight coming in on the south side.
If you have been toying with the idea of throwing down and outfitting your home or office with shades, just know this: you can do the installation on your own, and the results will be marvelous.
Lutron Serena Shades prices vary according to measurements and chosen options; my two shades ended up being $910.04. You can custom order yours here. Check the Serena Shades FAQs here.
Source: The manufacturer provided $800 toward the purchase balance, and I paid the rest.
What I Like: Attractive shades that are easy to install and that offer multiple ways to control; Works with Apple HomeKit, Google Assistant, and Amazon Alexa; You can also use a remote control with them if you don’t want to use your phone or voice; Custom made to fit each window; You can set the shades to open or close based on the day, time of day, whether you are hoe or not, or pretty much any other scenario you can create
What Needs Improvement: They are expensive, but then all custom blinds are pricey

